- Structural Integrity is Non-Negotiable: You must anchor your climbing wall directly into the building’s structural studs; drywall or plaster alone will not support the dynamic weight of a climber.
- Maximize Verticality, Minimize Footprint: For small spaces, opt for “climbing strips” or vertical panels that utilize height rather than width, paired with foldable, high-density crash pads.
- Safety Over Aesthetics: Never prioritize the look of the wall over the required fall zone; a minimum of 1.5 to 2 meters of clear floor space is essential to prevent injury from accidental falls.
Installing an indoor climbing wall is one of those ideas that sounds like a dream for parents in their 30s and 40s—it’s a way to burn off your child’s boundless energy while keeping them active indoors. But let’s be honest: the reality of turning a bedroom, hallway, or home office into a climbing gym is a bit more complicated than just buying a set of plastic holds and a drill. If you live in a city apartment or a modest-sized home, the challenge isn’t just “can we fit it,” but “can we fit it safely without destroying our walls or sacrificing our living space?”
Understanding the Structural Requirements of Your Home
Before you even look at the aesthetics of your climbing wall, you need to talk about the “bones” of your home. Most residential walls are constructed with timber or metal studs spaced 40cm to 60cm apart, covered by drywall (gypsum board). Drywall is essentially chalk and paper—it has zero load-bearing capacity for the dynamic, jerking movements of climbing.
The Golden Rule: You are not mounting the wall to the drywall; you are mounting the wall to the frame of the house. This requires a sub-frame. You should install a plywood backing (usually 18mm or 3/4-inch birch plywood is the industry standard) that spans at least three studs. By distributing the load across multiple studs, you ensure that the downward and outward force of a climber won’t pull the fasteners through the wall.
If you are renting, this project becomes significantly more difficult. Most landlords will not allow you to drill multiple holes into structural studs. If you are in this position, consider a “free-standing” climbing frame. These are essentially A-frame structures that hold their own weight, though they take up significantly more floor space than a wall-mounted unit. For homeowners, the permanent route is almost always better for space efficiency.
Space-Saving Strategies: The “Climbing Strip” Concept
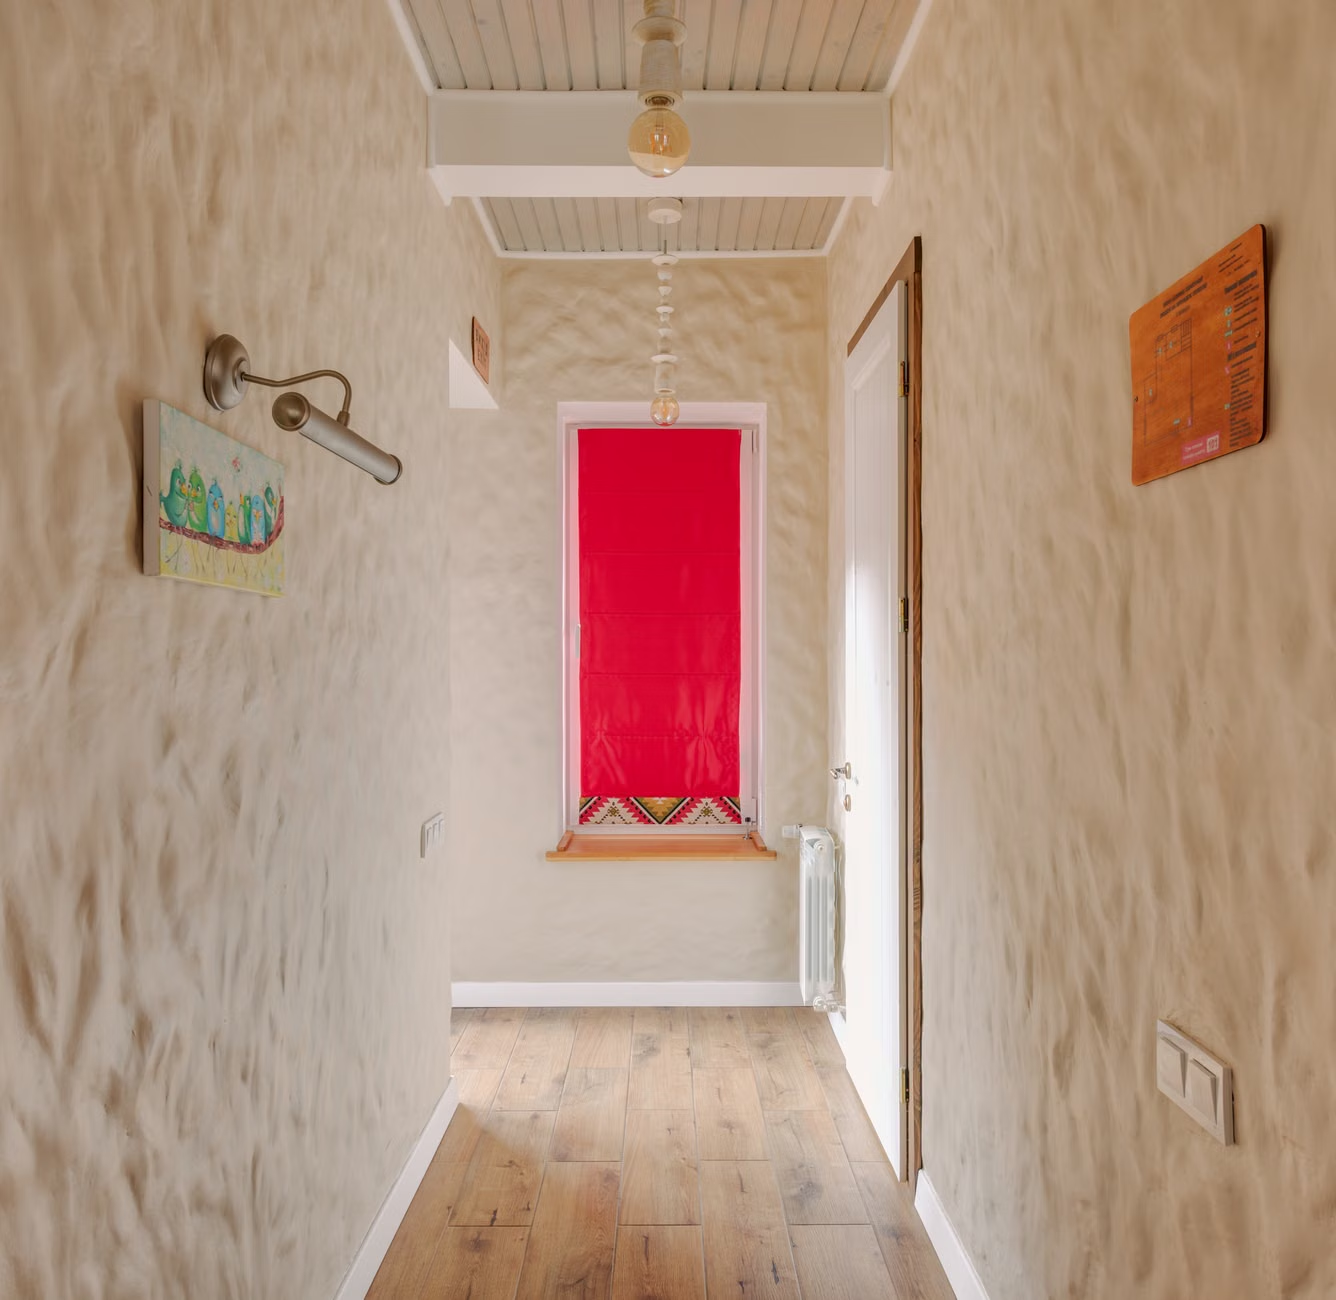
When you don’t have a spare room to dedicate to a climbing gym, you have to get creative with your architecture. The most effective approach for 30-somethings balancing a career and family is the “climbing strip.” Instead of a massive, wide wall, install a vertical, narrow panel—perhaps 60cm to 80cm wide—that stretches from floor to ceiling. This fits perfectly in a hallway or a corner of a child’s bedroom.
By focusing on height, you keep the “footprint” of the wall to less than one square meter. This is crucial for parents who need that floor space for other things, like laundry hampers or toy storage. Another trick is to integrate the climbing holds into existing furniture. If you are building custom shelving, you can reinforce the side panels of the bookshelves and mount holds directly onto the wood. This “stealth” climbing wall turns a functional piece of storage into an activity center.
The Hidden Costs and Necessary Safety Gear
It is easy to look at the price of climbing holds and assume the project will be cheap. However, the holds are only a fraction of the total investment. When calculating your budget, you must account for the following:
| Component | Estimated Cost Impact | Reasoning |
|---|---|---|
| Structural Plywood | High | Must use high-grade, void-free birch to prevent splintering. |
| T-Nuts & Bolts | Medium | Essential for swapping out holds; don’t cheap out on steel quality. |
| Crash Pads | High | Non-negotiable for safety; must be high-density foam. |
| Finishing/Paint | Low | Optional, but helps match the room’s interior design. |
The biggest oversight for most DIYers is the crash pad. Do not use a standard yoga mat or a thin rug. Climbing involves falls, and even a fall from 1.5 meters can result in a sprained ankle if the floor is hard. You need a specialized bouldering crash pad—a thick, multi-layered foam mat that absorbs impact. Many modern, high-end crash pads are designed to fold up and slide under a bed or behind a sofa when not in use, which is a perfect solution for the “small space” dilemma.
Installation: Step-by-Step for the Competent DIYer
If you are comfortable with a drill, a circular saw, and a stud finder, you can build a basic wall over a weekend. Here is the process flow for a standard wall-mounted setup:
- Map the Studs: Use a high-quality electronic stud finder to mark the center of your wall studs. If you miss a stud, your wall will eventually fail.
- Frame the Backing: Screw a 2×4 frame into the studs. This creates the “gap” needed to accommodate the T-nut hardware that sticks out from the back of the climbing panel.
- Prepare the Plywood: Drill a grid of holes into your plywood panels. This is where the T-nuts will be hammered in from the back. A 20cm grid is standard, allowing you to move holds around as your child grows.
- Install the Panels: Secure the plywood to your 2×4 frame using heavy-duty structural screws. Ensure they are countersunk so they don’t catch on skin or clothing.
- Test for Deflection: Before adding holds, pull on the wall. If there is any “give” or popping sound, you have loose anchors. Tighten everything before a child steps on it.
Common Mistakes to Avoid in Small Spaces
The most common error is “over-holding.” You might be tempted to put 50 holds on a small wall to make it “fun.” In reality, this makes the wall cluttered and difficult to climb. For a small wall, 10 to 15 high-quality, varied holds are better than 50 cheap, identical ones. Start with fewer, larger “jugs” (holds that are easy to grip) and add smaller, more technical holds as your child’s skill increases.
Another major mistake is ignoring the “fall zone.” Even if you have a tight space, you must keep the area directly in front of the wall clear of furniture, sharp corners, or glass. A child falling off a wall will not fall straight down; they will fall at an angle. If there is a sharp coffee table corner within 1 meter of the wall, you have a major safety hazard.
Finally, consider the orientation of your light switches and electrical outlets. Do not mount a climbing wall over an outlet. Even if you cover it, there is a risk of a child trying to pry a hold off and damaging the electrical wiring behind the wall. Always leave a 30cm buffer around any electrical fixtures.
Selecting the Right Holds for Growing Kids
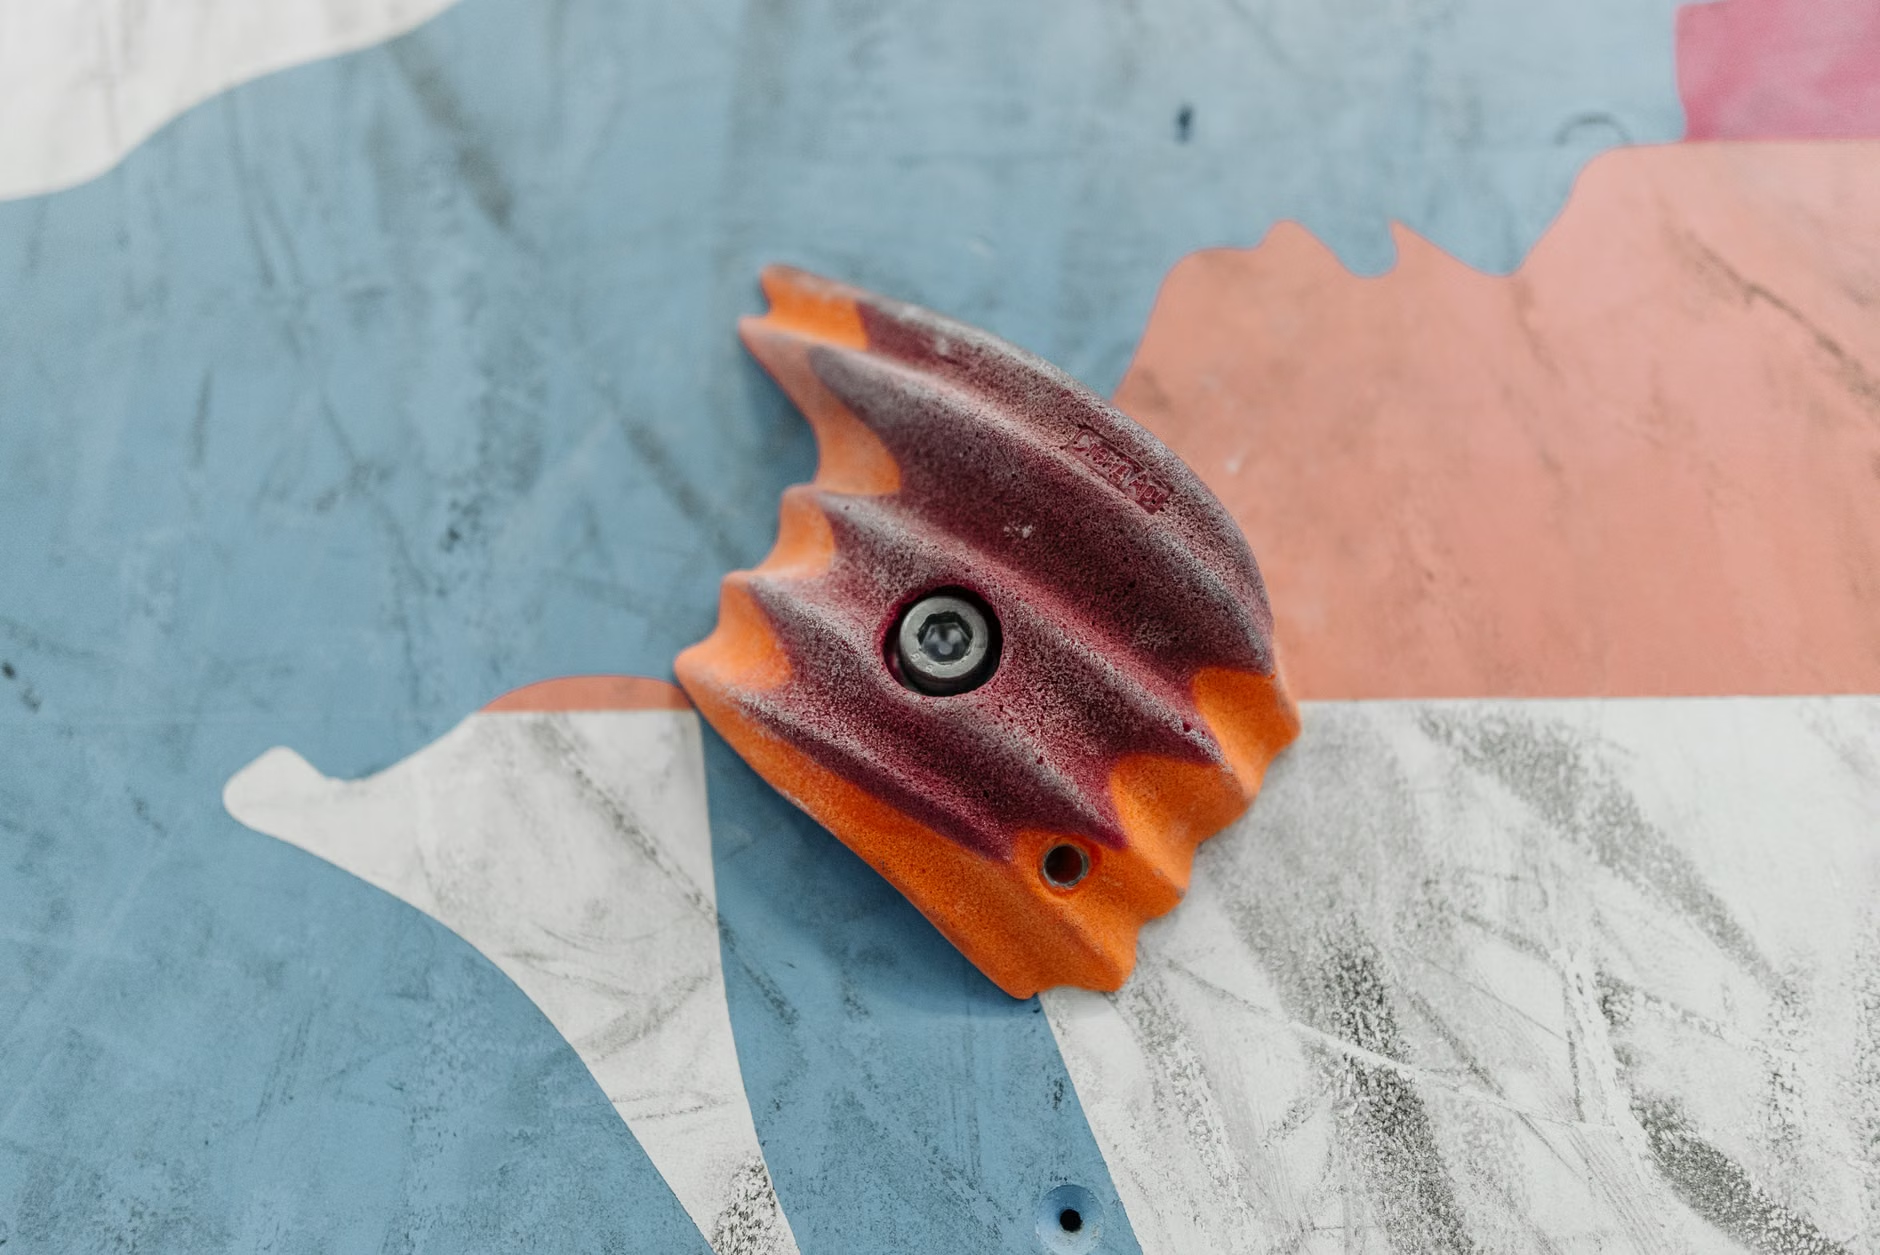
Not all climbing holds are created equal. For children, focus on “jugs”—large, deep holds that are easy for small hands to get a full grip on. Avoid “slopers” (holds with no positive edge) or “crimps” (tiny, sharp edges) until they are older and have developed the necessary tendon strength. Climbing is strenuous, and using the wrong holds can lead to finger injuries in young children whose growth plates are still developing.
When selecting materials, look for polyurethane holds. They are durable, have a consistent texture, and don’t chip like resin holds can. If you want to keep the wall looking “adult-appropriate,” choose neutral colors like slate grey, sand, or deep blue. These blend into a modern home interior much better than the “neon primary color” look often found in commercial play centers.
Long-Term Maintenance and Upkeep
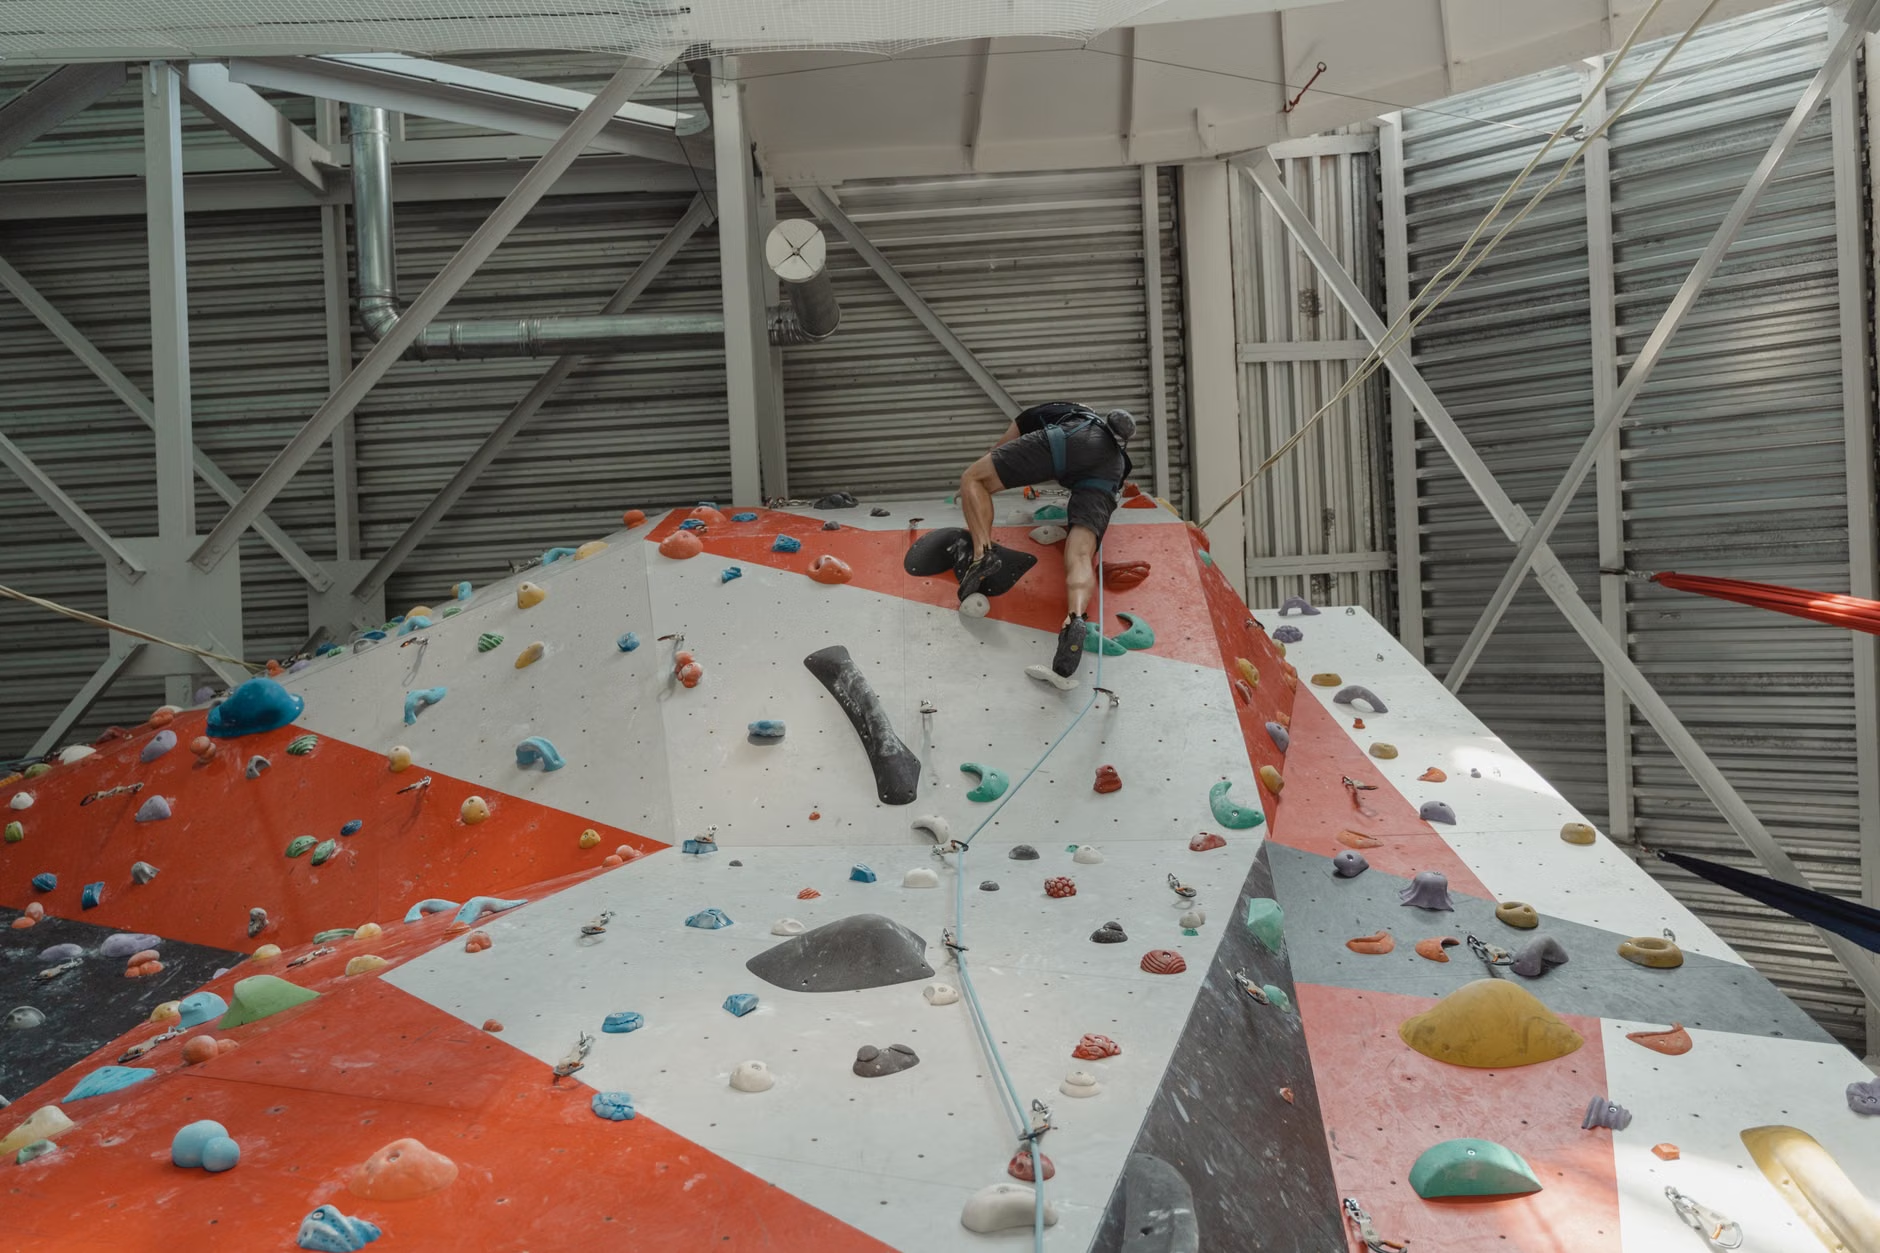
A home climbing wall isn’t a “set it and forget it” piece of furniture. Because people are constantly pulling on it, the bolts will loosen over time due to vibration and use. Make it a habit to check the tightness of every bolt once a month. A loose hold can spin when a child grabs it, which is the leading cause of “surprise falls.”
Also, clean the holds. Over time, they accumulate dust, skin oils, and sweat, which makes them slippery. Once every few months, wipe them down with a damp cloth and mild soap. If you notice a hold has become smooth or “polished,” it’s time to rotate it or replace it. A polished hold is a dangerous hold.
The Psychological Benefit: Why It Matters
Beyond the physical exercise, climbing is a fantastic tool for developing problem-solving skills in children. In the climbing world, we call these “problems”—the route from point A to point B is a puzzle that requires planning, balance, and focus. For parents, this is a great way to encourage “independent play.” When a child is on the wall, they are fully engaged in their own internal logic, which provides a valuable 15 to 20 minutes of quiet for you to finish that coffee or answer an email.
Remember that you don’t need to be a professional climber to set these problems. Use colored tape to mark “routes.” For example, “only use the blue holds to get to the top.” This simple rule changes a basic wall into a brain-teasing game that can be adjusted for difficulty as they get older.
Final Considerations for Your Home
If you are feeling overwhelmed by the DIY aspect, look for modular climbing systems. Several companies now offer pre-fabricated kits that include the panels, the hardware, and the engineered mounting systems. While these are more expensive than buying plywood from a hardware store, they are often safer and easier to install, and they come with the necessary safety certifications that a DIY build might lack.
Ultimately, a home climbing wall is an investment in your family’s health and your home’s functionality. By keeping the design narrow, focusing on structural integrity, and prioritizing high-quality, safe materials, you can create a space that is both visually appealing and genuinely useful. Don’t rush the planning phase; measure your space, check your studs, and ensure you have the required clearance before you buy your first hold.
For more detailed information on climbing safety standards and hardware requirements, you can consult the Climbing Business Journal for industry best practices on wall construction and safety maintenance.
Frequently Asked Questions
1. Can I build a climbing wall in a rental apartment without losing my deposit?
It is difficult but possible. You can build a free-standing, self-supporting frame that uses tension between the floor and ceiling (like a floor-to-ceiling shelving unit) to stay upright without needing to drill into the walls. However, this requires very precise engineering to ensure it doesn’t tip over. If you are not confident in your carpentry skills, it is safer to avoid wall-mounted projects in a rental.
2. At what age should a child start using a home climbing wall?
Most children can start on simple, low-height walls as soon as they have the coordination to walk and grasp items, usually around age 3 or 4. The key is to keep the “bouldering” height low—no more than 1 meter off the ground—and always use a thick crash pad. Supervision is mandatory for children under the age of 8.
3. How often do I need to tighten the climbing holds?
You should perform a “bolt check” at least once a month. Simply use the appropriate Allen key to ensure each bolt is snug against the hold. If a bolt feels like it’s spinning in the T-nut, do not use that hold until you have removed it to check if the T-nut behind the board has come loose or stripped the wood. Safety is always in the tension of the bolt.