The most effective way to build a sustainable wardrobe isn’t by buying more “eco-friendly” clothes, but by repairing the high-quality pieces you already own. Most garments are discarded not because they are worn out, but because of minor issues—a lost button, a snagged hem, or a tiny tear—that are easily fixed by someone with the right tools or expertise.
- Professional vs. DIY: Simple repairs like buttons or minor seams are easy DIY wins, while structural issues (zippers, lining, tailoring) require a professional to ensure longevity.
- The “Cost-per-Wear” Rule: If a repair costs 30% or less of the item’s original price and extends its life by a year, it is almost always a sound financial investment.
- Directory Reliability: Use specialized platforms like iFixit (for gear) or local directories like Repair Café to find verified professionals rather than relying on generic search engine ads.
Why We Have Forgotten How to Care for Our Clothes
In our 30s and 40s, we are often caught in a cycle of “convenience consumption.” We buy a shirt, it snags in the wash, and because the replacement cost is low, we toss it into a donation bin—or worse, the trash. This behavior is fueled by the rise of fast fashion, where clothing is designed for a short lifecycle rather than durability. But here is the reality: the environmental cost of that “cheap” shirt is hidden in water usage, chemical dyes, and the carbon footprint of global shipping.
Repairing your clothes is an act of defiance against this disposable culture. It is also, quite frankly, a way to save money in the long run. When you choose to mend, you keep your favorite pieces in rotation, avoiding the “I have nothing to wear” panic that leads to impulsive shopping. It is about shifting your mindset from seeing clothes as consumable goods to seeing them as long-term assets.
Assessing Whether an Item Is Worth Saving
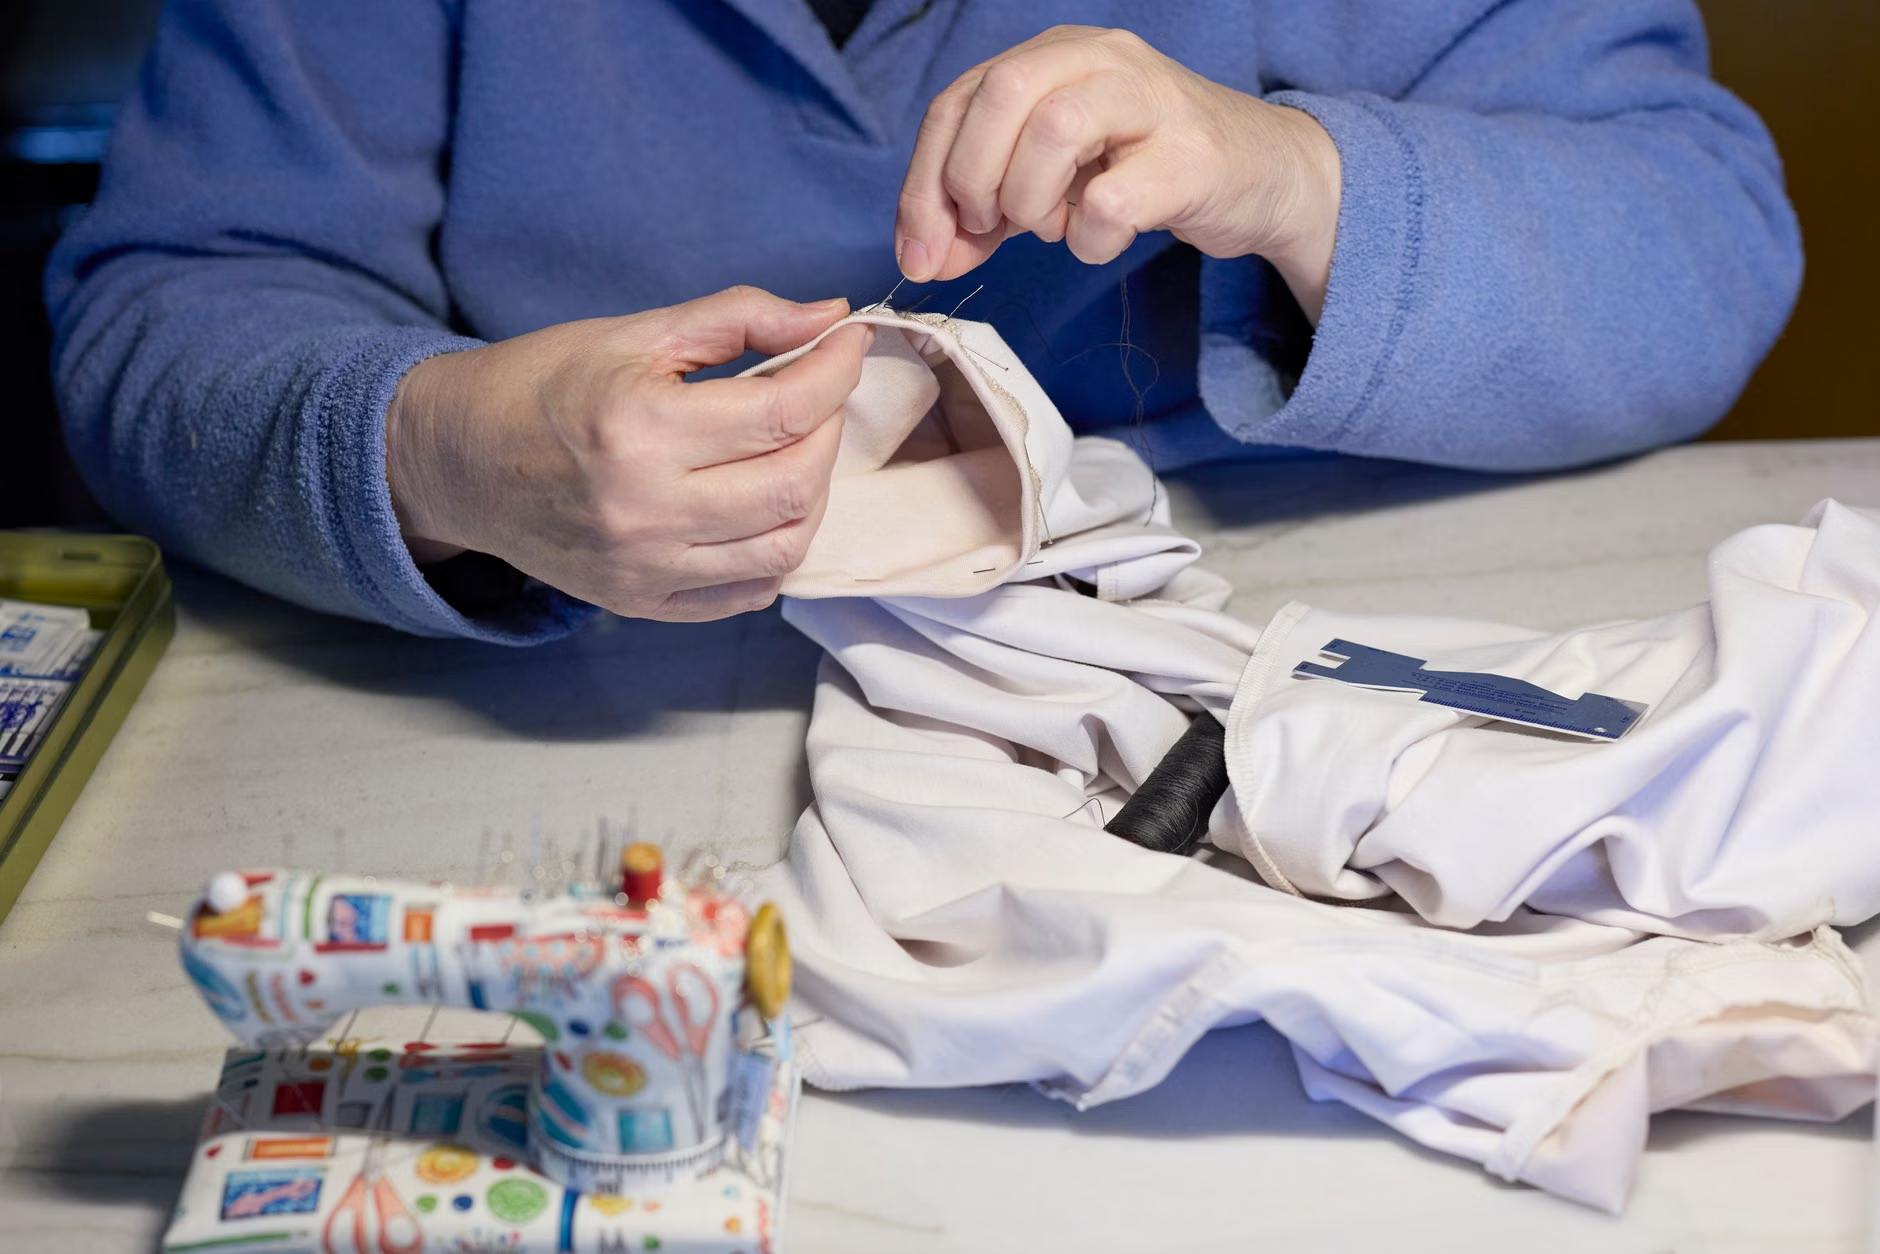
Not every piece of clothing is a candidate for repair. One of the most common mistakes people make is spending money to fix a garment that has reached the end of its structural integrity. To determine if an item is worth the effort, apply the “Material Integrity Test.”
1. Fabric Fatigue
If the fabric is thinning, pilling excessively, or has lost its elasticity (common in cheap synthetic blends), repairs will likely fail because the surrounding fabric cannot hold a stitch. If you pull the fabric gently and it feels brittle or tears easily, it is time to recycle the textile, not mend it.
2. The Cost-Benefit Threshold
Create a simple mental calculation: (Cost of Repair) ÷ (Original Price of Item) = Repair Ratio. If your ratio is under 0.3, it is a clear “yes.” If it is higher, consider the sentimental value. Is this a $50 mass-market shirt or a $200 high-quality linen piece? The higher the quality of the base material, the more sense it makes to invest in professional repair.
3. The Complexity Factor
Some repairs are simple, others are specialized. Use the table below to decide your next move.
| Repair Type | Difficulty | Recommended Action |
|---|---|---|
| Missing Button / Loose Hem | Low | DIY with a basic sewing kit. |
| Zipper Replacement | High | Professional tailor only. |
| Small Hole (Knits) | Medium | Learn basic darning; look for local workshops. |
| Resizing (Hemming/Waist) | Medium/High | Professional tailor for proper fit. |
How to Find Reliable Repair Services
Finding a good tailor or cobbler is like finding a good mechanic—once you find a reliable one, you hold onto them. Do not just pick the first shop that appears on a map search. Instead, look for these three indicators of quality:
1. Specialized Expertise: A general dry cleaner is not a tailor. A dry cleaner might be able to sew a button, but if you need a suit jacket taken in or a leather bag repaired, look for shops that specifically market themselves as “Alterations” or “Leather Restoration.”
2. The “Portfolio” Check: If you are looking to repair an expensive item, do not be afraid to ask, “Do you have experience with this specific fabric?” A tailor who works with delicate silk or heavy wool will have different tools and techniques than one who primarily handles simple denim hemming.
3. Community-Led Directories: Utilize platforms that vet their members. The Repair Café movement is a global network of volunteers who help people fix items for free, fostering community and skill-sharing. This is an excellent way to learn how to repair your own gear while meeting others in your local area. You can find your nearest location through the official Repair Café directory.
Mastering the Basics: Your Starter Kit
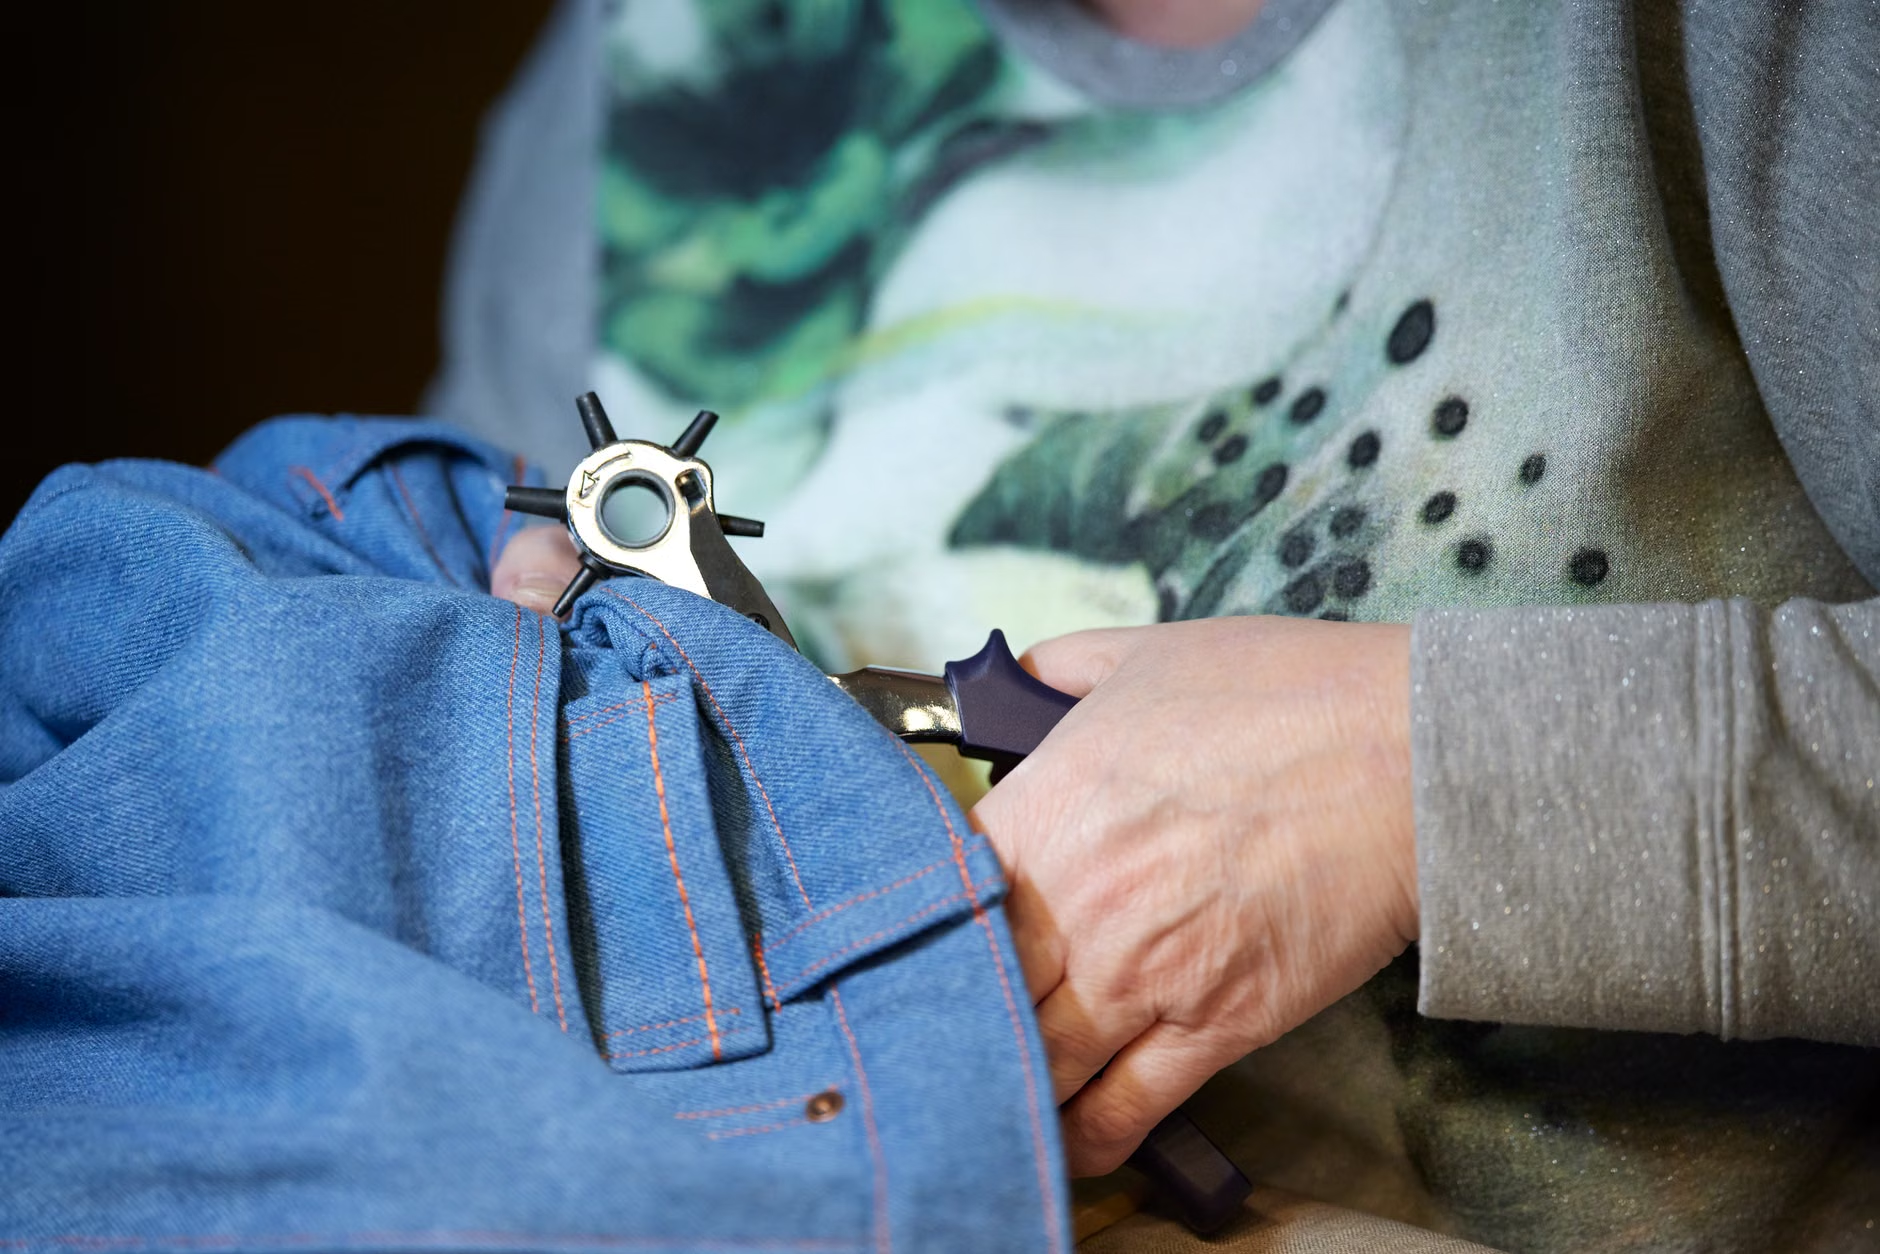
You do not need an industrial sewing machine to participate in slow fashion. Most repairs can be done by hand. A well-stocked “emergency” repair kit for your household should include:
- A variety of needles: Including sharps for woven fabrics and ball-point for knits.
- Quality thread: Keep a set of neutral colors (black, white, navy, grey). Invest in polyester-wrapped cotton for general repairs—it is stronger than pure cotton.
- Fabric scissors: Keep these dedicated to fabric only. Using them to cut paper will dull the blades immediately.
- A seam ripper: This is arguably the most important tool. It allows you to undo mistakes without damaging the fabric.
If you have children, you are likely already familiar with the “knee hole” phenomenon in denim. Instead of throwing these jeans away, consider visible mending. This is a technique where you use a contrasting thread or a colorful patch to turn the repair into a design feature. It is a creative way to extend the life of children’s clothing while teaching them about the value of maintenance over consumption.
Common Pitfalls and How to Avoid Them
Even with the best intentions, repairs can go wrong. Here are the three most common mistakes I see, and how to avoid them:
Mistake 1: Matching the Thread Color Poorly. If you cannot find the exact match, it is almost always better to choose a thread that is one shade darker than the fabric. A lighter thread will highlight the repair, whereas a darker thread will blend into the shadows of the fabric’s weave.
Mistake 2: Ignoring the Tension. When sewing by hand, people often pull the thread too tight, which causes the fabric to “pucker.” Always lay the garment flat and let the needle do the work. If you find the fabric bunching up, your tension is too high.
Mistake 3: The “Forever” Fix. Trying to repair a garment that is structurally failing in multiple places is a losing battle. If a pair of trousers has thinning fabric in the crotch, a fraying hem, and a broken zipper, it is a sign that the fabric has reached its end. Don’t be afraid to repurpose the fabric for smaller projects, like cleaning cloths or patches for other items, rather than trying to perform “heroic” repairs that won’t last.

The Hidden Costs of “New”
In our mid-life years, time becomes a more valuable currency than money. You might argue, “Isn’t it faster to just buy a new shirt?” In the short term, yes. But consider the “Replacement Loop.” Every time you buy a cheap replacement, you spend time researching, shopping, waiting for delivery, and then disposing of the old item. That cycle repeats every few months. By contrast, a high-quality repair on a well-made garment might take you 30 minutes, but it could add years to the item’s life.
Furthermore, there is a hidden cost to low-quality clothing: microplastics. Most inexpensive synthetic fabrics shed plastic fibers during every wash cycle. By keeping your natural-fiber garments in circulation longer, you are actively reducing the amount of microplastic pollution you contribute to the water system. This is an overlooked environmental impact that is directly linked to our wardrobe choices.
Advanced Tips for Long-Term Wardrobe Care
Repairing is only half the battle; the other half is maintenance. To reduce the frequency of needing repairs, follow these three rules:
- Wash Less, Air More: Unless an item is visibly stained or smells, it does not need a full wash. Airing out wool or heavy cotton garments outside or in a ventilated room can refresh them without the stress of the machine cycle.
- Use Mesh Bags: Always wash items with delicate details (laces, buttons, embroidery) in mesh laundry bags. This prevents the fabric from snagging on zippers or buttons of other garments in the load.
- The “Storage” Check: Moths and silverfish love neglected clothes. If you are storing seasonal items, ensure they are clean and stored in airtight containers. A repair is much easier than replacing an entire sweater eaten by moths.
Building a Sustainable Habit
The transition to a “repair-first” mindset doesn’t happen overnight. Start small. The next time you find a button hanging by a thread, don’t throw the shirt in the “to-be-donated” pile. Keep a small jar on your dresser specifically for these items. Once a month, dedicate an hour to address the jar. You will be surprised by how many pieces you “re-discover” once they are back in working order.
This isn’t about being perfect or becoming a professional seamstress. It is about taking ownership of the things we bring into our homes. By choosing to repair, you aren’t just saving a shirt; you are preserving the resources it took to create it and saving yourself the headache of constant replacement. It is a quiet, practical, and deeply satisfying way to live in a world that is constantly screaming at us to buy more.
If you feel overwhelmed by the task of repairing, look for local “Maker Spaces” or community centers. These often hold “mending Mondays” or similar events where people gather to share skills. You’ll find that the act of repairing is actually quite meditative—a rare, quiet moment in an otherwise busy life.
Frequently Asked Questions
1. How do I know if a tailor is good before I let them touch my expensive clothes?
Start small. Don’t bring your favorite blazer in for a full restructure on your first visit. Bring in a pair of trousers that need a simple hem. This allows you to evaluate their attention to detail, their speed, and their communication style without risking a high-stakes item. If the hem is clean, the thread matches, and the service was professional, you have found a reliable partner for your more complex needs.
2. Is “visible mending” appropriate for professional settings?
It depends on your workplace culture. If your environment is highly formal, stick to “invisible” mending—where the repair is color-matched and hidden. However, in most creative or modern professional settings, a neat, well-executed visible mend on a high-quality piece can actually be a conversation starter that signals your commitment to sustainability. Use your judgment: if it looks tidy, it is generally acceptable.
3. What should I do if I simply don’t have the time to learn or perform these repairs?
That is perfectly okay. The goal is to avoid waste, not to turn everyone into a tailor. If you don’t have the time, prioritize finding a local professional you can outsource these tasks to. Treat it as a recurring maintenance cost, much like taking your car in for an oil change. By budgeting for repairs, you are still supporting local businesses and keeping your wardrobe sustainable, even if you aren’t the one holding the needle.
Resources for further reading:
- Repair Café International – Find local community-led repair events.
- iFixit – While often focused on electronics, their guides on fabric and gear repair are excellent for DIY enthusiasts.
- Fashion Revolution – Comprehensive resources on the impact of the fashion industry and how to advocate for better practices.