The most effective way to foster a child’s connection to nature in a high-density urban environment is by converting your balcony into a dedicated “nature-play” zone, which requires prioritizing safety hardware over aesthetics to ensure long-term usability.
- Safety First: Structural integrity and height-appropriate mesh netting are non-negotiable; never rely on standard railings for child safety.
- Verticality is Everything: Using wall-mounted planters and vertical storage recovers 70% of floor space, allowing room for active play.
- Sensory vs. Messy Play: Choose materials like river stones, dried moss, and durable herbs to minimize cleanup while maximizing tactile development.
If you live in a mid-rise or high-rise apartment, you know the specific frustration of “nature starvation.” Your kids are indoors, the local park is a ten-minute walk away, and your balcony is currently serving as a graveyard for empty delivery boxes and a dying succulent. You want to give them the benefits of outdoor play—sensory exploration, fresh air, and an understanding of growth—without needing a backyard.
Transforming a balcony isn’t about creating an Instagram-perfect garden; it’s about creating a functional, safe, and engaging environment. It requires a shift in mindset: the balcony is no longer a storage unit; it is an extension of your child’s playroom.
Establishing the Safety Foundation: Why Railings Are Never Enough
Before you buy a single plant or toy, you must address the structural reality of your balcony. For parents in their 30s and 40s, the “look” of a space often takes a backseat to the reality of a toddler or a curious primary-schooler. Most standard balcony railings are designed for adults. They have wide gaps, horizontal bars that act as climbing ladders, and heights that may not meet modern safety standards for curious children.
The “Climbability” Audit: Walk onto your balcony and look for any “toe-holds.” Horizontal bars are dangerous because children instinctively use them to climb. If you have horizontal slats, you must cover them with a rigid material like polycarbonate sheets or high-density, weather-resistant mesh.
Choosing the Right Netting: Do not use basic garden netting. You need high-tensile, UV-stabilized, weather-proof balcony netting specifically designed for fall protection. When installing, ensure the tension is sufficient so that it cannot be pulled away from the railing. A common mistake is using zip ties that degrade under the sun; instead, opt for heavy-duty, stainless steel cable ties or professional-grade fasteners.
The Weight Factor: Before you fill your balcony with heavy ceramic pots and soil, check your building’s structural load capacity. Most modern balconies are designed to hold significant weight, but if you are in an older building, consult your strata or landlord’s building manual. A rule of thumb: use lightweight, high-quality plastic or fabric grow-bags rather than heavy terracotta or stone planters. This reduces the dead load by up to 50% while allowing for larger planting volumes.
Designing for Growth: The Vertical Play Strategy
In a small space, every square centimeter counts. When you occupy the floor with pots, you lose the ability for your child to move, sit, or engage in play. The solution is to think vertically.
Vertical Gardening Frameworks: Use wall-mounted pocket planters or a tiered shelving system. When selecting plants, focus on “resilience and sensory value.” Avoid thorny plants like cacti or toxic species. Instead, choose:
- Mint and Lemon Balm: Highly aromatic, sturdy, and near-impossible to kill.
- Cherry Tomatoes: Provide a “harvest” experience, which is crucial for teaching children about food sources.
- Nasturtiums: Edible flowers that grow quickly and provide vibrant visual interest.
The “Play-Zone” Layout: Divide your balcony into two distinct zones: the “Active/Messy” zone and the “Observation” zone. The Active zone should contain your sensory bins, while the Observation zone holds the plants. By keeping the soil-heavy planting away from the main seating/play area, you drastically reduce the amount of dirt tracked back into your home.
Integrating Sensory Play Without the Mess
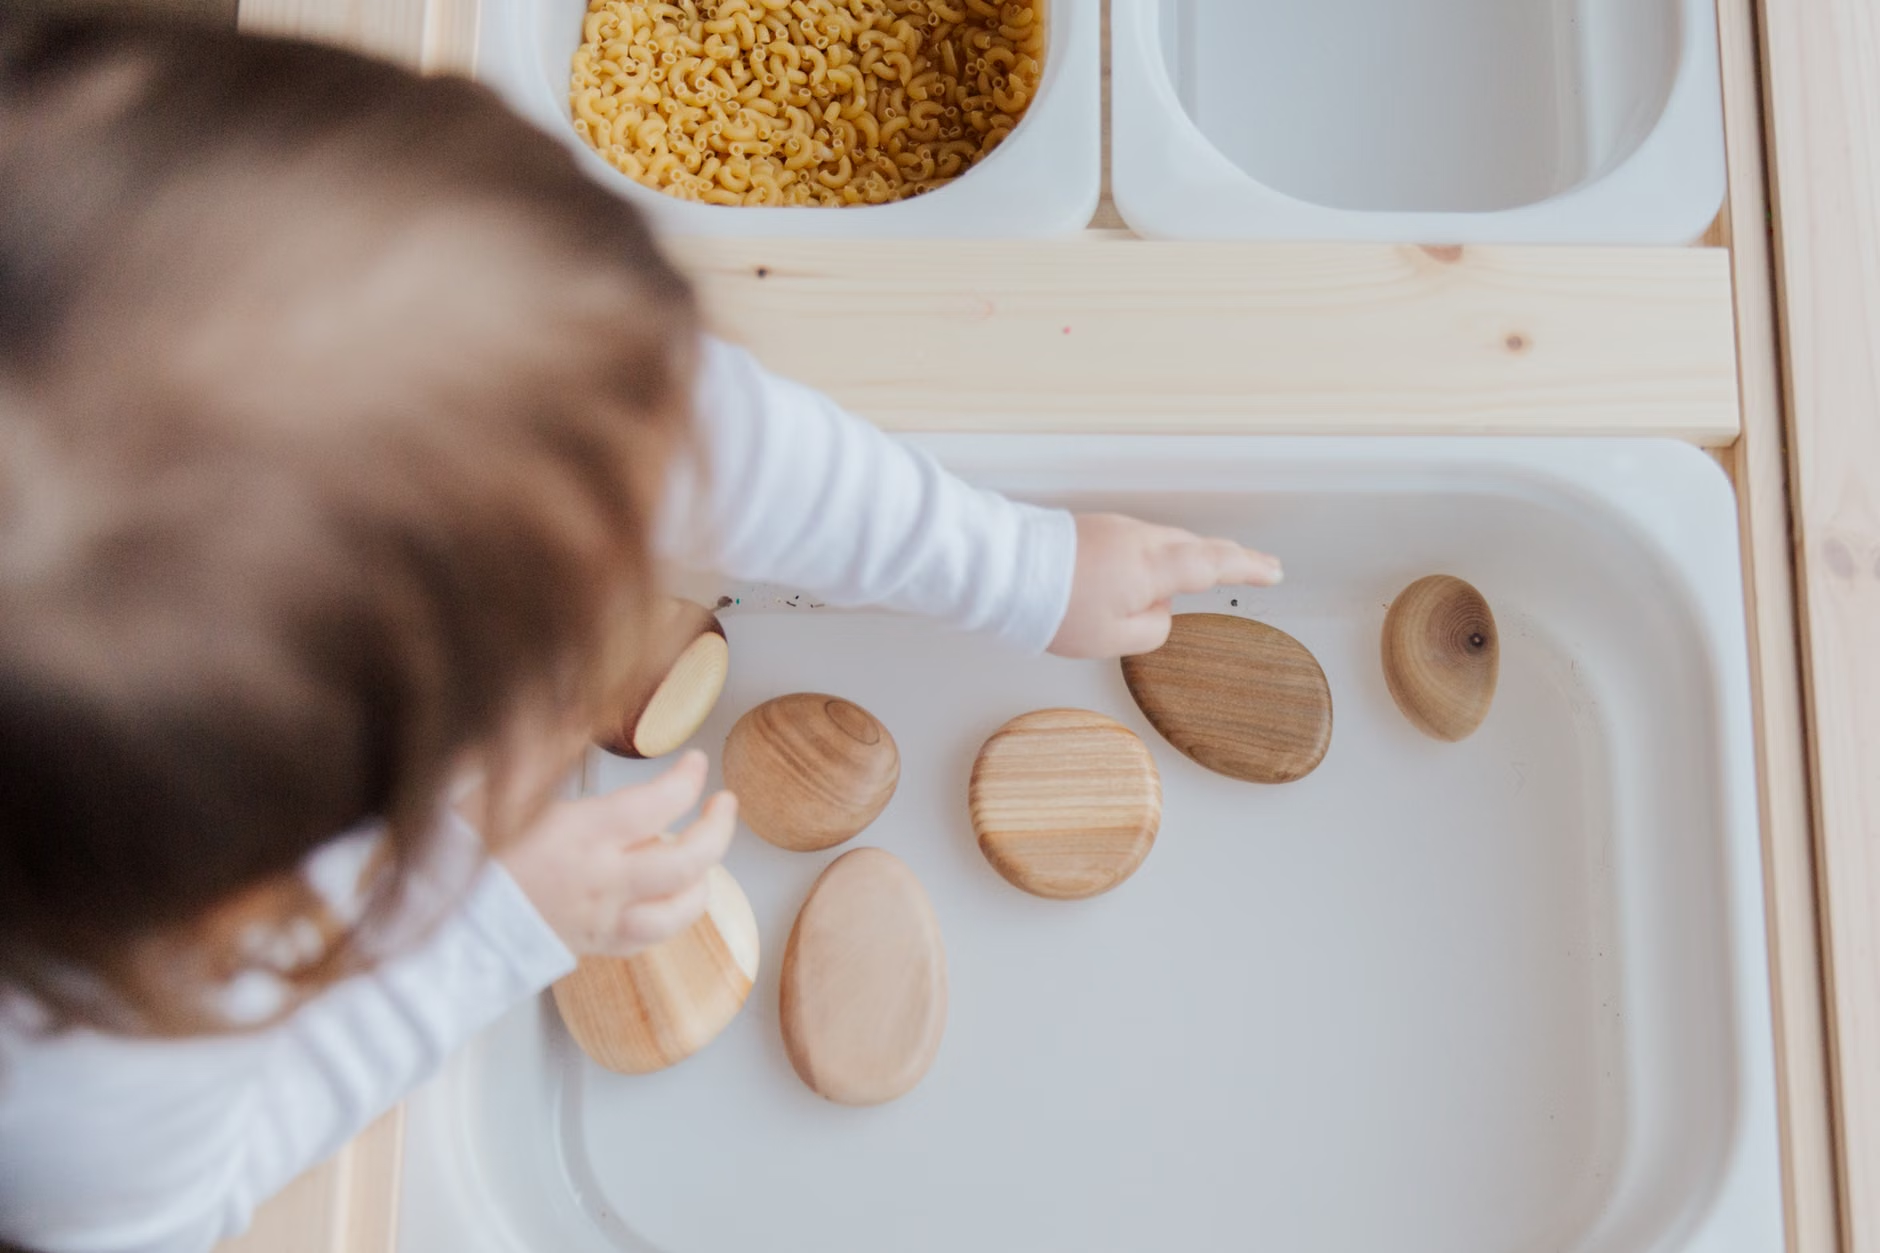
Sensory play is a developmental necessity, but it’s often avoided because of the cleanup. On a balcony, the key is using “contained loose parts.” Instead of loose soil, which creates mud and mess, use a large, shallow wooden bin filled with natural, tactile materials.
What to Put in Your Sensory Bin:
| Material | Purpose | Maintenance |
|---|---|---|
| River Stones | Weight and texture perception | Easy to rinse with a hose |
| Dried Pinecones | Visual and tactile complexity | Shake off dust occasionally |
| Smooth Driftwood | Construction and imaginative play | Requires zero maintenance |
| Dried Moss/Lichens | Soft, organic feel | Keep dry to prevent mold |
The Decision Rule for Materials: If it requires constant watering or creates dust when dry, it’s not suitable for an urban balcony. Focus on materials that are “weather-neutral.” If you live in a high-wind area, avoid light materials like feathers or dry leaves that will blow off the balcony and become a nuisance to neighbors below.
Managing the Climate: Why Your Balcony is a Micro-Environment
Urban balconies are notoriously difficult for plants because of the “heat island” effect. Concrete absorbs heat during the day and radiates it at night, which can cook delicate root systems. As a parent, you want this project to succeed, not become a source of frustration because everything you plant dies within two weeks.
The Wind Factor: High-rise balconies often experience higher wind speeds than ground-level gardens. This causes rapid transpiration (the plant loses water through its leaves). If you are on a high floor, focus on wind-tolerant species like grasses or hardy shrubs. Avoid broad-leafed plants that will tear in the wind.
Watering Systems: You will likely forget to water the plants during a busy week. Install a simple, gravity-fed drip irrigation system or self-watering pots. A gravity-fed system can be set up with a simple water reservoir connected to small tubes that feed each pot. This removes the “daily chore” aspect and turns the balcony into a low-maintenance, self-sustaining system.
Common Mistake: Many parents try to recreate a “jungle” look. In a small space, this creates a claustrophobic environment that traps humidity and encourages pests. Instead, go for a “sparse and curated” look. Fewer, healthier plants are better for your child’s development than a crowded, dying collection of greenery.
The Educational Value: Beyond Just “Playing Outside”
Why go through all this effort? It’s not just to give the kids somewhere to stand. A nature-play balcony allows you to introduce concepts of biology, life cycles, and stewardship in a way that feels like play rather than a classroom lesson.
Life Cycle Observation: Encourage your child to document what they see. If you plant flowers, they will attract pollinators. Watching a bee or a butterfly visit your balcony is a “wow” moment for a four-year-old. It bridges the gap between the concrete city and the biological world.
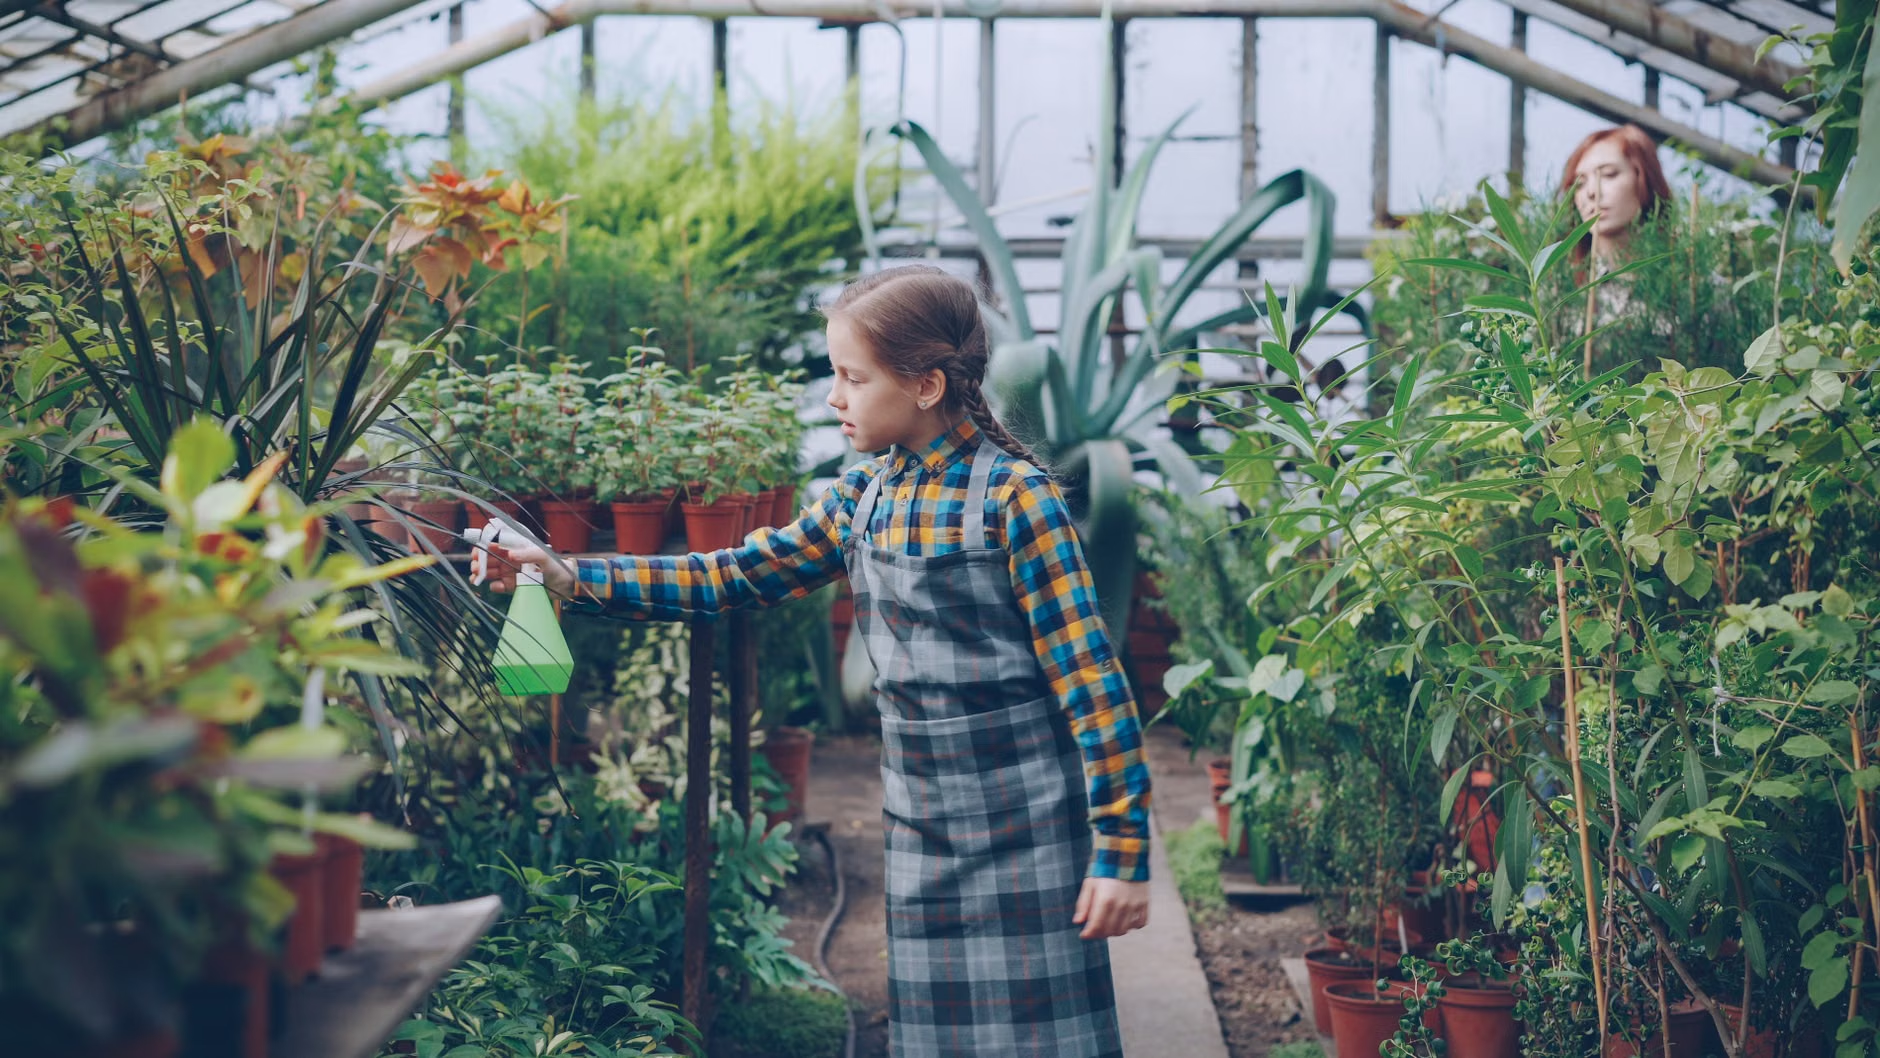
The Responsibility Loop: Give your child a specific, age-appropriate task. A 3-year-old can use a spray bottle to mist the leaves. A 7-year-old can be responsible for checking the soil moisture. This builds a sense of agency. When the plant grows, they feel a sense of accomplishment because they contributed to that growth.
Implementation Framework: A 4-Week Plan
Don’t try to finish this in a weekend. You will get overwhelmed and spend too much money. Follow this phased approach:
Week 1: Safety & Clearing. Empty the balcony. Install your safety netting. This is the “boring” part, but it’s the most important. If you don’t do this, you won’t use the space with peace of mind.
Week 2: Zoning & Furniture. Decide where the play happens and where the plants grow. Buy your vertical planters and your sensory bin. Keep the floor clear for now.
Week 3: Planting. Start with hardy, low-maintenance plants. Don’t buy expensive, delicate nursery plants. Go for local, native species if possible, as they are naturally adapted to your local climate and require less water and fertilizer.
Week 4: The Play Setup. Introduce the “loose parts” (stones, wood, etc.). Show your child how to use the space. Set the rules: “The plants are for looking and touching gently; the bin is for moving things around.”
Addressing Hidden Costs and Common Misconceptions
People often think an urban balcony garden will save money on food. Let’s be realistic: a few cherry tomato plants will not replace your grocery bill. If you are doing this solely for financial gain, you will be disappointed. The return on investment here is not monetary; it is developmental.
The “Hidden” Cost of Maintenance: You will have to deal with insects. If you bring plants onto your balcony, you will eventually get aphids or gnats. This is part of the “nature” experience. Avoid using harsh chemical pesticides, as your child will be in close proximity to these plants. Use neem oil or simple soap-and-water solutions. This is also a teaching moment—show your child how to manage pests naturally.
The Trade-Off: You will lose some storage space. If your balcony is currently holding your bicycle, your seasonal decorations, and your recycling bins, you have to decide what is more valuable: the extra storage or the child’s play area. In most urban apartments, the “storage creep” is the biggest barrier to creating a livable balcony. Be ruthless. If you haven’t used it in six months, it doesn’t belong on your balcony.
Final Thoughts: Creating a Consistent Habit
The success of your nature-play balcony doesn’t depend on how beautiful it looks on day one. It depends on how consistently you and your child interact with it. If it’s just a “decor piece,” it will eventually become a dumping ground for clutter again. It needs to be a “living” space.
Make it a part of your daily routine. Perhaps it’s “morning water time” before heading to school, or “evening observation” before dinner. By integrating the balcony into your daily rhythm, you ensure that the effort you put into the setup continues to pay off in the long run. Start small, prioritize safety, and let the space grow alongside your child.
Frequently Asked Questions
Q: My building has strict rules about balcony modifications. How can I create a nature-play area without drilling or permanent changes?
A: Focus on “freestanding” solutions. Use heavy-duty, weighted planters that don’t need to be bolted to the floor. Use tension-rod shelving systems (which press against the floor and ceiling) for your vertical garden. For safety, use netting that clips onto the existing railings without requiring drilling into the building’s facade.
Q: How do I prevent the sensory bin materials from blowing away or making a mess?
A: Choose heavier materials like smooth river stones or large pieces of wood rather than sand or fine dirt. If you must use soil, use a deep, walled container with a lip to prevent spillover. Always keep the sensory bin away from the edge of the balcony railing to ensure that even if a child throws a handful, it stays on the balcony floor.
Q: What if I have a very small, shaded balcony? Will this still work?
A: Absolutely. Many plants, such as ferns, hostas, and certain herbs like parsley and mint, thrive in shade. Nature play isn’t dependent on full sun; it’s dependent on the presence of living things. Focus on textures and shades of green rather than bright flowers, and you can create a “forest-floor” style sensory zone that is actually more relaxing than a sun-drenched, high-maintenance garden.
For more information on balcony safety standards, check your local building codes or the National Fire Protection Association (NFPA) for guidance on balcony materials and fire safety, as these are critical for high-density urban living.