Hello to all dedicated parents out there! This is SoCooly. 👋
Once a baby arrives, there are countless tasks that demand our constant attention, and bottle cleaning and sterilization often feel like a never-ending chore. Since the bottles touch our baby’s mouth directly, it’s natural to worry about hygiene. For newborns, whose immune systems are still developing, proper bottle management is the foundation of good health.
I vividly remember those early days, searching late into the night, wondering, ‘Am I doing this right?’ As a fellow parent, I want to provide a crystal-clear guide covering everything about bottle hygiene. This article aims to be the one-stop resource to end all your bottle-cleaning concerns!
🍼 Why is Bottle Management So Crucial?
Newborns have immature immune systems. Tiny residue from formula or milk, combined with saliva left in the bottle, creates an ideal environment for bacteria to multiply. Improperly managed bottles can lead to issues like oral thrush (fungal infection), gastroenteritis, and diarrhea. Therefore, thorough cleaning and sterilization are absolutely essential.
The process focuses on 2 core things:
- Residue Removal (Cleaning): Thoroughly washing away protein and fat residues from milk or formula, which are a food source for bacteria.
- Germ Elimination (Sterilization): Completely eradicating harmful, invisible microorganisms.
🫧 3-Step Roadmap to Perfect Bottle Cleaning
When washing bottles, you must go beyond a simple rinse and adhere to a few important steps.
Step 1. Clean Immediately After Use
This is the most critical and basic tip! If you leave used bottles in the sink, residues will dry and bacteria will start multiplying rapidly.
- Discard Contents: Pour any leftover formula or milk down the drain right away.
- Pre-Rinse with Cold Water: Rinse the inside of the bottle lightly under running cold water to remove the initial formula residue. Using warm water for the pre-rinse can cause milk proteins to coagulate and stick more firmly to the bottle, so always pre-rinse with cold water.
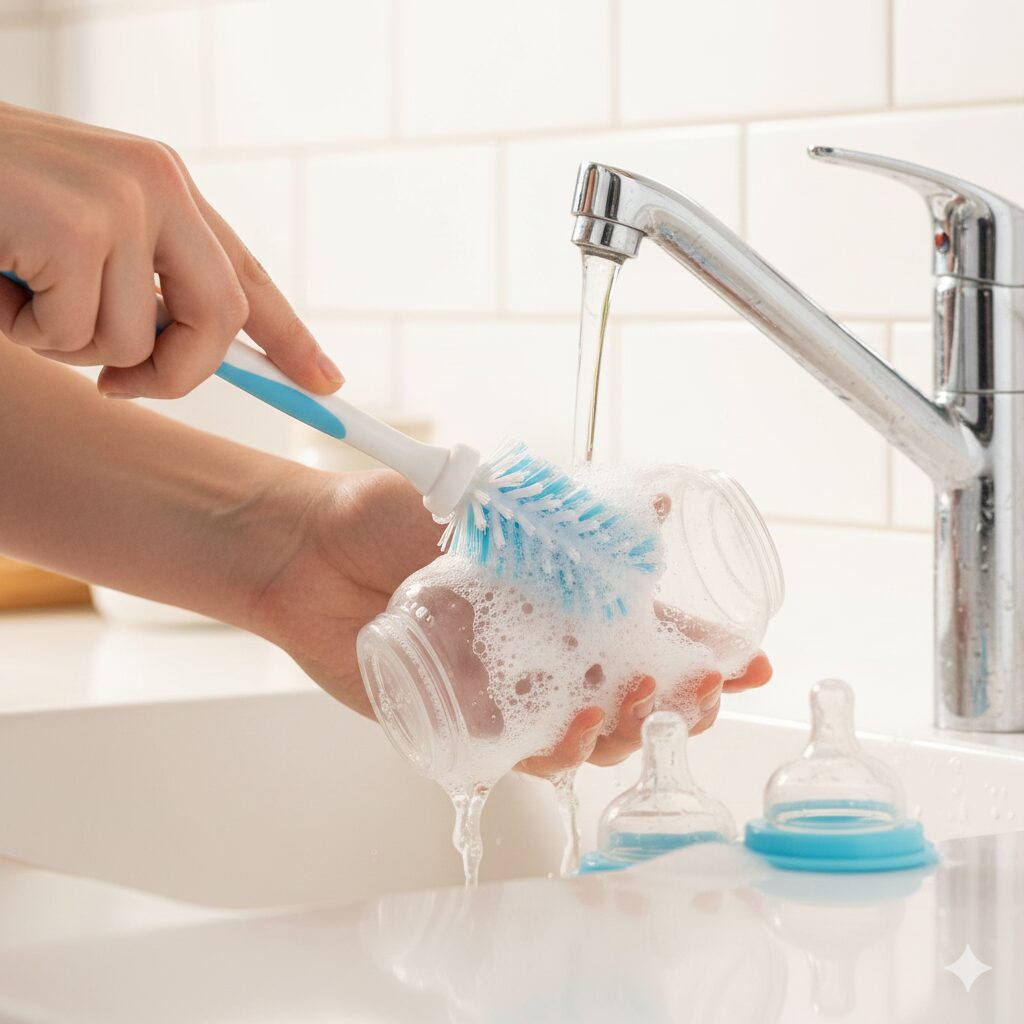
Step 2. Disassemble and Wash with Specialty Detergent
Bottles consist of multiple parts—nipple, cap, ring, and body—and each needs careful attention.
- Disassemble: Fully separate all bottle components.
- Detergent Choice: You must use a baby bottle specialized detergent. Regular dish soap may contain ingredients that could be irritating to infants. Look for products with food additives or plant-derived surfactants for safety.
- Cleaning Tools:
- Bottle Brush: Used to clean the main body. Silicone or sponge brushes are ideal to prevent scratching.
- Nipple Brush/Cleaner: Essential for meticulously scrubbing the inside and the small holes of the nipple. Neglecting this area can lead to lingering smells and residue buildup.
- Washing Method: Create enough lather and use the brush to scrub every corner: the bottom of the bottle, the screw threads, and the crevices of the nipple.
Step 3. Rinse Thoroughly with Clean Water
Detergent residue is harmful to the baby, so rinse the bottle under running water until all suds are completely gone. Dedicate as much time to rinsing as you do to scrubbing.
🔥 Bottle Sterilization: Boiling vs. UV Sterilizer
After cleaning, it’s time for sterilization. The appropriate method depends on the bottle’s material.
| Method | Boiling Sterilization | Bottle Sterilizer (UV/Steam) |
| Pros | Powerful germ-killing effect, low cost | Convenient and fast, includes storage function |
| Cons | Potential bottle damage, burn risk, time-consuming | UV-C light might not reach all surfaces |
| Suitable Materials | Glass bottles, silicone nipples | All materials (Plastic: PP, PPSU, Glass, Silicone) |
1. Boiling Sterilization (Heat Method)
The traditional method that reliably kills germs.
- Preparation: A large pot, tongs.
- Method:
- Fill a pot with enough water and bring it to a boil.
- Bottle Bodies: Glass bottles can be placed in from the start. Plastic bottles (PP, PPSU) should be added after the water has reached a rolling boil and the heat has been turned off or reduced to low to prevent warping.
- Nipples and Caps: These are more heat-sensitive, so it’s best to use the residual heat after turning off the stove to sterilize them briefly.
- Duration: Sterilize briefly for 30 seconds to a maximum of 3 minutes, then remove immediately. Boiling for too long can potentially release harmful chemicals and definitely warp the plastic.
- Caution: Ensure the bottles do not directly touch the bottom of the pot, as they can melt or be damaged. Use tongs to move them around or use a sterilizing rack.
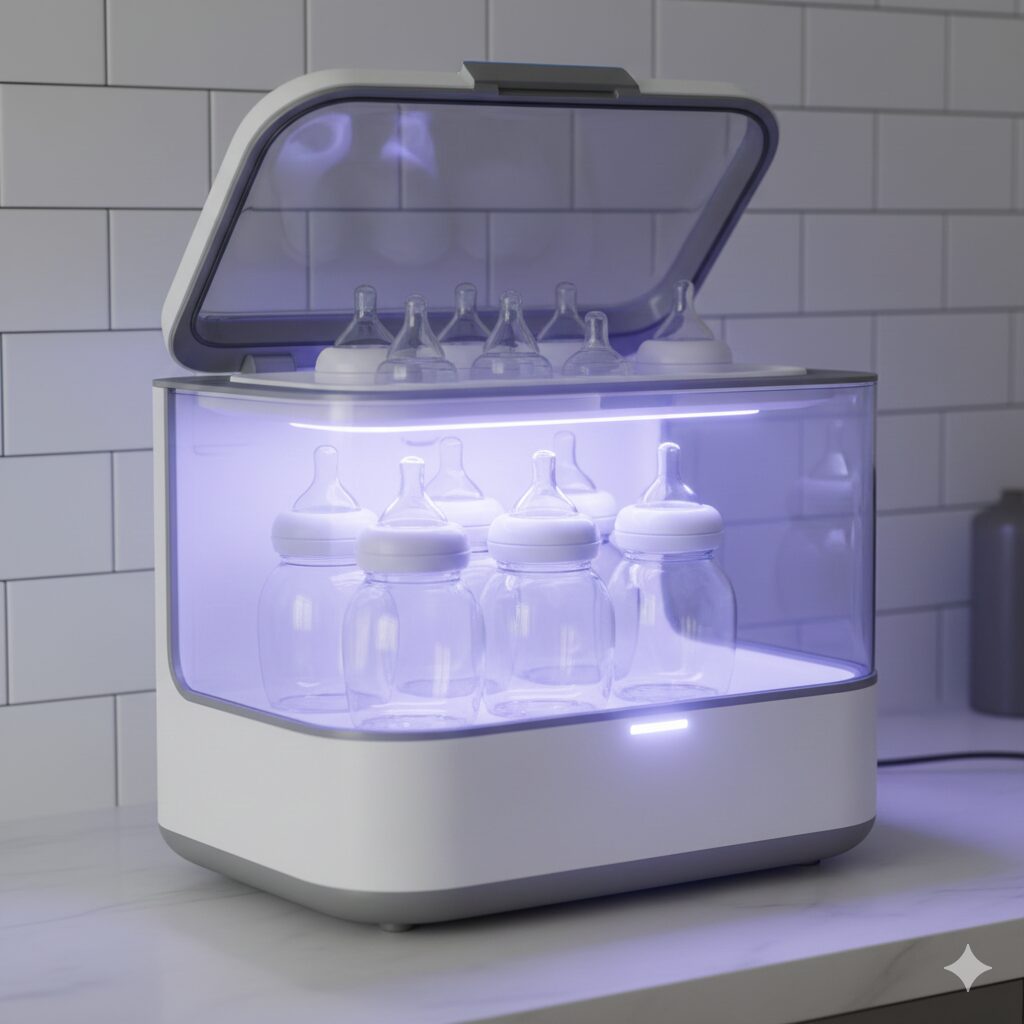
2. Bottle Sterilizer (UV Sterilization)
A modern essential! While quick and convenient, remember that UV light needs to reach the surface to be effective.
- Method: After cleaning, shake off excess water and place the bottles with the opening facing down. Ensure bottles are not overlapping so the UV light reaches all surfaces evenly.
- Caution: UV sterilization can potentially shorten the lifespan of plastic and cause discoloration over time. Follow the manufacturer’s recommended usage guidelines.
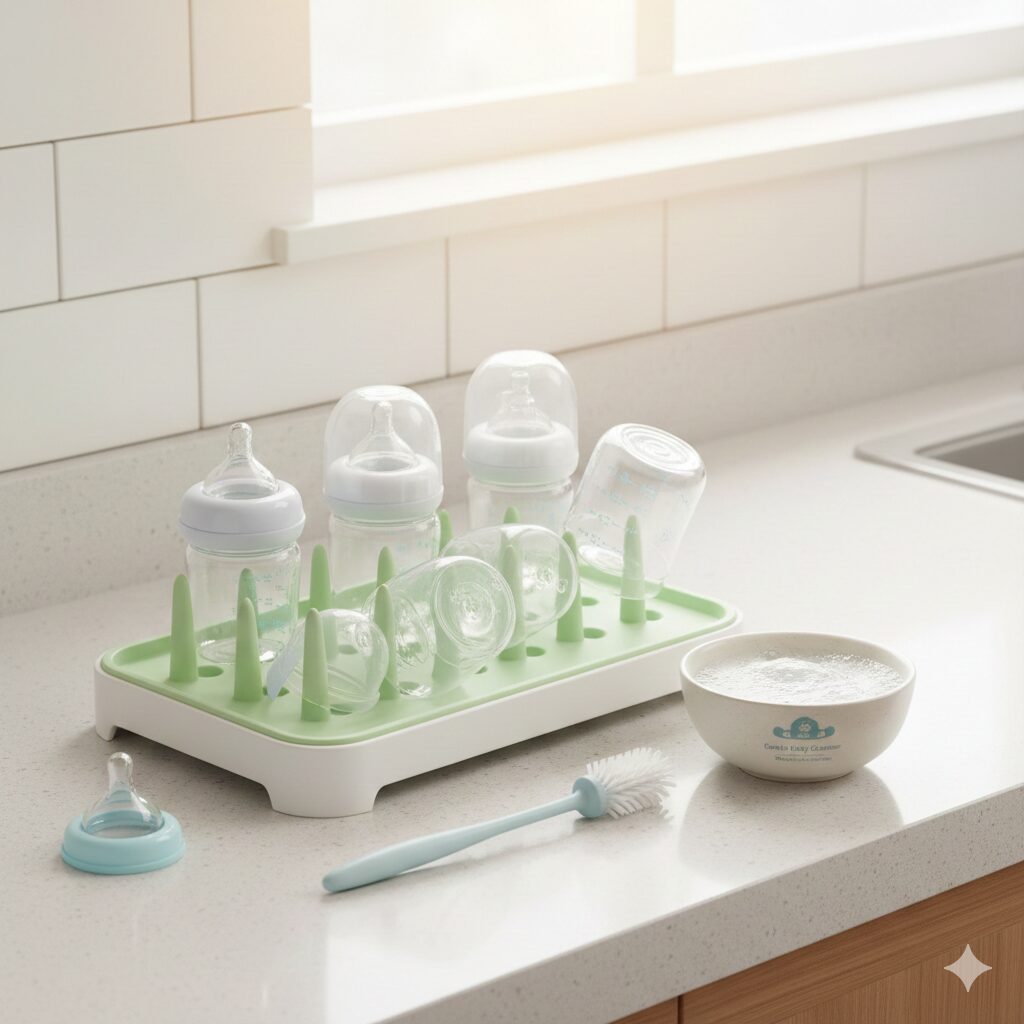
- Drying: Use the built-in drying function if available. If not, air-dry on a dedicated drying rack, upside down. Any remaining moisture can become a breeding ground for bacteria again.
🌡️ Safe Preparation and Storage Standards for Infant Formula
The proper hygiene of the formula itself is just as important as keeping the bottles clean.
1. Precautions During Formula Preparation
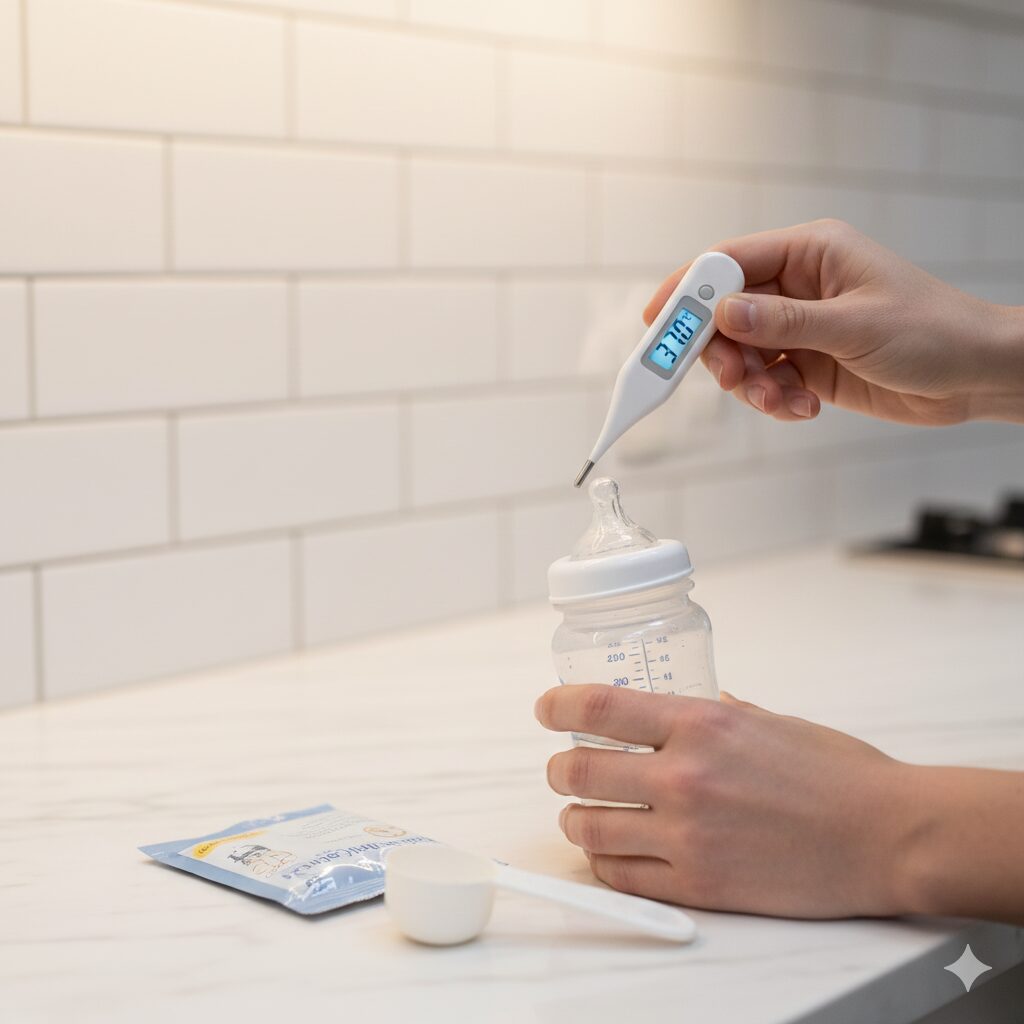
- Water Temperature: The WHO recommends using water at or above 70°C (158°F) to sterilize any potential bacteria within the powdered formula itself. (However, many domestic formula manufacturers recommend using lukewarm water around 40-50°C, so always adhere to the specific instructions on your formula container.)
- Cooling: If you use 70°C water, you must cool the formula down to a feeding temperature of around 37°C (98.6°F) before giving it to the baby.
- Preparing Formula in Advance: This is strongly discouraged. Bacteria begin to multiply immediately after the formula is mixed. If absolutely unavoidable, the formula should be consumed within 2 hours. If more time passes, discard it. If refrigerated, it should not be kept longer than 24 hours.
2. Formula Storage
- Opened Can: Keep the lid tightly closed and store the opened can in a cool, dry place. Never store it in the refrigerator! (Moisture inside the fridge can compromise the powder.)
- Duration After Opening: Adhere strictly to the “use by” date printed on the container after opening (usually within 3 weeks).
📅 When Should You Replace Nipples and Bottles?
No matter how well you clean them, bottles and nipples are consumables that need to be replaced periodically.
| Item | Material | General Recommended Replacement Period | Signs You Need to Replace |
| Nipple | Silicone/Latex | 2–3 months | Color change, tearing, loss of elasticity, hole expansion, stickiness |
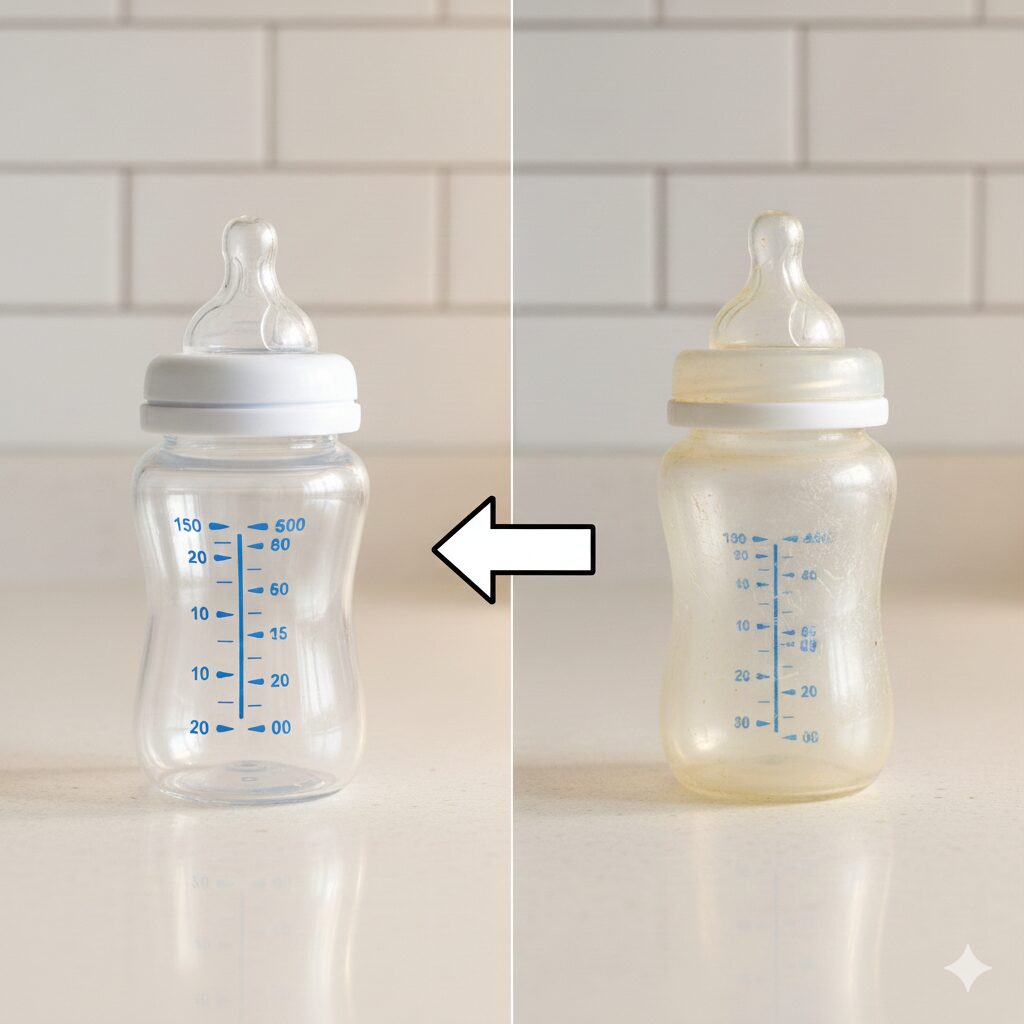
| Bottle Body | Plastic (PP/PPSU) | PP: 3–6 months / PPSU: 6 months – 1 year | Scratches, discoloration (yellowing), cloudiness, odor retention |
| Bottle Body | Glass | Can be used indefinitely | Immediate replacement if cracked or broken |
- Nipple Replacement: The nipple experiences the most friction and stress from the baby sucking. Minor damage can harbor germs, and reduced elasticity can affect the baby’s oral development. Stick to a 2–3 month replacement cycle.
- Plastic Bottle Replacement: As plastic material is used, tiny scratches accumulate. These scratches can trap formula residue and bacteria. While PPSU (Polyphenylsulfone) is durable, PP (Polypropylene) should be replaced more quickly.
- Material Differences: PPSU has excellent heat resistance and durability, making it usable for longer. PP is less heat-tolerant and more prone to warping. Always check the material indication on the bottom of your bottle.
✨ Conclusion: Clean Bottles Mean Happy Babies
We’ve thoroughly covered newborn bottle cleaning, sterilization, and formula storage. Raising a child is exhausting, but this seemingly minor aspect of hygiene management is the strongest shield protecting your baby’s health.
Though bottle washing can feel tedious and tiring, remember the rewarding sight of your baby happily and healthily drinking from a clean bottle. I hope you find the strength to keep going today! If you have any further questions about bottle care, never hesitate to ask fellow parents or seek professional advice.
We are all rooting for you to be a strong, successful parent in ensuring your baby’s healthy growth!
[Reference Websites]
- World Health Organization (WHO) – Guidelines for Formula Preparation: https://www.who.int/ (Search: “Preparation and Storage of Powdered Infant Formula”)
- U.S. Centers for Disease Control and Prevention (CDC) – Infant Formula Preparation and Storage: https://www.cdc.gov/ (Search: “Infant Formula Preparation”)