Are you starting to feel that familiar pressure: “It’s time my little one started potty training”? The journey of ditching diapers is one of the major milestones in early childhood, and it can feel like a daunting task for both the child and the parents. You might hear stories about other children graduating early, leading to feelings of rush or anxiety. However, it’s crucial to remember that potty training is a deeply personal and pivotal developmental process where your child learns to recognize and control their bodily functions independently.
Starting too early or pushing too hard based on parental anxiety can introduce unnecessary stress. Instead, our goal is to identify the optimal time for your child and employ a positive, low-stress strategy for a successful transition from diapers to undies. As a fellow parent, let’s explore the best ways to navigate this exciting chapter together.
🤔 When is the Right Time to Start Potty Training? (Readiness Checklist)
The question “when” is perhaps the most common one. While the typical window is between 18 and 36 months, your child’s physical and psychological readiness is far more important than their chronological age. Recognizing your child’s “signals” is the true foundation for a smooth start.
👶 Physical Readiness Signals
- 1 – Longer Dry Periods: The diaper remains dry for 2 to 3 hours or more at a time, or remains dry after naps. (A sign of developing bladder control.)
- 2 – Predictable Bowel Movements: The child has bowel movements at roughly the same time each day.
- 3 – Motor Skills for Dressing: The child can pull their pants/underpants up and down with minimal assistance.
- 4 – Interest in the Bathroom: They show curiosity about the toilet, the potty, or when parents/siblings use the bathroom.
🧠 Psychological/Cognitive Readiness Signals
- 5 – Awareness of Elimination: They can verbally or physically communicate that they are peeing or pooping, or that they need to go (e.g., saying “pee-pee,” holding their crotch).
- 6 – Expressing Discomfort: They show clear signs of dislike (fussing, tugging at the diaper) when their diaper is wet or soiled.
- 7 – Desire to Mimic: They want to copy the actions of older siblings or parents in the bathroom.
- 8 – Expressing Independence: They show a strong desire to do things “by myself.”
💡 [Note] Experts suggest that when a child consistently displays at least 4 to 5 of these signals, it’s a good time to gently introduce the idea of potty training. Don’t rush; follow your child’s unique pace.

🚽 Step-by-Step Strategy: The Stress-Free Guide to Diaper Graduation
Once you feel readiness has been established, it’s time for action. Instead of expecting immediate change, focus on building small, positive successes to help your child adapt to this new routine.
Phase 1: ‘Exploration and Familiarization’ (Befriending the Potty/Toilet)
- Potty Selection and Placement: Choose a comfortable potty chair that allows your child’s feet to rest on the floor for stability. Place it in a high-traffic area, like a play area, to help them view it as a normal, non-threatening piece of furniture.
- Sitting Fully Dressed: Initially, encourage them to sit on the potty while fully dressed, perhaps while reading a book or singing. The goal is to create a positive association, not a demand.
- Positive Stories: Read books about potty training or demonstrate with a doll how to use the potty to build a positive and engaging narrative around the process.
Phase 2: ‘Active Attempts’ (Timing and Encouragement)
- Scheduled Sitting: Suggest sitting on the potty at predictable times when the urge is likely, such as upon waking, before naptime, and about 20 minutes after meals. (Keep sitting sessions short, no more than 5 minutes.)
- Coaching the ‘Signals’: Pay close attention to your child’s body language (pausing, squatting, facial strain) and link the action to language: “Oh, are you making a poopie? Let’s try the potty!”
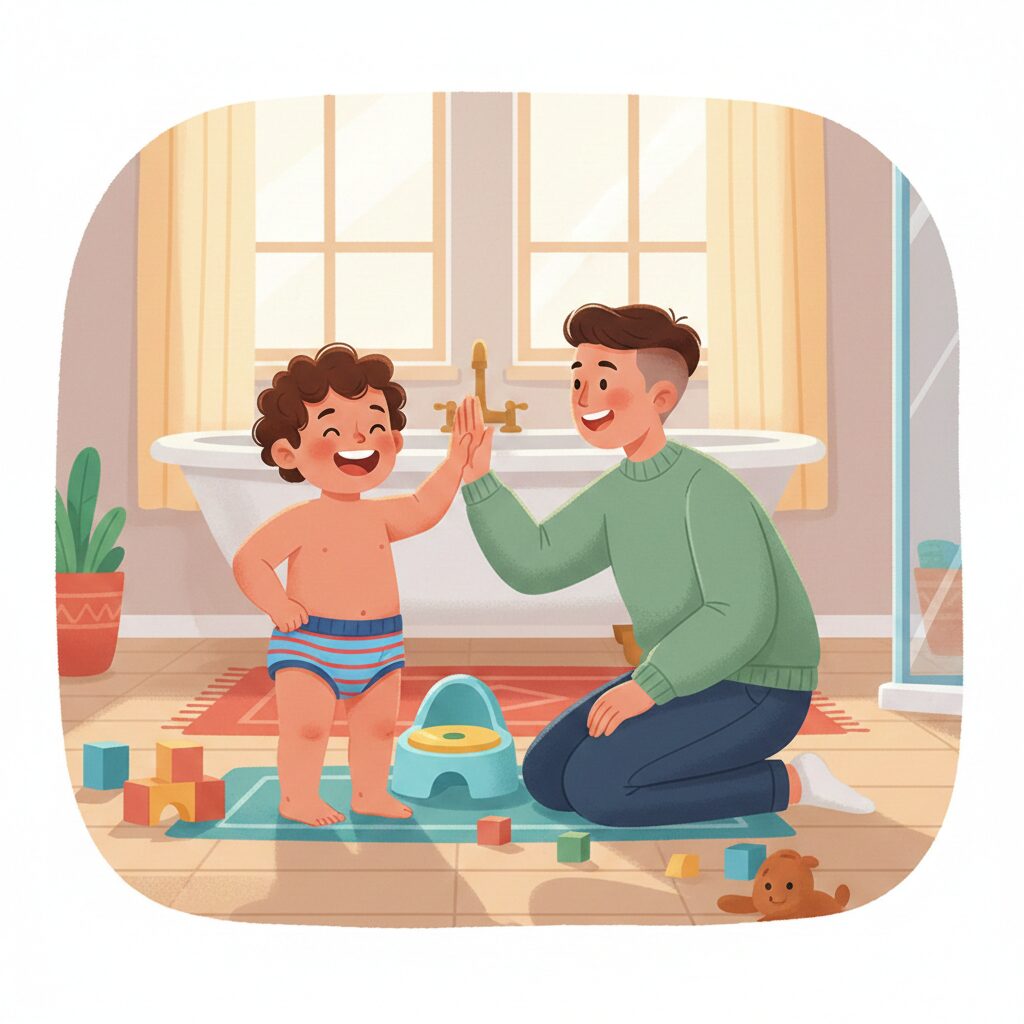
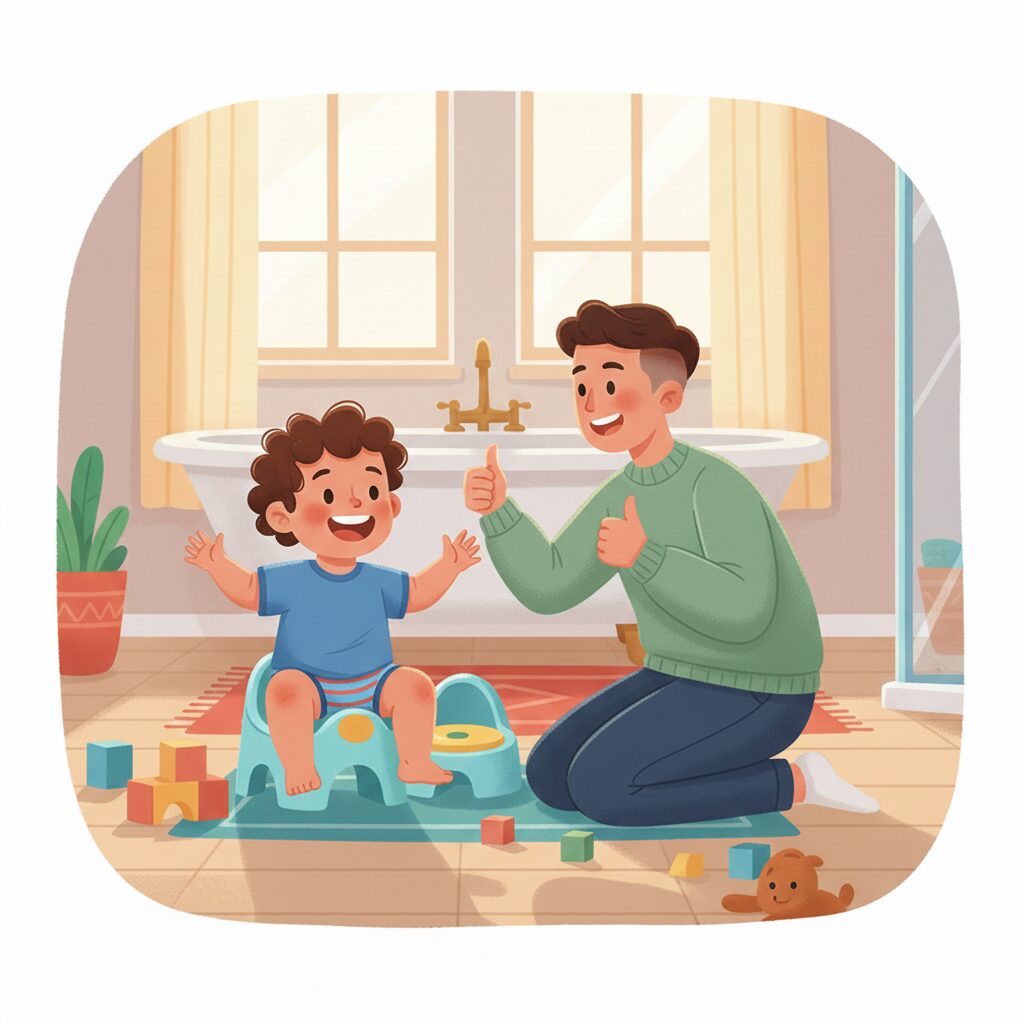
- Praise and Celebration: When they succeed, even if it’s just a little bit, react with exaggerated praise and joy. (Crucial!) Use a sticker chart or a small reward to boost their sense of accomplishment.
Phase 3: ‘Diaper Graduation’ (Underpants and Outings)
- Switching to Underpants: Once your child is consistently using the potty during scheduled sits, transition to training pants or regular underwear during the day. Training pants offer slightly less absorbency, allowing the child to feel the wetness and discomfort, which reinforces the need to use the toilet.
- Tips for Outings: Always prompt your child to use the toilet immediately before leaving the house. During the outing, prompt them to try again every 30 minutes to an hour, and always carry a complete change of clothes.
- Using Positive Language: Use encouraging words like “You look like such a big kid in your new underpants!” to encourage intrinsic motivation.
💦 Dealing with ‘Accidents’: How to Respond Calmly
Accidents are inevitable, common, and a normal part of the learning process. How you react during an accident can significantly impact your child’s self-esteem and the overall success of the training.
- Never Scold or Punish: An accident is not a cause for punishment. Your child is likely already feeling embarrassed or upset. Respond in a calm, warm tone: “It’s okay. Next time, let’s try to tell Mommy/Daddy a little sooner, okay?”
- Focus on the Action, Not the Child: Instead of saying, “Why did you pee your pants again!”, try, “Your clothes are wet and uncomfortable. Let’s work together to change them.”
- Involve Them in Cleanup (Gently): Have your child help with the cleanup process (with parental guidance) by putting the soiled clothes in the hamper or helping wipe the floor. This encourages a sense of responsibility without being punitive.

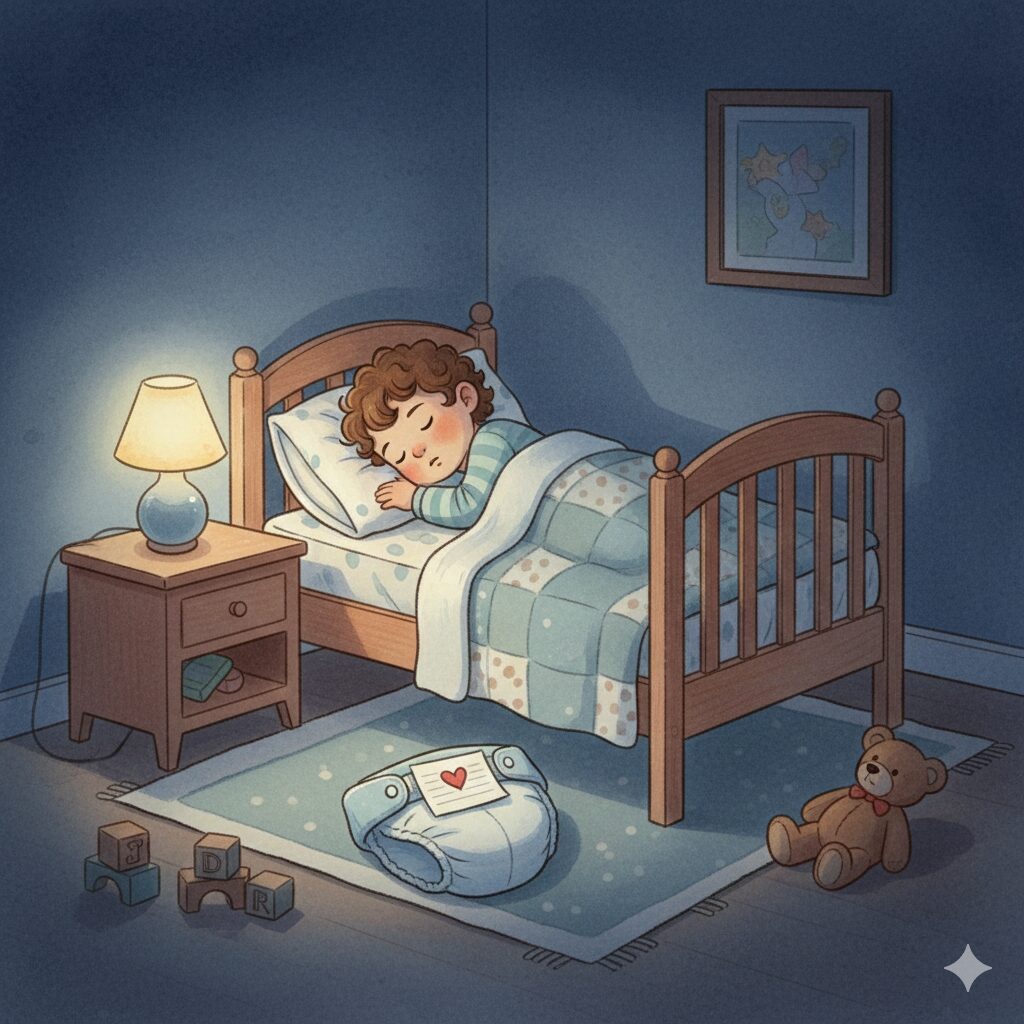
🌙 Nighttime Training: Take Your Time
Even after mastering daytime control, nighttime training is a separate and often slower journey.
- A Matter of Physical Development: Staying dry through the night isn’t about willpower; it’s about physical maturity—specifically, the production of the anti-diuretic hormone and the ability to wake up from a deep sleep when the bladder is full. This can take several months to over a year after daytime success and may continue until age 5 to 7.
- When to Start: Consider trying when your child wakes up with a dry diaper for several mornings in a row.
- Night Training Tips: Limit fluid intake in the two hours before bed, and ensure they use the toilet right before sleeping. If accidents happen, react calmly and offer encouragement, just like during the day.
✨ Conclusion: Prioritizing the Parent-Child Relationship
Potty training is less about a rigid timeline and more about fostering your child’s autonomy and independence through positive interaction. There may be moments that test your patience, but supporting your child in achieving the feeling of “I did it myself!” is the ultimate goal.
If you find that training has stalled for six months or more, or if your child is exhibiting intense resistance, it might be beneficial to take a “potty break.” Stepping away for a few weeks and trying again later often leads to much faster success.
Trust in your child’s developmental pace, and be their most positive and encouraging supporter. Best of luck to all the parents on this wonderful journey!
References:
- Centers for Disease Control and Prevention (CDC) – Developmental Milestones: https://www.cdc.gov/ncbddd/childdevelopment/index.html
- American Academy of Pediatrics (AAP) – Potty Training Information: https://www.healthychildren.org/ (Use site search for “Potty Training”)