Effective home office acoustics depend more on sealing air gaps and adding mass to your surfaces than on simply sticking foam panels to the walls.
- Seal the air gaps first: If air can move through a gap (like under a door), sound will follow it effortlessly.
- Distinguish between blocking and absorbing: Heavy materials block sound from entering; soft materials stop sound from bouncing around inside.
- The ‘human’ element matters: Physical upgrades work best when paired with clear communication and signal systems for family members.
}
We have all been there. You are thirty seconds into a high-stakes presentation when the neighbor decides it is the perfect time to use a leaf blower, or your toddler discovers that the kitchen floor makes a magnificent drum. The dream of the quiet, serene home office often clashes with the reality of a living, breathing household. For those of us in our 30s and 40s balancing professional output with the chaos of parenting, soundproofing is not a luxury—it is a survival mechanism.
The problem is that most of the advice online is either too expensive (building a room within a room) or completely useless (egg cartons on the wall). To fix your office acoustics, you need to understand how sound actually behaves. It is not a mysterious ghost; it is a physical vibration that moves through air and solid objects. Once you know how to stop those vibrations, you can finally hear yourself think again.
The Physics of Silence: Why Your Room is Loud
Before buying a single piece of equipment, we need to talk about the two different ways sound ruins your day. Most people confuse soundproofing with acoustic treatment. They are not the same thing, and using the wrong one is the most common reason people waste money.
Soundproofing (Sound Isolation) is about keeping noise out of your room and keeping your voice inside. This requires mass and density. If you can hear the TV in the living room, you have a soundproofing problem. You need heavy things to stop these waves.
Acoustic Treatment (Sound Absorption) is about making the room sound better inside. If your voice sounds hollow or echoey on a call, that is because sound is bouncing off your hard walls and back into your microphone. This requires soft, porous materials to soak up the energy.
Think of it like a leaky bucket. Soundproofing is plugging the holes in the bucket so water doesn’t get out. Acoustic treatment is putting a sponge inside the bucket so the water doesn’t splash around so much. Most remote workers need a little bit of both, but they usually start with the wrong one.

Step 1: The Door is Your Weakest Link
In most homes, the office door is the biggest culprit. Standard interior doors are often “hollow core,” which means they are essentially two thin sheets of plywood with a cardboard honeycomb inside. They act like a drum skin, vibrating and passing sound right through. Furthermore, the gap at the bottom of the door is a highway for noise.
The ‘Flashlight Test’
Turn off the lights in your office and have someone stand outside the door with a bright flashlight. Move the light around the edges of the door. Anywhere you see light peeking through, sound is getting through. Usually, you will see a massive river of light at the bottom. This is where you start.
To fix this without replacing the door, you need to add mass and seals. A heavy-duty rubber weatherstripping kit for the top and sides of the door frame can reduce noise significantly. For the bottom, do not use a flimsy fabric draft stopper. Invest in a “solid rubber door sweep” or an “automatic door bottom” that creates a tight seal when the door closes.
If you have a hollow-core door and cannot replace it, you can “beef it up.” Attaching a sheet of Mass Loaded Vinyl (MLV) to the back of the door adds the density needed to stop sound waves. It is heavy, ugly, and effective. You can cover it with a decorative fabric or a thin piece of wood to make it look less like an industrial site.
| Solution | Difficulty | Effectiveness | Estimated Cost |
|---|---|---|---|
| Weatherstripping Seals | Easy | Moderate | $15 – $30 |
| Door Sweep (Rubber) | Easy | High (for gaps) | $20 – $50 |
| Mass Loaded Vinyl (MLV) | Moderate | Very High | $100 – $200 |
| Solid Core Door Replacement | Hard | Maximum | $300 – $600 |
Step 2: Windows and the Outside World
If your office faces a busy street, the window is your next battleground. Glass is actually quite good at reflecting sound, but standard single-pane windows are too thin to block low-frequency noises like truck engines. Also, like doors, windows often have air leaks around the frame.
Start by checking the caulk. If the caulk around your window frame is cracked or missing, sound is leaking in. Using a specialized acoustic sealant (which stays flexible over time and doesn’t crack) can make a surprising difference. It is a $15 fix that takes ten minutes.
For the glass itself, “soundproof curtains” are a popular search term, but be careful. Most are just heavy blackout curtains. To actually block sound, they need to be extremely heavy and dense. Look for curtains that specifically mention a middle layer of vinyl or felt. They won’t make the room silent, but they will take the “edge” off the traffic noise and help with the echo inside the room.
If you own your home and have a larger budget, secondary glazing (or window inserts) is the gold standard. These are acrylic or glass panels that pop into your existing window frame, creating an airtight buffer of space that kills almost all outside noise. They are much cheaper than replacing the entire window unit.
Step 3: Absorbing the Echo (Acoustic Treatment)
Now that we have stopped the noise from coming in, let’s talk about the noise you make. If you have ever been on a call and thought, “Why do I sound like I’m in a bathroom?” it is because your room is too “live.” Sound is bouncing off your desk, your walls, and your ceiling.
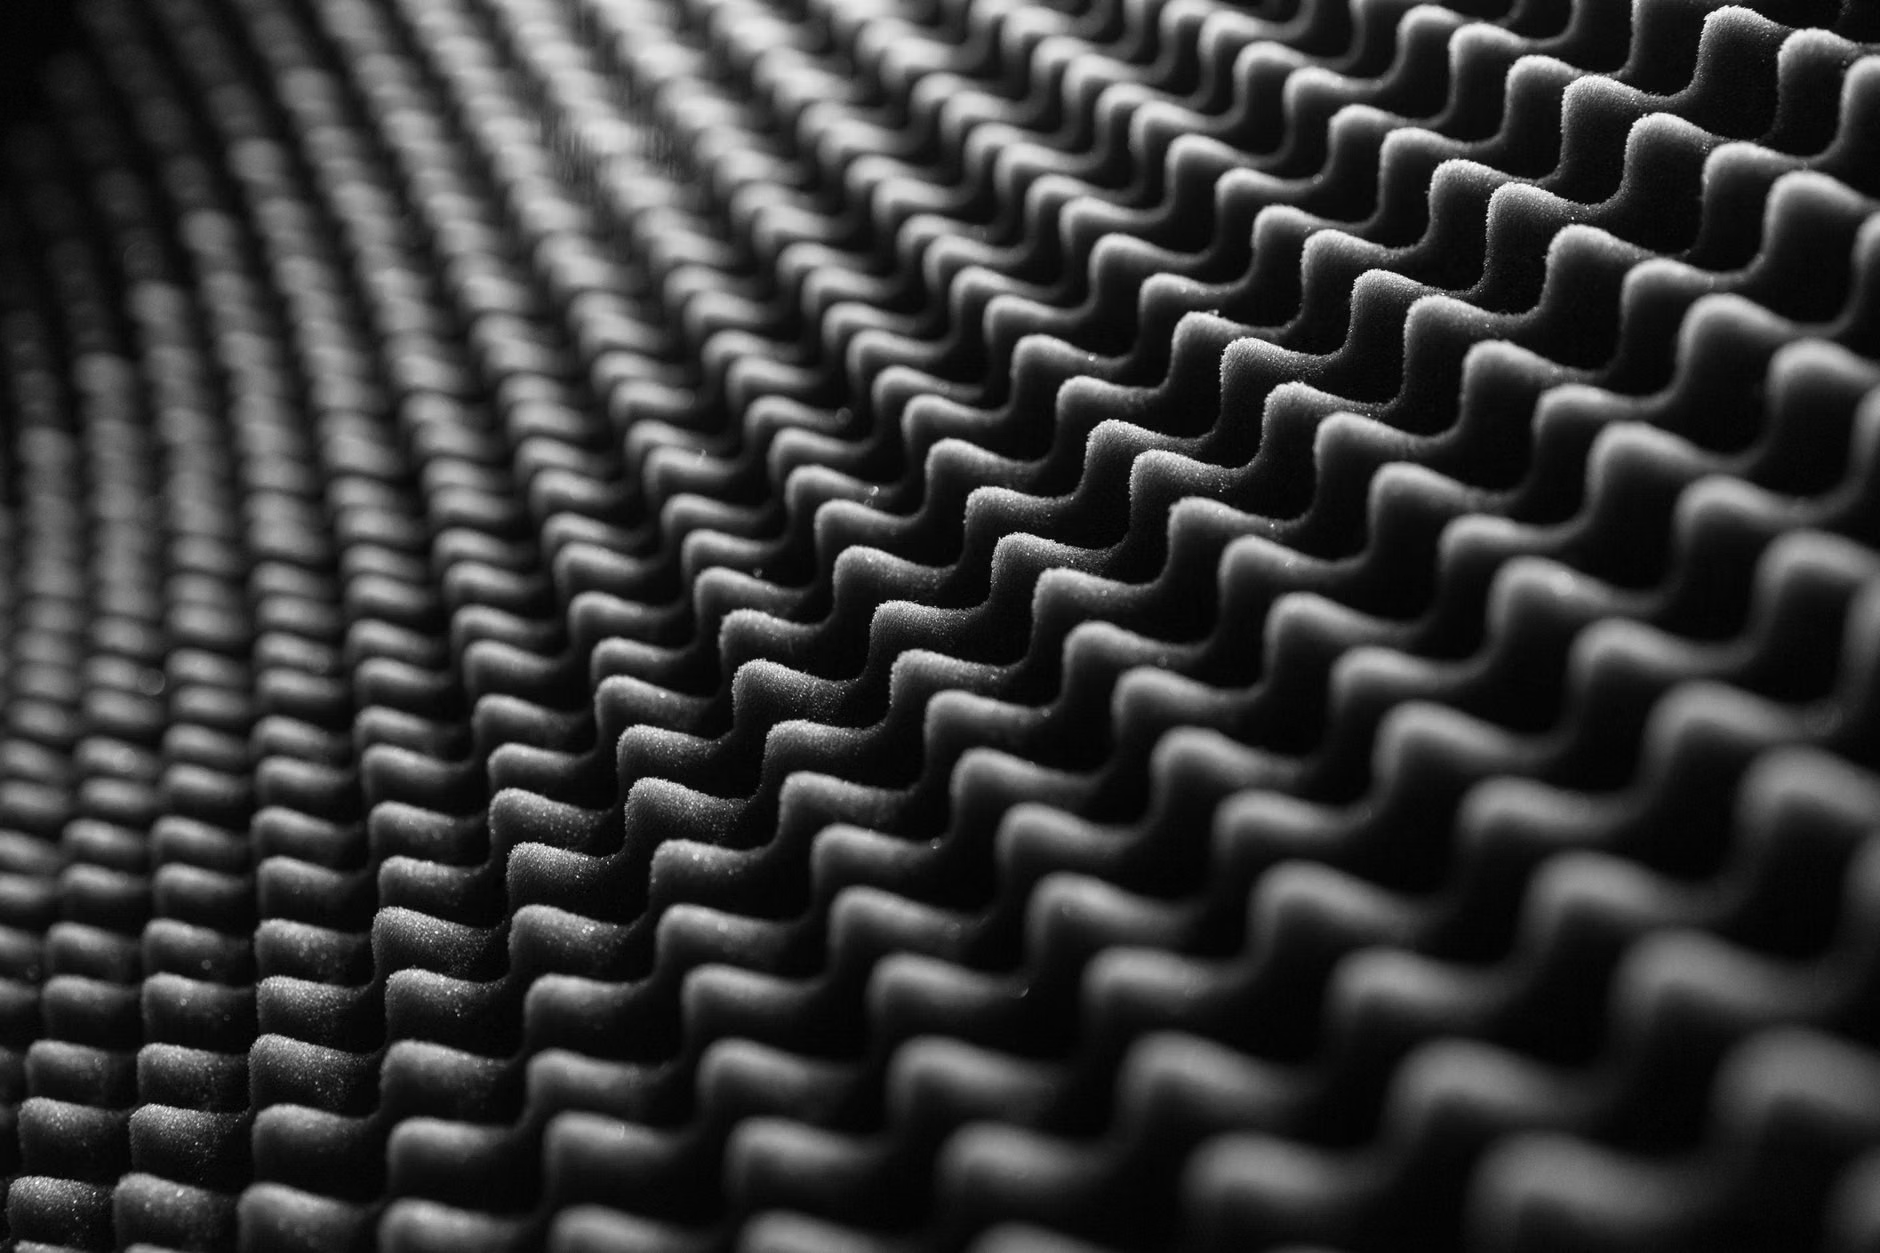
This is where those famous foam triangles come in. But here is a secret: Cheap acoustic foam is mostly useless. Most of the thin foam sold in bulk online only absorbs very high frequencies. It does nothing for the “muddy” or “boomy” sounds in your voice. It also looks like a teenager’s gaming room, which might not be the vibe you want for professional calls.
Instead, look for Mineral Wool or Fiberglass panels. These are usually 2 to 4 inches thick and wrapped in nice fabric. They look like modern art and do a much better job of absorbing a wide range of frequencies. You don’t need to cover the whole wall. Focus on the “first reflection points”—the spots on the walls to your left and right where sound would bounce if it were a billiard ball traveling from your mouth to the wall.
The Bookshelf Trick
If you don’t want to buy panels, use a bookshelf. A bookshelf filled with books of different sizes and depths acts as a “diffuser.” It breaks up sound waves so they don’t bounce back in a straight line. It is a classic recording studio trick that fits perfectly in a home office. Just make sure the books aren’t perfectly aligned in a flat row; stagger them to create an uneven surface.
Step 4: Managing the Floor and Ceiling
If your office is on the second floor, you are likely dealing with “impact noise”—the sound of footsteps or things dropping. If your office is below a playroom, you are hearing the “thud-thud-thud” of tiny feet. This is the hardest noise to stop because it travels through the structure of the house itself.
For the floor, a thick rug is your best friend. But the rug alone isn’t enough. You need a dense felt rug pad underneath it. This adds a layer of decoupling that helps soak up the vibration before it hits the floorboards. In an ideal world, you would cover at least 70% of the floor space to see a real reduction in room echo.
Ceilings are trickier. If you have “popcorn” ceilings, they actually help a tiny bit with diffusion, but they are generally an eyesore. If you have a serious noise issue from above, the only real solution is adding a second layer of drywall with a damping compound like Green Glue in between. This is a major renovation, though. For most of us, placing a few acoustic “clouds” (panels hanging from the ceiling) can help reduce the overall noise floor of the room.
Step 5: Technology as a Second Line of Defense
Sometimes, no matter how much MLV you buy, the neighbor will still start their chainsaw. This is where software and hardware come in. In the last three years, AI-powered noise cancellation has become incredibly good.
Microphone Choice
Stop using the built-in microphone on your laptop. It is designed to pick up everything in the room. A dynamic microphone (like those used by podcasters) is much better for noisy environments than a condenser microphone. Dynamic mics are less sensitive to distant sounds, meaning they will hear your voice but ignore the dog barking downstairs.
Noise-Canceling Software
Tools like Krisp or the built-in noise suppression in Zoom and Microsoft Teams are lifesavers. They use neural networks to identify the human voice and “mute” everything else. They can effectively remove the sound of a vacuum cleaner or a crying baby in real-time. It is not perfect—it can make your voice sound a bit “processed”—but it is better than the alternative.
Active Noise Canceling (ANC) Headphones
While ANC headphones don’t help the people on the other end of the call, they protect your focus. The technology works by listening to the outside noise and creating an “anti-noise” wave to cancel it out. This is most effective for constant, low-frequency drones (like an AC unit). It is less effective for sudden, sharp noises (like a scream), but it still provides a significant barrier of sanity.
Step 6: The Human Element and Signaling
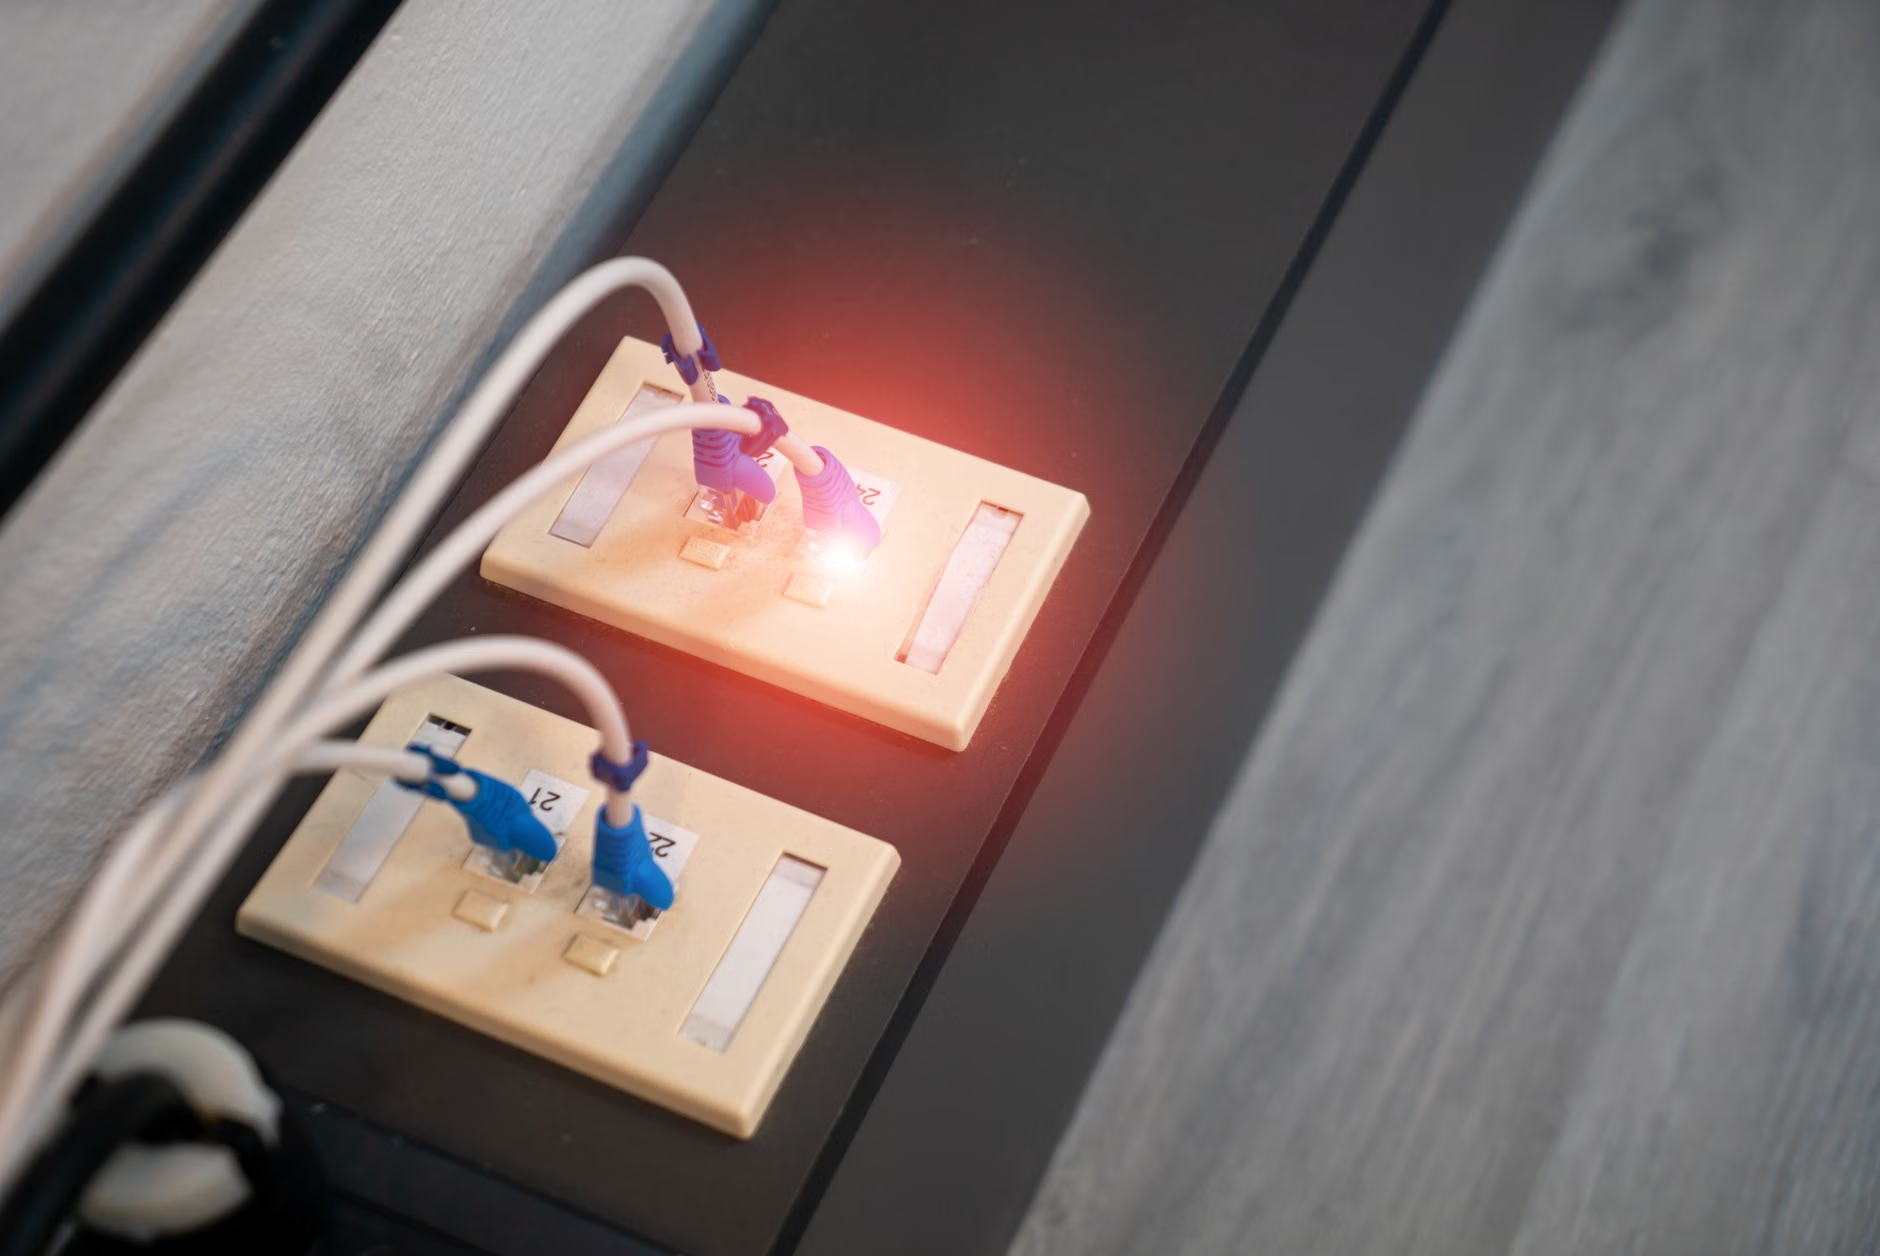
We can talk about decibels and NRC ratings all day, but the most effective soundproofing for a parent is a clear boundary. If your kids are old enough to walk, they are old enough to understand a “Status Light.”
A simple LED light outside your door that turns red when you are on a call and green when you are available can prevent 50% of the noise interruptions. It gives the family a visual cue that “the office is currently a library.”
Another tip: White Noise Machines. Place a white noise machine outside your office door, in the hallway. This raises the “noise floor” in the hallway, making it harder for sounds from inside your office to be heard outside, and vice versa. It acts as an acoustic blur, making voices less intelligible through the door. If you can’t understand the words being said, the noise is much less distracting.
A Summary of the ‘Silent Office’ Hierarchy
If you are overwhelmed, follow this order of operations. Do not move to the next step until you have completed the previous one. This path offers the highest return on investment for your time and money.
- The Seal: Use weatherstripping and a door sweep. Stop the air leaks.
- The Mass: If the door is thin, add a layer of MLV or replace it with a solid core door.
- The Windows: Caulk the gaps and add heavy curtains or inserts.
- The Absorption: Add a rug (with a pad) and fabric-wrapped acoustic panels at reflection points.
- The Tech: Use a dynamic mic and AI noise-canceling software.
- The Signals: Use a status light to manage the humans in the house.
Common Mistakes to Avoid
Using Egg Cartons: This is a myth that won’t die. Egg cartons are thin, flammable, and do absolutely nothing to block sound. They barely even absorb it. They just make your office look like a recycling center.
Over-treating the Room: You don’t want a “dead” room. If you absorb 100% of the sound, it feels unnatural and can actually be fatiguing to work in. You want a room that sounds “controlled,” not a vacuum.
Ignoring the HVAC: Sometimes the noise is coming from inside the house—literally. If your air vents are whistling or carrying sound from other rooms, you might need a “sound baffle” or a “duct silencer.” At the very least, check that the vent covers are screwed in tightly so they don’t rattle.
Focusing on the Wrong Frequency: High-pitched sounds (a whistle) are easy to stop. Low-pitched sounds (a bass speaker or a truck) are incredibly hard to stop. If your problem is low-frequency vibration, thin panels will never work. You need heavy, dense mass.
Final Thoughts
Creating a quiet home office is a marathon, not a sprint. You don’t need to turn your spare bedroom into a professional recording studio overnight. Start with the door—it is almost always the culprit. Once you have sealed the gaps and added a little mass, you will find that the “background noise” of your life becomes exactly that: background. It won’t disappear entirely, but it will no longer be the star of your 10:00 AM meeting.
Remember, the goal isn’t absolute silence; it is the ability to focus. A little bit of science and some strategic DIY can give you back the mental space you need to get your work done so you can get back to the people you’re working for in the first place.
Official Resources for Further Research:
- National Research Council: Building Codes and Sound Transmission
- OSHA: Occupational Noise Exposure Guidelines
- Acoustics Today: The Science of Sound (Educational Journal)
Frequently Asked Questions
Q: Can I soundproof my office for under $100?
A: Yes, if you focus on the basics. A $20 weatherstripping kit, a $30 heavy rug from a thrift store, and a $15 tube of acoustic caulk will do more for you than $100 worth of cheap foam. Focus on sealing air gaps first.
Q: My office has a glass door. What can I do?
A: Glass doors are beautiful but acoustic nightmares. Your best bet is to hang a heavy, acoustic-rated curtain over the door that you can pull shut during meetings. You can also apply a thick “acoustic window film,” though its effectiveness is limited compared to a curtain.
Q: Will acoustic panels help me stop hearing my kids in the next room?
A: No. Acoustic panels are for absorption (stopping echo). To stop hearing people in the next room, you need isolation (blocking). You need to add mass to the wall or seal the gaps in the door. Panels will only make the kids’ screaming sound “clearer” if they were already in the room with you.
Good luck with your project. May your calls be clear and your background silent.