The most effective way to turn a small room into an active play zone is by utilizing vertical space, and installing a custom climbing wall is surprisingly achievable even in modest apartments or narrow hallways.
- Vertical Efficiency: A climbing wall requires zero floor footprint while providing a full-body workout and sensory development for kids.
- Structural Reality: Always anchor your wall to studs or a dedicated backing frame; never rely on drywall alone to support the weight of a climber.
- Safety First: High-density foam crash pads and supervised zones are non-negotiable for any home climbing installation.
If you are a parent living in a city, you know the struggle of the “cabin fever” cycle. It’s raining, the park is a mud pit, and your children have enough pent-up energy to power a small village. You’ve likely looked at your living room and thought, “If only there were a way to get them climbing without driving to a gym.”
The good news is that the “indoor climbing wall” trend has evolved. It’s no longer just for those with massive custom-built basements. With the rise of modular systems and aesthetic design trends, you can now integrate a climbing feature into a standard bedroom wall or a spare hallway without turning your home into a chaotic gym.
Why Vertical Play Matters for Development
Beyond just tiring out your kids, climbing is a complex physical activity. It requires “proprioception”—the body’s ability to sense its position in space. When a child reaches for a hold, they are engaging in complex problem-solving. They have to decide which hand goes where, how to shift their weight, and how to maintain balance.
For adults, it’s a functional movement exercise. If you install a wall with high-quality holds, you can use it for “traversing”—moving horizontally across the wall rather than just up. It’s an excellent way to maintain core strength and grip without needing a bulky treadmill or a squat rack.
Assessing Your Space: The “Wall-First” Approach
Before you buy a single bolt, you need to conduct a structural audit of your home. Most residential walls consist of drywall (gypsum board) nailed to wooden studs. Drywall is not load-bearing. It cannot hold the weight of a person, let alone the dynamic force applied when someone jumps or slips.
You have two primary installation paths: the “Direct Stud” method or the “Backing Board” method.
| Feature | Direct Stud Mounting | Backing Board Mounting |
|---|---|---|
| Installation Difficulty | Moderate | High |
| Flexibility | Low (Fixed paths) | High (Changeable) |
| Cost | Lower | Higher |
The “Backing Board” method is almost always superior for home use. By installing a sheet of high-quality plywood (at least 3/4 inch thick) over your wall, you create a dedicated mounting surface. This allows you to drill holes anywhere you want, meaning you can rotate your holds to keep the challenge fresh for your children as they grow.
Selecting the Right Materials for Safety
Don’t be tempted to use cheap plywood from the hardware store. You want Baltic Birch or high-grade construction plywood that won’t splinter. Splinters are the enemy of small hands. Sanding is your best friend here; spend twice as long sanding the edges as you think you need to.
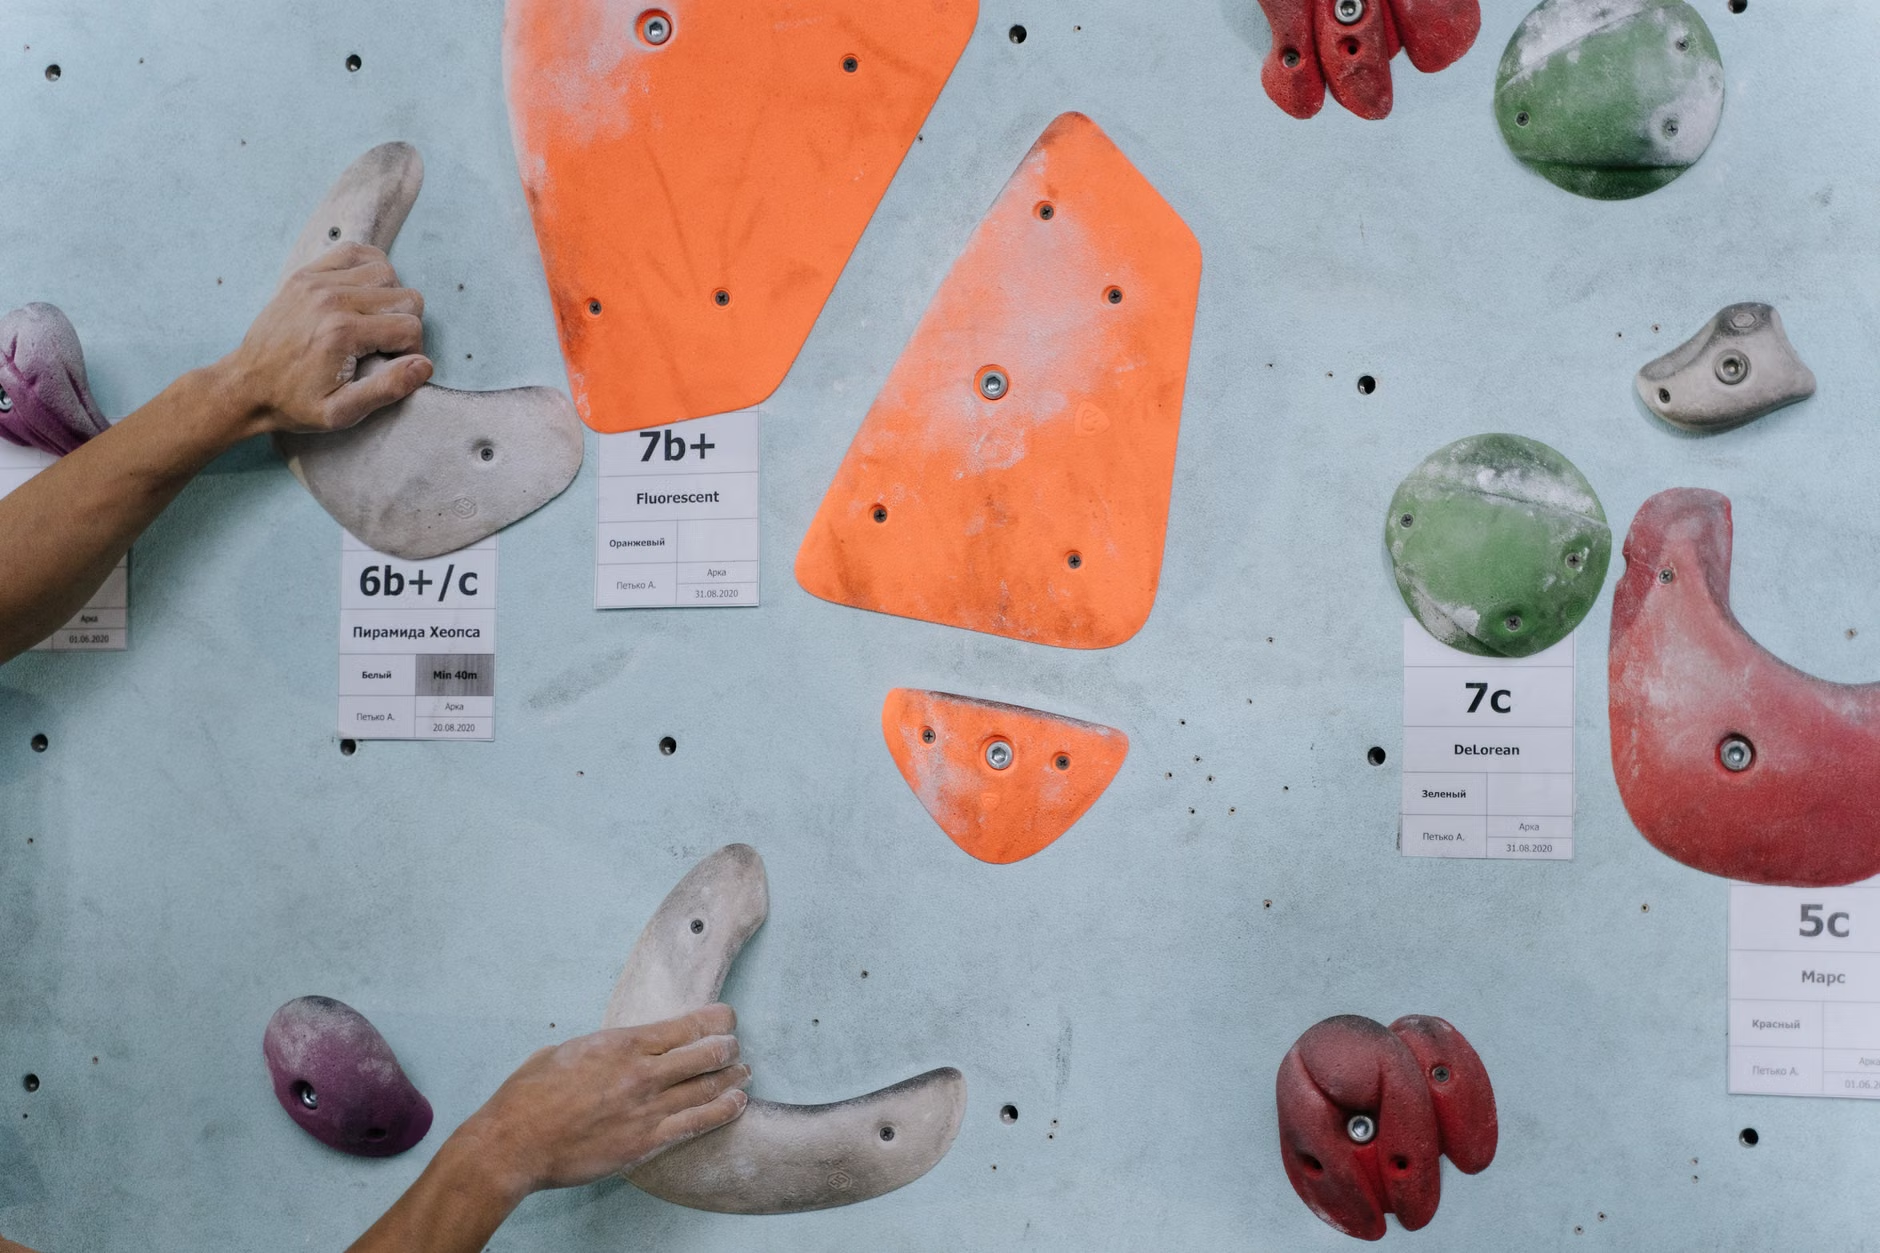
When it comes to climbing holds, avoid the bargain-bin plastic ones sold in toy stores if you want something that will actually last. Look for “climbing-rated” holds. These are made from polyurethane and are designed to handle adult weight. They provide better grip and are less likely to crack or fail under tension.
Pro Tip: Invest in “T-nuts.” These are the metal threaded inserts that go into the back of your plywood. They allow you to bolt the holds on from the front and easily unscrew them later to move them. If you don’t use high-quality T-nuts, you’ll be stuck with the same climbing path forever.
The Crucial Role of the Landing Zone
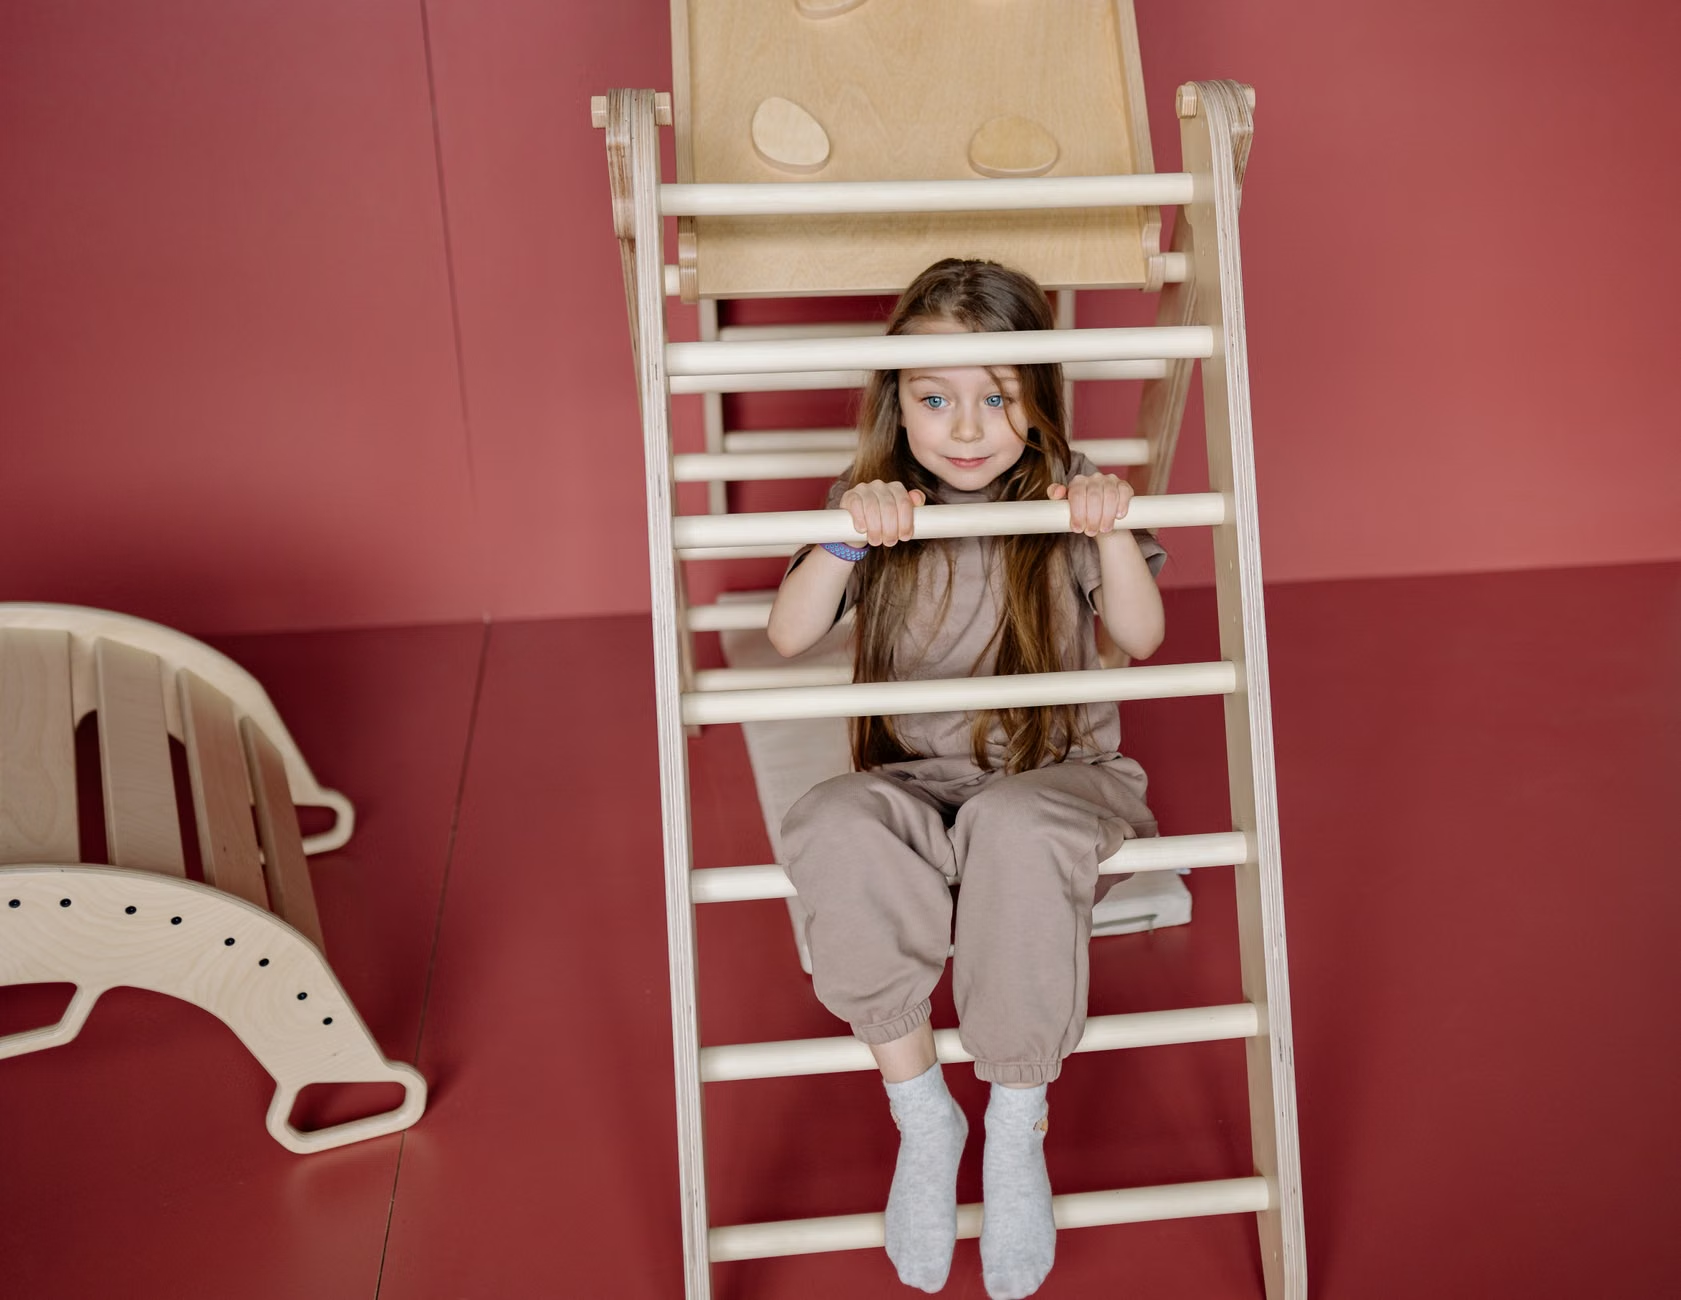
Even a low-profile wall can result in a tumble. In a small space, the “crash pad” is your most important piece of furniture. You shouldn’t just use a yoga mat; that provides zero impact protection. You need specialized high-density foam.
Look for gymnastics-grade landing mats. They are designed to absorb the energy of a fall without “bottoming out” (where you hit the hard floor through the foam). If you have a very small room, consider a trifold mat that you can slide under a bed or into a closet when the climbing session is over.
Common Mistakes to Avoid
I’ve seen many enthusiastic parents make the same errors. First, they install the holds too close together. If the holds are too tight, the child can’t reach between them, and the wall becomes frustrating rather than fun. Aim for at least 10 to 12 inches between holds for beginners.
Second, they ignore the “overhang.” If you are building a wall for yourself as an adult, adding a slight overhang (where the wall leans toward you) makes it much harder. For kids, keep it perfectly vertical or slightly reclined (leaning away) to make the learning curve gentler.
Third, they fail to account for the “reach.” Before you mount anything, have your child stand against the wall. Mark where their hands naturally reach at full extension. Don’t put the first row of holds too high; start them low, near the floor, so they can get on and off safely without needing to jump.
Designing for Aesthetics in Small Spaces
Your home isn’t a climbing gym, and it probably shouldn’t look like one. You can integrate the wall into your living room decor by painting the plywood to match your wall color, or using a natural wood finish that complements your furniture.
If you have a narrow hallway, consider a “bouldering traverse.” Instead of building a tall wall, build a long, narrow one that runs the length of the hallway, about four feet high. This allows kids to climb sideways, which is safer and keeps them close to the ground.
Maintenance and Long-Term Care
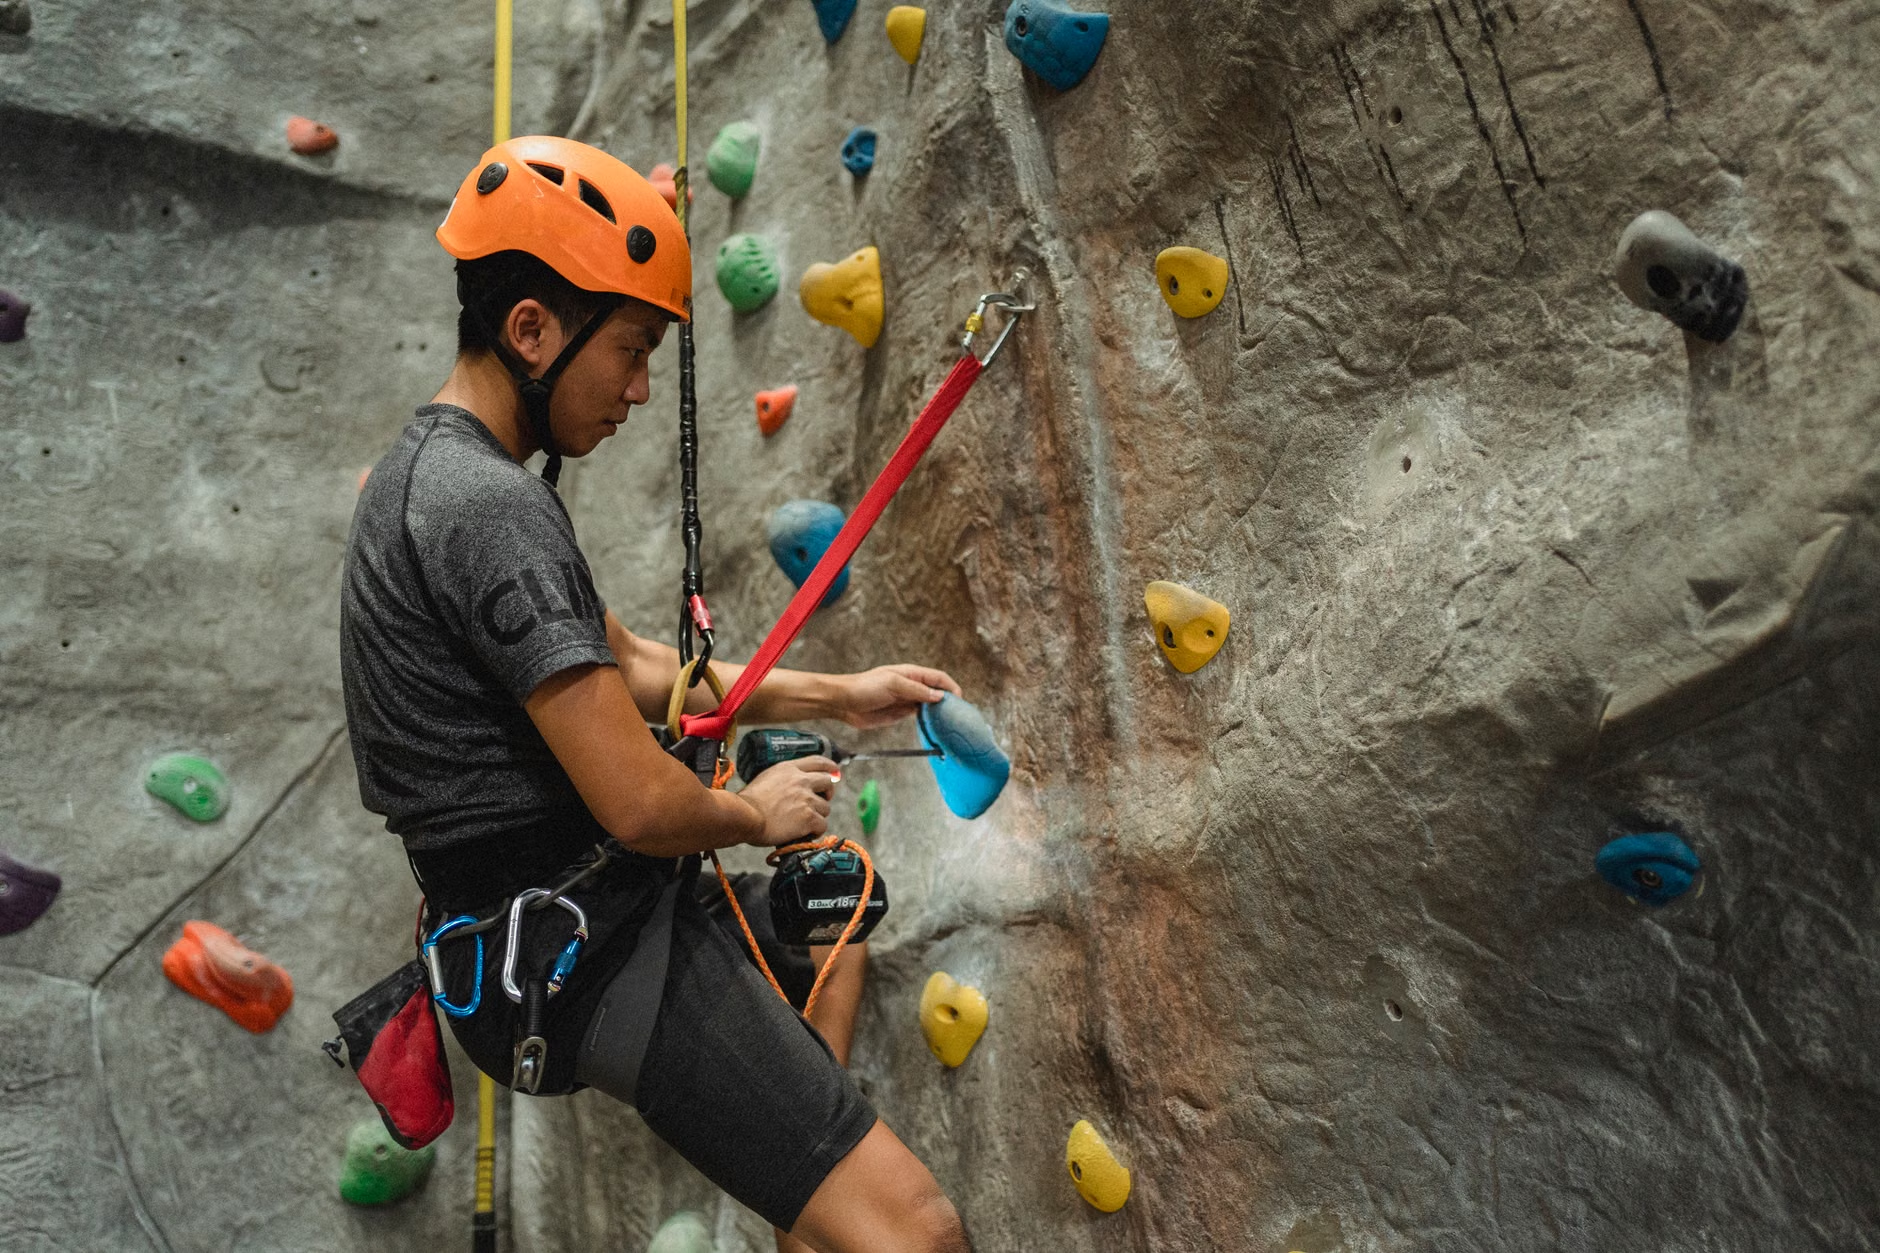
Your climbing wall will require periodic maintenance. Every three to six months, perform a “bolt check.” The vibration of kids jumping on and off the wall can loosen the bolts holding the holds in place. A simple Allen key check every few months is enough to keep everything secure.
Also, keep an eye on the friction of the holds. Over time, skin oils and dust can make them slippery. A quick scrub with a soft brush and warm, soapy water will restore their “grip.” Never use harsh chemicals, as they can degrade the polyurethane material.
Integrating Climbing into Your Daily Routine
The goal isn’t just to build a wall; it’s to create a habit. Use the wall for “active breaks” during homework or as a reward after a long day of screen time. Because it is physically demanding, even 15 minutes of climbing is equivalent to a much longer session of lower-intensity play.
If you find that your children are losing interest, change the “routes.” Use different colored tape to mark paths. For example, “Can you climb to the top using only the red holds?” This turns the wall into a puzzle, which keeps their brains engaged just as much as their bodies.
Legal and Insurance Considerations
Before you commit to a major installation, check your lease or home insurance policy. In some jurisdictions, structural modifications to walls require permission from a landlord. If you are a homeowner, ensure that your liability insurance covers “recreational structures.” While a home climbing wall is generally considered low-risk, it is better to be informed than surprised.
For those in apartments, the “free-standing” climbing wall is an alternative. These are self-supporting structures that don’t bolt to the wall. They take up more floor space, but they are completely portable and require zero damage to the property. If you move, you take your wall with you.
The Importance of Supervision
I cannot stress this enough: even if your wall is the safest in the world, it is a piece of exercise equipment. It is not a place for unsupervised roughhousing. Establish clear rules: “One person on the wall at a time,” and “No climbing without the mat underneath.”
These rules might sound restrictive, but they prevent the “collision chaos” that happens when two kids try to race to the top. By enforcing a structured, safe environment, you ensure that the wall remains a source of joy rather than an anxiety-inducing hazard.
Expanding the Concept: Beyond the Wall
If you love the climbing wall, you might consider adding auxiliary equipment. A set of gymnastic rings hanging from a nearby ceiling joist (if structurally sound) or a sturdy pull-up bar can complement the wall. This turns a single wall into a “mini-gym” that grows with your family.
Remember that the best home features are the ones that evolve. Start small. If you find your family loves the climbing wall, you can always expand it. If you find they only use it occasionally, you haven’t wasted your entire renovation budget on a massive, permanent structure.
A Final Note on Encouragement
Building a home climbing wall is a project that sits right at the intersection of practical home improvement and family lifestyle. It requires some effort—measuring, drilling, sanding, and planning—but the payoff is a healthier, more active household.
Don’t be intimidated by the technical aspects. If you can hang a heavy mirror or build a bookshelf, you can build a climbing wall. Take your time, focus on the structural integrity of your mounting, and keep the safety of your users at the forefront of every decision.
You aren’t just building a wall; you are building a habit of movement, a tool for problem-solving, and a space where your kids can blow off steam without needing to leave the house. That is a win for any parent in their 30s or 40s trying to balance the demands of modern life.
Frequently Asked Questions
1. Can I install a climbing wall on a standard drywall partition?
No, you should never mount climbing holds directly into drywall. It will not support the dynamic weight of a person. You must either anchor your climbing panels into the wooden studs behind the drywall or build a secondary structural frame that distributes the weight across multiple studs.
2. How much space do I actually need for a home climbing wall?
For a basic traverse wall (side-to-side climbing), you need a wall that is at least 6 to 8 feet wide and 4 to 5 feet high. If you want a vertical wall for upward climbing, aim for a height of at least 7 feet, with a minimum of 4 feet of floor space in front of the wall for a crash mat.
3. Is it expensive to build an indoor climbing wall?
It can range significantly. A basic DIY setup using plywood and a starter set of holds can cost between $200 and $500. Professional, modular systems or custom-built walls with high-end holds and flooring can exceed $1,500 to $2,000. Start with a smaller section and expand as you see how your family uses it.
For further reading on residential climbing safety standards, you can refer to the Climbing Business Journal for industry best practices, or consult your local building code office regarding structural load requirements for residential wall modifications.