Key Takeaways for Successful Bicycle-Tourism
- Prioritize Distance over Destination: For families, a successful route should cap daily mileage at 15–20km to account for energy levels and unexpected stops.
- The 60/40 Rule for Gear: Spend 60% of your preparation time on bicycle maintenance and safety checks, and 40% on route-specific logistics like water refills and emergency shelter points.
- Avoid “Highway-Adjacent” Paths: Choose dedicated greenways or rail-to-trail conversions; these are quieter, safer, and significantly more enjoyable for families than shared road infrastructure.
Bicycle-tourism—the art of traveling by bike—is the ultimate antidote to the “rushed weekend” syndrome that plagues many parents in their 30s and 40s. While traditional travel often involves hours of traffic, airport queues, or the frantic search for parking, bicycle-tourism forces a slower, more intentional pace. It isn’t about professional-grade cycling or grueling uphill climbs; it is about reclaiming the local landscape with your children at a speed where you can actually see the world passing by.
If you have been feeling that your weekends are either spent doing chores or stuck in a car, this is the shift you need. It requires less gear than you imagine, but more planning than a simple trip to the local park. Let’s break down how to design a route that keeps everyone happy, safe, and eager for the next trip.
Why Your Current Weekend Routine Needs a “Bike-First” Perspective
Most urban families view bicycles as a means to an end—a way to get to school or a quick workout. Bicycle-tourism shifts that perspective. It turns the bicycle into the primary vessel for exploration. When you travel by bike, the “journey” isn’t a transition phase; it becomes the activity itself. For parents, this is a massive psychological win: you stop counting down the minutes until you arrive and start enjoying the time you are spending together.
The real-world benefit is the “micro-adventure” effect. By cycling to a destination—even one just 20km away—you gain a sense of accomplishment that a car trip simply cannot provide. Research into outdoor activity suggests that physical engagement with your environment reduces cortisol levels significantly more than passive transit. You aren’t just moving from Point A to Point B; you are navigating, observing, and physically connecting with your local geography.
Defining the “Family-Friendly” Route: What to Look For
Not all bike paths are created equal. Many cities have “shared-use” paths that look great on a map but are essentially glorified shoulders for high-speed traffic. When you are traveling with children, you must be ruthless in your selection criteria.
The “Greenway” Priority: Always prioritize paths that are physically separated from motorized traffic. Look for “Rail-to-Trail” conversions—these were old train lines converted into cycling paths. They are ideal because they are almost always flat, wide, and pass through scenic natural corridors that shield you from urban noise.
The Decision Matrix for Route Selection
| Route Type | Pros | Cons | Verdict |
|---|---|---|---|
| Dedicated Greenway | Safety, quiet, nature | Can be crowded | Best for families |
| Protected Bike Lane | Direct urban access | Noise, intersections | Use for short bursts |
| Shared Roadways | Connects rural areas | High danger risk | Avoid entirely |
When you are planning your route, use tools like Komoot or OpenCycleMap. These services allow you to filter by “surface type.” For a family, always filter for “paved” or “fine gravel.” Avoid “single-track” or “mountain bike” labels unless you are specifically looking for a rugged adventure, as these are exhausting for children in trailers or on smaller bikes.
Equipping for the Long Haul: Managing the Unexpected
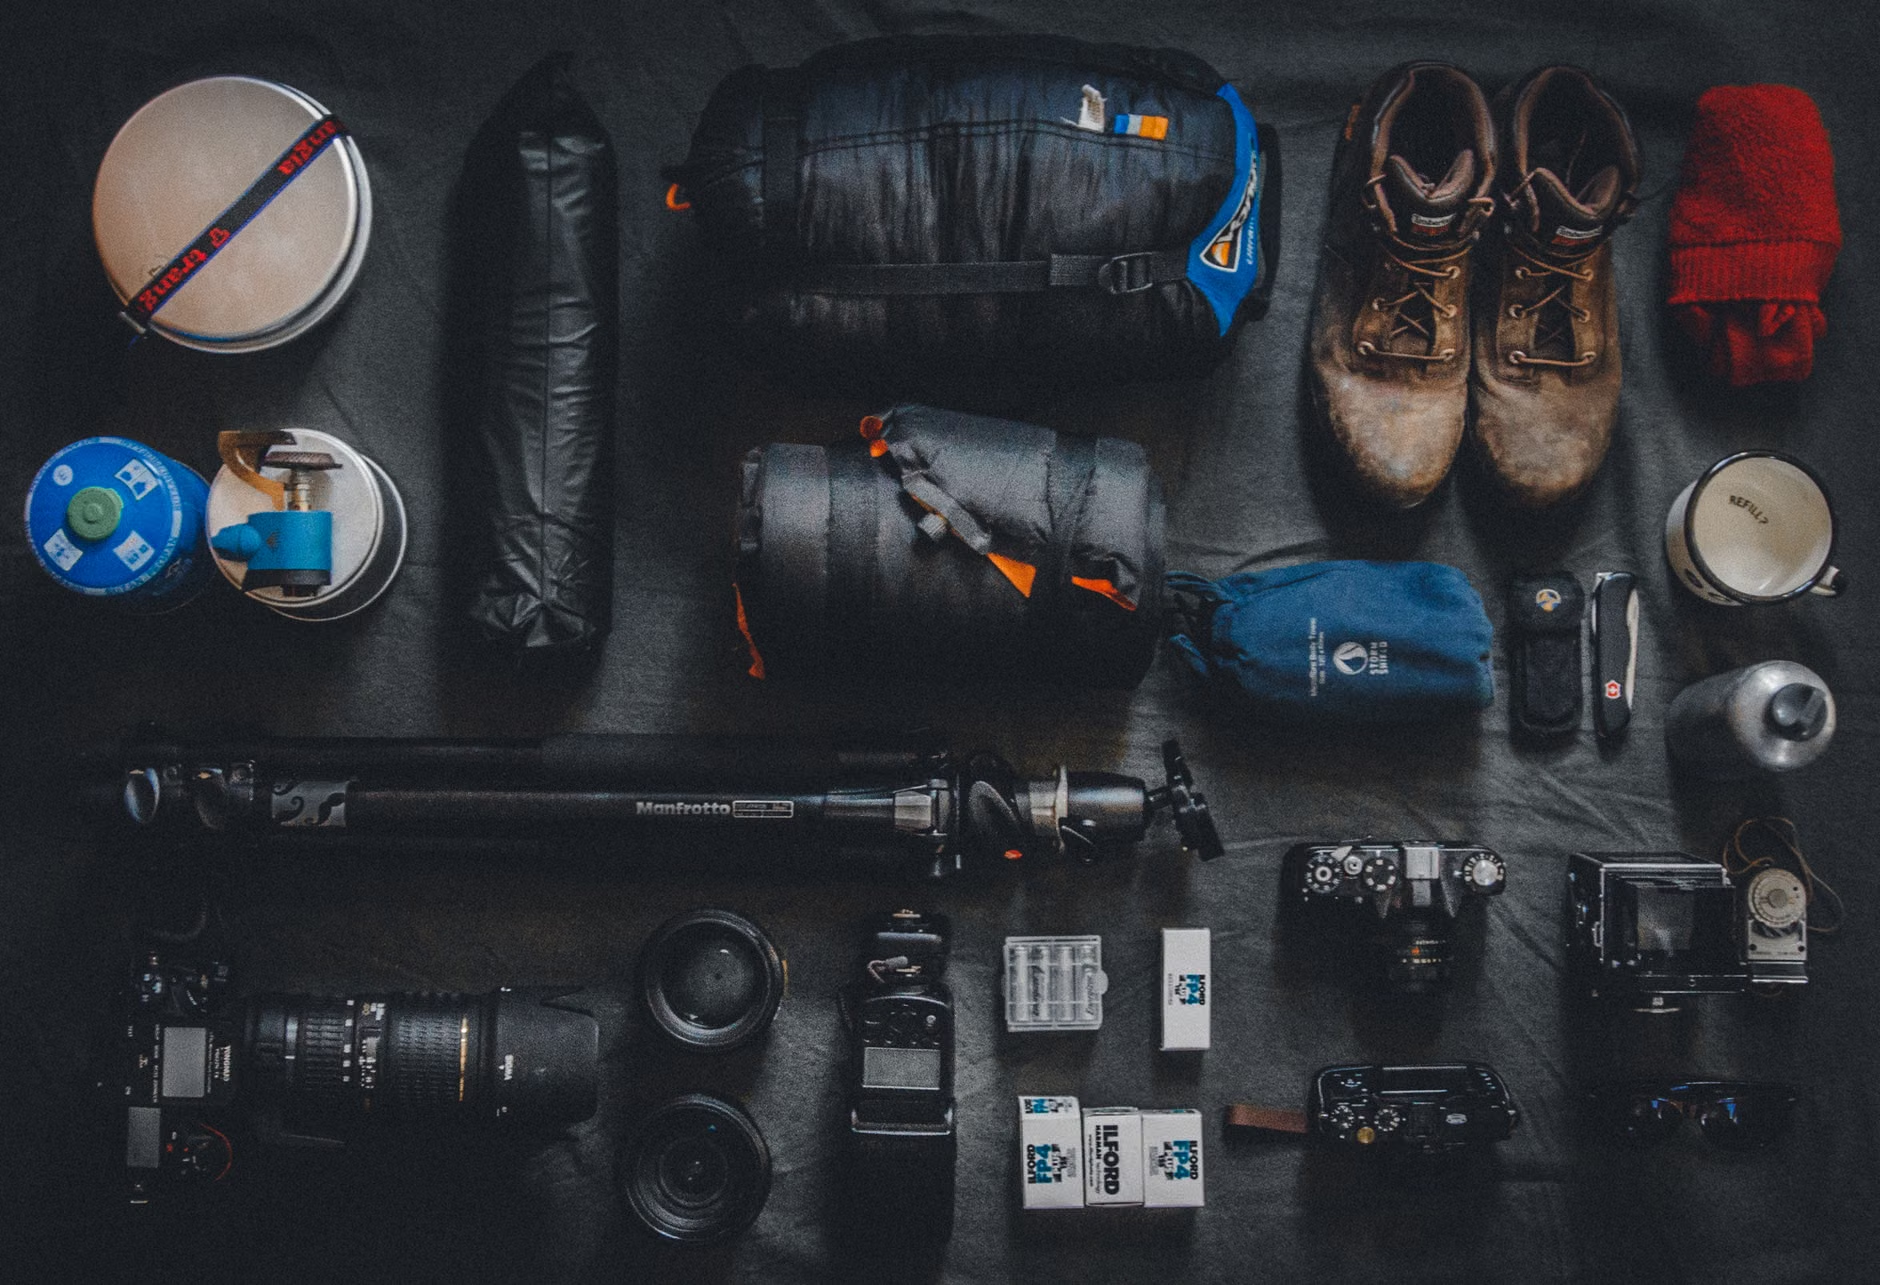
The most common mistake is over-packing. You do not need to bring your entire home. However, you do need to be prepared for the three “C’s”: Comfort, Calories, and Components (mechanicals).
Comfort: If your children are in a trailer, ensure they have enough padding. The vibration from a long road can be tiring. Add a small pillow or a soft blanket. If you are using a child seat, ensure it has a reclined position for naps. For the adults, invest in high-quality padded cycling shorts. They are not a fashion statement; they are a medical necessity for rides longer than 60 minutes.
Calories: Cycling burns significantly more energy than walking. For a 20km trip, pack 30% more snacks than you think you need. High-protein snacks like nuts or jerky (for adults) and easily digestible fruits (for kids) work best. Avoid heavy, sugary snacks that lead to a “crash” mid-ride.
Components: You don’t need to be a mechanic, but you must carry a “Get Home” kit. This includes a spare inner tube, a portable hand pump, and a multi-tool. Before you head out, watch a 10-minute YouTube video on how to change a flat tire. It is a simple skill that prevents a ruined weekend.
The Psychological Aspect: Managing Expectations and Energy
As a parent, you are the expedition leader. Your energy dictates the mood of the group. If you are stressed about the route, your children will sense it. This is why you should always plan a “bail-out” point. A bail-out point is a location on your route where you can easily access public transport (like a train station or a bus stop that takes bikes) if the weather turns bad or the children are simply “done.”
Know your limits. A child’s patience usually runs out around the 90-minute mark of continuous activity. Plan your stops accordingly. Aim for a “Stop-Every-Hour” cadence. Use these stops to explore something specific—a park, a small cafe, or even just a particularly interesting bridge. This turns the ride into a series of smaller, manageable segments rather than one daunting long-distance trek.
Common Pitfalls to Avoid
- Ignoring the Wind: Always check the wind direction. It is much harder to cycle into a headwind on your way back home when everyone is already tired. If possible, cycle into the wind on the first half of your trip.
- Overestimating Pace: Assume an average speed of 10–12 km/h for a family. Do not plan for 20 km/h. If you plan for 10 km/h and finish early, you have extra time for ice cream. If you plan for 20 km/h and fail, you have a miserable, frustrated family.
- Neglecting Hydration: You will not feel yourself sweating as much as you do when running, especially if there is a breeze. Set a rule: every time the parent drinks, the child drinks.
Logistics of the Two-Day Getaway
For a two-day trip, the “hub-and-spoke” model is often better than a “point-to-point” trip. With the hub-and-spoke model, you stay at a single, family-friendly hotel or campsite (the hub) and take two separate day-long loops (the spokes) from there. This eliminates the stress of packing and unpacking gear every single night.
When booking accommodation, look for “Cycle-Friendly” or “Bike-Hotel” certifications. These establishments offer secure, indoor storage for your bicycles. Never leave your bikes locked outside overnight, even in “safe” areas. If your hotel does not have secure storage, call them in advance and ask if you can bring the bikes into the room. Most will accommodate you if you are polite and the bikes are clean.
Building the Habit: From First Trip to Regular Routine
Don’t try to conquer a 100km tour on your first attempt. Start with a “half-day” trip. Ride to a destination 5–8km away, have a picnic, and ride back. This allows you to test your equipment and your children’s tolerance without the pressure of a multi-day commitment. Once you have mastered the half-day trip, increase the distance by 20% each time.
The beauty of this hobby is that it grows with your family. As your children get older, they move from trailers to tag-alongs, then to their own bikes. The gear changes, but the core activity remains the same. You are establishing a lifelong habit of active travel that will eventually allow your children to navigate their own world with confidence.
Remember that the goal is not to reach the destination. The goal is to provide a space where your family can experience the world at a human scale. If you find yourself in a situation where the weather is perfect, the path is beautiful, but you only made it halfway—call it a success. You spent the day outside, you moved your bodies, and you shared an experience that no screen could ever replicate.
Practical Next Steps for Your First Trip
If you are ready to book your first trip, follow this checklist to ensure you are prepared:
- Safety Audit: Take your bikes to a local shop for a “tune-up.” Ask them specifically to check the brakes and tire pressure. Do this at least one week before your trip.
- Test Ride: Go for a 5km ride with all the gear you plan to take. This will highlight any imbalances in your trailer or panniers.
- Digital/Physical Backup: Download your route to your phone for offline use, but carry a small physical map of the area. Phone batteries die; paper does not.
- The “Bail-Out” Check: Map out the nearest train or bus stations on your route. Save their schedules to your phone.
Bicycle-tourism isn’t a complex sport—it’s a lifestyle adjustment. By choosing to travel by bike, you are opting out of the noise and the stress of modern transit and opting into a more intentional way of being with your family. Start small, stay consistent, and keep the focus on the joy of the ride rather than the distance on the odometer.
Frequently Asked Questions
Q: What is the ideal age to start taking children on bicycle-tourism trips?
A: Most children can safely ride in a high-quality, suspension-equipped trailer from around 6–9 months, provided they can support their own head and you use an infant insert. Always consult with your pediatrician regarding the specific safety standards of the trailer you intend to use.
Q: How do I handle heavy gear without making the bike unstable?
A: The key is “low and centered” weight. Use panniers (saddlebags) mounted on a rear rack rather than a backpack. A backpack will strain your back and shift your center of gravity, making you prone to wobbling. If you have a trailer, keep the heaviest items at the bottom and as close to the wheel axle as possible.
Q: What if we get a flat tire and I don’t know how to fix it?
A: While learning to fix a flat is recommended, you can carry a “puncture sealant” spray (like Slime or similar brands) which can temporarily seal small holes and inflate the tire enough to get you to the nearest repair shop. However, this is a stop-gap measure; always carry a spare tube and a pump for real reliability.
For more information on cycling safety and route planning, visit the Cycling UK official website or check your local government’s transport department for regional cycling maps.