The secret to a successful “train-to-trail” adventure isn’t about having the most expensive gear; it’s about modular packing that allows you to transition seamlessly from a quiet train carriage to a rugged mountain path without feeling like a pack mule.
- The 20-Liter Rule: Keep your daypack under 20 liters to ensure it fits easily on train racks and doesn’t hinder your mobility on narrow trails.
- Layering is Non-Negotiable: Train cabins are often climate-controlled, while trails are unpredictable. Pack for the temperature difference, not just the destination.
- Digital vs. Analog: Always carry a physical map or a downloaded offline GPS file, as cell service is notoriously unreliable in deep valleys or tunnels.
Why Train-to-Trail is the Ultimate Parent Reset
If you are in your 30s or 40s, your weekends are likely a blur of grocery shopping, laundry, and managing the endless logistics of family life. The idea of driving two hours to a trailhead, only to sit in traffic on the way back, is often enough to make us stay on the couch. This is why the “train-to-trail” movement is gaining traction globally. It turns the travel portion of your trip into a moment of enforced stillness—a rare commodity for parents.
When you take the train, you aren’t fighting for parking or white-knuckling the steering wheel through winding mountain roads. You are reading, planning, or simply staring out the window. However, this shift requires a specific approach to packing. You are no longer tethered to a car trunk where you can dump “just in case” items. You have to carry everything you need from the moment you leave your front door.
The Anatomy of an Efficient Daypack
The biggest mistake most hikers make when transitioning to public transit is overpacking. When you have a car, you can leave a change of clothes and extra snacks in the vehicle. On the train, your backpack is your base camp. For a standard day hike, a 15-20 liter pack is the sweet spot. Anything larger, and you’ll find yourself struggling to navigate turnstiles, train doors, and crowded aisles.
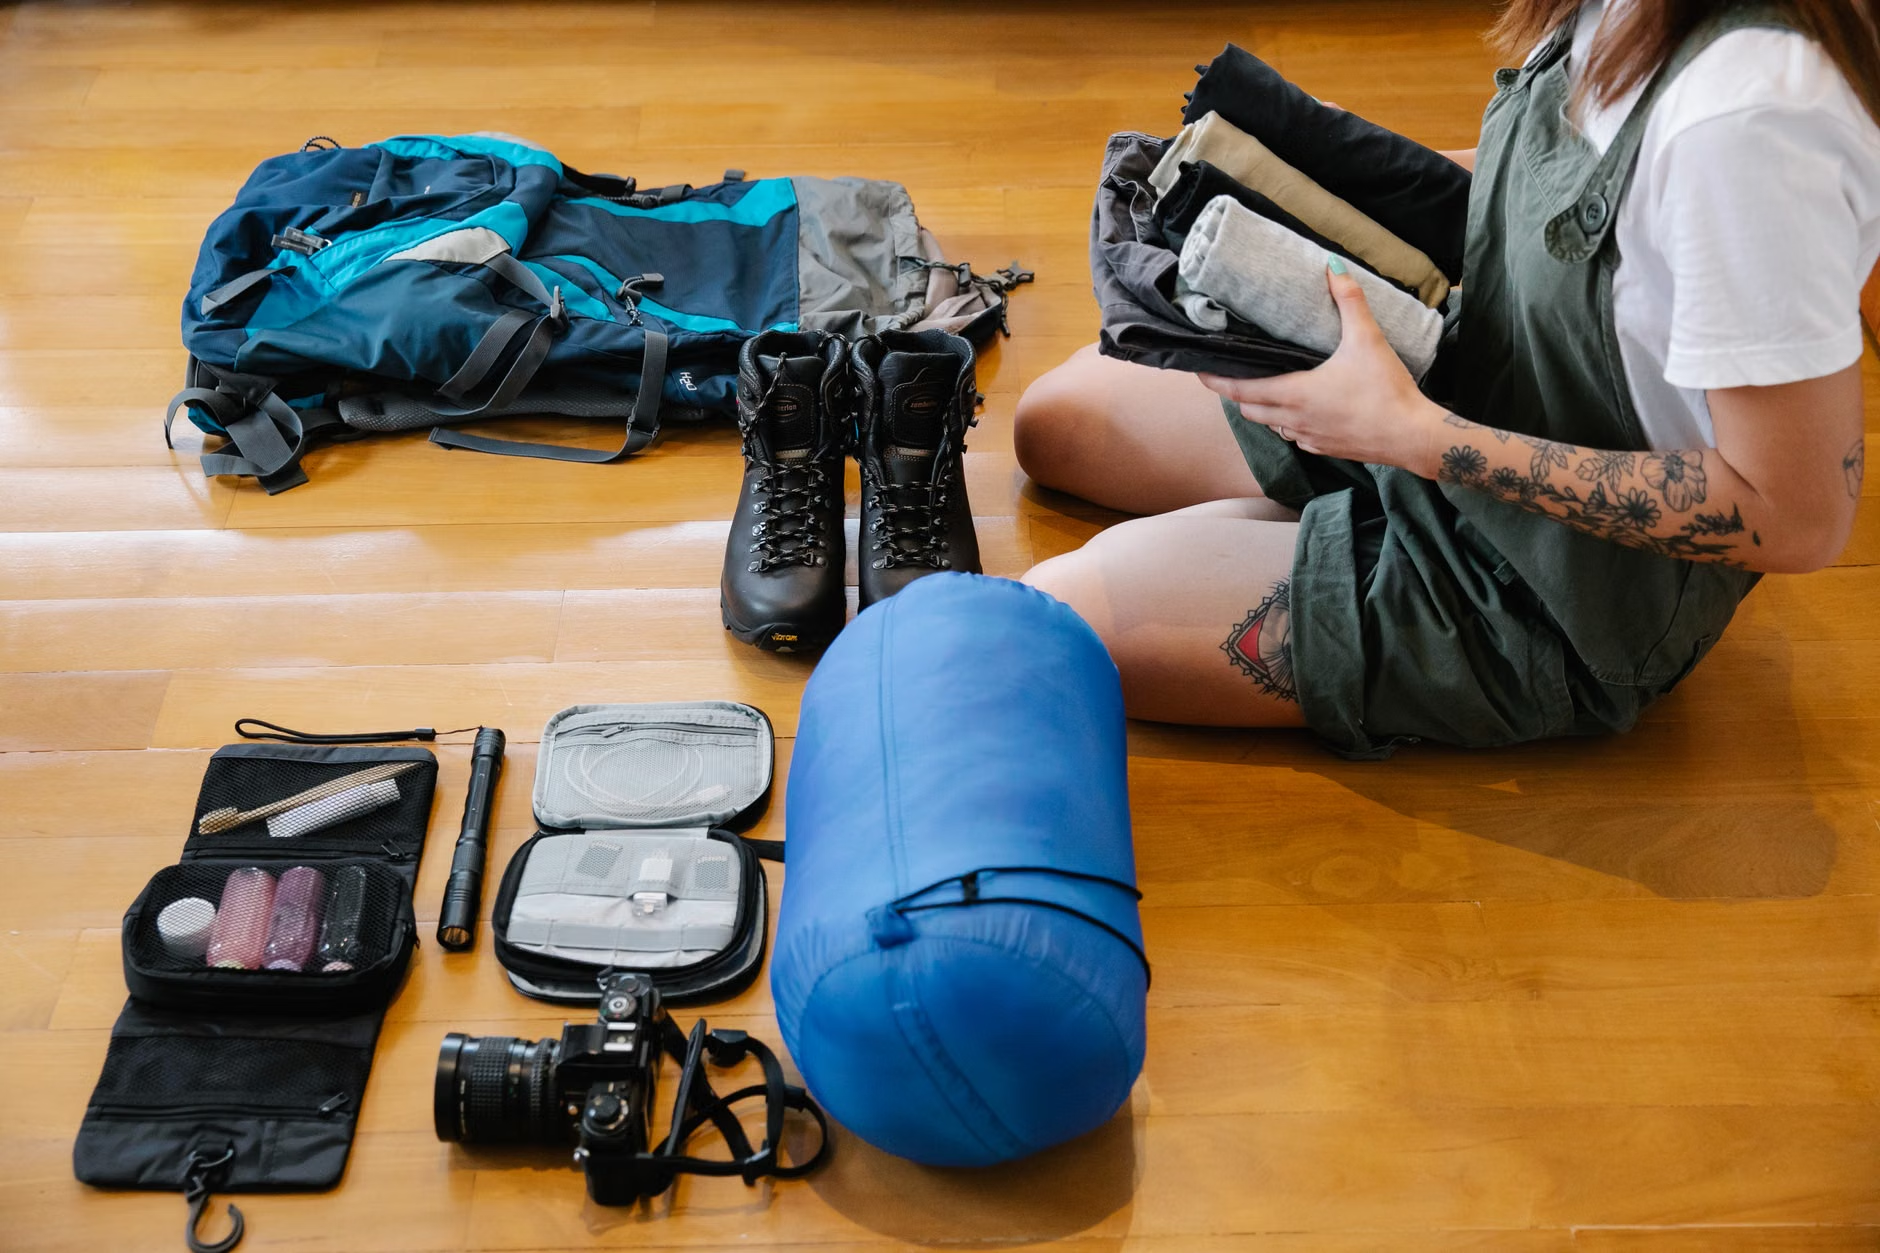
Your packing strategy should follow a “modular” approach. Use packing cubes or small dry bags to compartmentalize your gear. This prevents the “bottomless pit” syndrome where you have to dump your entire bag on a muddy trail just to find your sunscreen.
| Category | Essential Item | Why it Matters |
|---|---|---|
| Safety | First Aid Kit | Small, portable, and includes blister care. |
| Hydration | Collapsible Bottle | Saves space when empty; essential for weight management. |
| Navigation | Power Bank | Phones die quickly in cold or searching-for-signal conditions. |
| Comfort | Lightweight Shell | Protects against wind and sudden rain without bulk. |
The Art of Layering for Commuting Hikers
One of the most overlooked aspects of train-to-trail travel is the temperature delta. You might be boarding a train in a city center that is 20°C, only to arrive at a mountain trailhead where the air is a crisp 10°C. If you dress only for the hike, you’ll be shivering on the train. If you dress only for the train, you’ll be sweating through your layers within twenty minutes of starting your ascent.
The solution is the “base-mid-shell” trinity. A merino wool base layer is your best friend. It regulates temperature, resists odors (crucial when you’re sitting next to strangers on the train), and dries incredibly fast. Wear your mid-layer—a fleece or a light synthetic jacket—on the train, and keep your shell layer accessible in the top pocket of your bag. By the time you step off the train, you should be able to adjust your temperature in under thirty seconds.
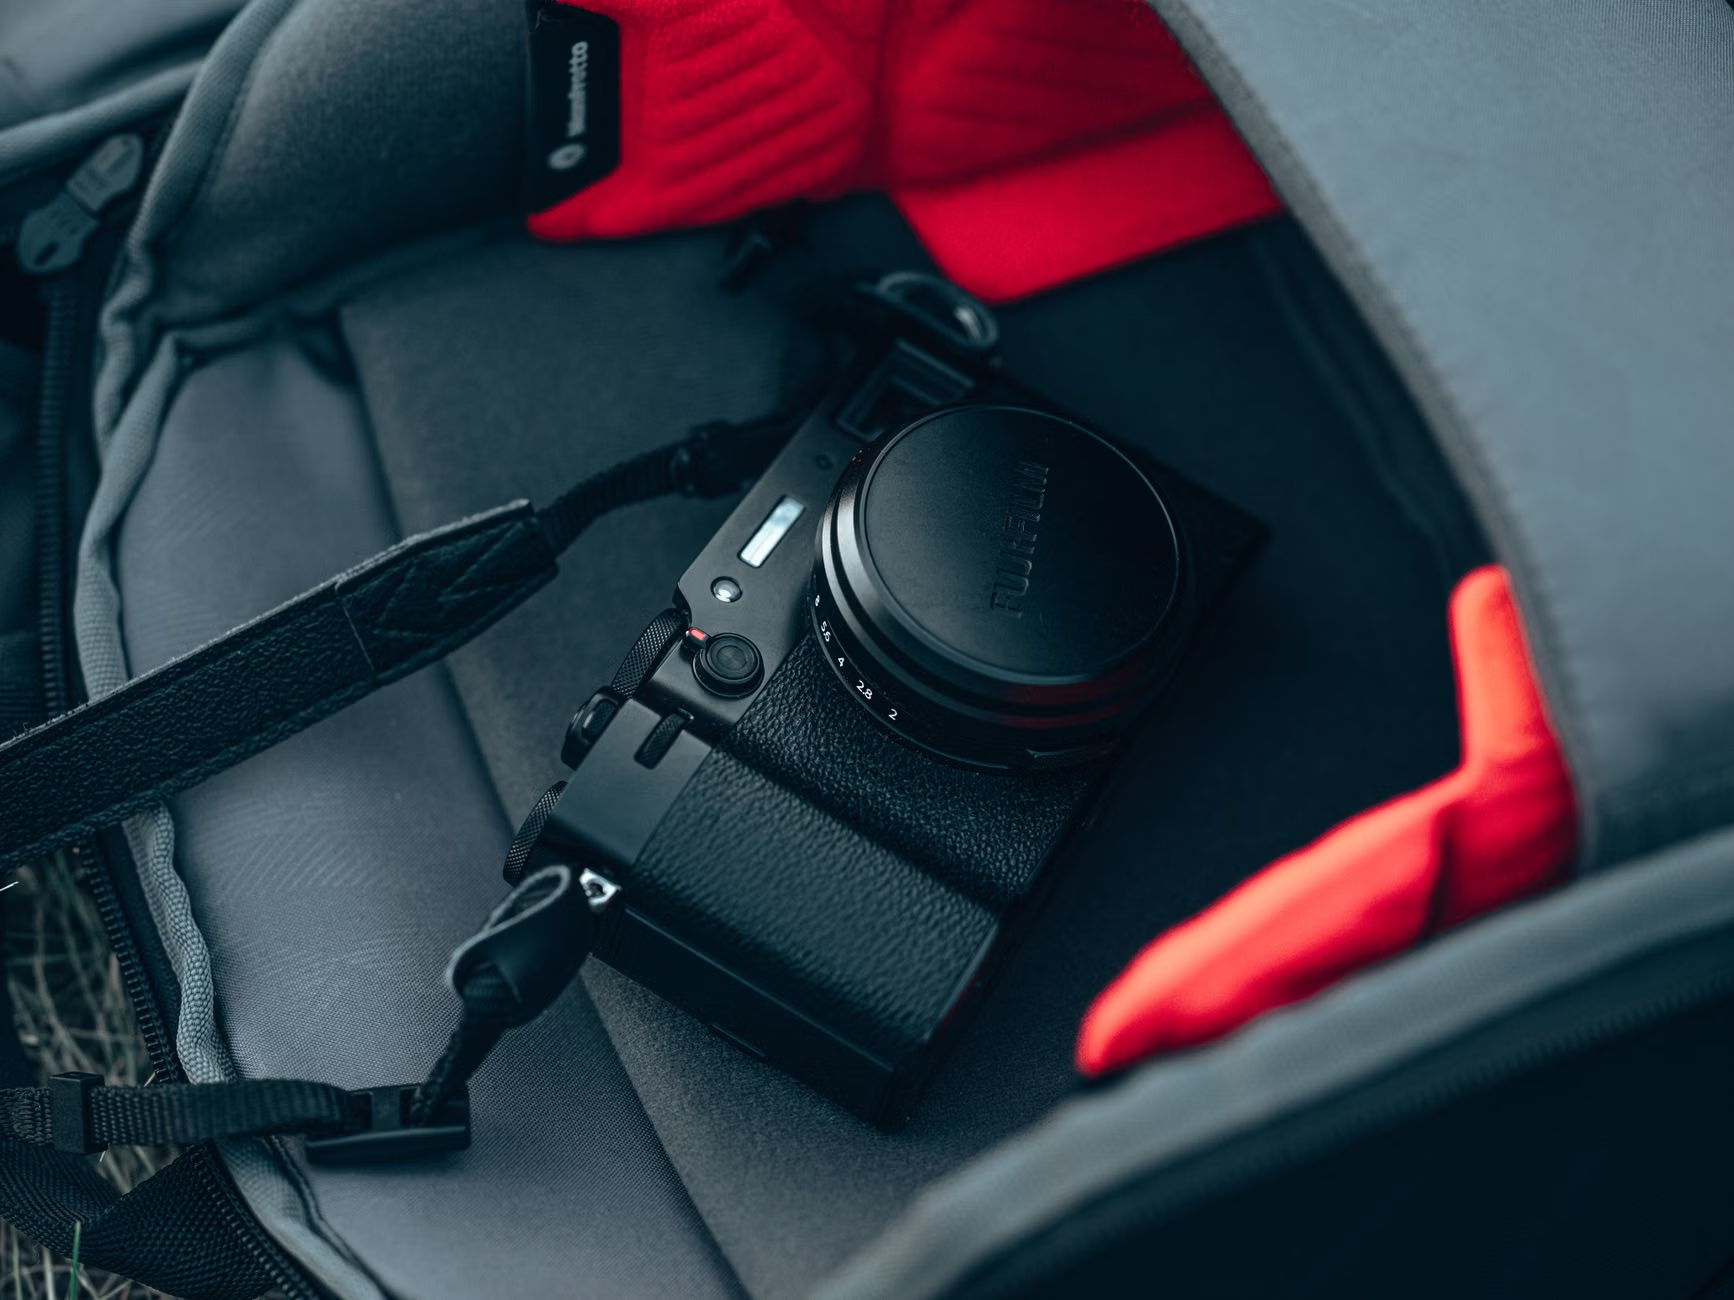
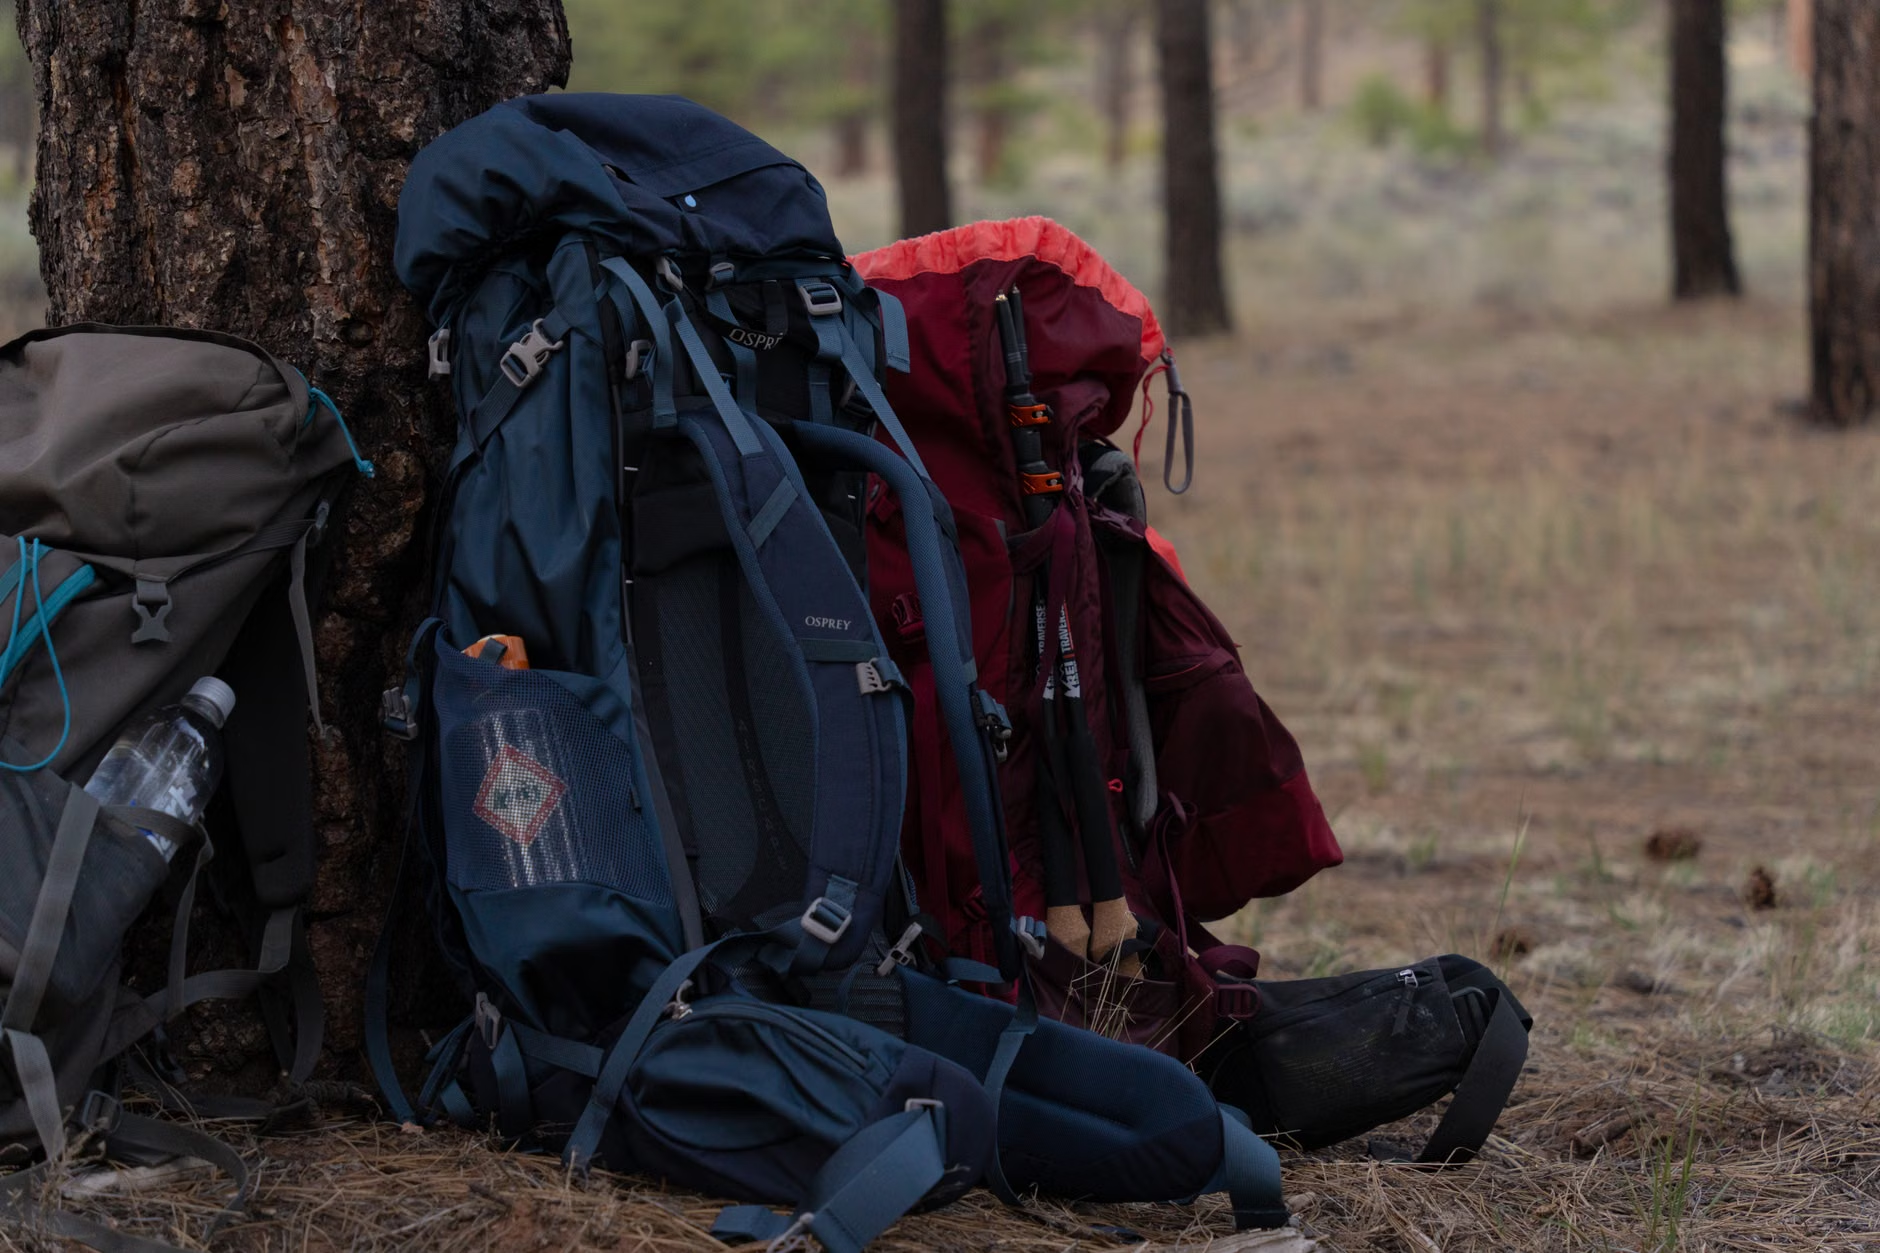
When you are traveling with gear, the train is your best friend, but it can also be a source of stress if you aren’t prepared. Always check the train operator’s policy on large items. Most regional trains are perfectly fine with standard hiking backpacks, but if you are bringing trekking poles, they must be collapsed and strapped to the outside of your pack, ideally with the tips covered.
Consider the “last mile” of your journey. Many train stations in rural areas are a few kilometers away from the actual trailhead. Do you have a plan for this? Often, a quick check of the local bus schedule or a pre-booked local taxi service can save you from an hour of walking on asphalt, which is a fast way to tire out your legs before you even reach the nature part of your trip.
We live in an era where we assume we will always have a signal. In the mountains, this is a dangerous assumption. Tunnel transit and deep valleys are the natural enemies of 5G. Before you leave home, download your trail maps for offline use. Apps like AllTrails or Gaia GPS have excellent offline functionality, but they are only useful if the map data is cached on your device.
I also recommend keeping a small, physical “cheat sheet” in your pocket. This should include the departure times of the last train back to the city. Missing that last train isn’t just an inconvenience; it can be an expensive mistake. Knowing you have to be back at the station by 5:30 PM keeps you disciplined on the trail and prevents you from pushing too far into the wilderness when you should be turning back.
Footwear: The Great Debate
Can you wear hiking boots on a train? Absolutely. But should you? If you’re planning a long day of hiking, your boots are essential. However, if you are doing a more casual trail, consider wearing supportive trail runners. They are much lighter, more comfortable for walking through train stations, and they don’t look as out-of-place if you decide to stop for a meal in a small town on your way back home.
If you insist on heavy-duty boots, make sure they are clean. There is nothing worse than arriving at a station with mud-caked soles and leaving a trail of dirt through the carriage. A small, stiff-bristled brush kept in your side pocket can be used to quickly knock off the worst of the mud before you board.
Snack Logistics: Fueling the Family
Packing for yourself is one thing; packing for children or a partner is another. When you are on a train, you have limited space, so prioritize high-density snacks. Think nuts, dried fruits, energy bars, and jerky. Avoid anything that requires significant prep or creates a lot of waste, as finding a trash bin on a remote train platform can be surprisingly difficult.
Pack an extra liter of water more than you think you need. Even if there are streams on the trail, you don’t want to be reliant on them unless you have a reliable filtration system. For parents, the “snack-per-hour” rule is a lifesaver. Give the kids their own small pouch of trail mix. It gives them a sense of ownership over their energy levels and stops them from asking, “Are we there yet?” every ten minutes.
Common Mistakes to Avoid
The most common error I see is the “Sunday Evening Panic.” This happens when you realize you have to get back, but you haven’t accounted for the weekend schedule changes of the train line. Always check the operator’s website on the morning of your trip. Engineering works, strikes, or service disruptions can turn a beautiful Sunday into a logistical nightmare.
Another mistake is neglecting the “transition” kit. If you have to take a train back, you might be sweaty and tired. Keeping a small pack of biodegradable wet wipes and a change of socks in your bag can make the return journey infinitely more pleasant for you and the people sitting near you. It is a small gesture of social responsibility that goes a long way.
The Reality of Seasonal Changes
Packing in the summer is easy—shorts, a t-shirt, and plenty of sunscreen. But what about autumn or spring? These are arguably the best times to hit the trails, but they require a different approach. The “shoulder season” means muddy paths and variable temperatures. Gaiters are an underrated piece of gear for these months. They keep mud from getting into your boots and keep your pants clean for the train ride home.
Always verify the sunset time. In the summer, you have plenty of light. In the fall, the sun can disappear behind a ridge by 4:00 PM, changing the temperature from “comfortable” to “freezing” in minutes. Your packing list should always include a headlamp, even if you plan to be back well before dark. It’s a low-weight, high-security item that belongs in every hiker’s pack.
Actionable Packing Checklist
To keep your transition from train to trail smooth, follow this checklist every time you pack:
- The “Must-Haves”: Phone (fully charged), wallet, keys, and transit pass/ticket.
- The “Navigation”: Offline map, power bank, and charging cable.
- The “Survival”: First aid kit, headlamp, and a multi-tool.
- The “Comfort”: Rain shell, extra socks, and a small microfiber towel.
- The “Nutrition”: High-density snacks and at least 1.5L of water.
Implications for the Modern Parent
Why go through all this trouble? Because the train-to-trail experience changes how we view our environment. Instead of seeing the landscape as a series of destinations connected by highways, you see it as a continuous, interconnected whole. You become more aware of the geography, the distance, and the rhythm of the land.
For parents, it’s a lesson in patience and adaptability. You are teaching your children that adventure doesn’t require a massive SUV or an expensive road trip. It requires curiosity, a bit of planning, and the willingness to walk. It’s a slower, more deliberate way to travel that fits surprisingly well into the chaotic rhythm of our 30s and 40s.
Final Thoughts
The transition to train-to-trail travel is not about becoming a minimalist survivalist. It’s about streamlining your life so that you can focus on the experience rather than the gear. By keeping your pack light, your layers smart, and your logistics tight, you can turn a simple weekend into a genuine reset. Start small, pick a line that runs into a nature reserve or a park, and see where the rails take you. You might just find that the journey to the trailhead becomes the most relaxing part of your week.
Frequently Asked Questions
Q: Is it really worth the hassle of carrying all my gear on the train?
A: Yes. The time you spend on the train is “found time.” You can decompress, read, or enjoy the view. Once you arrive, you aren’t tied to a car, meaning you can hike point-to-point (starting at one station and ending at another) rather than having to hike in a circle back to a parking lot.
Q: What if I have small children who can’t walk long distances?
A: Look for “urban-adjacent” trails. Many cities have regional rail lines that drop you off at nature centers or parks with paved or well-maintained gravel paths that are perfect for strollers or younger kids. Always check the trail difficulty before you go.
Q: How do I handle dirty gear after a hike?
A: Pack a large, lightweight dry bag or a dedicated laundry bag. Once you finish your hike, place your muddy boots and dirty layers inside the bag before boarding the train. This keeps your clean clothes and the train carriage clean.
For more information on planning your own adventures, check out the official transit guides for your local rail network and the National Park Service or local regional park authority websites for trail maps and conditions.