Hello to all dedicated parents out there! This is SoCooly. The time has come when milk or formula alone isn’t quite enough for your growing baby. It’s time to start Solid Foods (often called weaning or complementary feeding)! Introducing solids is more than just filling tiny tummies; it’s a crucial developmental milestone where your baby learns to chew, swallow, and experience a variety of new tastes. But for first-time parents, the question of “When should I start?” or “What should I feed?” can feel overwhelming. I completely understand; I’ve been there too!
Don’t worry! Today, I’m going to guide you through everything you need to know, from the very beginning of solid food introduction up to the toddler stage. Think of this as a friendly chat with an experienced neighbor.
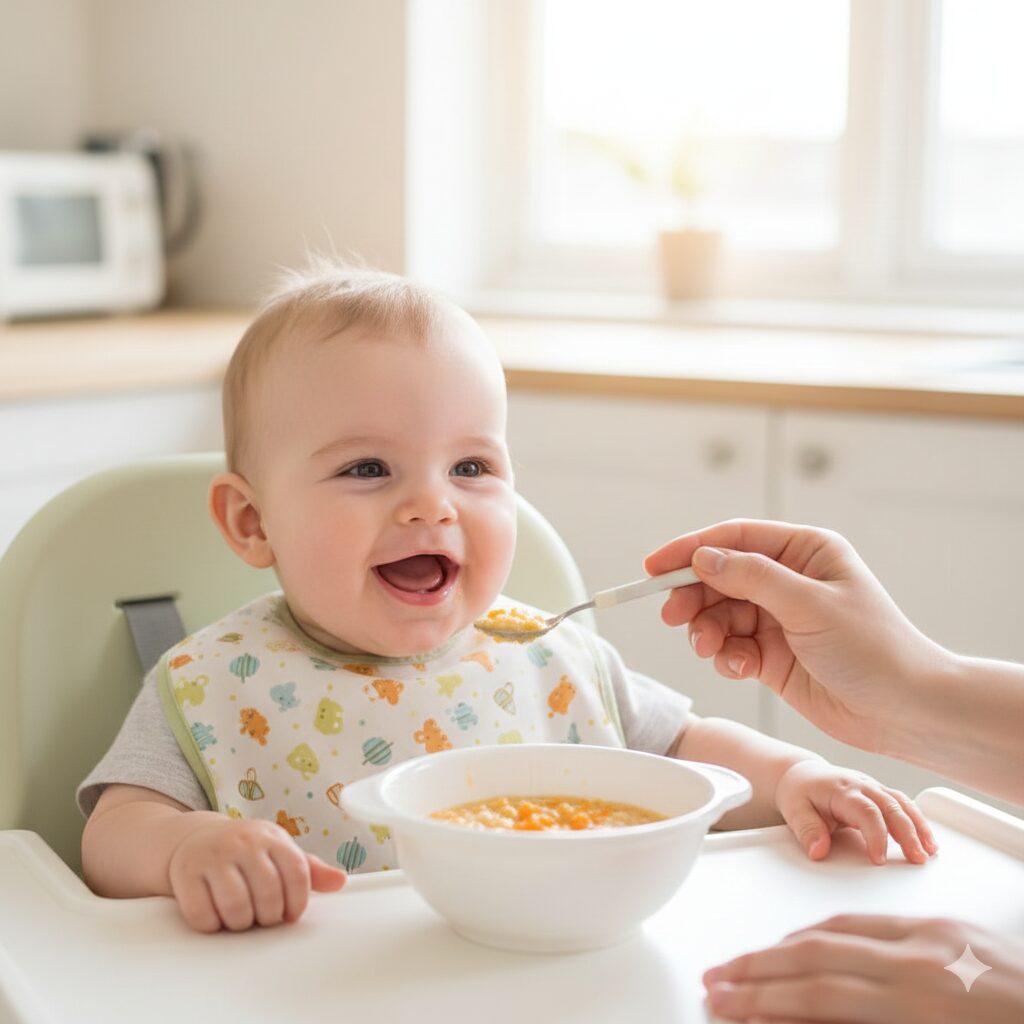
🍽️ When is the Best Time to Introduce Solid Foods?
The optimal time to start solids can vary slightly based on individual baby development, but experts generally recommend starting sometime between 4 and 6 months of age. The World Health Organization (WHO) and various national pediatric associations suggest that complementary feeding should ideally begin before six months. However, simply reaching the 4-month mark isn’t the signal; it’s essential to look for developmental readiness signs in your baby.
✨ 4 Signs Your Baby is Ready for Solids!
- Good Head Control: Your baby should be able to hold their head steady and upright without assistance. This is critical for safe swallowing.
- Loss of Tongue-Thrust Reflex: The natural reflex where babies push solids out with their tongue should have diminished. They should attempt to swallow food offered on a spoon.
- Increased Interest in Food: Your baby watches intently as you eat, leans forward, or even smacks their lips when they see food.
- Increased Hunger/Milk Intake: They may seem hungrier or demand milk more frequently, even after a full feeding of formula or breast milk.

If your baby is 4 months old but doesn’t show these signs, it’s best to wait until they are closer to 6 months. Starting too early can burden their digestive system, while waiting too long might lead to iron deficiencies or increased food refusal.
🍚 Stage-by-Stage Guide to Baby Food and Key Recipes
Solid food introduction is generally divided into four stages, matching the baby’s growth rate and digestive ability. The core idea is to gradually increase the variety of ingredients, make the texture thicker, and the particle size coarser as you advance through the stages.
1. Stage 1: Introducing Solids (4–6 Months)
- Goal: Getting used to the spoon and non-liquid textures.
- Ingredients: Single-grain rice cereal, purified water, simple vegetables (potato, zucchini, broccoli, etc.), and beef.
- Texture & Consistency: Completely pureed and liquid, like a thin soup. It should flow easily off a spoon.
- Frequency: Once a day, ideally before a milk feeding in the morning.
💡 [Stage 1 Recipe Example] Thin Rice Cereal
The key is to soak the rice thoroughly, then cook it with water and strain it 2–3 times until perfectly smooth. Start with a thin consistency (1 part rice to 10 parts water). After two weeks, begin introducing single-ingredient vegetables or beef (crucial for iron!).
2. Stage 2: Purées and Mashed Foods (7–8 Months)
- Goal: Learning to mash food with the tongue.
- Ingredients: Chicken, white fish, various grains (oats, barley), and a wider range of fruits and vegetables.
- Texture & Consistency: Thicker consistency, like a watery porridge. The particles should be about 1/4 to 1/8 the size of a grain of rice, allowing the baby to mash them with their tongue.
- Frequency: Twice a day (morning and afternoon).
⚠️ [Stage 2 Checkpoint]
This is the time to start testing potential allergy-causing foods. Introduce new ingredients one at a time, keeping a 3-day gap between new foods, and closely monitor your baby’s skin and stools for any reactions.
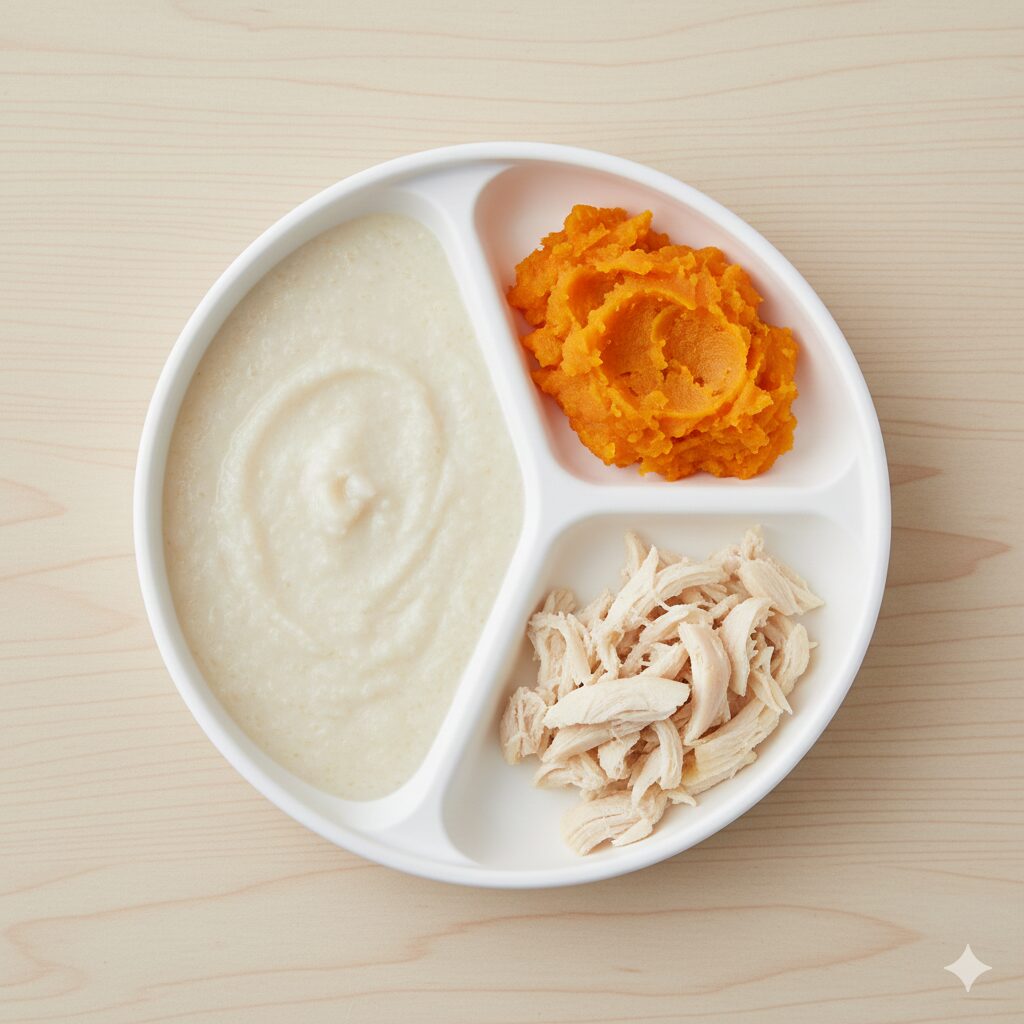
3. Stage 3: Minced and Chopped Foods (9–11 Months)
- Goal: Learning to chew with the gums.
- Ingredients: Tofu, egg yolk, cheese, and more complex protein sources.
- Texture & Consistency: Texture of thick porridge or very soft, minced food. Particles should be about the size of a lentil or small bean, requiring the baby to chew with their gums.
- Frequency: Three times a day, establishing a regular meal schedule.
💡 [Stage 3 Tip]
You can start introducing Baby-Led Weaning (BLW) alongside purees. Offer soft foods cut into finger shapes (like well-cooked carrot sticks or avocado slices) so the baby can pick them up and feed themselves, fostering independence.
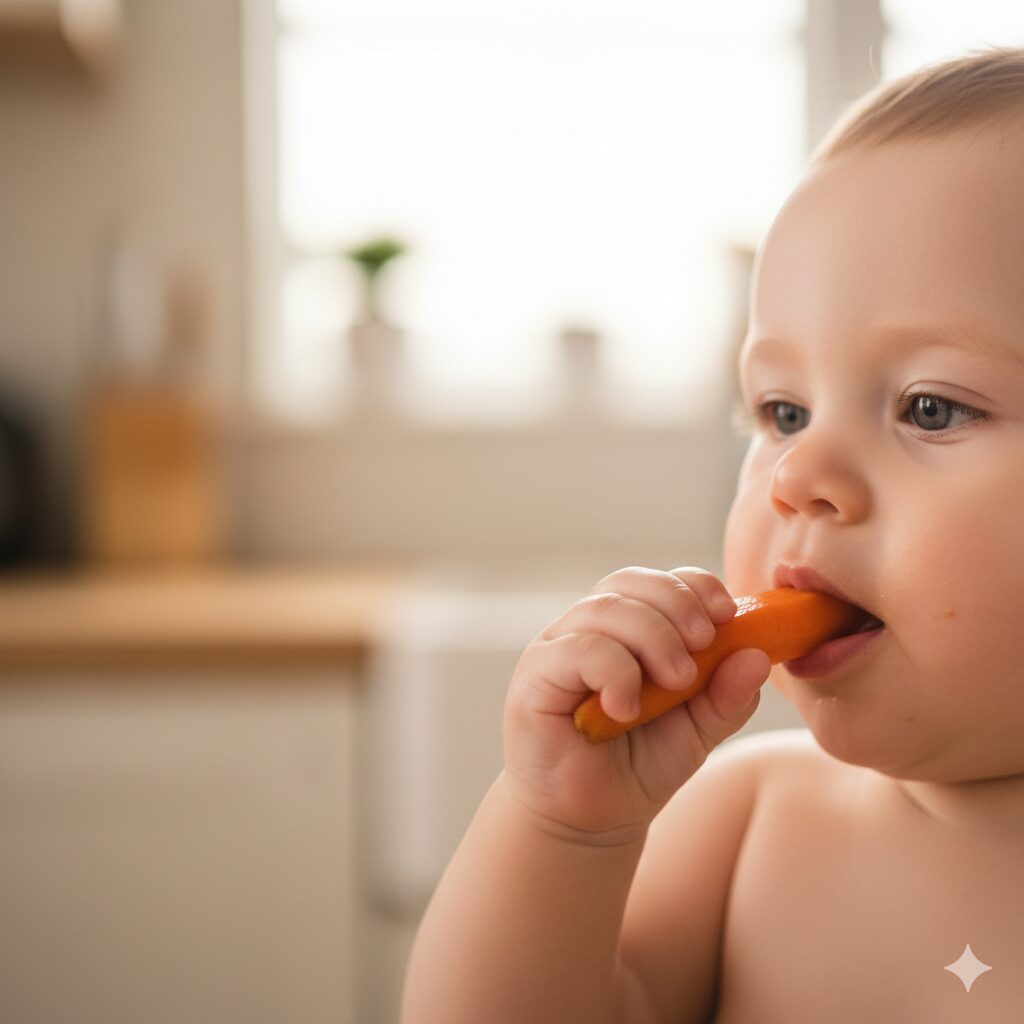
4. Stage 4: Family Foods / Toddler Stage (12+ Months)
- Goal: Transitioning towards the adult diet.
- Ingredients: Almost all ingredients (excluding spicy or heavily seasoned items).
- Texture & Consistency: Slightly soft, well-cooked table food. Provide various soft side dishes and encourage the baby to use a spoon and fork.
- Frequency: Three main meals + 1–2 healthy snacks per day.
👶 [Stage 4 Warning]
Even after the first year, honey (risk of botulism) and high-sodium seasonings should be avoided. Focus on encouraging your child to chew whole foods rather than excessively mixing food with soup or liquids.
🛑 What to Do When Your Baby Refuses Food (Food Refusal)
There’s nothing more disheartening than a baby refusing the food you lovingly prepared. Food refusal is very common, and it is absolutely not the parents’ fault!
✨ 3 Tips for Dealing with Food Refusal
- Relax (The Most Important Tip): Do not pressure your baby to eat. Forcing them or getting visibly frustrated can make mealtime a negative experience. Maintain a calm and pleasant atmosphere.
- Try Changing Texture/Temperature/Taste: Is the current texture too coarse or too smooth for your baby? Try adjusting the temperature slightly. Instead of introducing a brand-new flavor, mix the current food with an ingredient your baby previously enjoyed.
- Change the Environment: Try having your baby eat while sitting with you at the main table, watching you eat. Changing the location or introducing a fun new plate or spoon (perhaps one with a favorite character) can also spark interest.

⚠️ [Essential Note] Iron and Vitamin D
Around 6 months of age, a baby’s stored iron reserves begin to deplete. Therefore, it is critical to provide iron-rich foods like beef and iron-fortified cereals through solid foods. Additionally, experts recommend giving a Vitamin D supplement consistently, especially if the baby doesn’t get sufficient sun exposure.
🌟 Final Words of Advice for Solid Food Success
Introducing solids is not a race; it’s the first step toward your child developing healthy eating habits for life. Do not compare your baby’s progress to others, and avoid stressing over small details. The most important thing is to follow your baby’s cues and make the process slow and enjoyable. If your baby refuses food severely or has serious allergic reactions, it is always best to consult a Pediatrician or a certified health professional.
For a happy mealtime, I encourage parents to remain relaxed and cheerful. I hope this guide helps smooth out your journey with baby food. Keep up the fantastic work! Parenting is a joyful adventure! 😊
📌 References
- World Health Organization (WHO) Complementary Feeding Guidelines: https://www.who.int/
- American Academy of Pediatrics (AAP) Nutrition Information: https://www.aap.org/