- Proactive Regulation: A sensory kit is not just for emergencies; it is a tool for maintaining equilibrium by addressing sensory overload before a meltdown occurs.
- The “Rule of Three”: Every kit should include one tool for input (proprioceptive), one for calming (auditory/visual), and one for distraction (tactile/fidgeting).
- Consistency is Critical: Test all items at home for at least one week before travel; a new toy can become a stressor if the child finds its texture or sound unexpected.
The secret to a successful trip for a neurodivergent family isn’t about eliminating every challenge, but about creating a portable “home base” of comfort that can be deployed anywhere from a security checkpoint to a hotel room. If you have ever felt that familiar spike of adrenaline when a flight is delayed or a hotel room is louder than expected, you know that the environment often dictates the success of a family vacation. Building a dedicated neuro-diverse travel kit is your most effective insurance policy against the chaos of travel.
Why Your Travel Strategy Needs a Sensory-First Approach
Travel is an assault on the senses. Even for neurotypical individuals, the combination of harsh fluorescent lighting, fluctuating cabin pressure, the smell of recycled air, and the constant hum of jet engines can induce fatigue. For a child or adult with sensory processing differences, these inputs are not merely annoying; they can be physically painful or overwhelming. When we talk about “sensory-friendly travel,” we are really talking about sensory management.
The goal of a travel kit is to provide predictability. When a child knows they have access to their favorite weighted item or noise-canceling technology, their baseline anxiety drops. This is not about “spoiling” a child or catering to whims; it is about providing the tools necessary for an individual to participate in a shared experience. If you are a parent in your 30s or 40s, you are likely already balancing a dozen logistics—flights, hotels, rental cars—and the sensory kit is the one piece of logistics that keeps the human element of your trip from derailing.
Most travelers make the mistake of packing “entertainment” rather than “regulation” tools. An iPad is entertainment; a fidget spinner is regulation. While entertainment is important for boredom, regulation tools address the nervous system’s need for input. If you confuse the two, you might find yourself with a child who has plenty to watch but is still hyper-aroused and unable to settle.

The Core Components: What Goes Inside the Kit
A well-rounded kit follows a specific taxonomy. You need to address the three primary sensory systems: auditory, tactile, and proprioceptive (the sense of body position and pressure). If you ignore one, you leave a gap in your defense. Here is how to structure your kit effectively.
1. Auditory Regulation: Beyond Basic Earplugs
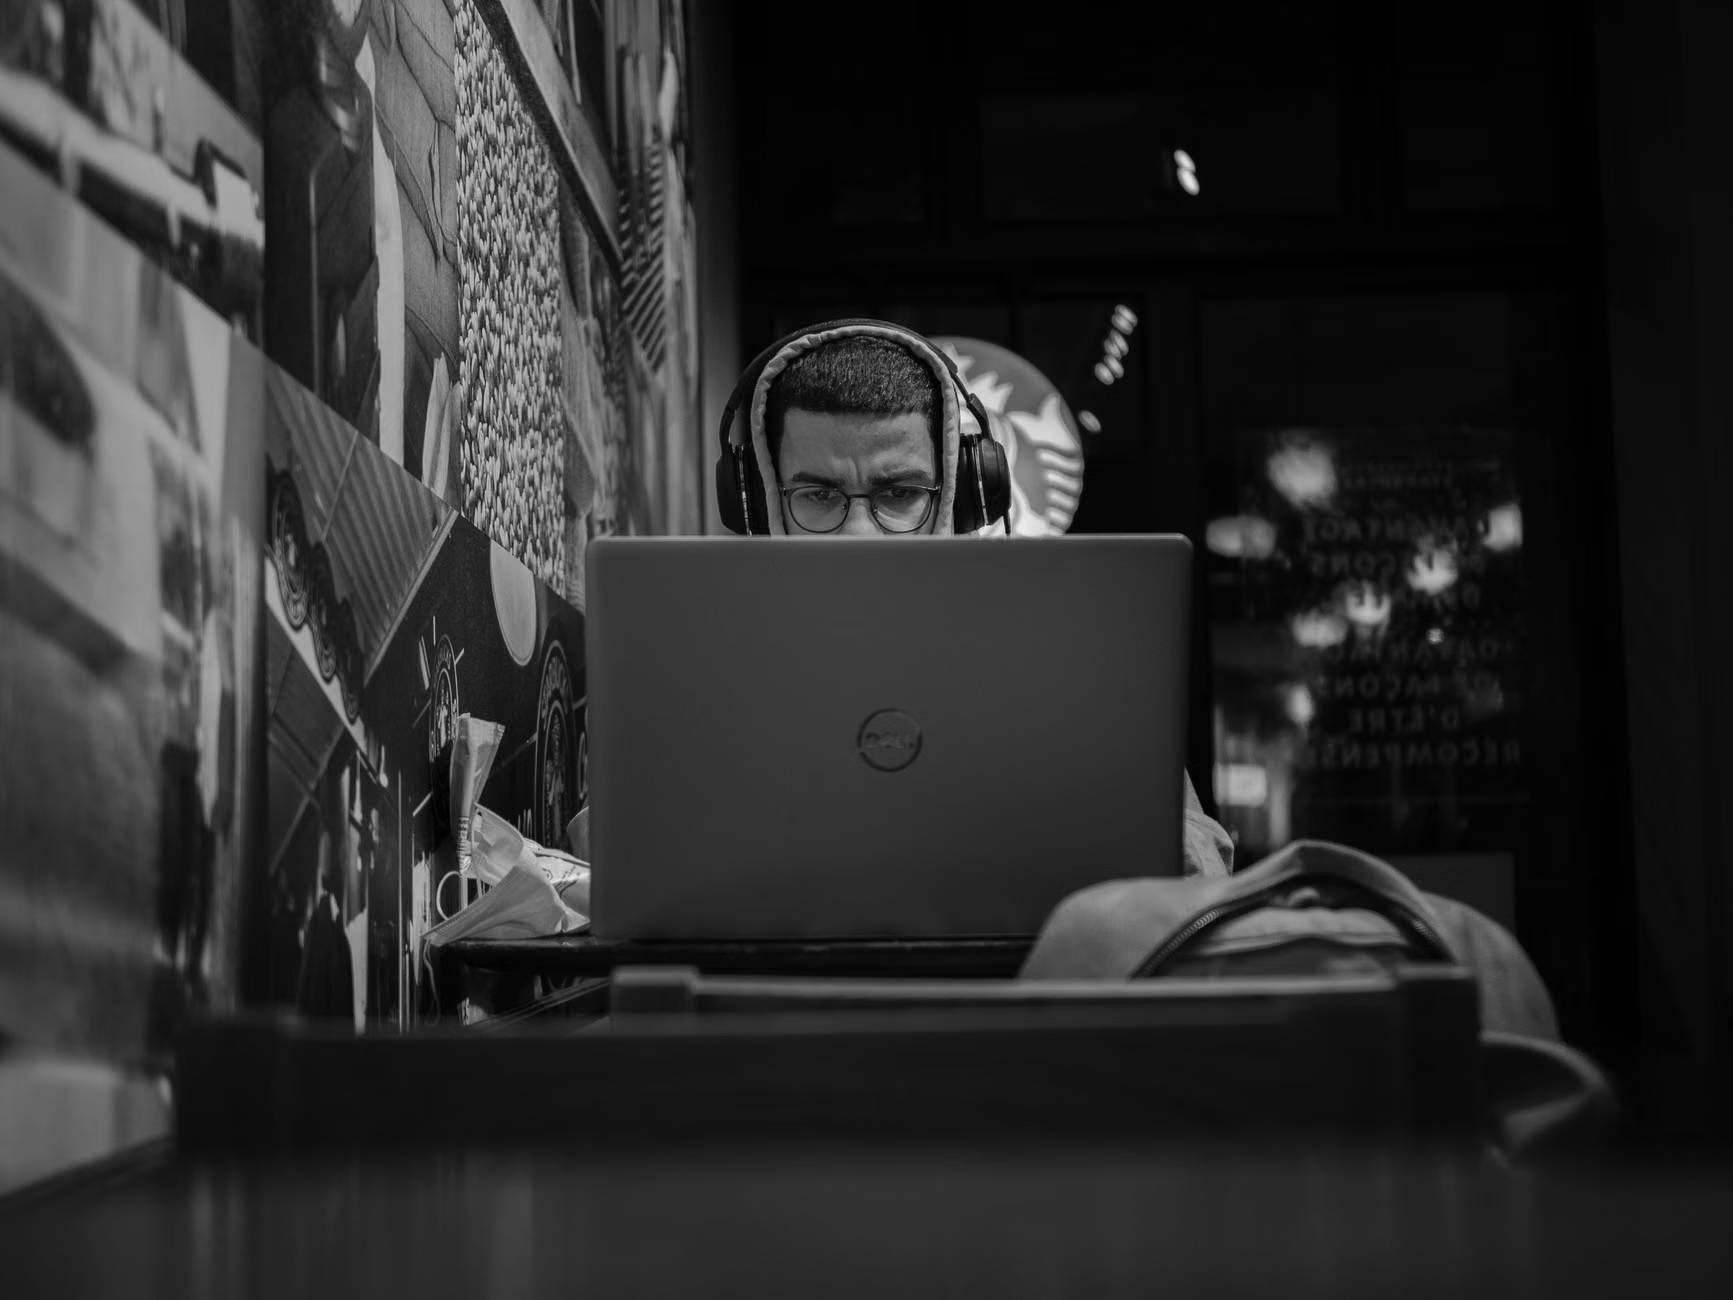
Airplanes and busy train stations are high-decibel environments. Standard foam earplugs are often uncomfortable and can be difficult for children to insert correctly. Look for high-fidelity earplugs or, better yet, active noise-canceling headphones. The key here is comfort over technical specs. If the headband is too tight, it becomes a secondary sensory issue. Test the clamping force of the headphones—if they feel tight to you after ten minutes, they will be unbearable for a child after an hour.
2. Proprioceptive Tools: The “Heavy” Fix
Proprioception is the sense of where our body is in space. When we feel overwhelmed, our bodies often crave “deep pressure” to ground us. Think of a weighted lap pad, a compression vest, or even a tight-fitting hoodie. These items provide a calming sensation that helps the brain filter out external noise. For travel, a full-sized weighted blanket is impractical. Instead, opt for a weighted neck wrap or a heavy-duty plush toy. These items are portable and act as a physical anchor.
3. Tactile Fidgets: The “Goldilocks” Rule
Not all fidgets are created equal. You need a mix of textures: something smooth, something spiky, and something squishy. The common mistake is bringing too many. Aim for three high-quality items that serve different functions. A stress ball is great for frustration, while a textured marble-in-mesh sleeve is better for quiet, repetitive focus. Always check that these items are airport-security friendly. Avoid anything that looks like a weapon or contains large amounts of liquid.
| Category | Tool Example | Primary Function |
|---|---|---|
| Auditory | Noise-canceling headphones | Reduces environmental hum |
| Proprioceptive | Weighted plush toy | Provides calming deep pressure |
| Tactile | Textured silicone fidget | Focus and stress relief |
The Logistics of Portability: Avoiding the “Bag-in-Bag” Trap
One of the most frequent mistakes parents make is creating a “master kit” that is too heavy to carry through a crowded terminal. The weight of your sensory kit should not exceed 10% of the carrier’s body weight. If it’s too heavy, you won’t take it out of the overhead bin when you actually need it.
Use a cross-body bag or a small backpack that can be attached to your main luggage. Accessibility is everything. If you have to unzip three different compartments to get to the noise-canceling headphones, you have already missed the window of opportunity to prevent a meltdown. Keep the most frequently used items—the headphones and the primary fidget—in an outer pocket with a quick-release clasp.
Consider the “Transition Kit” concept. Create a smaller sub-pouch for the “active” phase of travel (the flight or the car ride) and a “stationary” pouch for the destination (the hotel or Airbnb). This allows you to leave the bulk of the items in the luggage when you are just going out for a quick dinner, while keeping the essential regulation tools with you at all times.
Airports are notorious for being sensory-unfriendly. The TSA and other global security agencies have specific protocols for neurodivergent travelers. In many regions, including the US and the EU, you can request a “passenger support specialist” or utilize programs like the Sunflower Lanyard scheme to signal that you or your child may need extra time or a quieter process.
When you reach the security checkpoint, do not be afraid to communicate your needs clearly. A simple, “My child is neurodivergent and the sensory environment here is overwhelming; can we move through as quickly as possible?” is usually met with empathy and cooperation. If you have a bag full of sensory tools, you might worry about it being flagged. Most security screeners are familiar with these items. If you are concerned, keep the electronics in one clear, easily accessible pouch and the tactile items in another. This makes the screening process more predictable for everyone involved.
Common Pitfalls to Avoid
- Overloading the kit: Don’t pack for every possible scenario. Stick to the “Rule of Three” mentioned earlier.
- Ignoring the batteries: If your headphones or white-noise machines are battery-operated, bring spares. A dead battery mid-flight is a recipe for disaster.
- Introducing new items on travel day: Never give a child a new toy at the airport. It might have an unexpected texture or sound that makes it a stressor rather than a comfort.
Building Your Personal “Regulation Plan”
A kit is useless without a plan. You need to know when to use each item. Create a simple, laminated, or digital card that lists the “stages” of your trip and the corresponding sensory support. For example: “Stage 1: Arrival at Airport – Use noise-canceling headphones. Stage 2: Boarding – Use weighted plush. Stage 3: Flight – Use tablet/fidgets.”
This provides a sense of control for the child. When they know what to expect and which tools are available at each step, the uncertainty of the travel process is significantly diminished. If you are traveling as a couple, assign one person as the “Sensory Lead.” Their primary job is not to manage the boarding passes or the luggage, but to monitor the sensory state of the children and deploy the kit when necessary. This division of labor prevents both parents from becoming overwhelmed simultaneously.

The Hidden Costs and Trade-offs
There is a hidden cost to sensory-friendly travel: it requires a significant amount of mental bandwidth. You are essentially acting as a human buffer between your child and the world. Recognize that you, as the parent, also have sensory needs. If you are overstimulated, you will be less effective at helping your child regulate. Pack a pair of earplugs for yourself. There is no shame in taking a “sensory break” while your partner handles the next step of the journey.
Another trade-off is the space in your luggage. By prioritizing sensory tools, you might have to leave behind that extra pair of shoes or that second jacket. This is a deliberate choice. You are prioritizing the emotional and neurological health of your family over material convenience. This is a trade-off that is almost always worth it in the long run.
Advanced Tips for Long-Term Travel Success
If you are planning a trip longer than a week, consider the “rotation method.” Don’t bring all your sensory tools at once. Pack a subset for the first three days, and have a “refill” bag in your checked luggage for the second half of the trip. This keeps the items feeling fresh and prevents the novelty from wearing off. It also saves space in your carry-on.
Additionally, look for “sensory-friendly” features in your destination. Many modern hotels and museums now offer sensory bags or quiet zones. A quick email to your hotel concierge prior to arrival—”We are traveling with a neurodivergent child and would appreciate a room away from the ice machine and elevator”—can prevent a week of avoidable stress. These small, proactive steps are the difference between a trip that is merely “survived” and one that is actually enjoyed.
Understanding the Science of Regulation
Why does this work? It comes down to the concept of the Window of Tolerance. This is the zone where we are able to process information, regulate our emotions, and function effectively. When we are stressed or overstimulated, we fall out of this window—either into a state of hyper-arousal (fight/flight) or hypo-arousal (freeze/shutdown). Sensory tools help us stay within that window.
Deep pressure, for example, stimulates the parasympathetic nervous system, which is responsible for the “rest and digest” state. It literally tells the brain that the body is safe. When you provide this input, you are not just distracting the child; you are physically altering their physiological state. This is why the choice of tool matters so much. A screen, while distracting, does not provide the same biological “reset” that a weighted item or a firm hug provides.
Practical Implementation: Step-by-Step
If you are preparing for your first trip with a sensory-diverse family, follow these steps:
- Audit your home: What does your child already use to calm down? Don’t buy new things yet. Identify the “tried and true” items.
- Test for portability: Can these items fit into a small bag? If not, find a travel-sized alternative.
- The “Dry Run”: Practice using the kit for a trip to the grocery store or a local park. See how the bag feels to carry and how the child responds to the tools in a public setting.
- Refine: Based on the dry run, remove the items that were not used and replace them with items that were requested or needed.
This iterative process is key. No one gets it perfect on the first try. Your kit will evolve as your child grows and their sensory needs change. A kit that worked for a four-year-old will not be the same as one for an eight-year-old. Keep the process flexible and responsive to the individual, not the label.
Final Thoughts on Traveling with Intention
Building a sensory-friendly travel kit is an act of care. It acknowledges that the world is not designed for everyone, and it empowers you to bridge that gap. By preparing for the sensory realities of travel, you are not just preventing meltdowns; you are creating a landscape where your family can experience the joy of discovery without the constant threat of overwhelm. Start small, focus on the essentials, and remember that the goal is always connection, not perfection.
For more information on sensory-inclusive travel, you can check out resources from organizations like The Autism Society, which provide various guides on navigating travel and public spaces for neurodivergent individuals. Remember, the best tool in your kit is your own calm presence; use these items to support that, not replace it.
Frequently Asked Questions
1. How do I know if a sensory tool is “too much” for a flight?
If the tool makes sound (like a squeaky toy or a loud plastic fidget), it is likely too much. Focus on silent, tactile tools like stress balls, textured patches, or chewable jewelry. Always prioritize items that stay within your child’s personal space.
2. Can I bring weighted items through security?
Yes, but they may require additional screening. Be prepared to remove weighted items (like a weighted neck wrap) from your bag so the agent can inspect them separately. It helps to tell the agent, “This is a weighted item for sensory regulation,” before they start the screening.
3. What if my child refuses to use the kit when they are upset?
This is common. When a child is in a state of high distress, they may not be able to process the “instruction” to use a tool. In this case, use the tool on yourself first—show them that the weighted blanket feels good or that the fidget is fun. Model the behavior rather than demanding it. If they still refuse, simply provide a quiet, safe space and wait for the intensity to subside.
Disclaimer: This article is for informational purposes only and does not constitute medical advice. Sensory needs vary greatly by individual. Always consult with your child’s occupational therapist or pediatrician if you are unsure about which tools are appropriate for their specific sensory profile.