Most wireless peripherals end up in the trash because of minor hardware failures that take less than twenty minutes to fix at home. If your mouse has started double-clicking when you only click once, or your keyboard is dropping letters, you are likely dealing with surface-level oxidation or debris rather than a catastrophic circuit failure. By learning a few basic diagnostic steps, you can save money, reduce electronic waste, and keep your home office running without the frustration of constant replacements.
- The “Double-Click” Culprit: Most clicking issues are caused by oxidized contacts inside the micro-switch, which can often be resolved with high-purity isopropyl alcohol, not a new purchase.
- Connectivity Isn’t Always Hardware: Before opening your device, rule out 2.4GHz interference from USB 3.0 hubs, which frequently mask themselves as broken hardware.
- Battery Maintenance: Corrosion from leaking batteries is the #1 cause of permanent peripheral death; checking battery contacts every six months is the best preventive measure for long-term reliability.
Why Your Peripherals Are Likely Repairable
When we hit our mid-30s and 40s, our home office setups often become the backbone of our professional and personal lives. Between remote work, managing family schedules, and the occasional late-night gaming session, our peripherals take a beating. It is easy to assume that when a mouse becomes erratic, it has simply “reached the end of its life.” In reality, most wireless mice and keyboards are modular in design and built to be opened.
The primary reason peripherals fail is not the internal processor, but the physical interface. Buttons, scroll wheels, and battery terminals are mechanical parts. Mechanical parts wear down, collect dust, and oxidize. When you press a button, you are physically closing a metal contact. Over time, microscopic layers of dust or metal oxidation build up on those contacts, creating electrical resistance that your computer interprets as multiple clicks or no signal at all.
Before you commit to buying a new device, consider the environmental and financial impact. According to the Global E-waste Monitor, small IT equipment accounts for a massive portion of household waste. Repairing your current device isn’t just about saving $50; it’s about avoiding the hassle of re-pairing devices, re-mapping custom keys, and the unnecessary consumption of resources.
Diagnostic Phase: Is It Hardware or Interference?
Before you pick up a screwdriver, you need to determine if the problem is actually physical. A common mistake is assuming a hardware failure when the issue is environmental. Wireless peripherals—especially those using the 2.4GHz band—are notoriously sensitive to interference.
The USB 3.0 Interference Trap
If you use a USB 3.0 hub or external hard drive near your wireless receiver, you are likely experiencing signal noise. USB 3.0 ports emit radio frequency interference in the 2.4GHz range, which is exactly where most wireless mice and keyboards operate. If your mouse is jumpy or your keyboard misses keystrokes, move the receiver away from your USB 3.0 ports using a short USB extension cable. If the issue disappears, your hardware is perfectly fine.
The Battery Terminal Test
If the device won’t turn on or loses power intermittently, don’t blame the internal circuit board yet. Open the battery compartment. Look for white or blue-green powdery residue on the metal springs or contacts. This is battery acid leakage. This substance acts as an insulator, preventing electricity from flowing. If you see this, you don’t need a new mouse; you need a cotton swab and some white vinegar or high-purity isopropyl alcohol.
Step-by-Step: Fixing the Infamous Double-Click
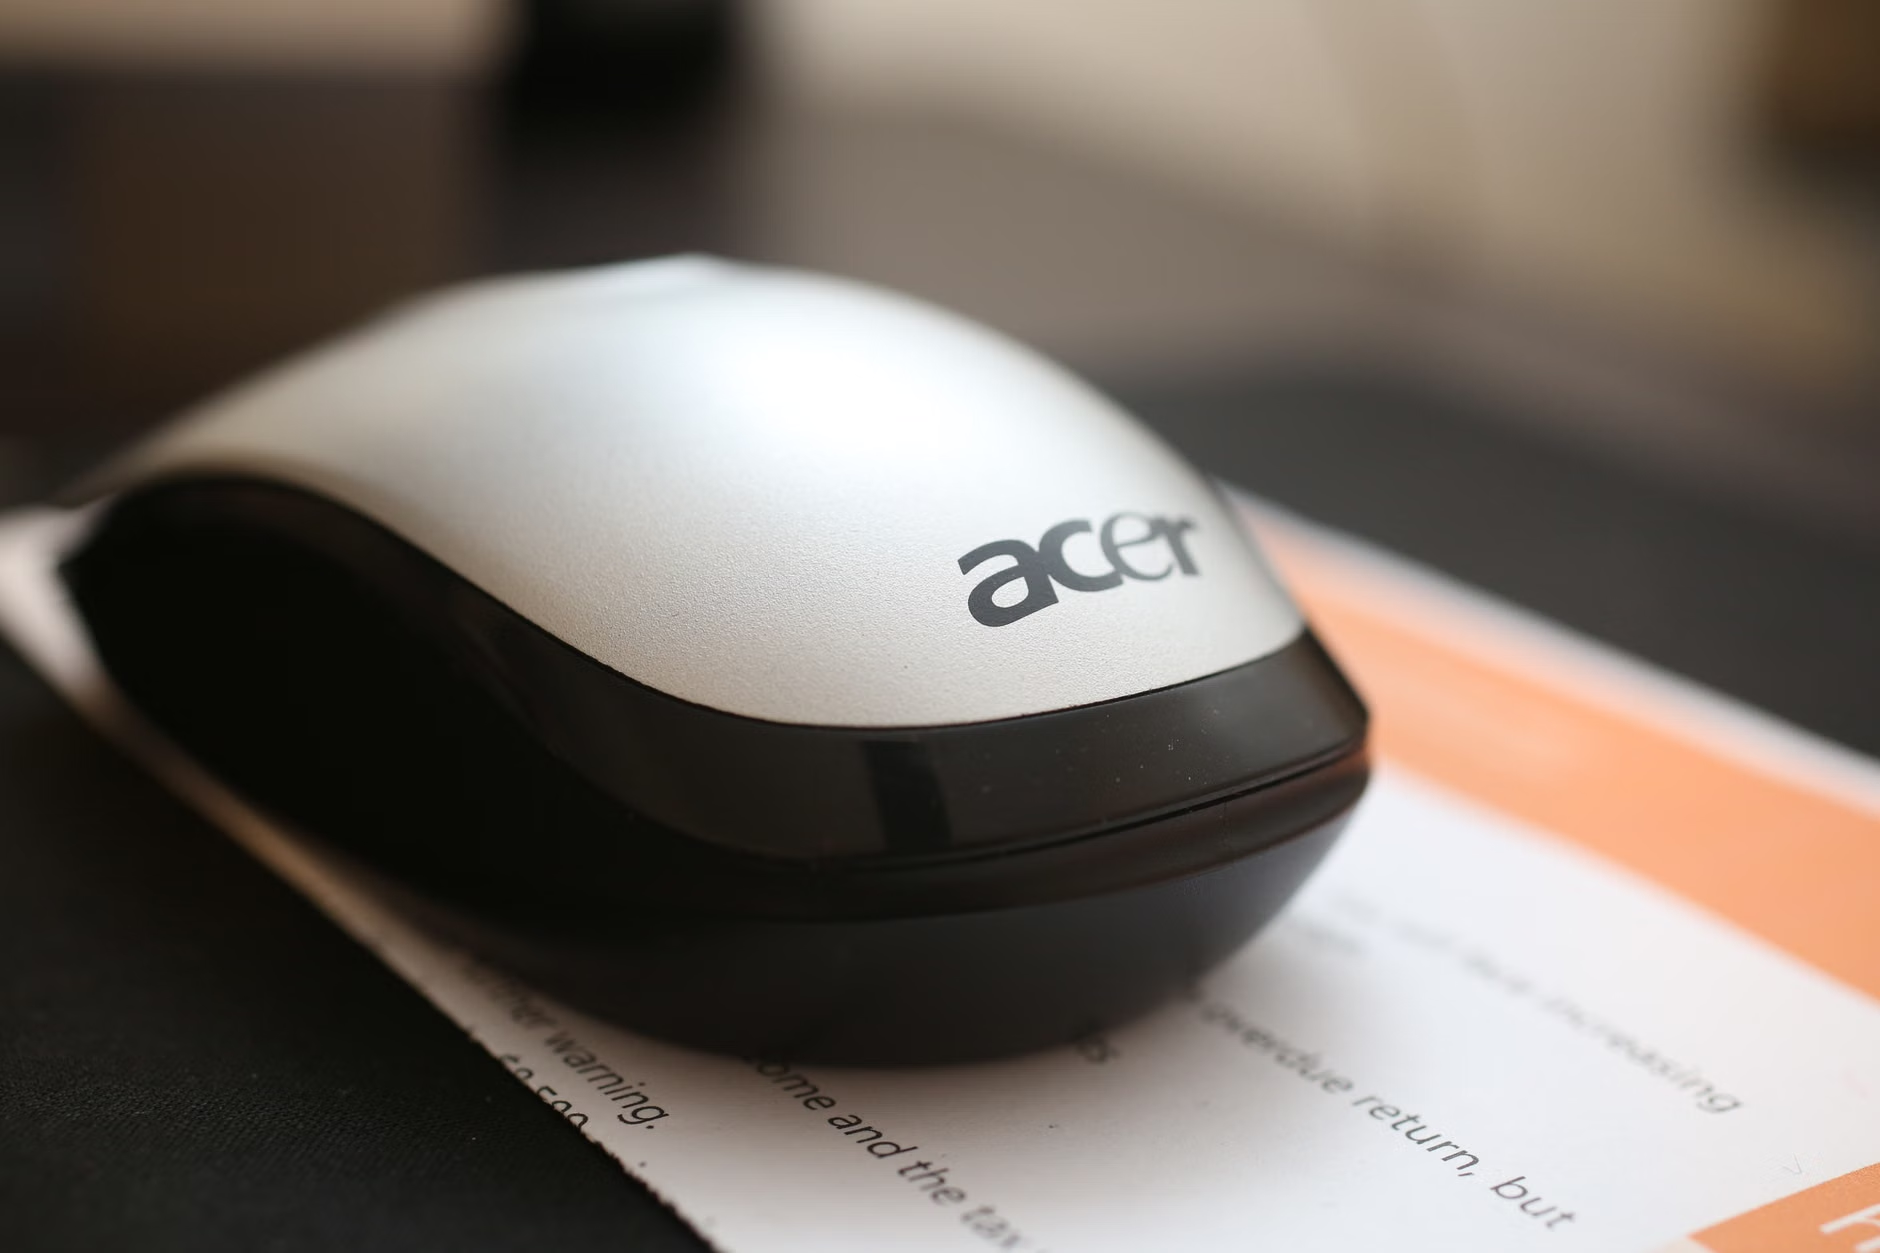
The “double-click” issue is the most common grievance for power users. This happens when the Omron or Kailh micro-switch inside the mouse develops a high-resistance layer due to oxidation. You can fix this without soldering if you are careful.
Step 1: Disassembly
Most mice have screws hidden under the rubber feet (the skates). Use a hairdryer on a low setting for 30 seconds to soften the adhesive, then carefully peel them back. Underneath, you will find Phillips-head screws. Keep these organized in a small tray or a magnetic mat—losing a 2mm screw is the easiest way to turn a 20-minute fix into a two-hour search.
Step 2: Accessing the Switch
Once the shell is removed, you will see the micro-switch—a small rectangular box with a tiny plunger button. You do not need to remove the switch from the circuit board to fix it. If you look closely, you will see a tiny seam where the plastic cover of the switch meets the base.
Step 3: The Contact Cleaning
Use a very fine needle or a precision tool to gently pry the tiny tabs on the side of the switch cover. Be extremely careful not to snap the plastic. Once the cover is off, you will see a tiny copper spring leaf. Do not remove it. Place a single drop of 90% or higher isopropyl alcohol onto the contact point. Click the button repeatedly to allow the alcohol to wash away the oxidation. Let it air dry for at least 15 minutes before reassembling.
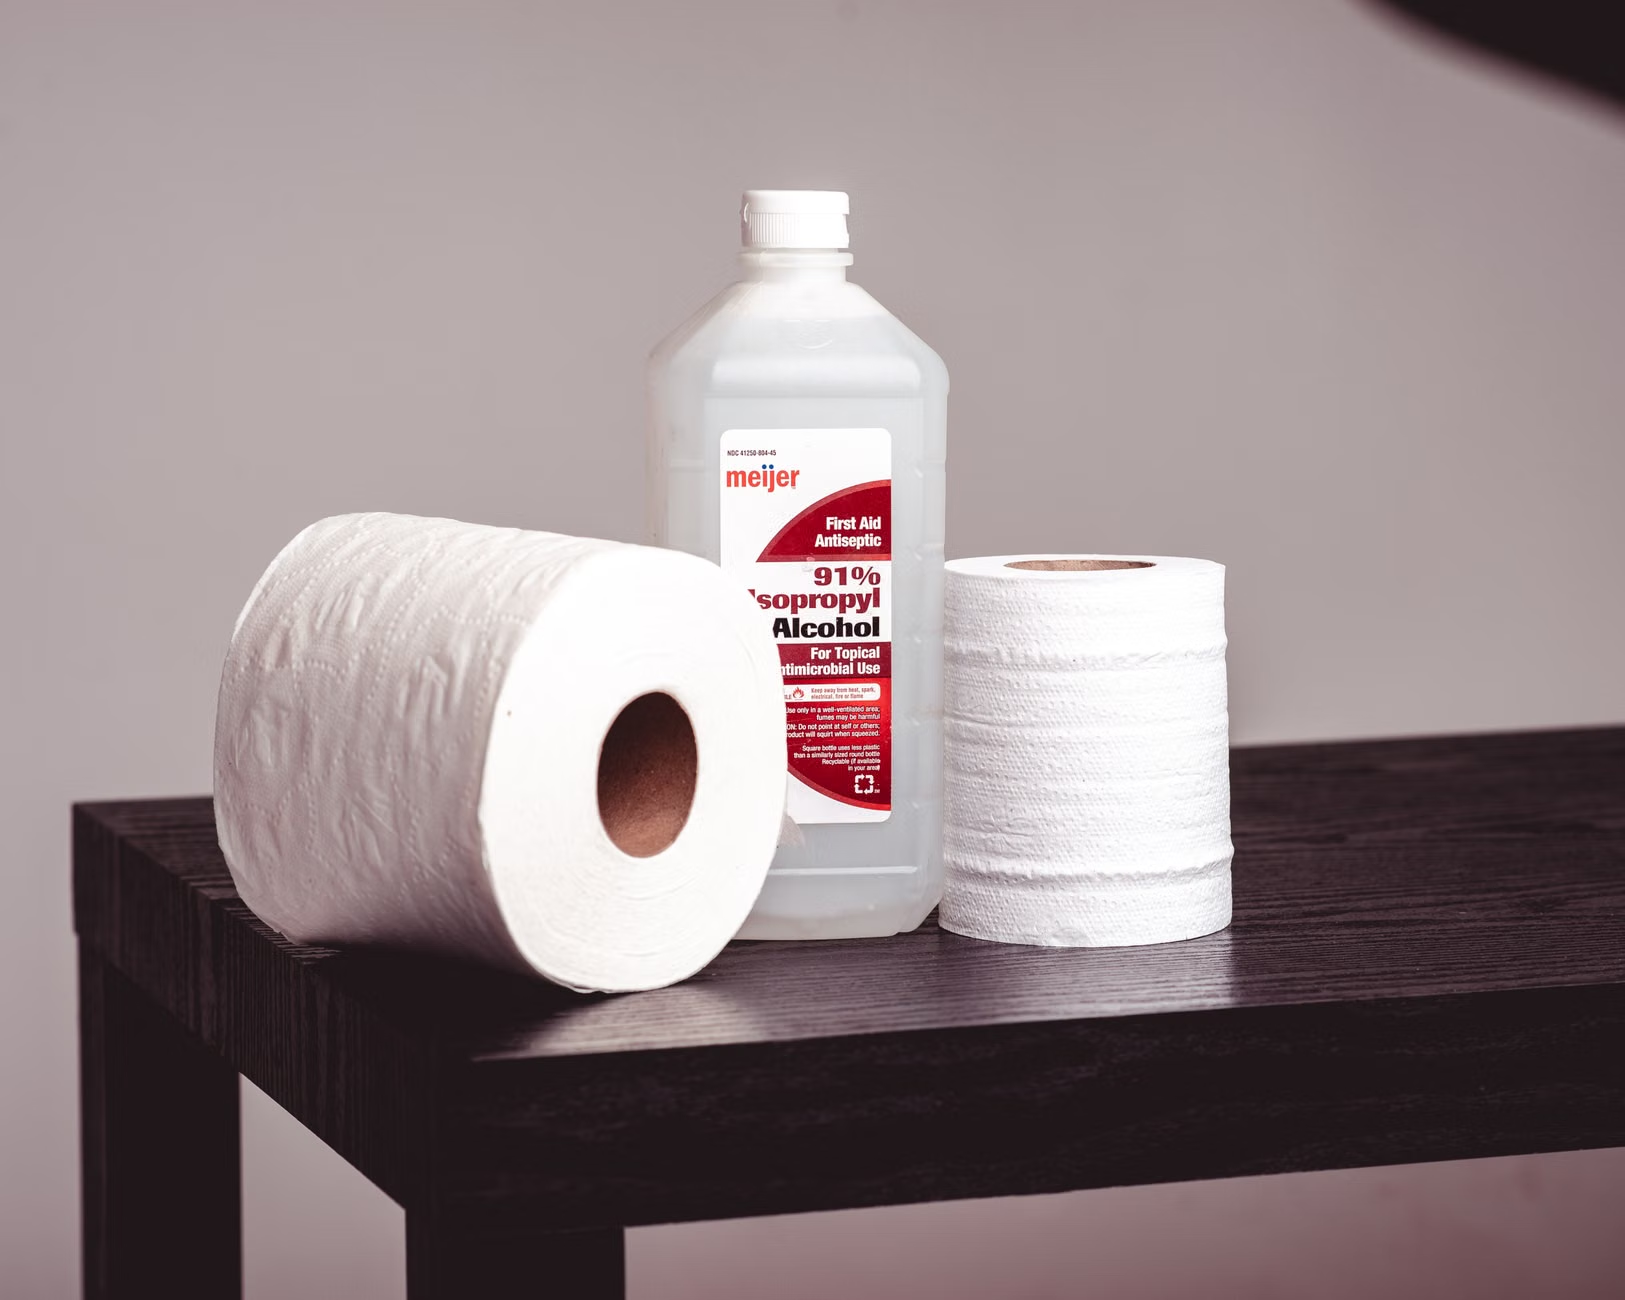
Common Mistake: Using standard 70% rubbing alcohol. The extra water content in 70% alcohol can cause corrosion on the circuit board over time. Always use 90% or higher, as it evaporates almost instantly and leaves no residue.
Managing Battery Corrosion and Power Issues
If your device has stopped responding entirely, the culprit is often the battery compartment. Over time, alkaline batteries can leak, especially if left in a device that isn’t used for a few months. This is a classic “forgotten in the drawer” scenario that many of us face when rotating gear.
| Condition | Cause | Action |
|---|---|---|
| White/Blue residue | Alkaline leakage | Clean with vinegar on a cotton swab; dry thoroughly. |
| Flattened springs | Metal fatigue | Gently pull the spring outward with tweezers to restore tension. |
| Device works only when squeezed | Loose solder joint | Requires soldering iron to re-flow the battery terminal connection. |
When cleaning corrosion, dip a cotton swab in white vinegar. The acid neutralizes the alkaline battery leak. Once the residue is gone, wipe the area with a second swab dampened with distilled water to remove the vinegar, and then finish with a dry swab. This ensures the metal contacts are clean and conductive.
Advanced Maintenance: The Scroll Wheel
The scroll wheel is the most vulnerable part of a mouse because it is constantly exposed to skin oils and dust. If your scroll wheel is “jumping” (scrolling up when you are trying to scroll down), the internal rotary encoder is dirty.
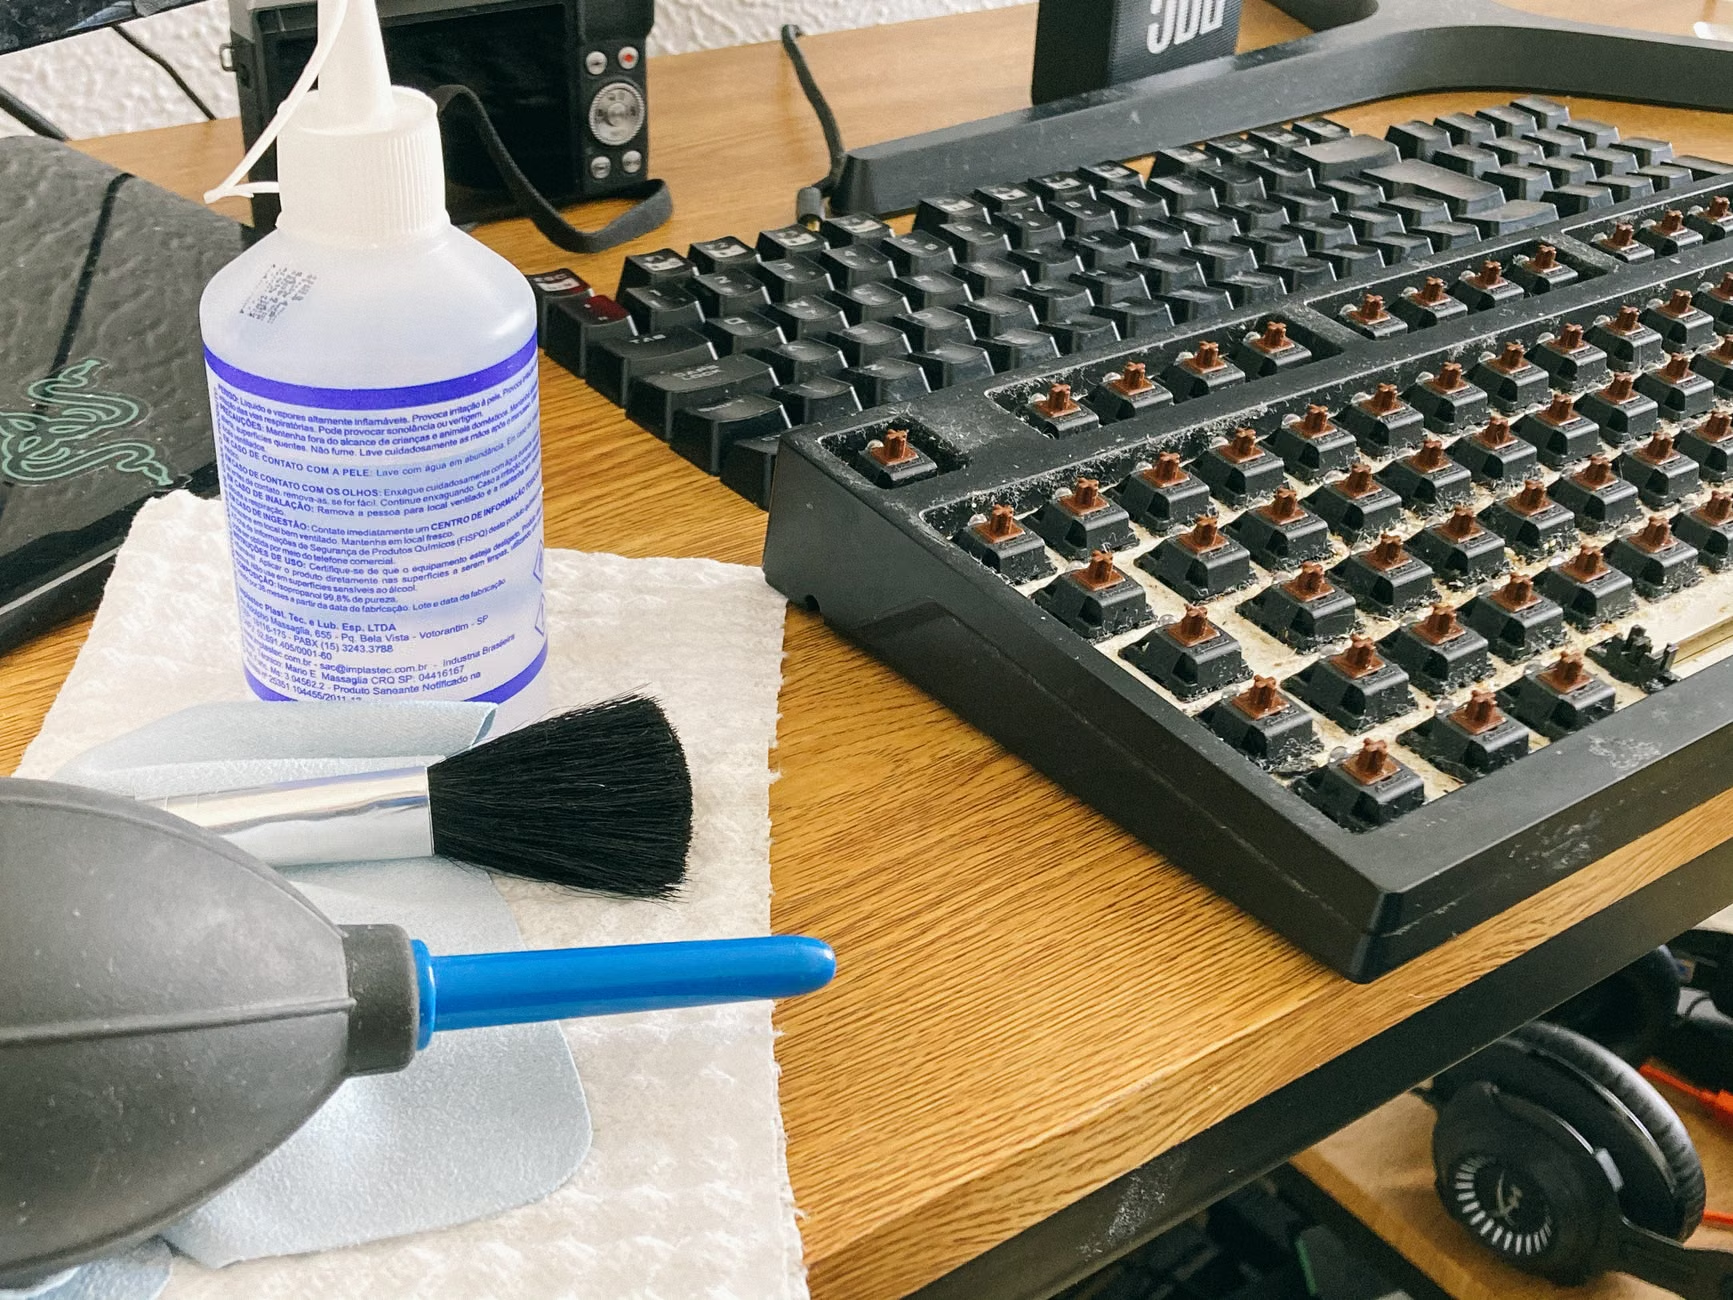
The encoder is a small circular component attached to the wheel. Like the micro-switches, it works by making physical contact. Dust gets inside this ring and confuses the sensor. To clean this, you need to reach the encoder. Most mice allow you to remove the scroll wheel assembly by removing one or two additional screws. Once the wheel is out, you will see the encoder mechanism. A quick spray of electronic contact cleaner (like DeoxIT) directly into the small opening of the encoder will usually solve the jumping issue immediately.
Decision Criteria: When to Actually Replace
While I am a firm believer in repair, there is a point where the effort outweighs the value. You should consider replacing your device if:
- The Plastic Shell is Cracked: Structural integrity cannot be easily restored with glue, and a cracked shell will eventually lead to misaligned internal components.
- The Sensor is Failing: If the cursor is erratic even on a clean, high-quality mousepad and you have ruled out interference, the optical sensor itself may have degraded. This is generally not user-repairable.
- The Proprietary Software is Obsolete: If the manufacturer has stopped supporting the device with drivers for your current operating system, even a perfectly functioning piece of hardware will eventually become a paperweight.
Insight: Before buying a new mouse, check if your current one is covered by a “hidden” warranty. Many premium peripheral brands offer 2-3 year warranties. If you have your receipt, you might be entitled to a free replacement even if the issue is a simple double-click.
Preventive Measures for the Busy Household
We rarely think about our peripherals until they break, but a few minutes of prevention can extend the life of your gear by years. First, invest in a dedicated, clean mousepad. A large portion of the debris that ruins encoders and switches enters the mouse through the bottom sensor hole. A clean surface keeps that dust away.
Second, if you have children, keep the peripherals away from sticky fingers. Sugar and soda residue are the enemies of mechanical switches. If a spill happens, do not wait for it to “dry out.” Remove the batteries immediately and use a damp (not wet) cloth with a tiny amount of isopropyl alcohol to clean the surface. Never pour liquid directly onto the device.
The Hidden Cost of “Cheap” Wireless Gear
There is a temptation to buy the cheapest wireless mouse available online. However, these devices often use inferior switches with a lower “click rating.” A high-quality switch is rated for 50 million clicks; a cheap one might be rated for only 5 million. If you work from home, you can easily hit 5 million clicks in a year. When buying your next device, look for the switch rating in the technical specifications. Investing in a mouse with reputable switches (like Omron or Kailh) will save you from having to perform these repairs in the first place.
When you encounter a hardware issue, approach it with the mindset of a learner. You are not just fixing a mouse; you are understanding the mechanical logic of the tools that facilitate your day. The confidence you gain from fixing a $50 mouse is a useful skill that translates to other household electronics. If you ever have to open a larger appliance or a toy, you will already be familiar with the process of disassembly, cleaning, and testing.
Start small. If you have an old mouse in your drawer that you stopped using because of a double-click, use that as your practice piece. There is no risk involved. If you fix it, you have a spare. If you don’t, you were going to throw it away regardless. The path to a more sustainable home office starts with the willingness to open the casing and take a look inside.
Frequently Asked Questions
No. Standard WD-40 is a lubricant and a solvent that leaves a residue. It will attract dust and eventually cause your switches to fail permanently. Only use dedicated electronic contact cleaner or high-purity (90%+) isopropyl alcohol, which evaporates without leaving a film.
2. My keyboard is wireless but keeps losing connection even with fresh batteries. What’s wrong?
Check for “signal shadows.” If your computer is under a metal desk or inside a cabinet, the wireless signal might be blocked. Also, ensure your receiver is in a USB 2.0 port rather than a USB 3.0 port, as USB 3.0 generates significant radio interference that can drown out your keyboard’s signal.
3. How do I know if my mouse uses replaceable switches?
You can usually tell by looking at the model online. Enthusiast-grade or “gaming” mice are almost always designed with replaceable or at least accessible switches. Office-grade mice are often sealed more tightly. Regardless, the “cleaning method” described in this article works for almost any mechanical switch, even if the casing is slightly different.
For further reading on electronics safety and hardware standards, you can refer to the International Organization for Standardization (ISO) guidelines on electrical equipment, or check your manufacturer’s official support page for specific teardown diagrams. Always prioritize safety: never work on a device that is currently plugged into a power source or charging.
Take your time, keep your work area organized, and remember that most “broken” tech is just dirty tech. You’ve got this.