Most wireless peripheral issues—from unresponsive clicks to sudden connection drops—are not terminal failures but minor mechanical or power-related hiccups that you can fix in under twenty minutes. Instead of relegating your expensive, ergonomic, or gaming-grade gear to the landfill, you can often restore them to full functionality with a few basic tools and a bit of patience. This guide focuses on the “why” and “how” of hardware repair for the modern household, where our tech needs to be reliable, cost-effective, and sustainable.
- Connectivity is usually software-side: Before opening the hardware, always rule out firmware conflicts, interference, and driver corruption.
- Mechanical switches are the most common failure point: Double-clicking or missed inputs are almost always solvable by cleaning the micro-switches or replacing them entirely.
- Batteries have a finite lifespan: Most wireless peripherals use lithium-ion or standard alkaline cells; identifying the specific battery chemistry is the first step to a successful power-related repair.
The Anatomy of a Wireless Peripheral: What Actually Goes Wrong?
When your wireless mouse starts “double-clicking” or your keyboard registers keys twice, it is easy to assume the device is dead. However, most wireless peripherals are modular by design. They consist of a shell, a printed circuit board (PCB), a battery, and mechanical switches. Understanding these components helps you triage the problem effectively.
Most issues fall into three categories: Power delivery, Signal interference, and Mechanical fatigue. Power delivery issues manifest as intermittent connectivity or a failure to wake from sleep. Signal interference often looks like lag or jittery cursor movement. Mechanical fatigue is the culprit behind failed clicks or “mushy” key presses.
For the parent or busy professional, the “fix” must be efficient. You don’t need a degree in electrical engineering; you need to understand how to safely open the casing, clean the contact points, and verify that the power flow is consistent. If you are dealing with a high-end peripheral that cost you over $100, the repair effort is almost always cheaper than a replacement.
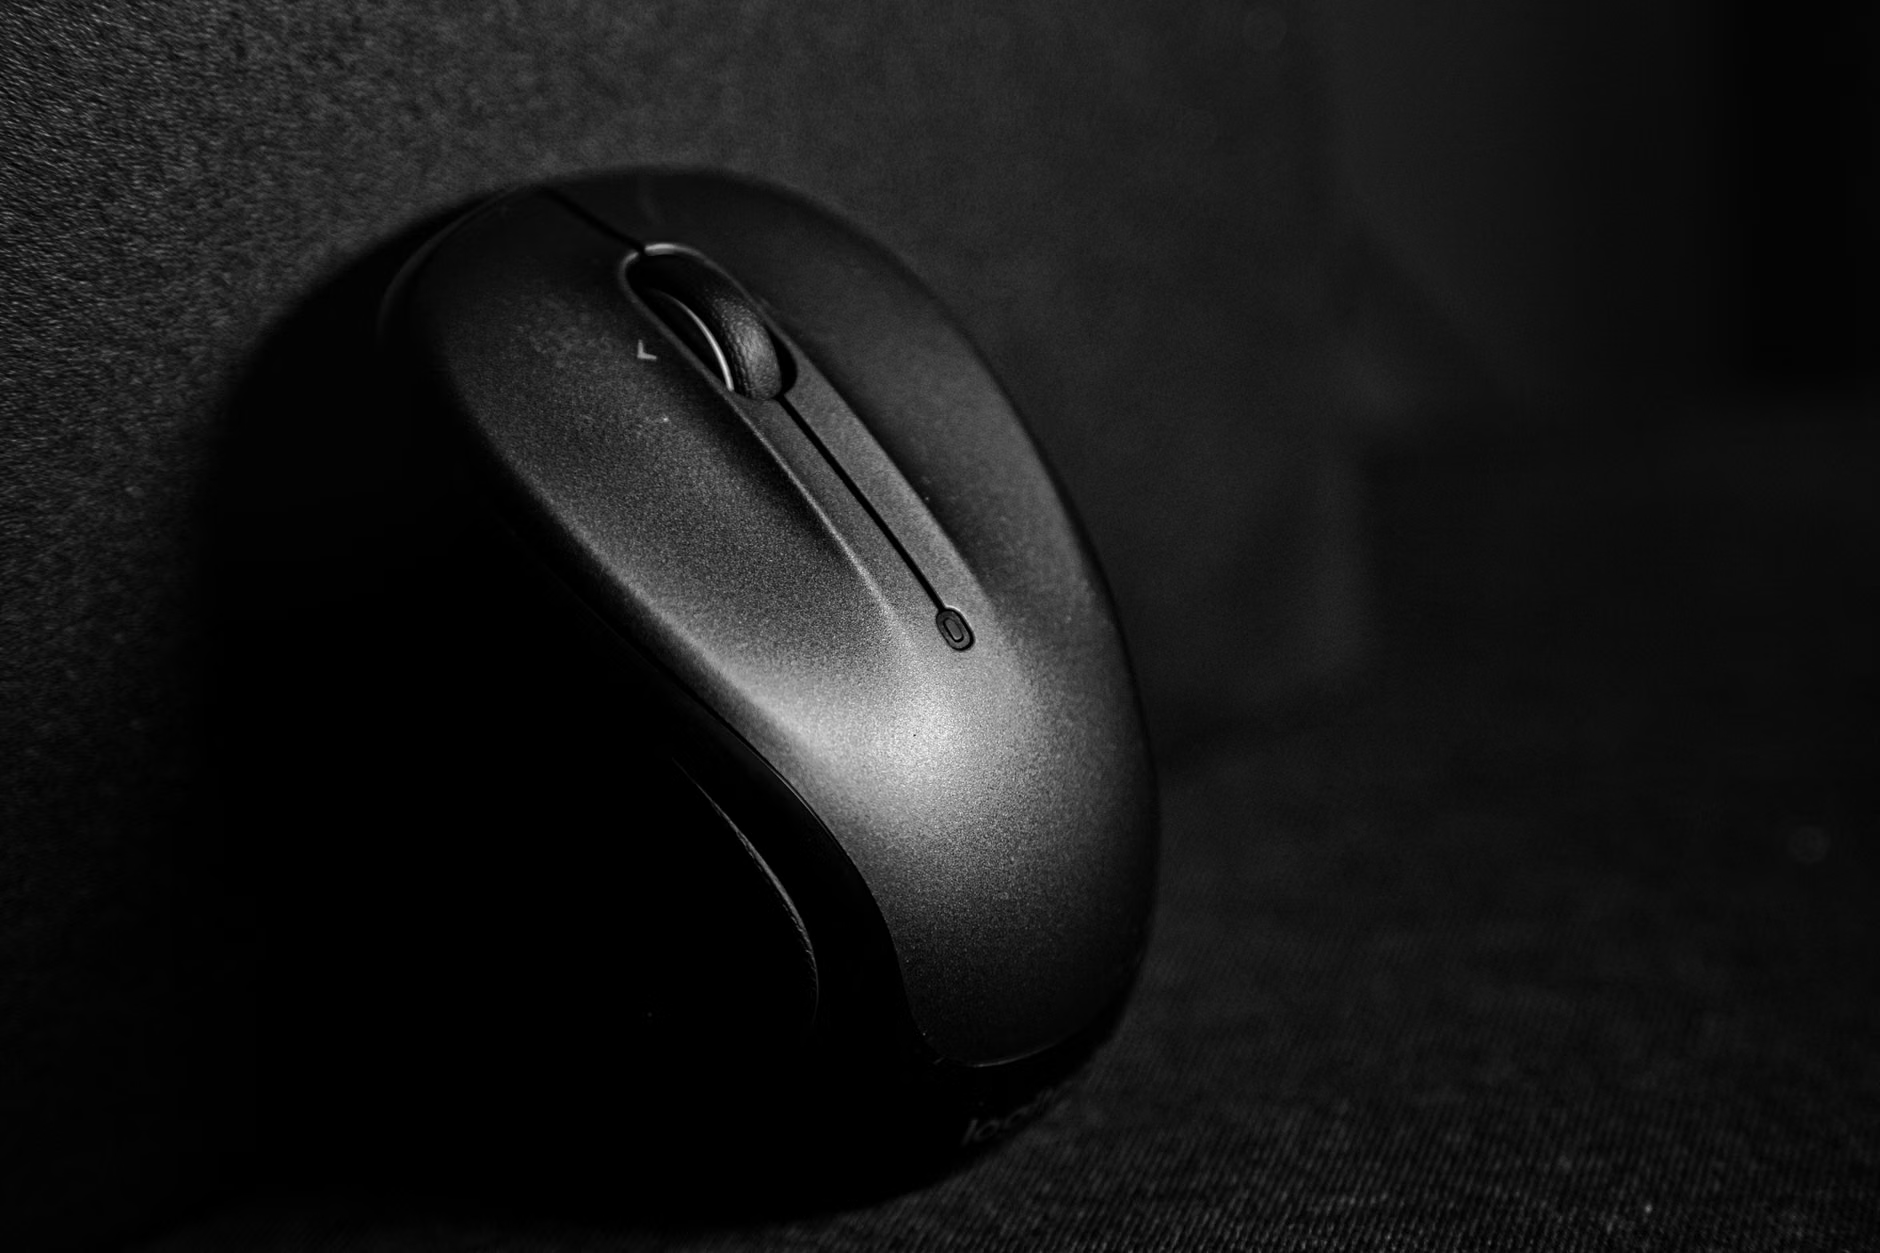
Step-by-Step: Diagnosing and Fixing Power Issues
If your device won’t turn on or refuses to hold a charge, don’t rush to buy a new one. The battery is the “consumable” part of your wireless tech. Just like a smartphone, the internal battery in a wireless mouse will degrade after 300 to 500 charge cycles.
1. Testing the Power Source
If your device uses standard AA or AAA batteries, the first step is obvious: replace them. However, if the device still fails, check the battery terminals for corrosion. White or blue crusty deposits are common if a battery has leaked. Use a cotton swab lightly dipped in 90% isopropyl alcohol to gently scrub the terminals until they are shiny again.
2. The Internal Battery Swap
For rechargeable devices, the internal battery is often a Li-ion pouch. If the device has become sluggish, fails to charge, or the casing looks slightly “swollen,” the battery is likely dead. You can find replacement batteries on electronics marketplaces by searching the model number printed on the battery itself. Always ensure the voltage and polarity match exactly. A mismatch here can fry the PCB instantly.
3. Troubleshooting the Charging Port
Loose USB-C or micro-USB ports are a common point of failure. If the cable feels “wobbly,” the solder joints connecting the port to the PCB may have cracked. If you are comfortable with a soldering iron, this is a simple reflow job. If not, consider using a magnetic charging cable; it reduces mechanical stress on the port and can often bypass the need for a physical repair.
Addressing Mechanical Switch Failure
The “double-click” phenomenon is the most frustrating issue for wireless mouse users. This happens because the internal copper contact inside the micro-switch oxidizes or loses its spring tension. You have three ways to handle this:
| Method | Difficulty | Effectiveness |
|---|---|---|
| Isopropyl Alcohol Cleaning | Low | Temporary (Weeks to Months) |
| Contact Cleaner Spray | Medium | Moderate (Months) |
| Switch Replacement (Soldering) | High | Permanent (Years) |
For most, the “Contact Cleaner” method is the sweet spot. You don’t need to disassemble the switch itself. Instead, use a specialized electronic contact cleaner (not WD-40!) and spray a tiny amount into the gap of the switch mechanism. Click the button rapidly to work the cleaner into the contacts. Let it dry for 30 minutes before powering the device back on.
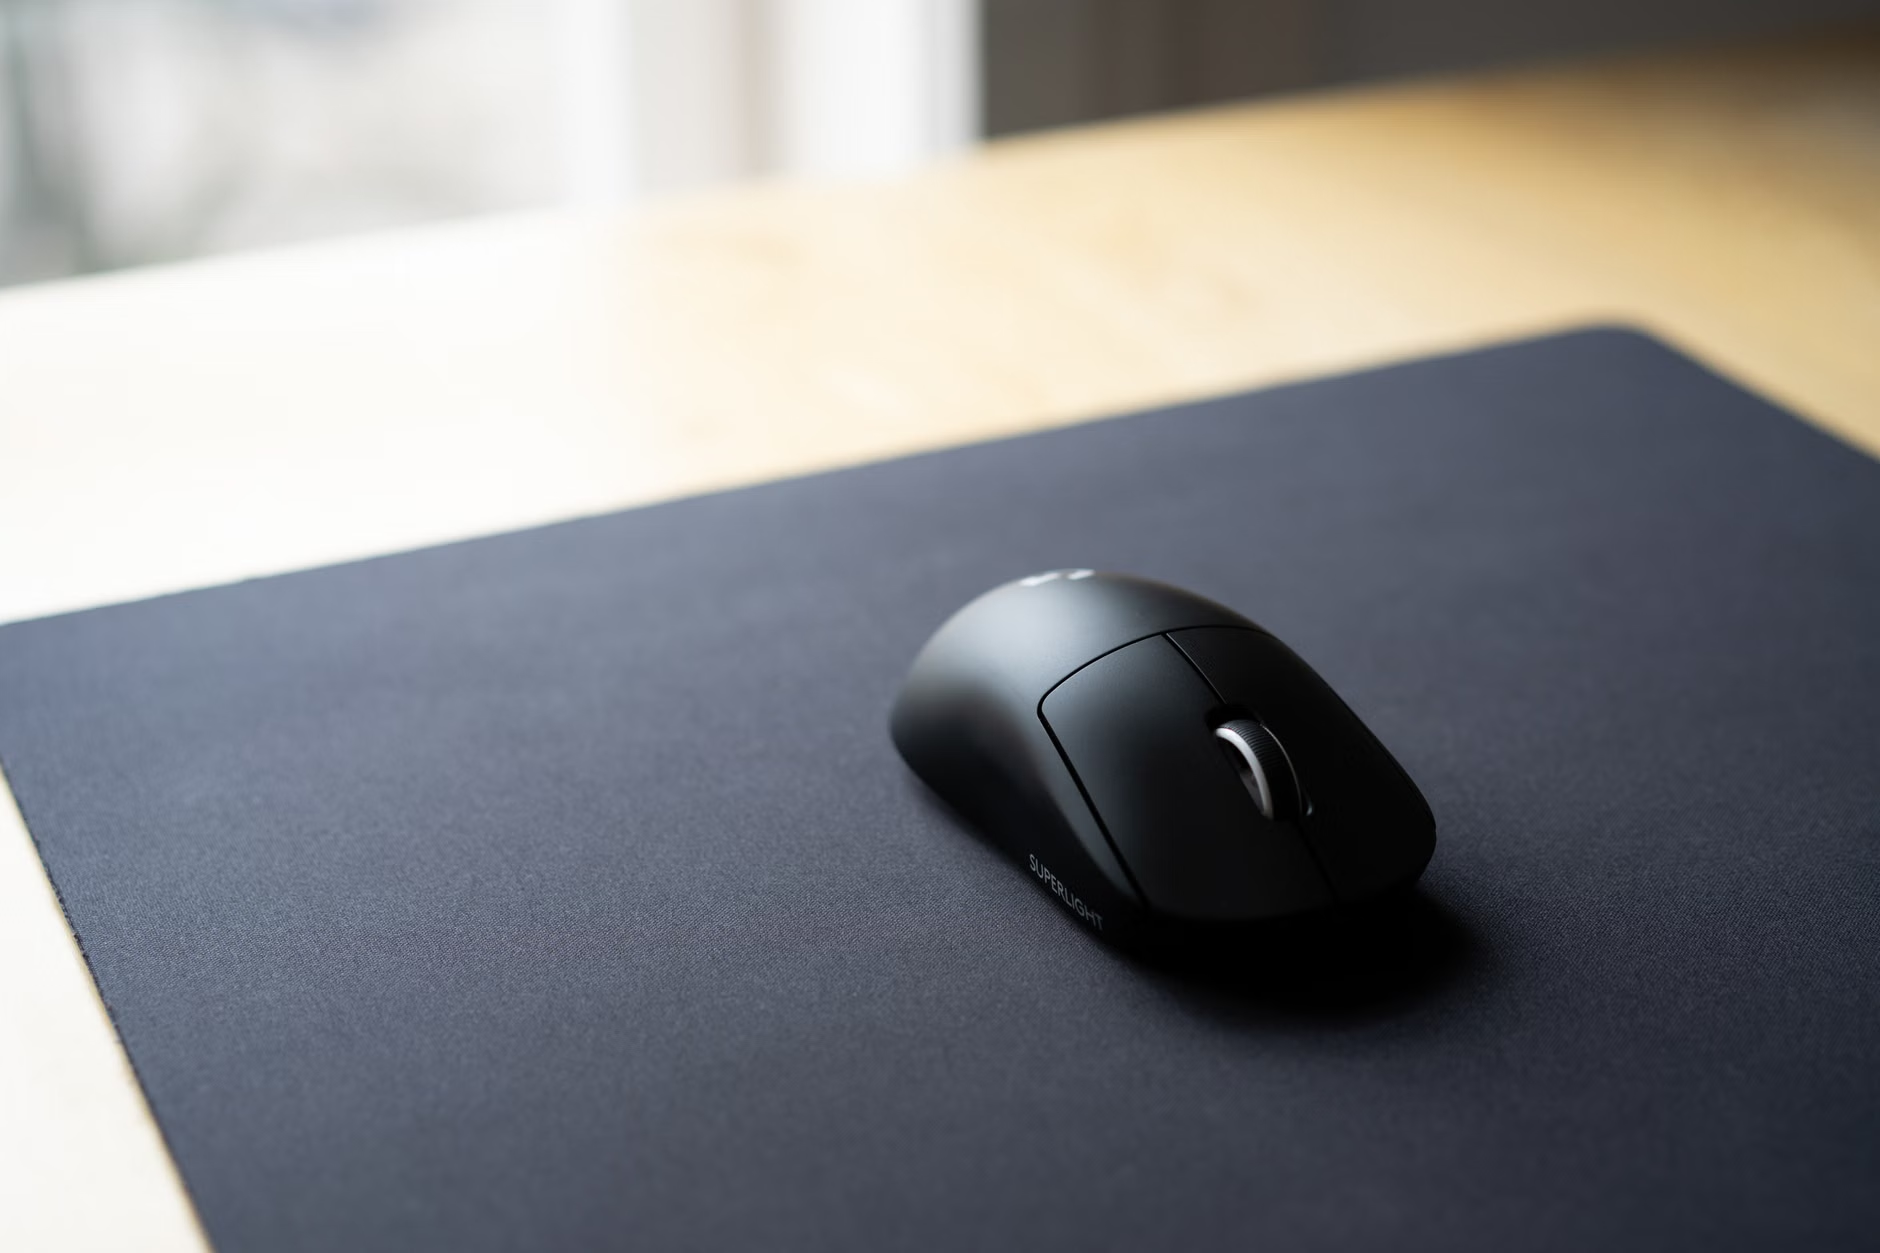
Signal Interference: When the Hardware is Fine but the Connection Isn’t
Sometimes, the device is physically perfect, but the cursor jumps across the screen or the keyboard lags. This is often blamed on a “broken” peripheral when the reality is 2.4GHz saturation. In a modern home, your router, smart bulbs, baby monitor, and neighbor’s Wi-Fi are all fighting for the same airwaves.
Common Mistakes:
- Plugging the USB receiver directly into a port located behind a metal computer chassis. Metal blocks the signal. Always use a USB extension cable to bring the receiver closer to the device.
- Placing the receiver right next to a USB 3.0 port. USB 3.0 ports are notorious for emitting interference that disrupts 2.4GHz wireless receivers.
- Assuming “Bluetooth” and “2.4GHz Dongle” are the same. They are not. If your device supports both, switch to the 2.4GHz dongle for gaming or high-performance tasks, and reserve Bluetooth for office work.
If you suspect interference, use a tool like “WiFi Analyzer” on your phone to see if your router is set to a crowded channel. Changing your router’s 2.4GHz channel to a less congested one can often “fix” your wireless mouse without you ever touching a screwdriver.
Maintenance Habits for Longevity
Prevention is the best repair. Dust and skin oils are the primary enemies of wireless peripherals. Once a month, take five minutes to perform a “deep clean.” Use a microfiber cloth for the exterior and a compressed air canister for the scroll wheel and sensor area. Never use water or household cleaning sprays, as these can seep into the switches and cause permanent damage.
Another overlooked variable is firmware. Manufacturers frequently release updates to “improve connectivity” or “optimize battery life.” Check the manufacturer’s website or their proprietary software (like Logitech G Hub or Razer Synapse) at least once every quarter. An outdated firmware version can cause power-management bugs that mimic hardware failures.
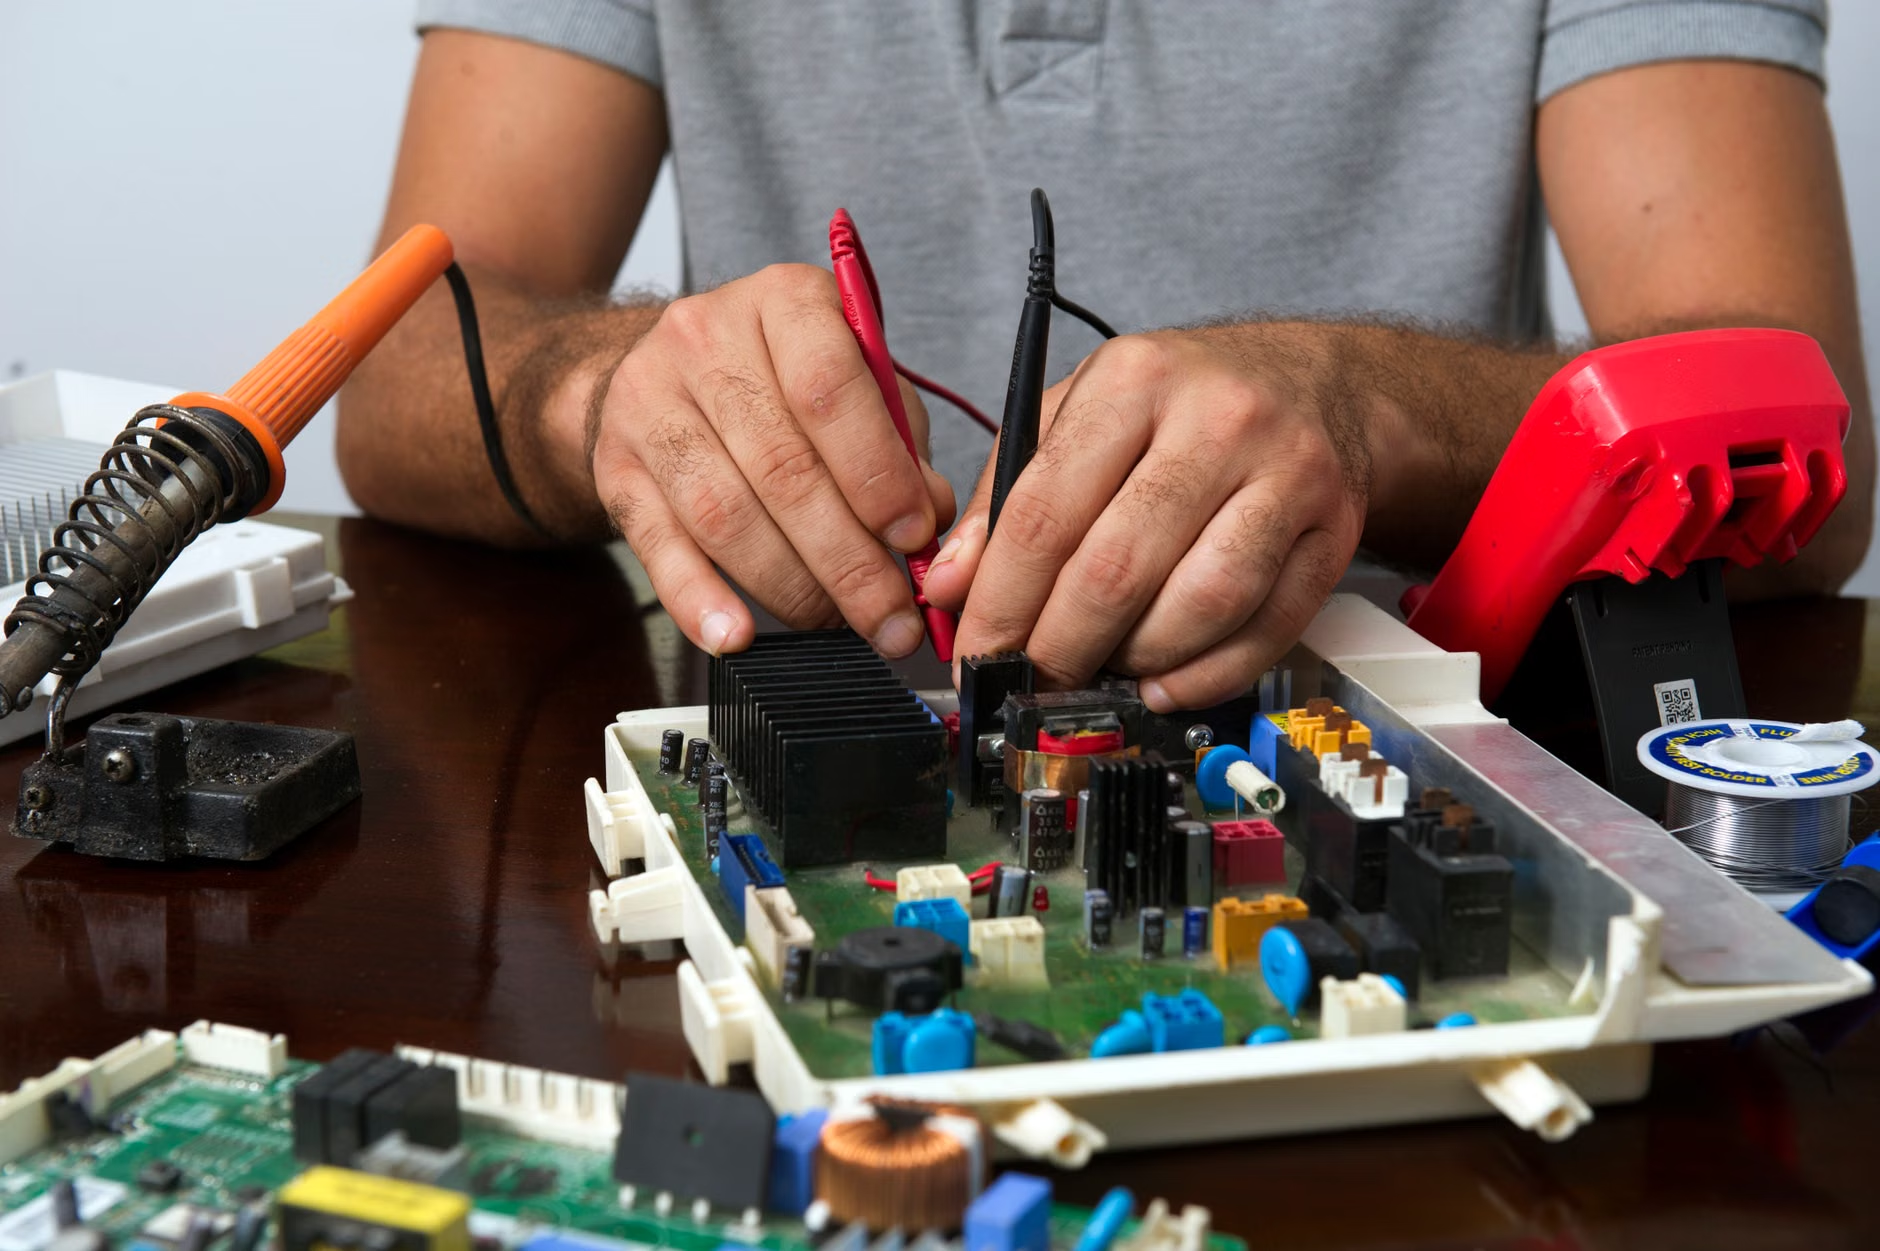
When to Give Up and Buy New
There is a point where repair is no longer logical. If the PCB itself is damaged—for example, if a liquid spill has caused widespread corrosion—the cost of replacing the board and the time required to clean the traces will exceed the price of a new device. Similarly, if the scroll wheel encoder is physically shattered, finding a replacement part can be difficult unless you are buying a donor device.
Decision Rule: If the repair requires specialized surface-mount soldering and the device is worth less than $50, the time cost outweighs the benefit. However, if it is a $150 flagship keyboard or mouse, even a $20 repair kit and an hour of your time is a sound investment.
Final Thoughts on Sustainable Tech Usage
By learning the basics of how your wireless gear functions, you move from being a consumer who replaces items to a user who maintains them. This shift not only saves money but also keeps electronic waste out of our landfills. Start small: next time a button feels “sticky,” try the contact cleaner method before you head to the checkout page of an online retailer. It is a small skill, but one that pays dividends for years to come.
For further reading on specific device teardowns, I recommend checking iFixit’s comprehensive repair guides, which provide device-specific instructions for almost every major peripheral manufacturer.
Official resources:
iFixit Repair Guides
Electronic Design – Understanding Wireless Protocols
Frequently Asked Questions
1. Is it safe to use standard WD-40 on my electronic switches?
No. Never use standard WD-40. It is a lubricant that leaves a residue and can attract dust, eventually causing the switch to fail faster. Only use a dedicated “Electronic Contact Cleaner” that is designed to evaporate completely without leaving a film.
2. My mouse is still under warranty. Should I try to repair it myself?
If your device is within the warranty period, do not open it. Opening the chassis will almost certainly void your warranty. Contact the manufacturer’s support team first. Only attempt DIY repairs once the warranty has expired or if the manufacturer refuses to cover the specific issue.
3. Can I replace a non-rechargeable mouse with a rechargeable battery?
It is generally not recommended. Mice designed for alkaline batteries have different voltage regulation circuits than those designed for lithium-ion batteries. Attempting to force a rechargeable battery into a device not designed for it can lead to overheating, poor performance, or even a fire hazard.
Note: This guide is for informational purposes. Always exercise caution when dealing with electronics, especially batteries. If you are uncomfortable working with small components, consult a local repair shop.