You don’t need to replace your wireless mouse or keyboard just because it starts acting up; in fact, 80% of “dead” peripherals suffer from simple mechanical or power issues that you can fix in under 20 minutes with basic tools.
- Power isn’t just about the battery: Oxidation on battery terminals is the leading cause of “dead” wireless devices, not the cells themselves.
- Double-clicking is a mechanical, not software, failure: Most “ghost clicks” in gaming mice are caused by spring fatigue in the micro-switch, which can be fixed with a simple contact cleaner or a $2 replacement part.
- Wireless interference vs. hardware failure: Before opening your device, rule out 2.4GHz congestion by moving your receiver to a USB extension cable to clear the “line of sight.”
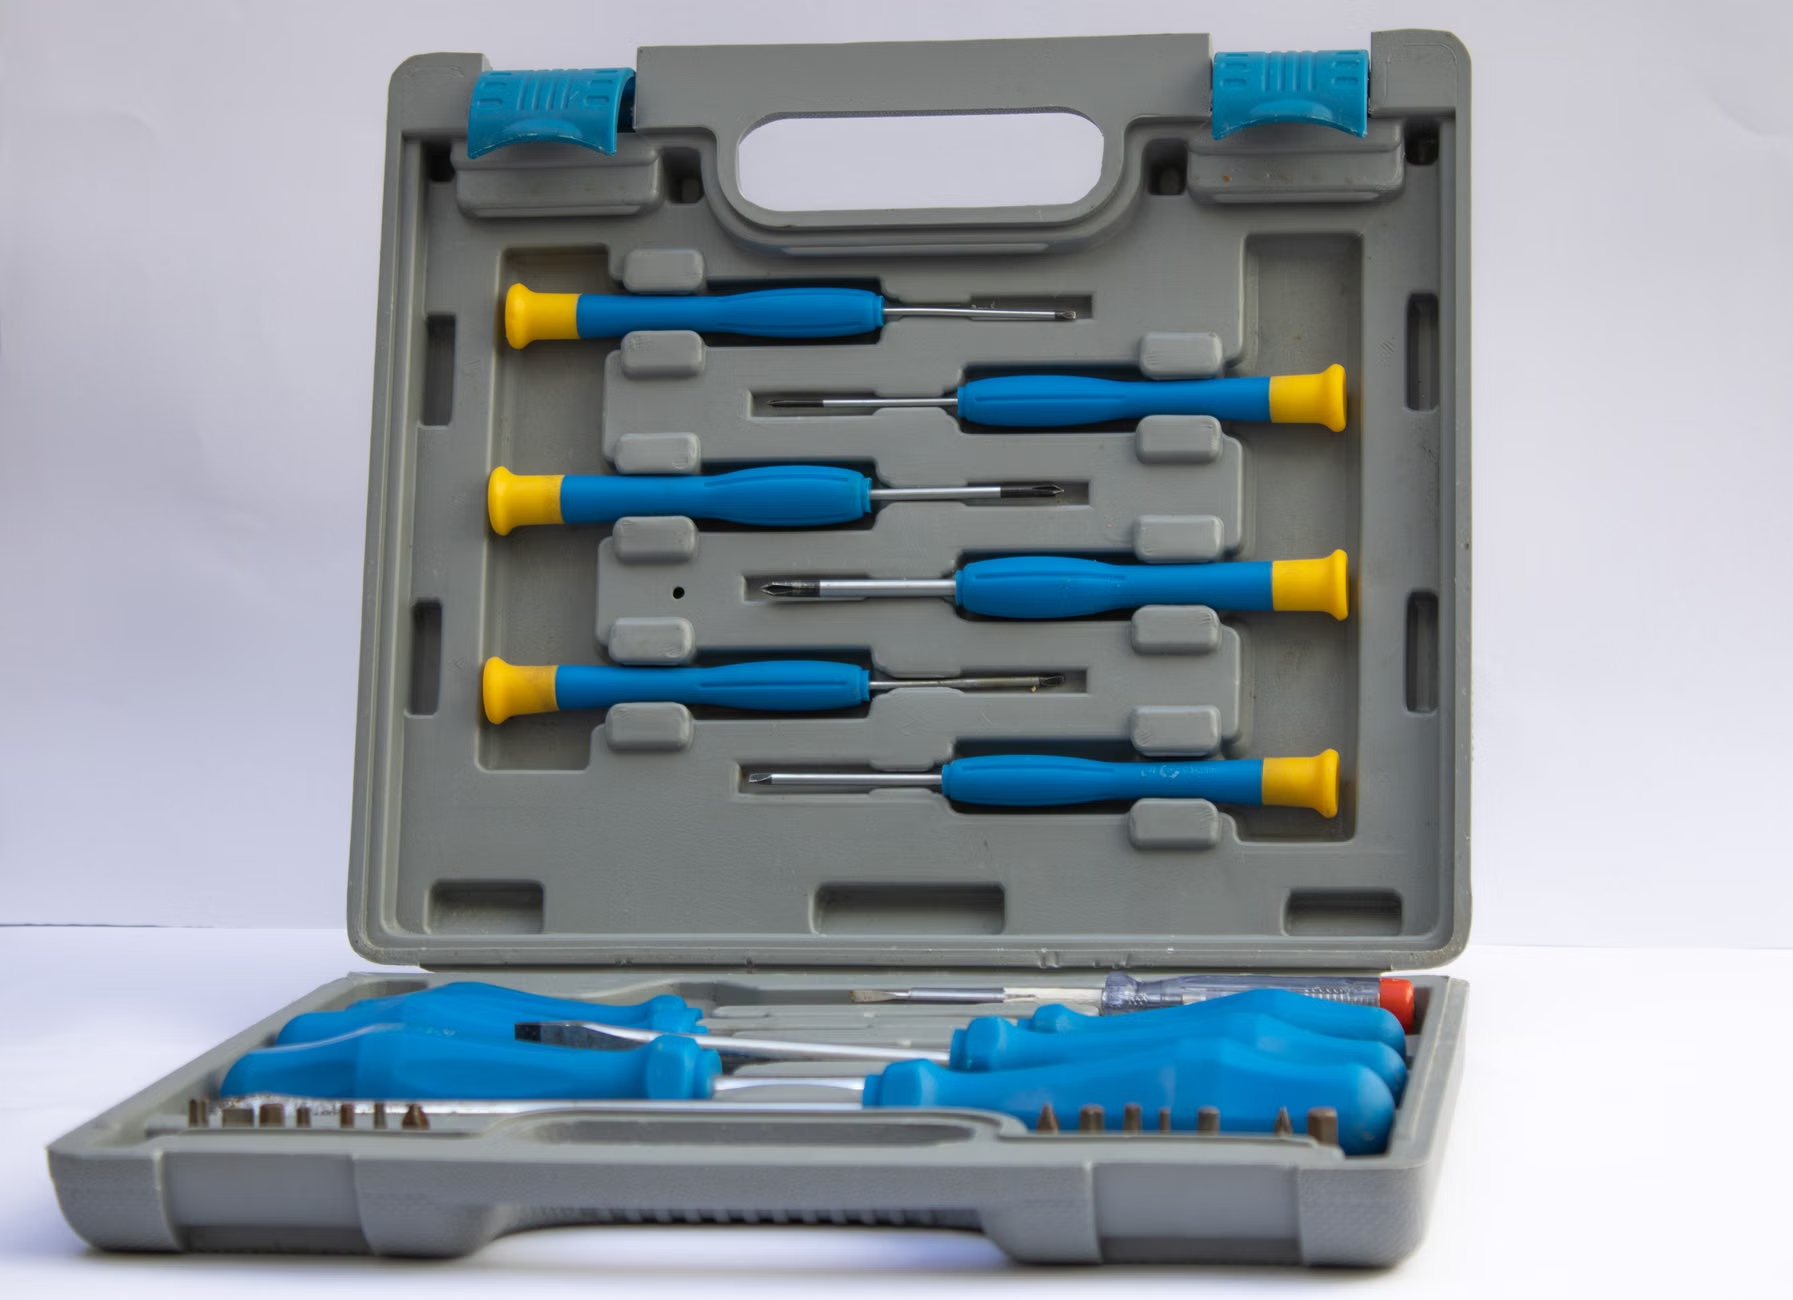
We’ve all been there: you’re in the middle of a critical work email or a rare hour of downtime, and suddenly your cursor starts stuttering across the screen like it’s possessed, or the ‘S’ key on your mechanical keyboard decides to stop registering entirely. The instinct is to hop onto Amazon, check the price of a new unit, and grumble about the “planned obsolescence” of modern tech. But before you add a new $100 mouse to your cart, let’s look at the actual hardware. Most of these devices are remarkably modular, and the barriers to fixing them aren’t technical skill—they are just a lack of confidence and the right screwdriver.
Diagnostic First: Is It Actually Broken or Just Congested?
Before you crack open the plastic casing, you need to determine if you are dealing with a hardware failure or a signal environment problem. Wireless peripherals operate primarily on the 2.4GHz band—the same band as your Wi-Fi, your smart home hub, and your neighbor’s router. This leads to massive signal congestion.
The “Distance Test”: If your mouse lags, plug your USB wireless receiver into a short USB extension cable and place it directly on your desk, within 10 inches of the device. If the lag disappears, your hardware is fine, but your environment is saturated. If the lag persists, you are dealing with a physical fault.
The Power Terminal Check: Battery leakage is rare with modern alkaline cells, but oxidation is incredibly common. If you use rechargeable batteries, the nickel plating can wear off, leading to high resistance. Take a look at the battery terminals inside your device. Do you see a greenish-white crust or a dull, dark brown film? That’s oxidation, and it acts as an insulator, preventing the full flow of current. You don’t need a soldering iron here. A simple cotton swab dipped in 90% isopropyl alcohol—or even a pencil eraser—can scrub that contact point clean. This simple step restores life to more “broken” devices than any other repair.
The Anatomy of the “Double-Click” and Switch Failure
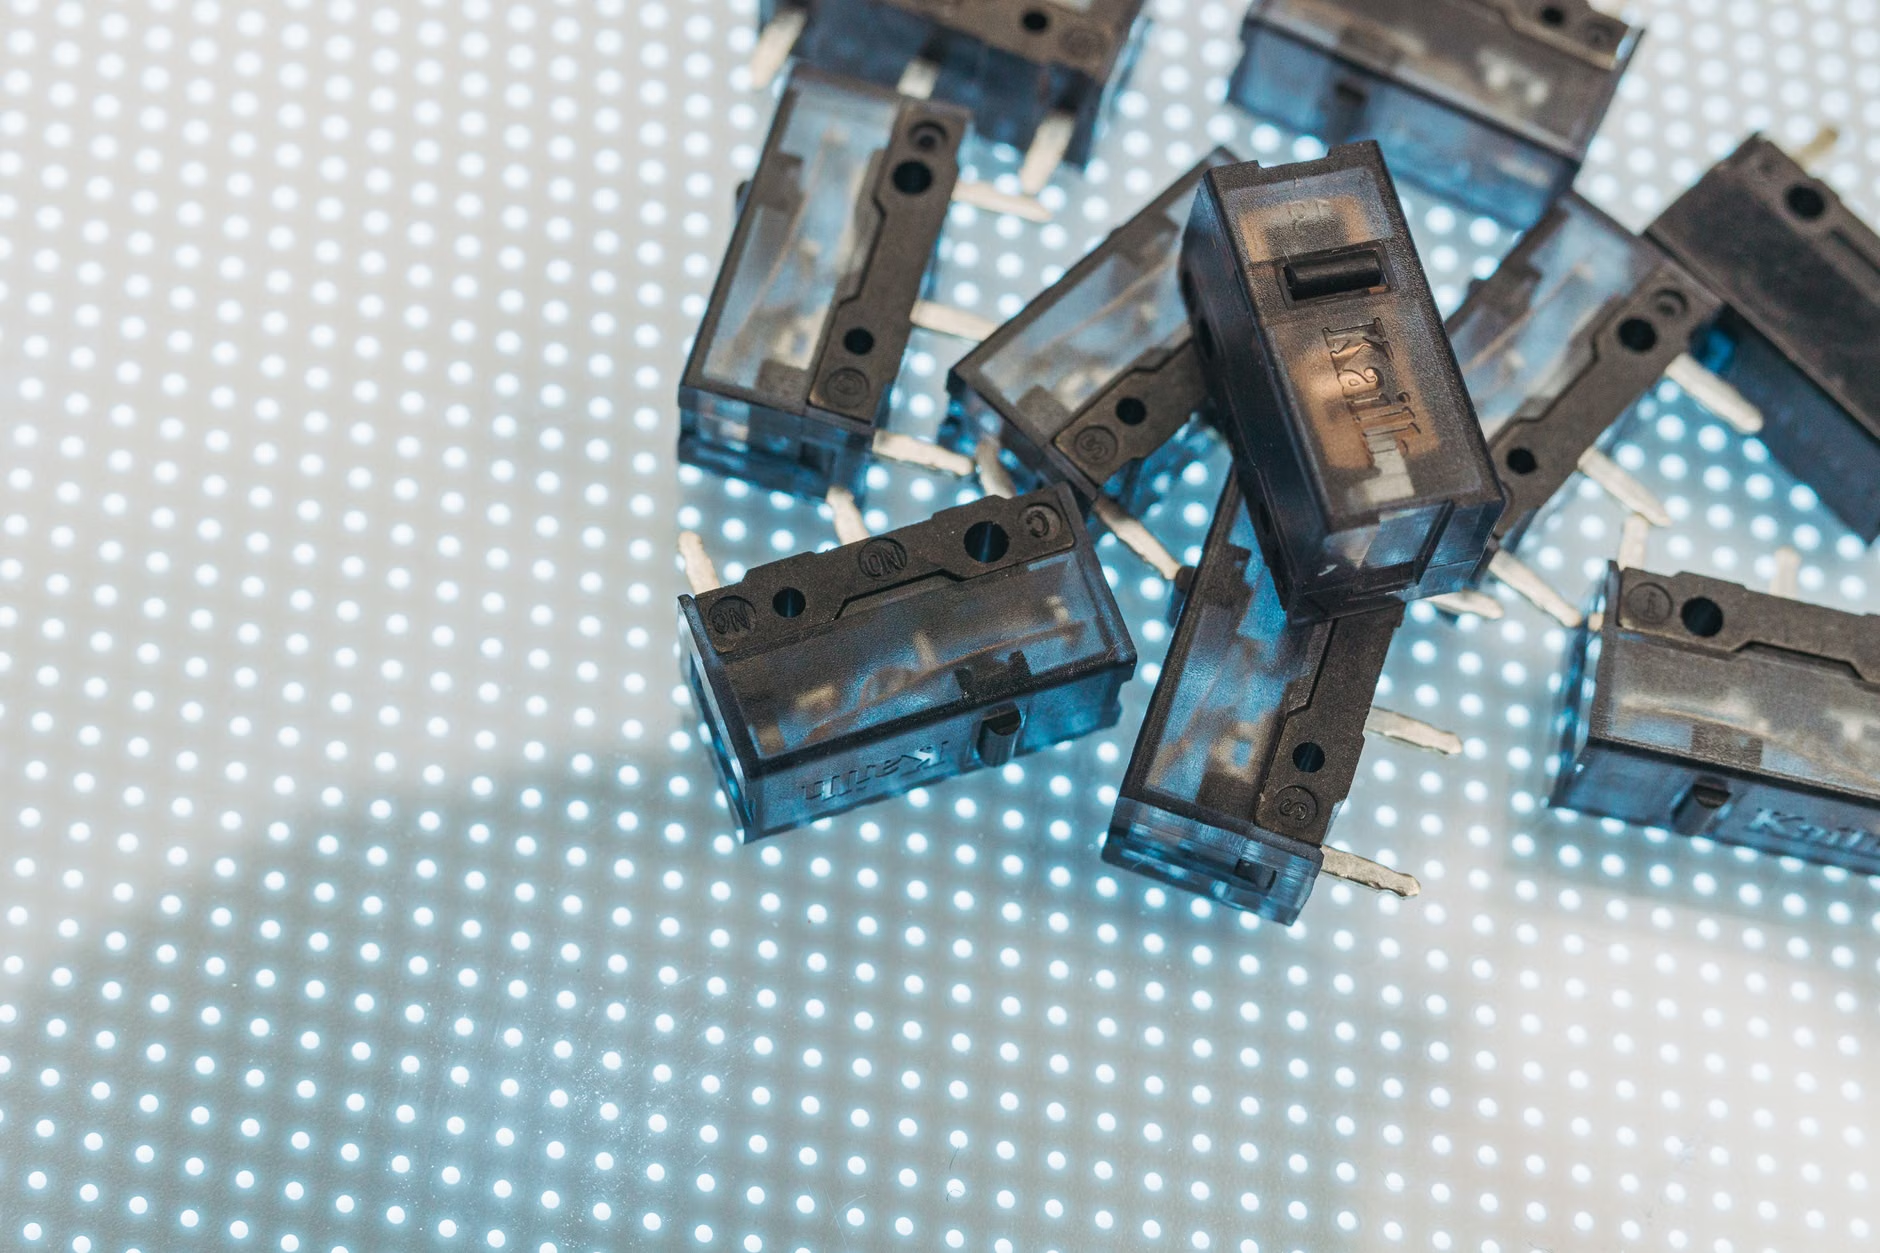
If you have a high-end mouse, you’ve likely experienced the dreaded “double-click” issue. You click once, but the computer registers two. This isn’t a driver issue or a Windows setting; it is a physical failure of the micro-switch, usually an Omron or Kailh switch, located beneath the plastic button cover.
Inside the switch is a tiny, hair-thin copper spring. Over millions of clicks, that spring loses its tension. When you release the mouse button, the spring doesn’t snap back fast enough, causing it to “bounce” and register a second click. This is a purely mechanical fatigue issue.
The “Contact Cleaner” Shortcut
Before you consider replacing the switch, try using an electronic contact cleaner (like DeoxIT). This is not the same as standard rubbing alcohol. Contact cleaner is designed to dissolve the microscopic oxidation that builds up on the metal contact points of the switch.
How to do it:
1. Remove the batteries.
2. Use a thin straw to spray a tiny amount of contact cleaner directly into the gap of the micro-switch.
3. Click the button rapidly 30–50 times to work the fluid into the contacts.
4. Let it dry for 10 minutes.
This “flushes” the switch and often buys you another year of life.
The Hidden World of Internal Hardware Maintenance
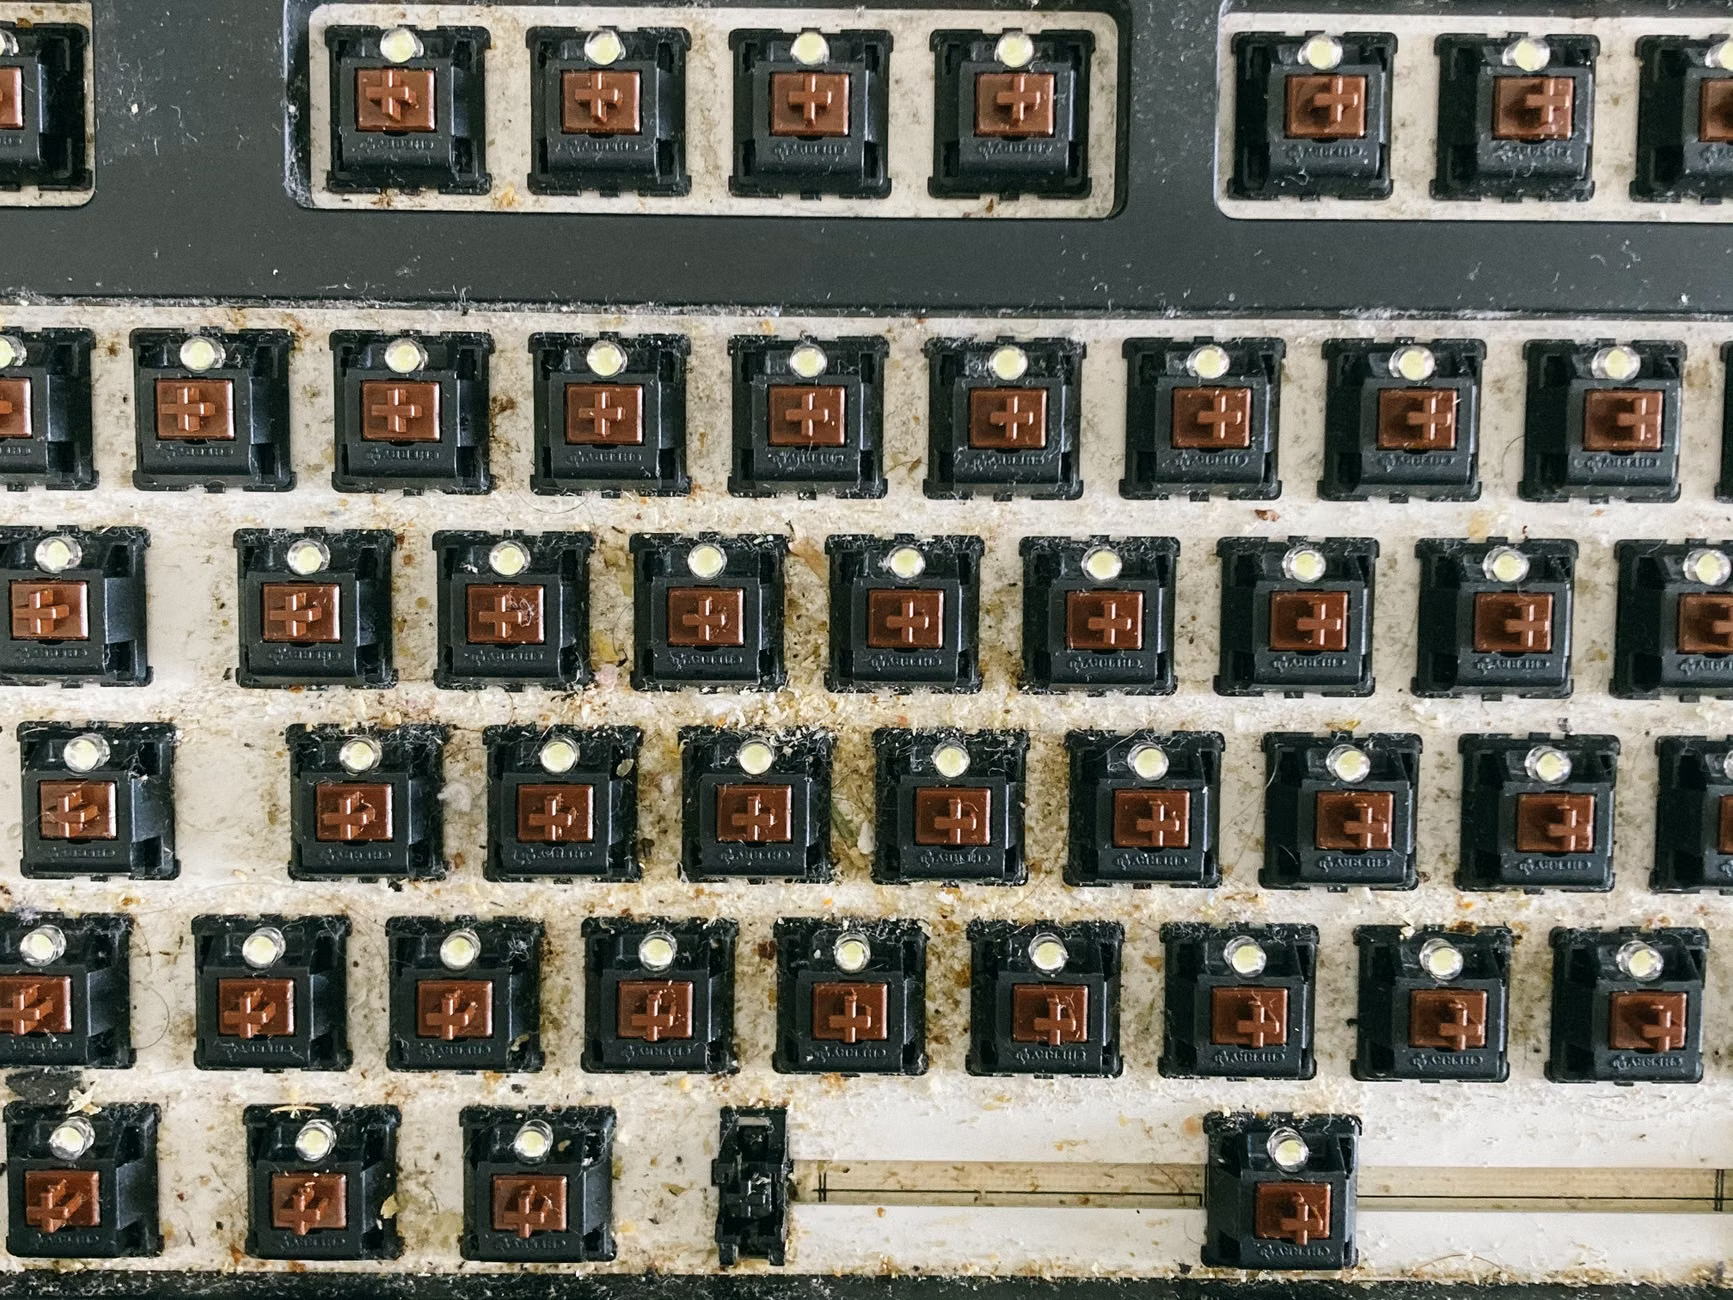
For those of us in our 30s and 40s, our desks are often the hub of both professional work and family life. Crumbs, dust, and pet hair are the silent killers of wireless keyboards. If a key is sticking or not registering, the issue is almost always debris trapped in the switch housing or the stabilizer bar.
The “Keycap Protocol”: If you are using a mechanical keyboard, the fix is straightforward: pull the keycap off. If you are using a membrane or “scissor-switch” keyboard (common in laptops and slim wireless boards), be extremely careful. The plastic clips holding the keycaps are fragile. Use a plastic spudger, not a metal knife, to gently pry the keycap off from the bottom edge. Once off, use a can of compressed air to blast out any debris. If a liquid spill occurred, do not just wipe the surface. You must open the casing to ensure the liquid didn’t reach the membrane layer, which can cause permanent short-circuits due to mineral deposits left behind as the liquid evaporates.
Common Mistake: Using water or generic cleaning wipes on circuit boards. Never use anything with a water content above 10%. Always stick to 90%+ isopropyl alcohol. It evaporates almost instantly, leaving no residue that could cause corrosion over time.
When to Replace the Battery vs. The Device
Wireless devices are essentially a combination of a battery, a sensor, and a radio transmitter. When the battery fails to hold a charge, it’s tempting to treat the whole device as trash. However, most modern wireless mice use standard Li-Po (Lithium Polymer) batteries that are connected via a simple JST connector—a tiny plastic plug.
If your device is holding a charge for less than two hours, the battery has reached its cycle limit. Search for your device model on sites like iFixit or even AliExpress by searching “[Device Model] replacement battery.” You will often find a drop-in replacement for $5–$15. This is significantly cheaper than a $120 replacement mouse and prevents another piece of e-waste from hitting the landfill.
| Issue Type | Likely Culprit | Repair Complexity | Cost Estimate |
|---|---|---|---|
| Intermittent Connection | RF Interference/Oxidized Battery Terminals | Low (Cleaning) | $0-$5 |
| Double-Click/Ghosting | Micro-switch Spring Fatigue | Medium (Cleaner/Soldering) | $5-$10 |
| Won’t Hold Charge | Degraded Li-Po Battery | Medium (Swap) | $10-$20 |
| Keys Not Registering | Dust/Debris/Spill Residue | Low (Cleaning) | $0-$10 |
The table above highlights that most of these repairs fall into the “Low” to “Medium” complexity range. The primary trade-off is time. If your time is valued at a high hourly rate, you might prefer a new device. However, for a parent or home-office worker, these repairs are often a meditative, low-stakes way to reclaim control over your environment.
The Overlooked Variable: Firmware and Drivers
Sometimes, the “hardware” is fine, but the “logic” is confused. Wireless peripherals often have onboard memory. If your mouse starts doing weird things—like changing DPI settings randomly or losing button assignments—the onboard firmware might be corrupted. Don’t just reinstall the driver on your computer; look for the “Factory Reset” procedure for your specific device. Usually, this involves holding down a combination of keys (like Left-Click + Right-Click + Middle-Click) while plugging the device in. This forces the hardware to revert to its factory-shipped state, which fixes 90% of “glitchy” behavior.
Why This Matters for Your Household Budget
We often justify buying new tech because “it’s just $50.” But when you multiply that by three family members, a home office, and a gaming setup, you are looking at hundreds of dollars in annual “peripheral tax.” Repairing your hardware isn’t just about the money; it’s about understanding the tools you use every day. When you know how to open a mouse, you no longer fear it breaking. You stop treating your tools as disposable and start treating them as assets.
A note on warranty: Before you open a device, check if it’s still under warranty. Most major manufacturers have a 1-to-2-year warranty. If you are within that window, do not open the device. You will void the warranty. However, if you are out of warranty, you have nothing to lose. The device is already effectively broken; you are simply exploring the possibility of a resurrection.
Advanced Troubleshooting: The Soldering Path
If you find that contact cleaner doesn’t fix the double-clicking, you have reached the point where a soldering iron is required. This sounds intimidating, but it is the “Hello World” of hardware repair. A basic soldering iron costs about $20. The micro-switches themselves cost about $2 each.
The process is simple:
1. Unscrew the mouse.
2. Use a solder sucker to remove the old solder from the three pins on the back of the micro-switch.
3. Pull the switch out.
4. Insert the new switch.
5. Apply a tiny bit of new solder.
This is a permanent fix. Once you replace a faulty switch with a high-quality Japanese Omron switch, that mouse will likely last another five years.
Final Thoughts: The Philosophy of Repair
The most important takeaway is this: Your peripherals are not black boxes. They are simple electromechanical assemblies. By taking the time to clean your terminals, flush your switches, and check your batteries, you are extending the life of your gear and reducing your household waste. Start with the easiest fix—the battery terminal cleaning—and work your way up. You’ll be surprised at how many “dead” devices are just waiting for a little bit of attention.
If you find yourself stuck, don’t force anything. If a screw doesn’t turn, check under the rubber feet of your mouse; manufacturers often hide screws there to discourage tampering. Always use the right-sized screwdriver to avoid stripping the heads. Take your time, keep your screws organized in a small bowl, and enjoy the satisfaction of a fix that didn’t require a trip to the store.
Useful Resources for Further Research:
- iFixit: The gold standard for teardown guides and parts identification.
- MechanicalKeyboards.com: Excellent for finding replacement switches and keycaps.
- Rtings: Great for comparing the internal build quality of mice and keyboards before you buy.
Frequently Asked Questions
Q: My mouse is still under warranty, but the company says it will take 4 weeks to replace. Can I fix it myself?
A: If the device is under warranty, do not attempt a hardware repair. Opening the casing will almost certainly void your warranty. Contact the manufacturer’s support and insist on an expedited replacement or a refund. If you fix it yourself, you lose the right to a free replacement.
Q: Is it safe to use WD-40 on my mouse or keyboard?
A: Absolutely not. Standard WD-40 is a lubricant and a water-displacer, not an electronic contact cleaner. It will leave an oily residue that will attract dust and eventually gum up your switches, making the problem significantly worse. Only use dedicated “Electronic Contact Cleaner” that is labeled as “residue-free.”
Q: How do I know if the battery is swollen?
A: If you notice the plastic casing of your mouse or keyboard bulging, or if the device no longer sits flat on the desk, the battery is likely swollen. This is a fire hazard. Stop using the device immediately, remove the battery if possible, and take it to a specialized battery recycling center. Do not attempt to repair or charge a swollen battery.
Keep your tools handy and your workspace clean. A little maintenance goes a long way in keeping your gear running for years, not months.