Key Takeaways
- The “Delete First” Rule: Never start by organizing; start by ruthlessly deleting duplicates, blurry shots, and accidental screenshots to reduce your library by at least 30%.
- The 3-2-1 Backup Strategy: Maintain three copies of your data, on two different media types, with one copy stored off-site (cloud) to prevent permanent loss.
- Metadata is Your Best Friend: Investing time in tagging faces and locations now prevents the “digital shoebox” problem, where photos are saved but impossible to find later.
The most dangerous lie we tell ourselves is that we have “plenty of space” in the cloud. If you are in your 30s or 40s, you likely have a decade or more of digital debris—blurry photos of your grocery list, screenshots of memes you forgot, and 47 nearly identical photos of your child eating breakfast. This isn’t just taking up storage; it’s creating a “digital debt” that makes it impossible to find the moments that actually matter.
You don’t need a month-long project to fix this. You need a sprint. By applying a systematic approach to your digital archive, you can turn a chaotic mess into a curated family history. Here is how to reclaim your digital life without losing your mind.
The Anatomy of Digital Overwhelm
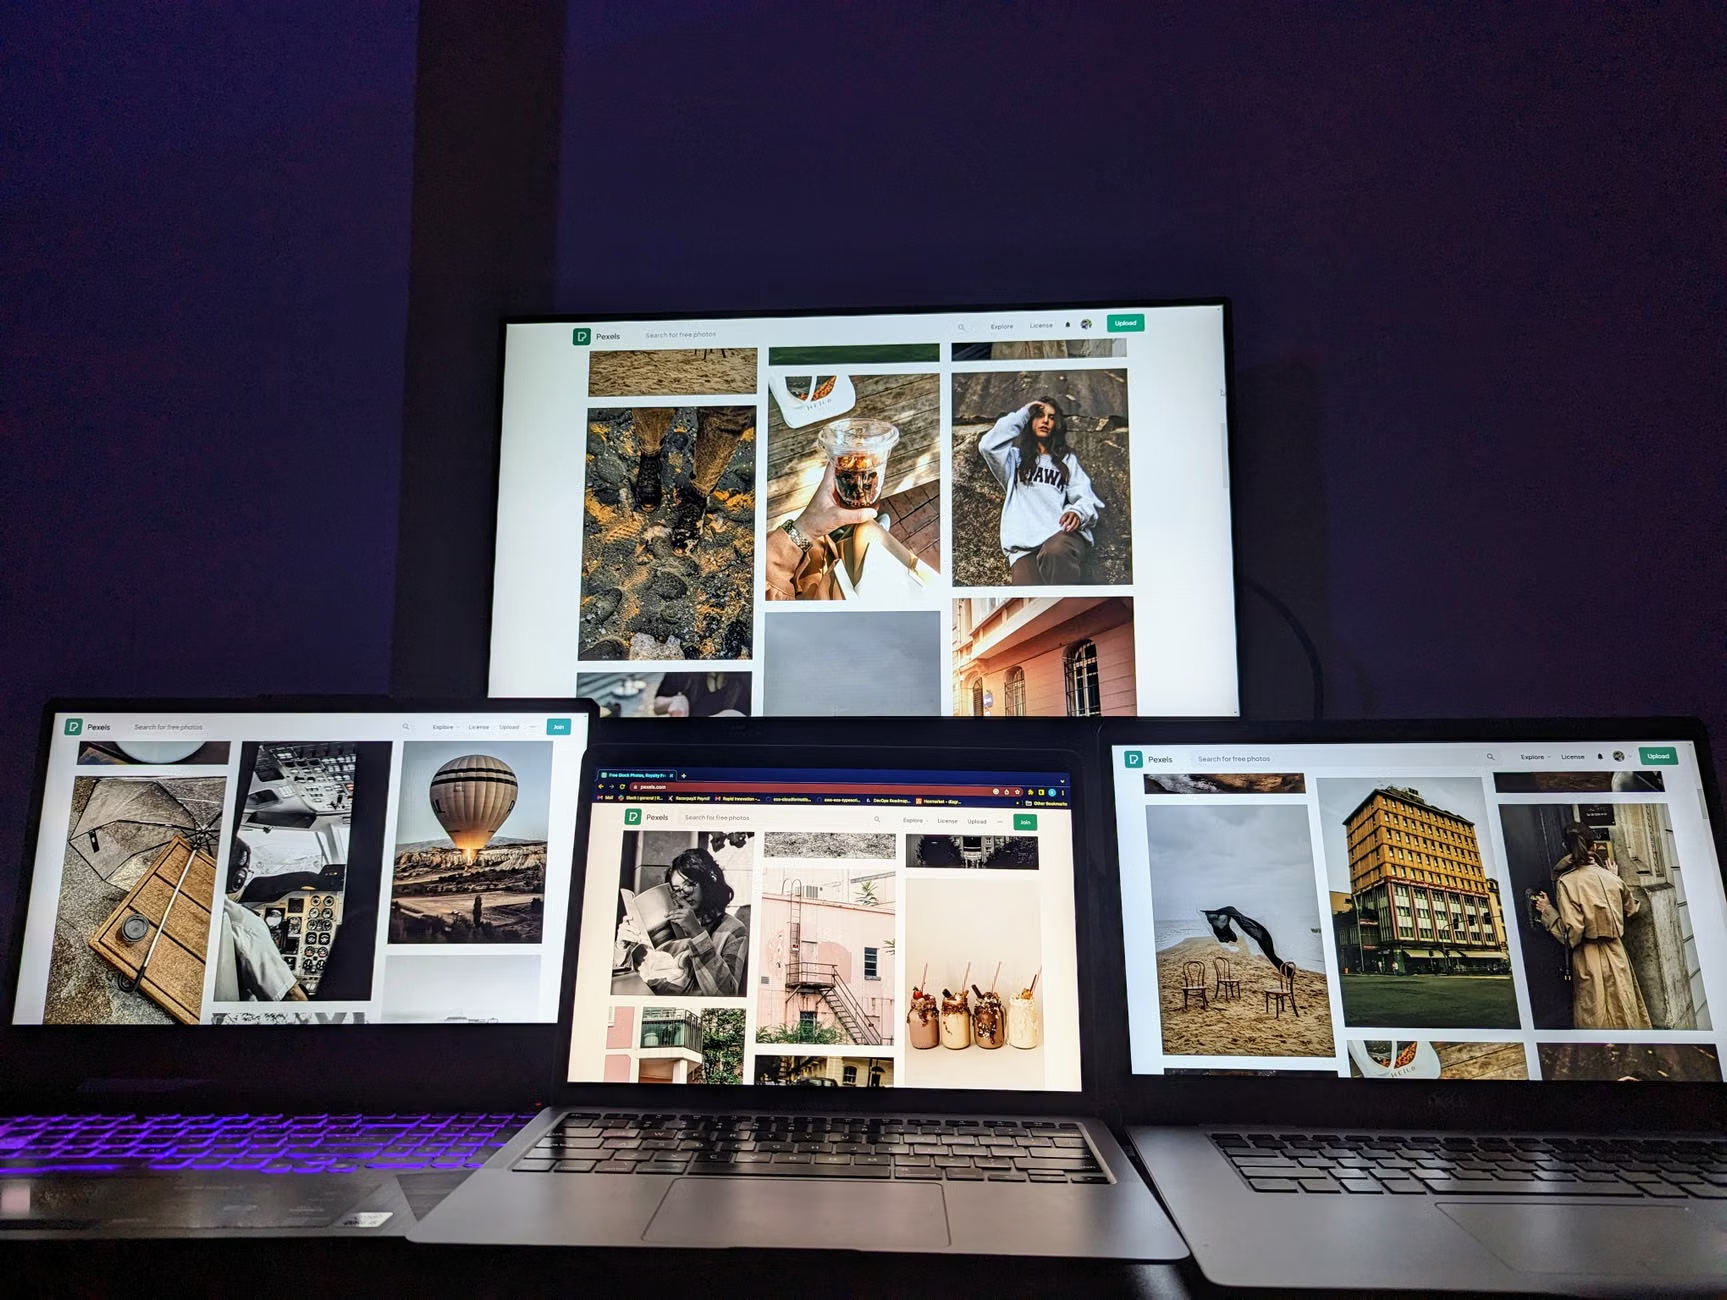
Most of us treat our photo libraries like a junk drawer. We throw everything in, assuming that the “search” function will eventually save us. However, search algorithms are only as good as the data they have to work with. When you have 50,000 photos, the signal-to-noise ratio becomes so skewed that even the best AI-powered search features struggle to surface the photos you actually want to see.
The core issue is archival negligence. We capture images at a rate that far exceeds our capacity to curate them. For a parent, this is compounded by the “documentation pressure”—the feeling that every milestone needs to be recorded. If you don’t have a system to prune the collection, you end up with a library that is so bloated it becomes a source of stress rather than a source of joy.
To begin, you must shift your mindset from “collector” to “curator.” A collector keeps everything; a curator keeps only what tells the story. Before you download a fancy new app or pay for extra storage, you need to perform the “Digital-Declutter Sprint.”
Phase 1: The Ruthless Purge
Before you move a single file into a folder, you must reduce the volume. This is the stage where most people fail because they try to “organize” while “deleting.” Do not do both at once. Focus entirely on deletion.
Start with the “low-hanging fruit.” These are files that occupy space but hold zero sentimental value. Use built-in tools like “Duplicate Photos” identifiers in your OS or third-party apps like Gemini Photos (iOS) or DiskUsage (Android).
| Category | Action Rule | Why? |
|---|---|---|
| Screenshots | Delete any over 3 months old | They are usually temporary info. |
| Burst Mode/Duplicates | Keep the best 1, delete the rest | You don’t need 15 versions of a smile. |
| Blurry/Accidental | Delete immediately | These are “digital noise.” |
| Videos > 1 min | Review and move to “Archive” | Videos consume 10x the space of photos. |
Set a timer for 20 minutes. Your goal is not to finish the entire library, but to clear one month’s worth of photos. This “micro-sprint” prevents burnout. If you try to do five years of photos in one day, you will quit by hour two. By limiting the session, you keep your decision-making sharp.
Phase 2: Establishing a Sustainable Taxonomy
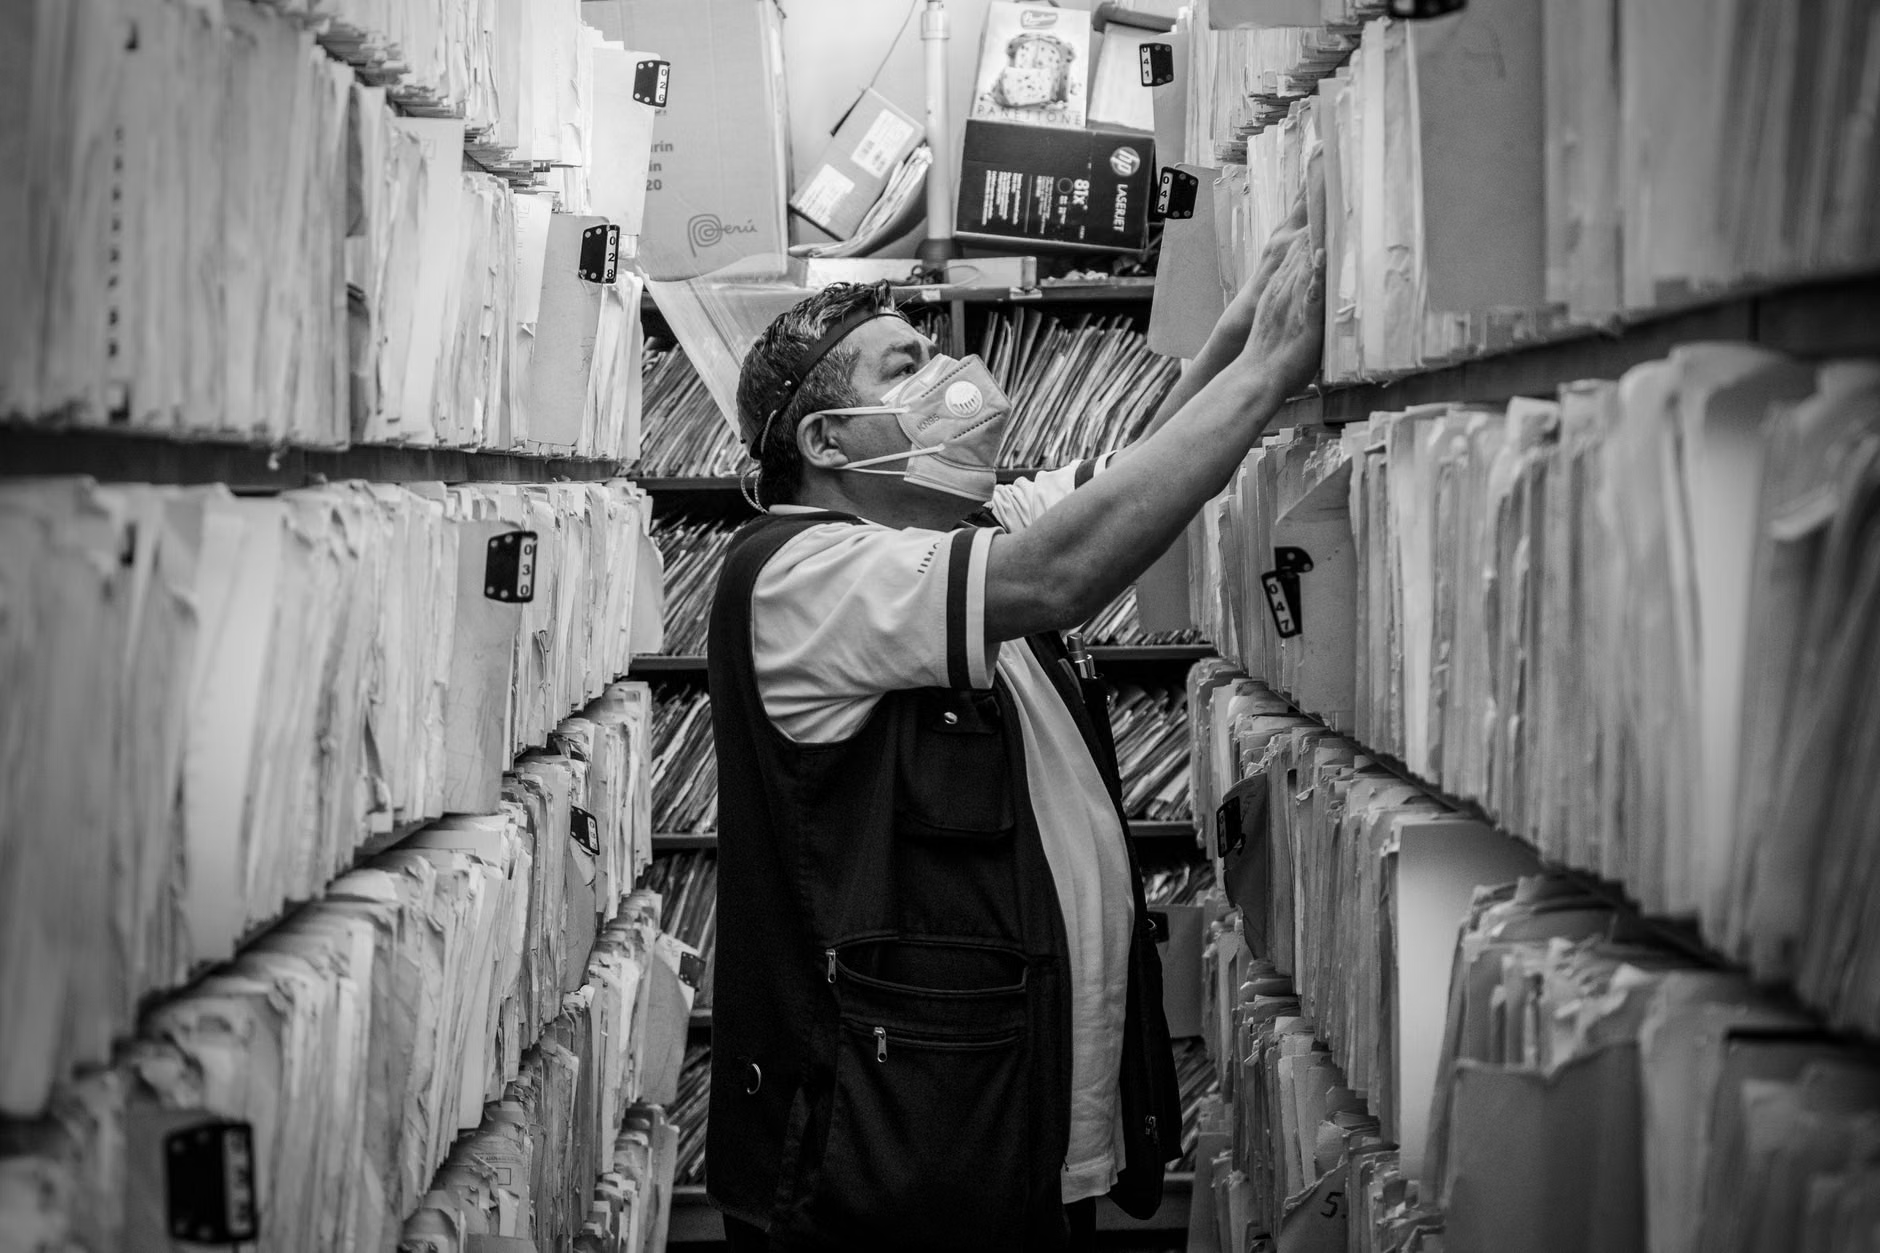
Once you have purged the junk, you need a structure that works for your brain. The most common mistake is creating folders that are too specific (e.g., “John’s 4th Birthday Party at the Park”). This leads to folder-bloat, where you have hundreds of folders and can never remember which one contains the photo you need.
Use a Chronological-Hierarchical Structure. This is the industry standard for a reason. It is predictable and scalable.
The Structure:
- Root Folder: Family Archive
- Year Folder: 2023, 2024, 2025
- Month Folder: 01-January, 02-February…
- Event Folder: 06-15_Summer_Vacation, 12-25_Christmas
By using the “01-January” naming convention, your folders will always stay in chronological order, regardless of your operating system. The event folder is your only level of “customization.” If an event is smaller than a full day, don’t create a folder. Just let it sit in the monthly folder. This prevents the “folder-nesting” trap where you lose files deep inside sub-sub-sub-folders.
Phase 3: The 3-2-1 Backup Strategy
Even the most organized library is useless if it disappears due to a hardware failure or a cloud account lockout. The 3-2-1 rule is the gold standard for data preservation. It is not overly complex; it is simply a checklist for safety.
The 3-2-1 Rule:
- 3 Copies of your data: Your original, one local backup, and one cloud backup.
- 2 Different Media Types: For example, your phone/computer (SSD) and an external hard drive (HDD) or NAS (Network Attached Storage).
- 1 Off-site copy: This is your cloud service (Google Photos, iCloud, Amazon Photos).
Why does this matter? If you only rely on the cloud, a single account hack or a billing issue could freeze your access to your entire history. If you only rely on a local hard drive, a physical event like a fire, theft, or a simple drop could destroy years of work. The combination of both is your insurance policy.
Common Misconception: “Syncing” is the same as “Backing up.” It is not. If you delete a photo from your phone and it syncs to the cloud, it is deleted from the cloud, too. A true backup is a static snapshot that doesn’t change just because you deleted a photo on your device.
The Hidden Cost of Metadata
Metadata (EXIF data) is the information embedded in your photo files, such as the date, time, location, and camera settings. When you move photos between devices, this data can sometimes be stripped away. This is why you should always transfer files using a “copy” method rather than a “cut/paste” method until you are 100% sure the transfer was successful.
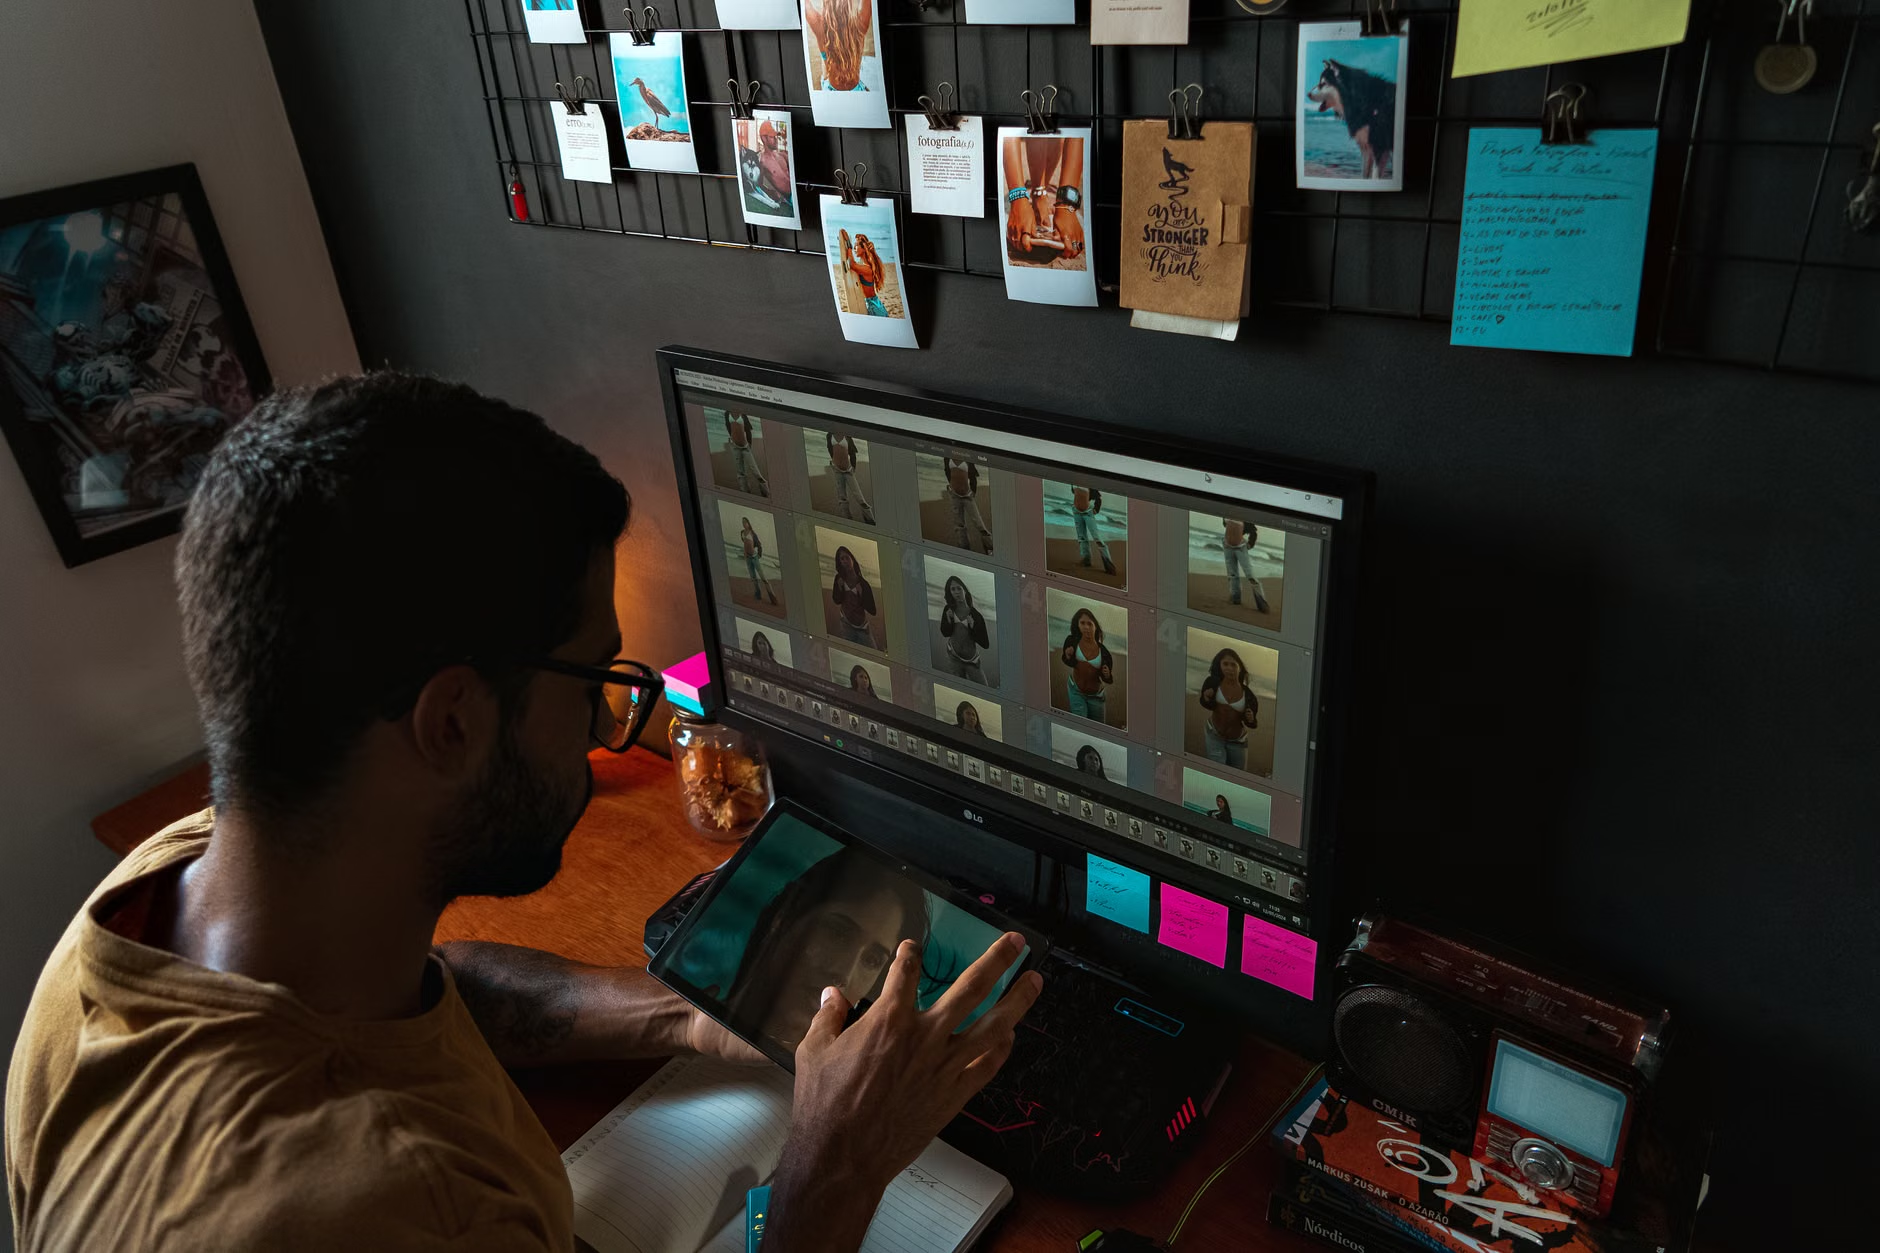
If you are serious about long-term archiving, consider using software like Adobe Lightroom or DigiKam to manage your metadata. These programs allow you to add “tags” (like “Grandma,” “Beach,” “School”) that are searchable across your entire library, regardless of the folder structure. This is the “pro” move that separates a messy folder of JPEGs from a professional-grade archive.
In most households, photos are split between two (or more) parents’ phones. This creates a fragmented history. The best way to solve this is to establish a “Common Archive” folder or account.
Every Sunday night, or once a month, perform a “Sync Session.” AirDrop or use a shared cloud folder (like Google Drive or a shared iCloud Album) to move the “keeper” photos from both phones into a single repository. This ensures that the history of your family is consolidated, not scattered across disparate devices.
If you don’t do this, you will have a “Mother’s Archive” and a “Father’s Archive,” and ten years from now, you will struggle to reconstruct the timeline of events. Consolidation is the most overlooked step in family digital management.
Troubleshooting Common Roadblocks
“I have too many photos to even start.”
Don’t start from the beginning. Start from today. Organize the current month, then use the next month to chip away at the past. If you try to go back to 2010, you will fail. Work backward, one year at a time, during your “sprint” windows.
“I’m worried about cloud costs.”
Cloud storage is a subscription-based commodity. If you find your costs rising, it is a sign that your “Digital-Declutter” hasn’t been aggressive enough. Use the storage limit as a forcing function to delete duplicates. If you are paying for 2TB of storage, you are likely paying for 500GB of junk. Purging is the cheapest way to lower your tech overhead.
“What about printed photos?”
If you have physical prints, digitize them using a scanning app like Google PhotoScan (which removes glare). Add these to your “Archive” under a folder named “Historical/Pre-Digital.” Do not try to mix these with your current digital files, as the EXIF data will be inaccurate (the date will be the day you scanned it, not the day it was taken).
The Long-Term Maintenance Plan
Once you have finished your sprint, you need a “maintenance mode.” This prevents the build-up from happening again. Treat your photos like your laundry—it’s a chore that never ends, so build it into your routine.
The Monthly Maintenance Checklist:
- Review: Spend 30 minutes on the last Sunday of the month sorting photos from your phone to your local/cloud archive.
- Cull: Delete the screenshots and duplicates from that month immediately.
- Verify: Check your 3-2-1 backup status. Is the cloud sync active? Is the external hard drive plugged in?
This isn’t about being perfect; it’s about being intentional. When you take control of your digital archives, you are not just saving bytes; you are preserving the narrative of your family’s life. It is a gift to your future self, and more importantly, to your children, who will one day want to look back on these moments without having to sift through a digital junkyard.
Start small, stay consistent, and remember: you don’t need a perfect archive. You just need a searchable one.
Frequently Asked Questions
Q: Should I use a dedicated photo management app or just folders on my computer?
For 90% of users, a simple folder structure on a computer/NAS combined with a cloud service (like iCloud or Google Photos) is sufficient. Dedicated apps like Lightroom are powerful but have a steeper learning curve and can lock you into their proprietary ecosystem. Start with folders; if you find the need for advanced tagging, move to specialized software later.
Q: How do I handle photos that are “sent” to me via WhatsApp or social media?
These are often compressed and low-quality. If you want to keep them for the archive, download them to a specific “Incoming/Social Media” folder. Periodically move the ones you want to keep into your main chronological archive. Be aware that many messaging apps strip metadata, so you may need to manually update the “Date Taken” field in your file properties.
Q: What is the best way to move photos from a dying phone to a new one?
Avoid relying on “phone-to-phone” transfers, which can often lead to corrupted metadata or missing files. Use a cloud backup (like Google Photos or iCloud) as the bridge, or manually copy the DCIM folder from your phone to a computer using a USB cable. The cable method is the most reliable way to ensure you have a “master copy” that isn’t dependent on a service provider’s sync logic.
For further reading on data security and privacy in cloud storage, consult the Cybersecurity & Infrastructure Security Agency (CISA) guide on data privacy.