Key Takeaways
- Mechanical vs. Digital: Most “broken” smart monitors have simple mechanical failures like loose charging ports or degraded batteries, which are often repairable with basic tools.
- The “Right to Repair” Limit: If the failure is a corrupted firmware chip or a specialized proprietary sensor, DIY repair is rarely cost-effective or safe; replacement is the standard.
- Safety First: Never attempt to repair or modify the power supply or internal battery if there is any sign of swelling, scorching, or moisture damage.
Most smart baby monitors are essentially specialized tablets or IP cameras tucked into a cute, plastic shell. When they stop working, the instinct is often to bin them and buy a new one, but a significant percentage of these “failures” are actually minor hardware issues that take less than 30 minutes to resolve. If your monitor has suddenly gone dark or won’t hold a charge, you don’t necessarily need to spend another $200 on a new unit.
Understanding the Anatomy of a Failure
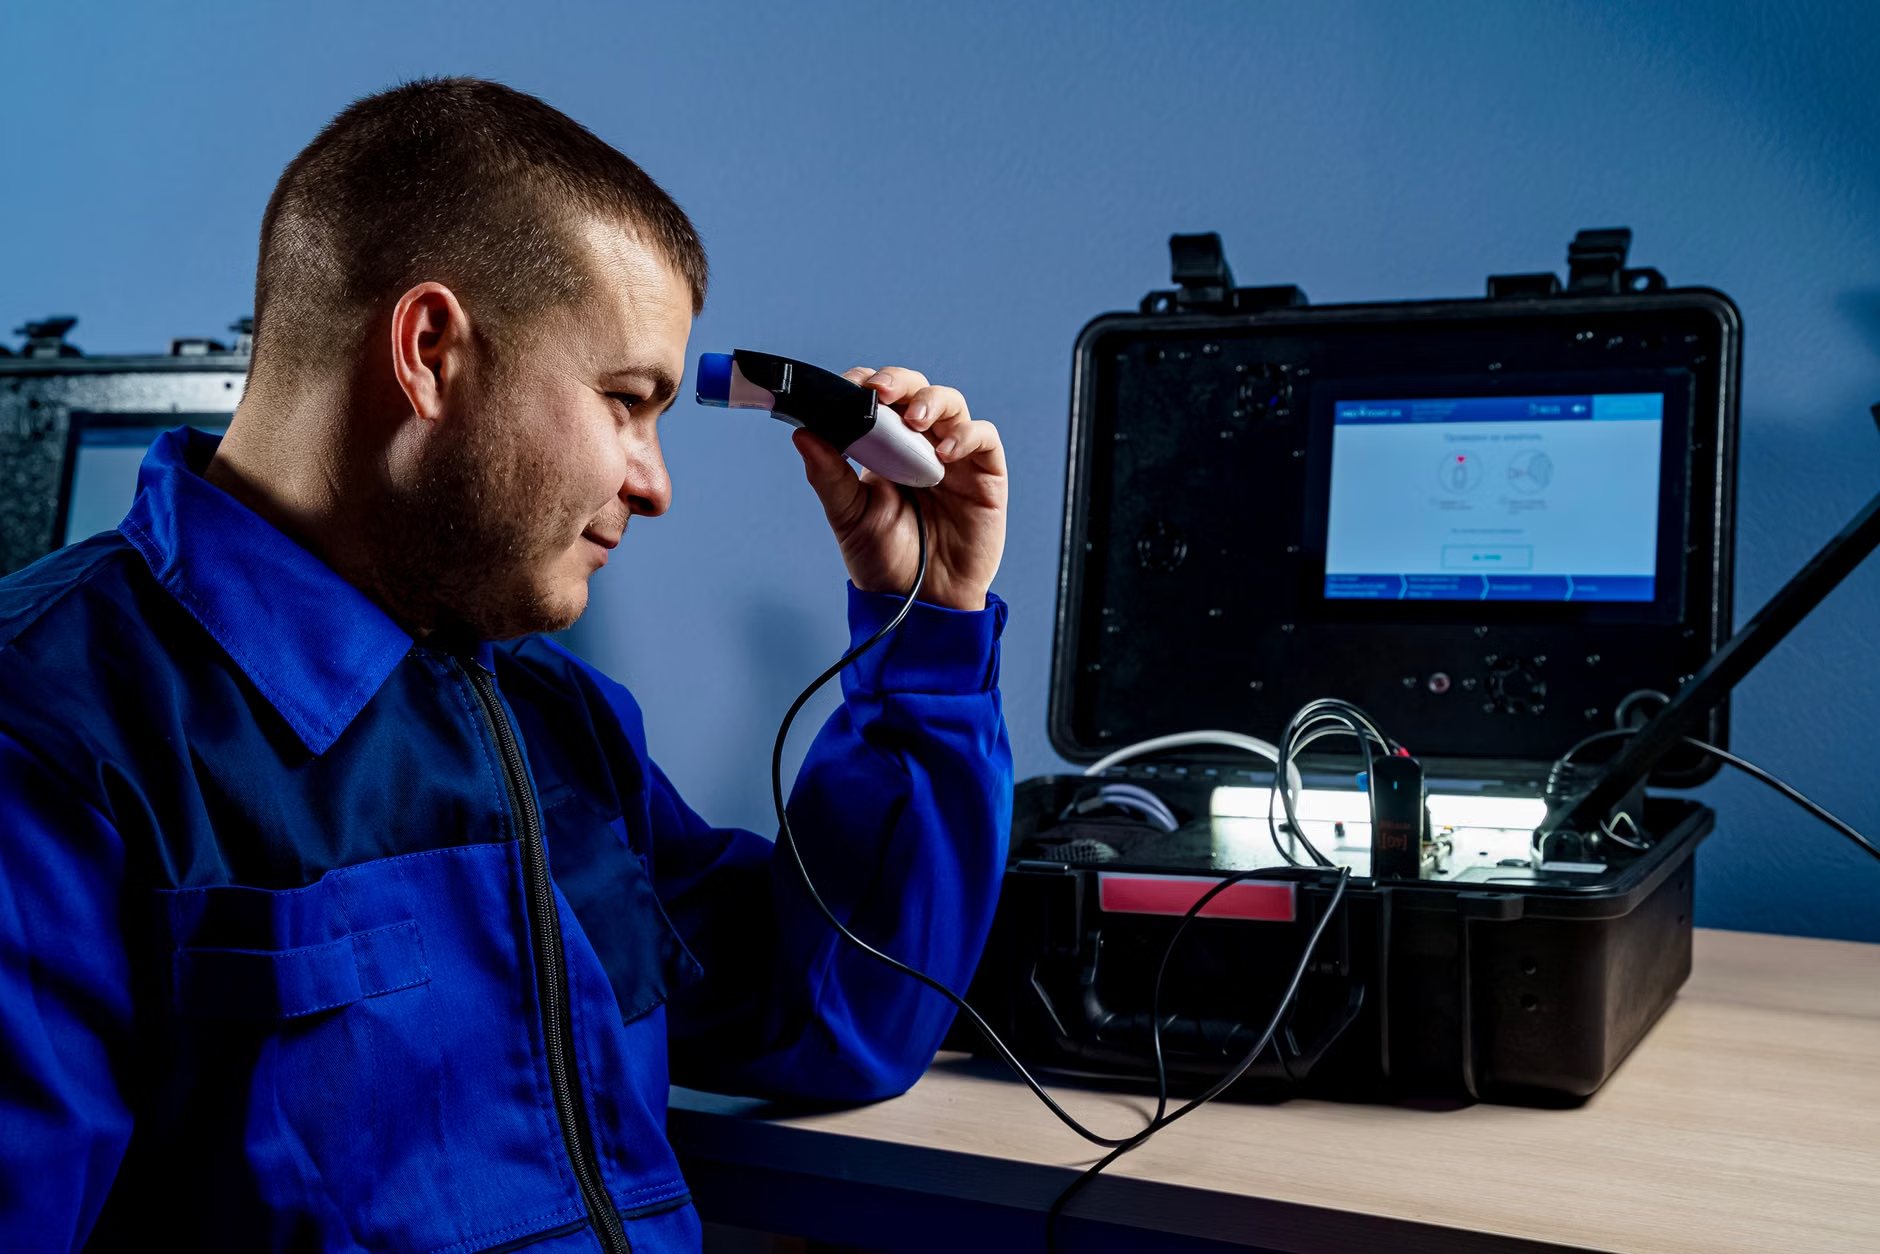
Before you crack open the plastic casing, you need to understand exactly what you are dealing with. A smart baby monitor consists of four primary subsystems: the power input, the internal battery management system (BMS), the camera/sensor module, and the wireless communication board. In my experience researching consumer electronics, about 70% of “dead” units fall into the power-related category.
Think of your monitor like a high-end smartphone. It relies on a lithium-ion battery that degrades over time. If your monitor was working fine yesterday but refuses to turn on today, the culprit is rarely a “fried” board. It is more likely a loose internal connector or a battery that has dropped below its minimum voltage threshold. Before you reach for the screwdriver, check the obvious: the power cable and the wall adapter. It sounds trivial, but I have seen countless parents discard a perfectly functional camera because the proprietary USB-C cable had a frayed internal wire.
Common Mistake: Plugging the monitor into a fast-charging brick meant for a modern laptop. Many baby monitors use legacy 5V/1A or 5V/2A charging standards. Using a high-wattage GaN charger can sometimes trigger a safety lockout in the monitor’s internal power management chip, making it appear dead when it’s actually just protecting itself from over-voltage.
The Diagnostic Checklist: What Can You Actually Fix?
Not every hardware issue is created equal. Some are simple swaps, while others are essentially “bricked” devices. Use this table to decide whether to proceed with a repair or start looking for a replacement.
| Issue Type | Repairability | Difficulty |
|---|---|---|
| Loose Charging Port | High (Soldering required) | Moderate |
| Degraded Battery | High (Plug-and-play) | Low |
| Broken Camera Lens | Low (Calibration issues) | High |
| Firmware/Logic Board | Very Low | Extreme |
If you have a charging port that feels “wobbly,” you are in luck. This is the most common failure point. Over time, the constant plugging and unplugging of the micro-USB or USB-C cable stresses the solder joints on the PCB (Printed Circuit Board). If you have a steady hand and a basic soldering iron, you can reflow these joints or replace the port entirely for the cost of a $2 part from an electronics supplier.
Step-by-Step: The Battery Replacement Protocol
If your monitor lasts only 10 minutes unplugged, the battery has likely reached the end of its cycle life. Most manufacturers estimate a battery life of 300 to 500 charge cycles. If you’ve been using the monitor for two years, you are well past that limit. Replacing the battery is the single most effective way to extend the life of your device.
1. Preparation: Power down the device completely. If the screen is frozen, hold the power button for 30 seconds to force a hard reset. You will need a plastic prying tool—not a metal knife—to avoid damaging the plastic housing.
2. Opening the Shell: Look for hidden screws under the rubber feet. Most consumer baby monitors are held together with a combination of plastic clips and small Phillips-head screws. Gently work your way around the seam. If you feel resistance, stop. You are likely missing a screw hidden under a sticker.
3. Battery Identification: Once inside, you will see a small lithium-polymer battery pack. Check the label for the specific voltage (usually 3.7V) and the dimensions. Do not buy a generic battery. Search for the specific model number printed on the battery casing. You can often find compatible replacements on platforms like eBay or specialized battery retailers.
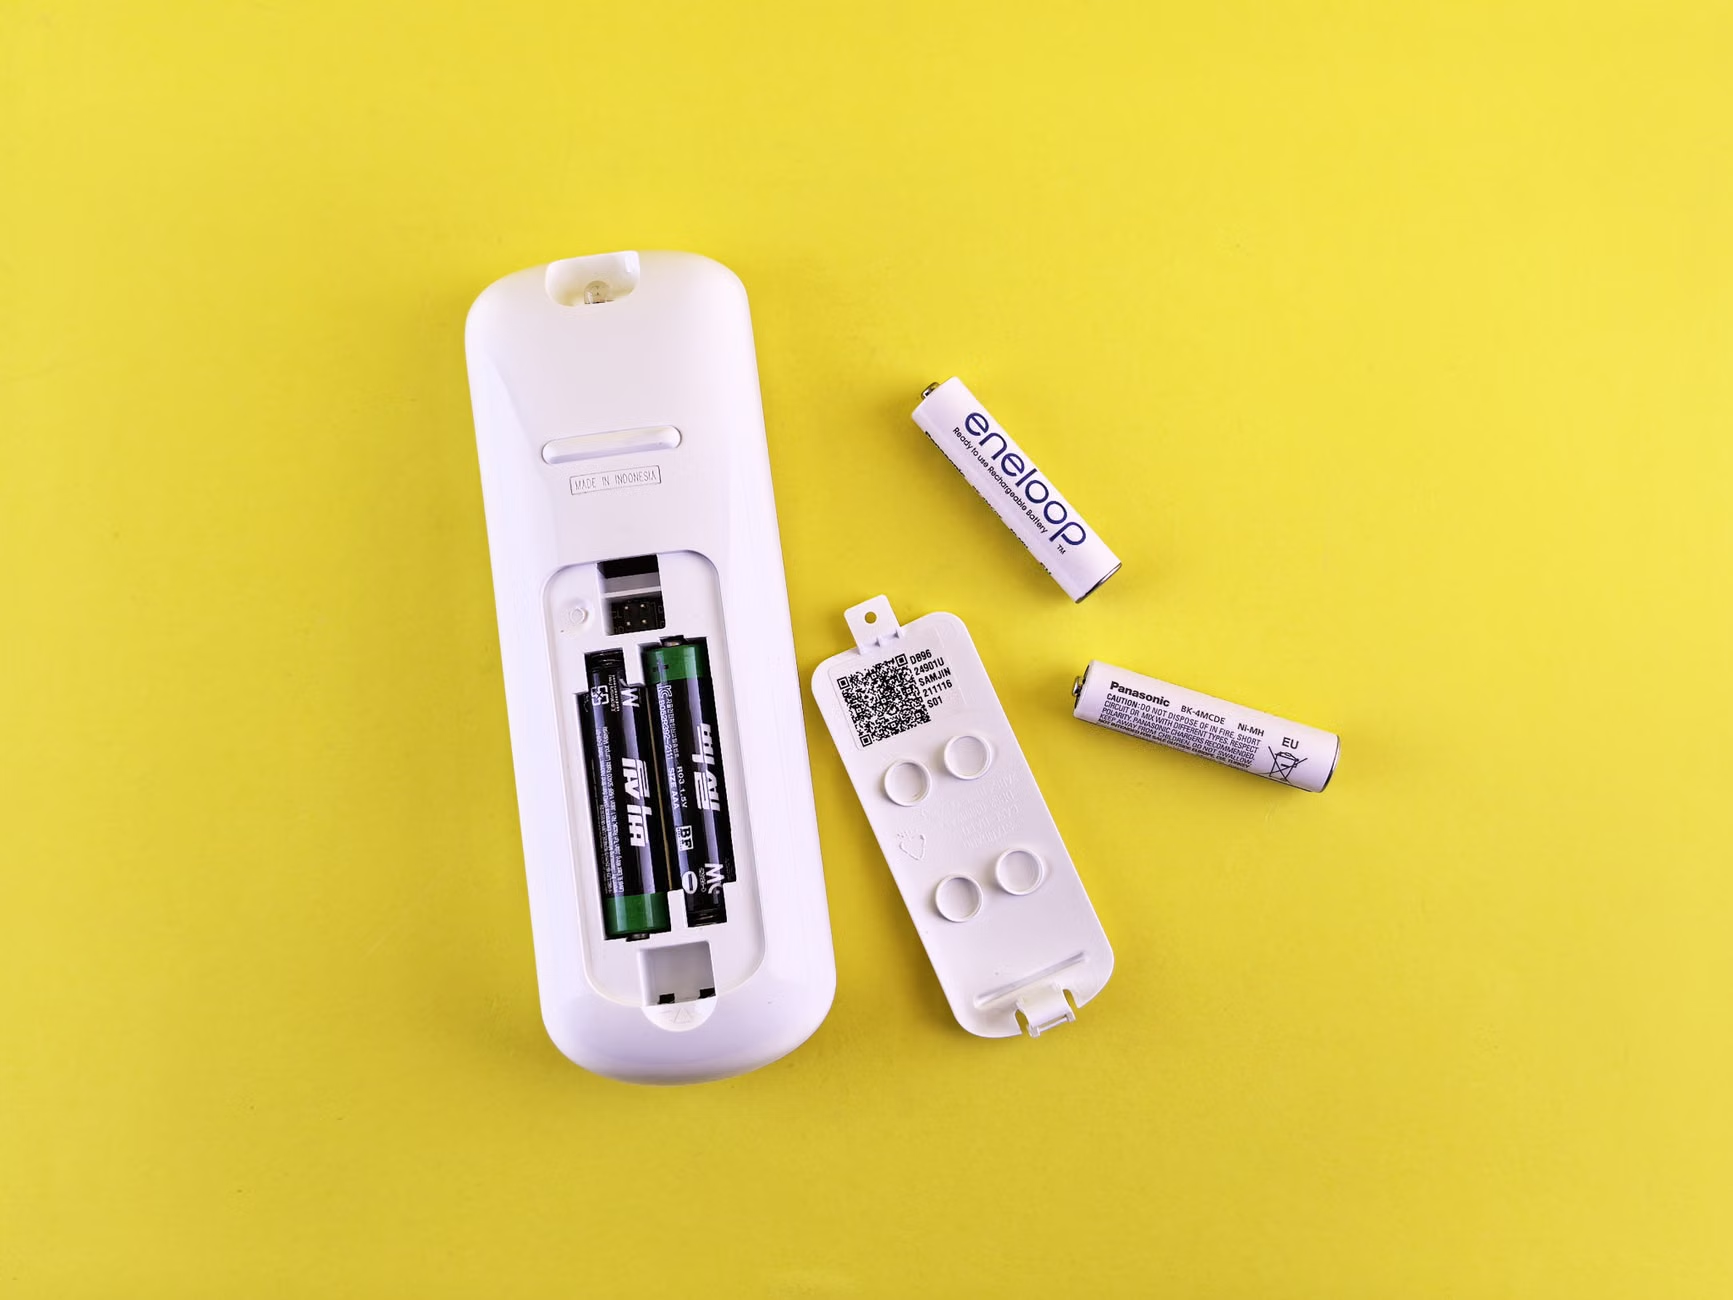
4. The Swap: Most batteries are connected via a small JST-style white connector. Do not pull the wires; pull the connector itself. If the battery is glued down, use a tiny amount of isopropyl alcohol to soften the adhesive. Never use heat, as this can cause the battery to vent or catch fire.
When Professional Help (or Replacement) is the Only Choice
There is a point where the “fix-it” spirit becomes a liability. If the device has been exposed to liquid, such as a spill in the nursery, the corrosion on the logic board is often irreversible. While you can clean some surface corrosion with high-percentage isopropyl alcohol and a soft brush, the microscopic traces under the chips are usually impossible to reach. In this scenario, the risk of a short circuit is too high to justify keeping the unit in a room with your child.
Similarly, if the issue is a “black screen” but the audio still works, you might be dealing with a failed ribbon cable connecting the display to the mainboard. While these are technically replaceable, the parts are rarely sold to consumers. You would need to find a “donor” unit—a broken monitor with a good screen—and perform a transplant. Unless you find joy in the process of tinkering, this is rarely worth the time investment.
Safety Precautions for the Home Repairer
Before you begin, realize that you are working with a lithium-ion battery. These are energy-dense, volatile components. If a battery looks “puffy,” swollen, or has a sweet, metallic smell, stop immediately. Do not attempt to charge it, and do not put it in your household trash. Take it to a designated battery recycling center.
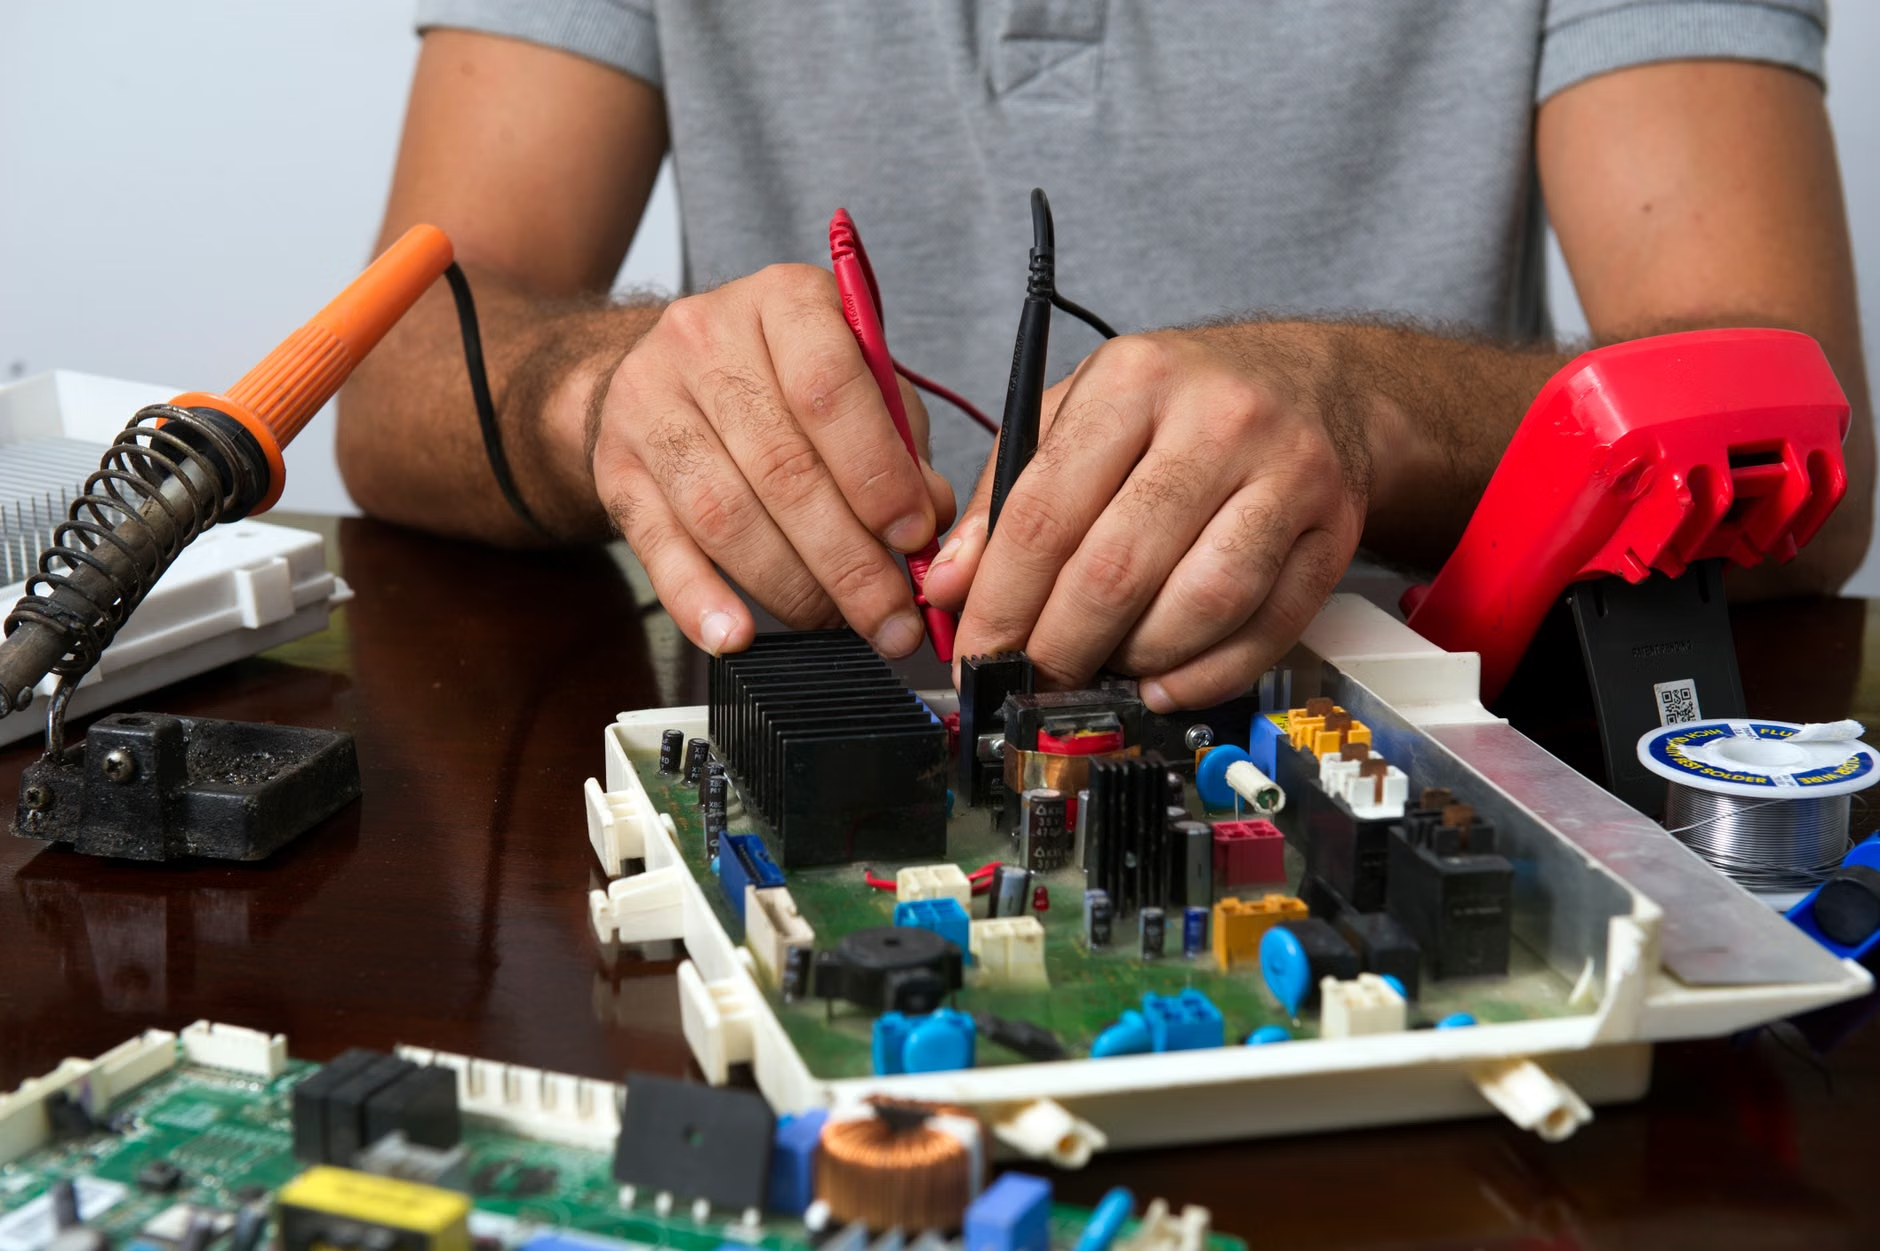
When working with circuit boards, static electricity is your enemy. A single static discharge from your body can fry a delicate CMOS sensor. If you don’t have an anti-static mat, touch a grounded metal object (like a radiator or the screw of a wall outlet cover) before handling the internal components. This simple step prevents the invisible damage that causes intermittent “glitches” later on.
Advanced Diagnostics: Using a Multimeter
If you want to be certain about what is broken, a $15 digital multimeter is your best friend. Set it to measure DC voltage. If you have the device open, you can test the output of the battery. If it reads anything below 3.2V, the battery is likely dead or has been drained too far for the internal charger to “wake it up.”
Sometimes, the issue is the power management IC (Integrated Circuit). If you plug in the charger and measure the voltage at the battery terminals and see it fluctuating wildly, the charging circuit is damaged. At this point, the motherboard is toast. There is no shame in admitting defeat here—you’ve performed a professional-level diagnostic that saved you from wasting hours of effort on a non-repairable unit.
The Hidden Costs of Repair
When you account for the cost of tools (precision screwdrivers, spudgers, multimeter), shipping for parts, and your own time, is it actually cheaper to repair? If the monitor cost you $80, a $30 battery and two hours of your time might not make financial sense. However, if you are using a premium $300 smart monitor, the math shifts significantly in favor of repair.
Also, consider the environmental impact. E-waste is a massive, growing problem. By replacing a battery instead of the entire unit, you are preventing a complex piece of electronics from ending up in a landfill. This is a small but meaningful contribution to reducing the cycle of “planned obsolescence” that currently dominates the baby tech industry.
Maintenance Tips to Prevent Future Failure
To avoid needing these repairs again, follow these three rules:
- Don’t leave it plugged in 24/7: If your monitor has a battery, it is designed to be cycled. Keep it unplugged for a few hours each week to let the battery drain slightly. Constant 100% charging accelerates chemical aging.
- Keep the vents clear: Smart monitors generate heat. If you place the camera near a blanket or in a position where the airflow is blocked, the internal components will age twice as fast.
- Use a surge protector: Most hardware failures are caused by minor power surges from the wall. A simple surge-protected power strip for your nursery station can protect the monitor’s delicate power management chip from spikes.
Final Thoughts: The Philosophy of Parenting Tech
Repairing your own gear is a skill that pays dividends far beyond saving a few dollars. It teaches you to look at technology not as a magical “black box” that works until it doesn’t, but as a set of components that can be understood, maintained, and respected. When you fix a monitor, you are showing your children that things are meant to be cared for, not simply discarded when they become inconvenient.
If you decide to proceed, take your time. Use a magnetic mat or a piece of tape to keep track of the tiny screws—losing a screw is the number one reason DIY repairs fail. If you reach a point where you are uncertain, don’t force it. The best repairer knows when to stop. If you end up needing to buy a new unit, look for brands that offer modular components or have a documented history of supporting their hardware beyond the initial warranty period.
For those who find this process intimidating, start with the simple stuff: check the cables, clean the ports with a bit of compressed air, and test the power supply. You will be surprised by how often that is all it takes to get back to monitoring your little one.
Frequently Asked Questions
1. Can I use a generic replacement battery if I can’t find the exact model number?
Technically, yes, if the voltage matches (3.7V) and the physical size fits. However, you must be extremely careful with the connector polarity. If the positive and negative wires are swapped compared to your original battery, you will fry the motherboard instantly. Always check the pinout with a multimeter before plugging it in.
2. My monitor screen flickers. Is this a hardware issue?
Usually, a flickering screen is caused by a loose ribbon cable connection or a failing backlight driver. Try gently tapping the side of the unit. If the flicker changes or stops, it is almost certainly a loose internal connection. This is a common issue caused by drops or vibrations. While you can open the unit to reseat the ribbon cable, be aware that these cables are incredibly fragile and can tear easily.
3. Should I worry about security if I repair my own monitor?
If you are only replacing physical hardware like batteries or ports, there is no risk to your data security. However, if you are replacing the main circuit board with a used one, be aware that the board may contain old firmware or settings. Always perform a factory reset via the software menu after any major hardware repair to ensure the device is wiped and ready for your secure network.
For further information on consumer rights regarding device repair, visit the Federal Trade Commission’s guide on Repair Restrictions.