Key Takeaways
- Prioritize modularity: Invest in equipment that features adjustable heights, interchangeable attachments, and expandable footprints to match your child’s physical growth.
- Focus on open-ended movement: Choose gear that encourages “adaptive play”—where the challenge level is dictated by the child’s ability rather than a fixed mechanical function.
- Safety through standards: Always verify that equipment meets regional safety standards (like ASTM F1148 in the US or EN 71 in the EU) for residential playground equipment, even if the gear is modular.
The smartest investment you can make for your backyard isn’t a high-tech plastic slide that your toddler will outgrow by next summer; it’s an adaptive-play system that evolves alongside their physical milestones. Most parents in their 30s and 40s know the frustration of the “toy graveyard”—that corner of the garage filled with expensive, single-purpose outdoor items that no longer challenge or interest a growing child. Adaptive-play equipment changes this dynamic by treating the backyard as a fluid, adjustable environment rather than a static playground.
Why Adaptive-Play is the Gold Standard for Physical Development
Adaptive-play equipment is essentially gear designed with a “growth mindset.” Unlike traditional playground equipment which is often rigid—a slide is just a slide, and a swing is just a swing—adaptive systems are modular. They allow you to change the height, the difficulty of the climb, or the configuration of the base as your toddler moves from tentative steps to confident leaps.
This matters because child development is rarely linear. One month, your toddler might be obsessed with climbing; the next, they are focused on balancing or jumping. Adaptive equipment allows you to reconfigure the setup in minutes, effectively “leveling up” the challenge. This prevents boredom and, more importantly, ensures that your child is always operating within their “zone of proximal development”—the sweet spot where a task is difficult enough to be engaging but not so difficult that it causes frustration or injury.
In real-life terms, this means you aren’t buying a new piece of equipment every 18 months. You are buying a foundational structure—perhaps a sturdy, weather-treated wooden frame or a high-grade recycled plastic modular base—and then swapping out accessories. You might start with a low-to-the-ground balance beam and a soft landing mat, then transition that same base into a higher climbing wall or a monkey bar setup as your child approaches school age.
Evaluating Your Space: The First Step in Implementation
Before you even look at a catalog, you need to conduct a “movement audit” of your outdoor space. Many parents make the mistake of buying equipment based on what looks cool in a photo, only to realize it doesn’t fit the flow of their backyard. A common mistake is ignoring the “fall zone.” Safety guidelines generally suggest a six-foot clearance around any climbing equipment. If you choose a modular system that can expand, you must ensure your space can accommodate the eventual maximum size of the unit, not just the starting configuration.
Consider the surface material as well. While grass is common, it wears down quickly under heavy-use areas like the bottom of a slide. For adaptive-play setups, consider installing a layer of wood chips or rubber mulch, which provides better impact attenuation. If you are in a region with high rainfall, ensure that any wooden components are elevated on concrete footings to prevent rot, regardless of the manufacturer’s claims about weather resistance.
The Economics of Adaptive Equipment: Hidden Costs vs. Long-Term Value
When comparing costs, it’s easy to be swayed by the lower upfront price of mass-produced plastic sets. However, when you calculate the “cost-per-year of utility,” modular adaptive systems almost always win. Let’s look at a hypothetical comparison over a five-year period for a child starting at age two.
| Type of Equipment | Initial Cost | Replacement Frequency | Total 5-Year Spend |
|---|---|---|---|
| Fixed-Plastic Play Set | $300 | Every 1.5 – 2 years | $900+ |
| Modular Adaptive System | $800 | None (Add-ons only) | $800 – $1,000 |
The “hidden cost” in the fixed-plastic category isn’t just the money; it’s the time spent researching new items, the environmental impact of discarding old plastic, and the labor involved in dismantling and recycling or disposing of broken units. With adaptive systems, the primary cost is the initial investment in quality materials. The trade-off is that you need to be willing to maintain the structure—tightening bolts and checking for wear—which is a necessary habit for any parent interested in long-term safety.
Selecting Materials: Wood vs. Composite vs. Recycled Plastic
The debate between materials often comes down to maintenance versus aesthetics. If you live in a region with extreme UV exposure, like parts of Australia or the Southwestern United States, untreated wood will crack and splinter within two seasons. In these climates, high-density polyethylene (HDPE) or composite materials are superior. They don’t require staining or sealing, though they can be more expensive upfront.
On the other hand, if you are in a temperate climate, cedar or redwood provides a natural, splinter-resistant option that ages beautifully. The key takeaway here is to ignore the “low maintenance” marketing tag and look at the actual material properties relative to your local climate. If you live in a humid area, moisture-wicking properties are more important than UV resistance. Always ask the manufacturer for the specific wood treatment (e.g., non-toxic pressure treatment) to ensure it is safe for toddlers who may touch or occasionally put their hands in their mouths after playing.
Common Mistakes When Setting Up Your Adaptive Play Area
The most frequent error I see parents make is “over-equipping.” It’s tempting to buy every available attachment—the climbing net, the swing, the slide, the rope ladder—all at once. This creates a cluttered environment that can overwhelm a toddler and actually stifle their creativity. Remember, the goal of adaptive play is to master a specific movement skill.
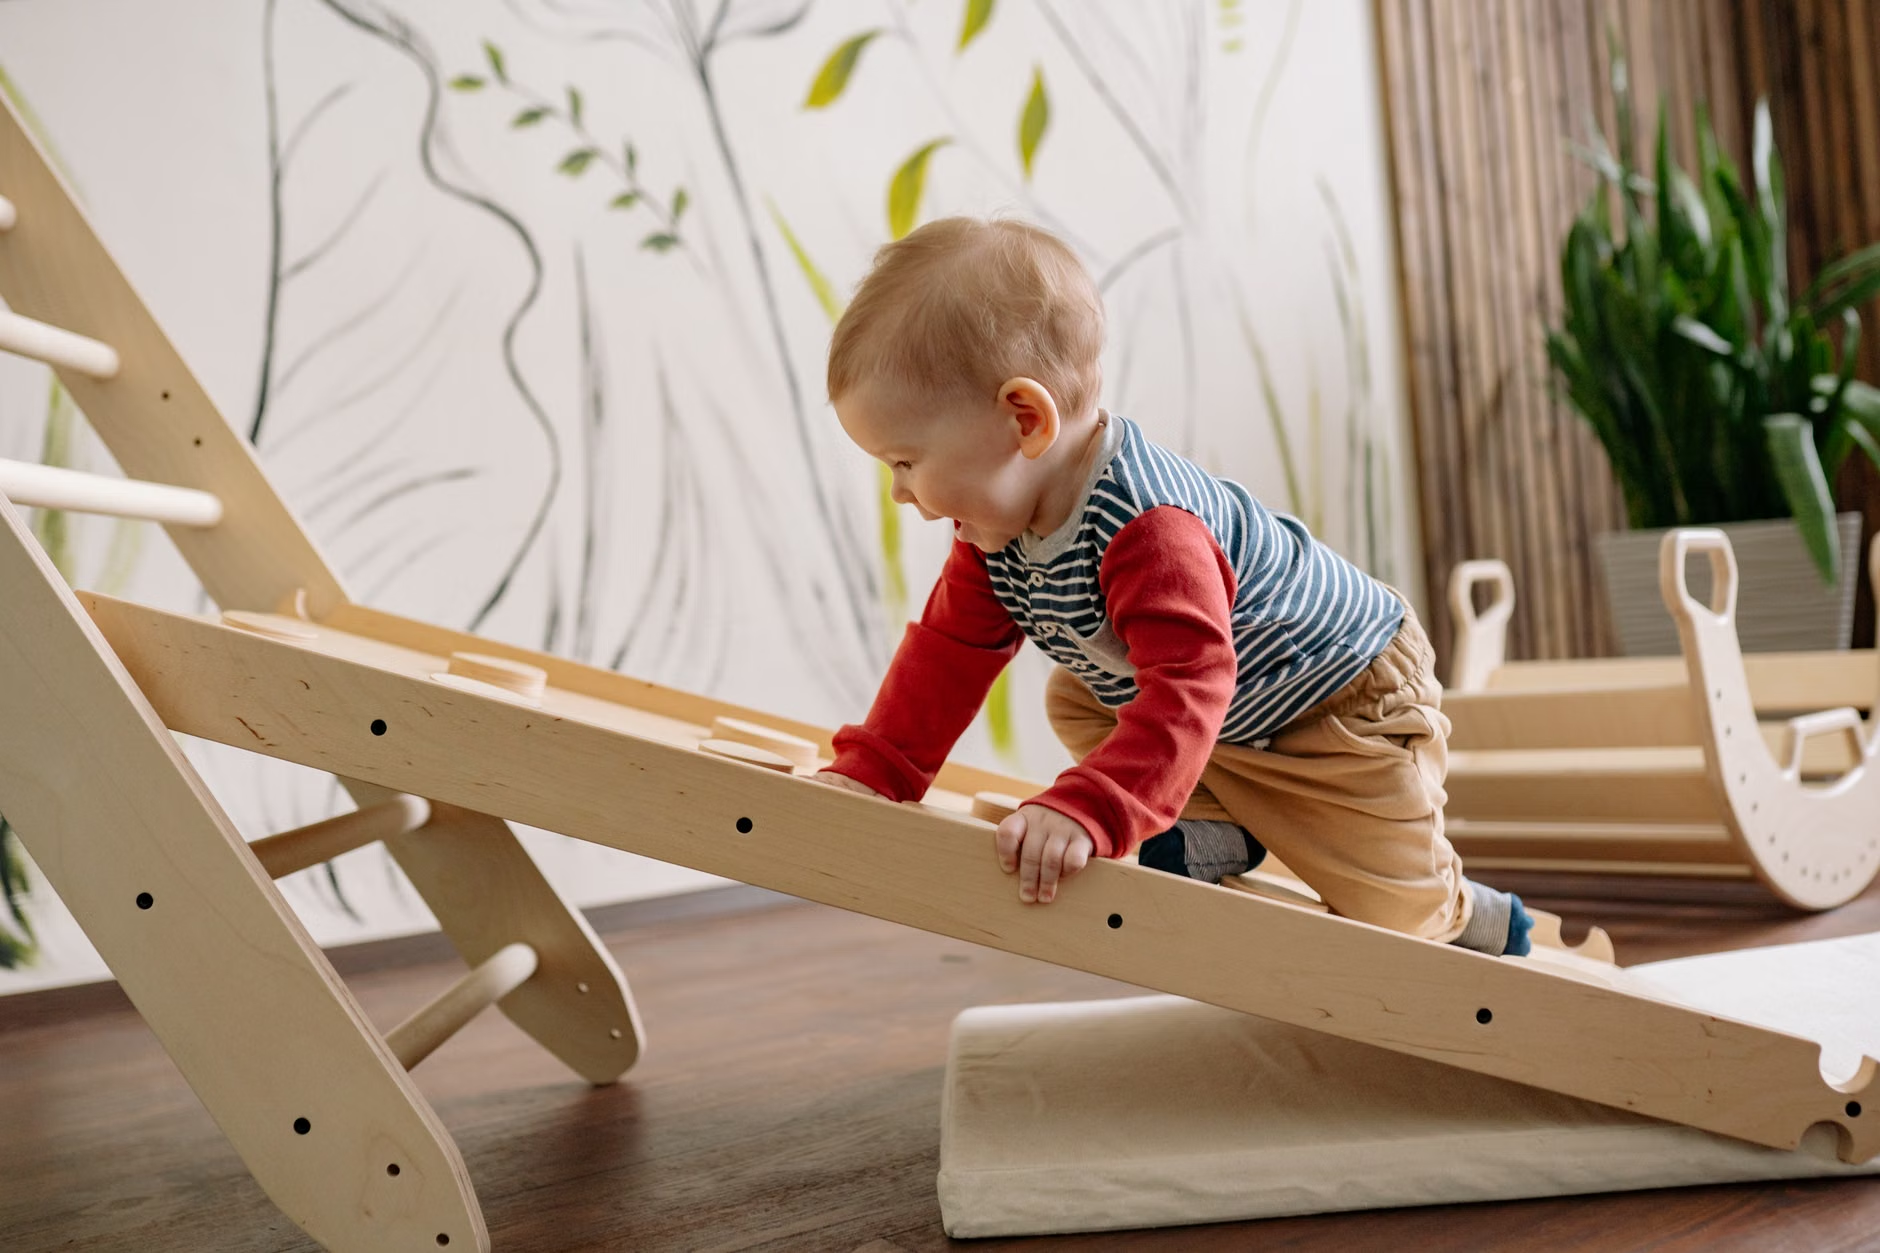
Start with a “base configuration.” For a two-year-old, this might just be a low platform and a set of stairs. Let them master that for a few months. Once they show signs of boredom—climbing over the top or ignoring the structure entirely—that is your cue to add a new element, like a ramp or a low-hanging bar. This “staged rollout” keeps the backyard feeling fresh and exciting without requiring a massive overhaul.
Another common mistake is neglecting the “anchoring” of the equipment. Because modular systems are designed to be moved or reconfigured, some parents skip the heavy-duty ground anchoring. This is a critical safety failure. Regardless of how modular the top portion is, the base must be firmly anchored to the ground to prevent tipping, especially as your child grows heavier and more energetic. Use ground anchors appropriate for your soil type—corkscrew anchors for soft soil or concrete footings for permanent setups.
Step-by-Step Guide: Transitioning Your Setup
To successfully integrate adaptive play into your routine, follow this simple cycle:
- The Observation Phase (2 Weeks): Spend time watching your toddler. Are they tentative? Do they prefer climbing or jumping? Note their physical confidence level.
- The Configuration Phase: Adjust your current setup to match these observations. If they are tentative, lower the height. If they are seeking thrill, increase the complexity (e.g., add a slightly steeper slope).
- The Maintenance Check: Before allowing play, perform a quick “shake test.” Ensure all connectors are tight and that no hardware has loosened during the adjustment process.
- The Review Cycle: Every three months, re-evaluate. If your child is constantly seeking more height or distance, it’s time for the next module.
This approach turns the backyard into a living, breathing component of your child’s development rather than a static piece of furniture. It also teaches your child that they have agency over their environment—they can see the structure change and understand that their own progress is the catalyst for those changes.
Addressing Safety: Beyond Basic Compliance
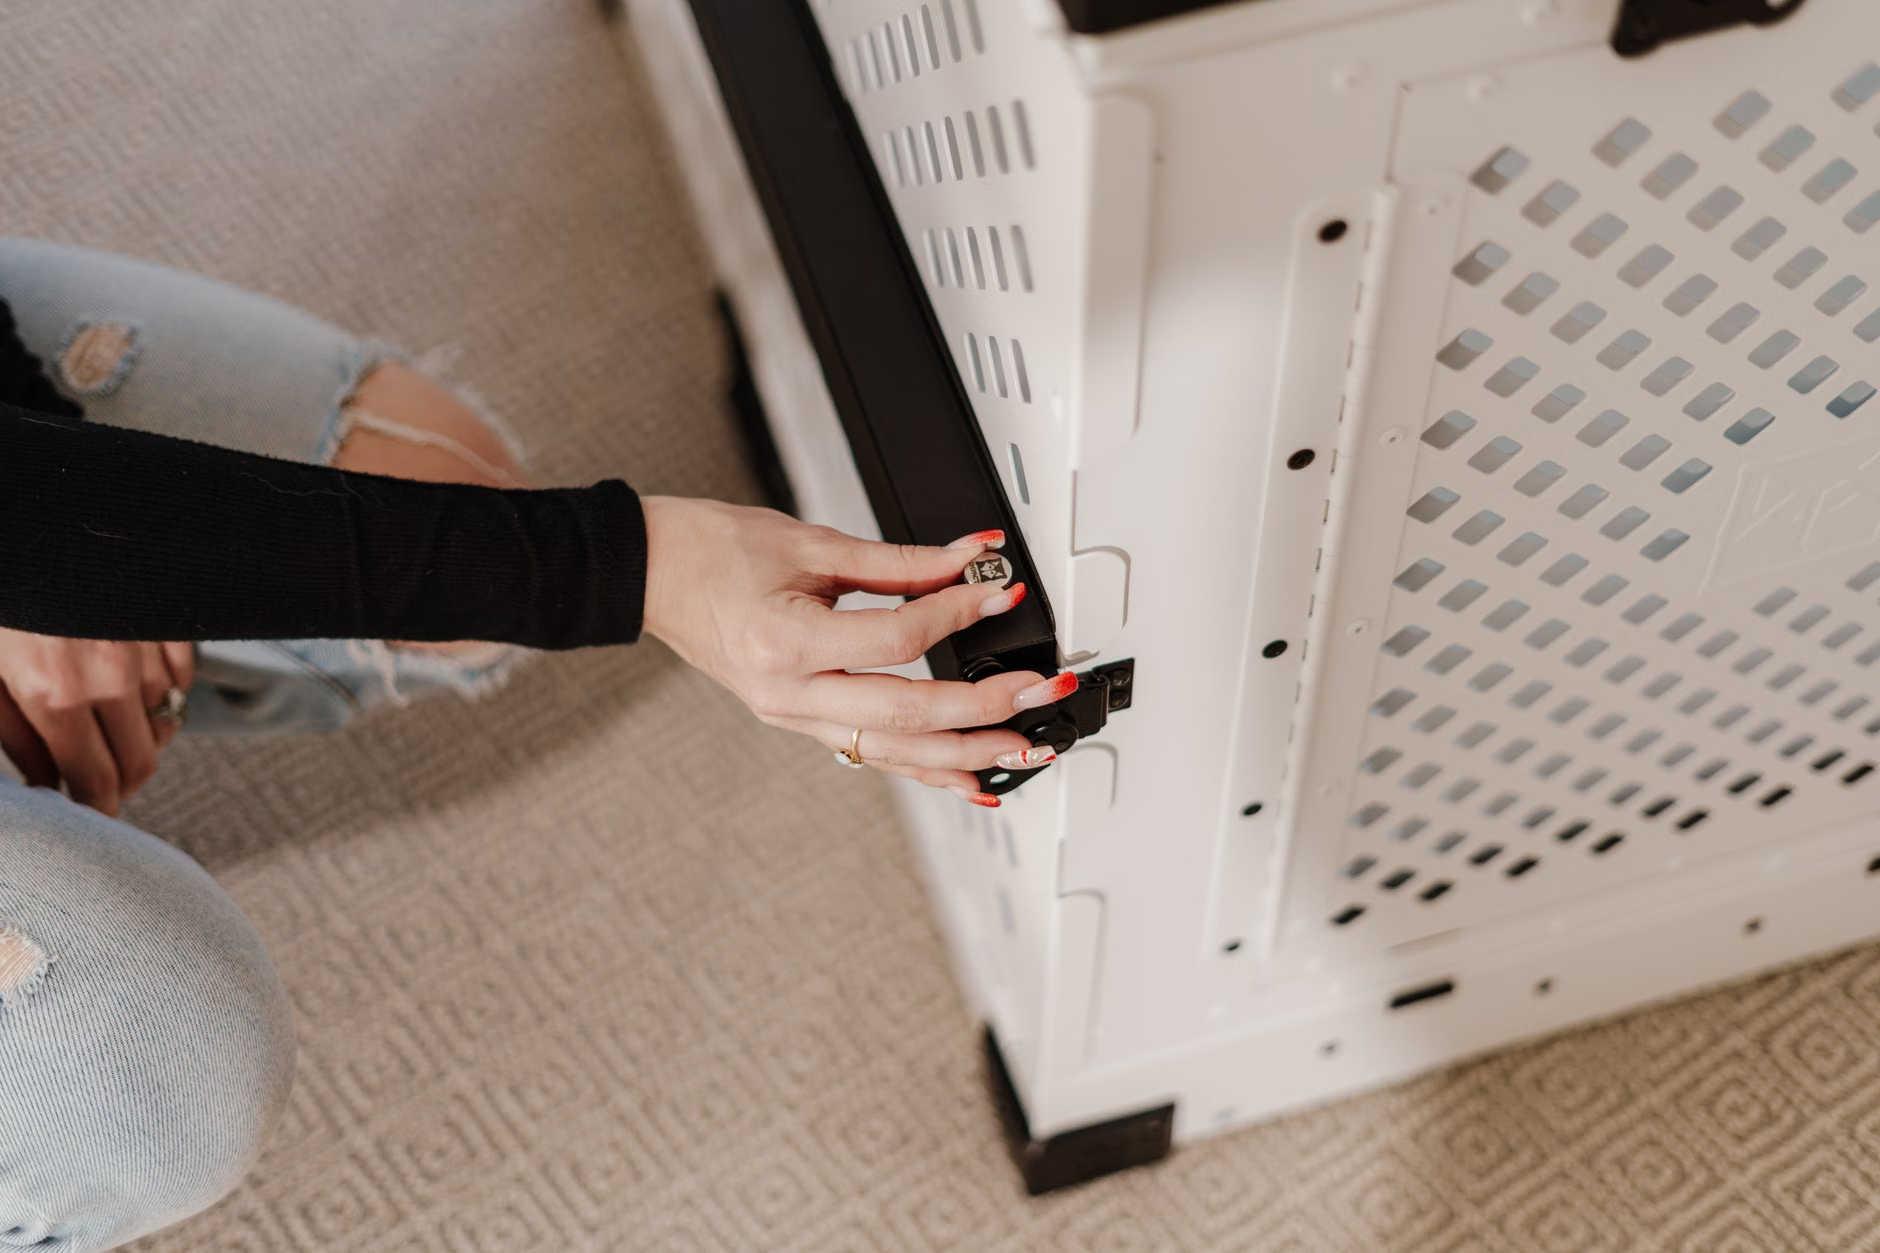
While we’ve touched on anchors and materials, let’s talk about the “invisible” hazards. One of the biggest risks with any outdoor equipment is the “pinch point.” Modular systems often use various locking mechanisms to allow for adjustments. These are potential finger-traps. When you are assembling or reconfiguring your unit, take a moment to look at it from a toddler’s eye level. Is there a gap that could trap a finger or a head?
If you are buying from a reputable manufacturer, these should be covered by design. However, if you are building your own using modular parts, you must be hyper-vigilant about “gap integrity.” Any opening that is between 3.5 inches and 9 inches is considered a potential entrapment hazard according to many international safety standards. If you find such a gap after reconfiguring, use a rubberized filler or simply don’t use that specific configuration.
The Psychological Benefit: Building Resilience Through Play
There is a subtle, yet profound, psychological benefit to adaptive equipment. By allowing children to interact with a system that they can see being adjusted, you are modeling the concept of “iterative improvement.” They learn that difficulty is not a dead end; it is a signal to adjust, adapt, and try again. When they struggle to climb a section, they don’t just see a failed attempt; they see a challenge that they might be able to tackle once they grow a bit or when the structure is slightly modified.
This resilience is a soft skill that translates directly into their school years. Parents who facilitate this type of play are essentially helping their children build a “growth mindset” through physical activity. It’s not just about getting them outside to burn off energy; it’s about providing a structured environment where they learn how to assess risk, evaluate their own capabilities, and persist through minor challenges.
Frequently Asked Questions
How do I know when it’s time to move to the next level of my modular set?
Look for signs of “skill plateauing.” If your toddler is no longer pausing to think about their next move, or if they are consistently performing the same route without any hesitation or visible effort, they have mastered that configuration. This is the perfect time to add a new challenge, like increasing the incline or adding a slightly more complex traversal element.
Can I mix and match different brands of modular play equipment?
Generally, no. Most manufacturers use proprietary locking systems, hole spacings, and material thicknesses. Mixing brands is a significant safety risk because the connection points may look like they fit, but they may not be structurally sound under the weight of a child. Stick to one ecosystem to ensure the safety integrity of the entire system.
How do I keep my outdoor equipment in good condition during the off-season?
If you live in a climate with harsh winters, the best practice is to remove any fabric or plastic-heavy attachments (like swings or fabric tunnels) and store them indoors. For the main structural frame, a good cleaning with mild soap and water is sufficient. If it’s wood, inspect it for cracks or splinters and re-stain if necessary. If it’s plastic or metal, a simple wash is usually all that’s required. Keeping the hardware tightened is the most important “off-season” chore.
Ultimately, the best outdoor equipment is the kind that gets used. By moving away from the “disposable” toy mindset and investing in a system that grows with your toddler, you are saving money, reducing waste, and creating a more engaging, challenging environment for your child. Start small, observe their progress, and enjoy the process of building a backyard that evolves just as fast as they do.
For more information on residential playground safety, you can refer to the U.S. Consumer Product Safety Commission’s Playground Safety Guidelines, which provides excellent insights into home installation and maintenance, or check your specific regional standards for local building codes.