The most effective way to handle a “broken” school tablet or laptop is to stop viewing it as a disposable appliance and start treating it as a modular machine that you have the legal and practical right to fix. The “Right-to-Repair” movement isn’t just about policy changes in government halls; it is a shift in mindset that can save your household hundreds of dollars annually while teaching your children the value of maintenance over consumption.
- Most device failures are modular: Over 80% of common school-issued device issues—such as cracked screens, worn-out batteries, or loose charging ports—can be repaired with basic tools and a step-by-step guide.
- Legislation is on your side: Recent Right-to-Repair laws in the EU, the US, and parts of Australia now mandate that manufacturers provide repair manuals and spare parts to the public, stripping away the “authorized service only” monopoly.
- The “repairability score” matters: Before your next major tech purchase for your child, check sites like iFixit to ensure the device is designed to be opened, which drastically reduces long-term ownership costs.
Why Your “Broken” Tablet Is Likely Just a Simple Fix Away
We have all been there: it’s 7:00 PM on a Tuesday, your child has a project due tomorrow, and their school-issued laptop screen goes black or the charging port stops recognizing the cable. The standard reaction is panic, followed by a search for an “authorized” repair center, which often quotes a price nearly as high as a new unit. This is the “planned obsolescence” trap, where devices are glued shut or use proprietary screws to discourage anyone but the manufacturer from looking inside.
However, the tide is turning. As a parent, you don’t need to be an electrical engineer to perform basic repairs. Most educational technology—tablets, Chromebooks, and entry-level laptops—are essentially “Lego sets for adults.” They consist of a motherboard, a battery, a screen, and a few peripheral connectors. If you can handle a screwdriver and follow a video tutorial, you are already qualified to handle the majority of common failures.
The Right-to-Repair movement is fundamentally about reclaiming ownership. When you buy a device, you aren’t just renting the hardware; you own the right to modify, fix, and maintain it. By learning how to open these devices, you aren’t just saving money; you are extending the lifecycle of the hardware, which is one of the most impactful things you can do to reduce your family’s environmental footprint.
Assembling Your Essential Home Repair Kit
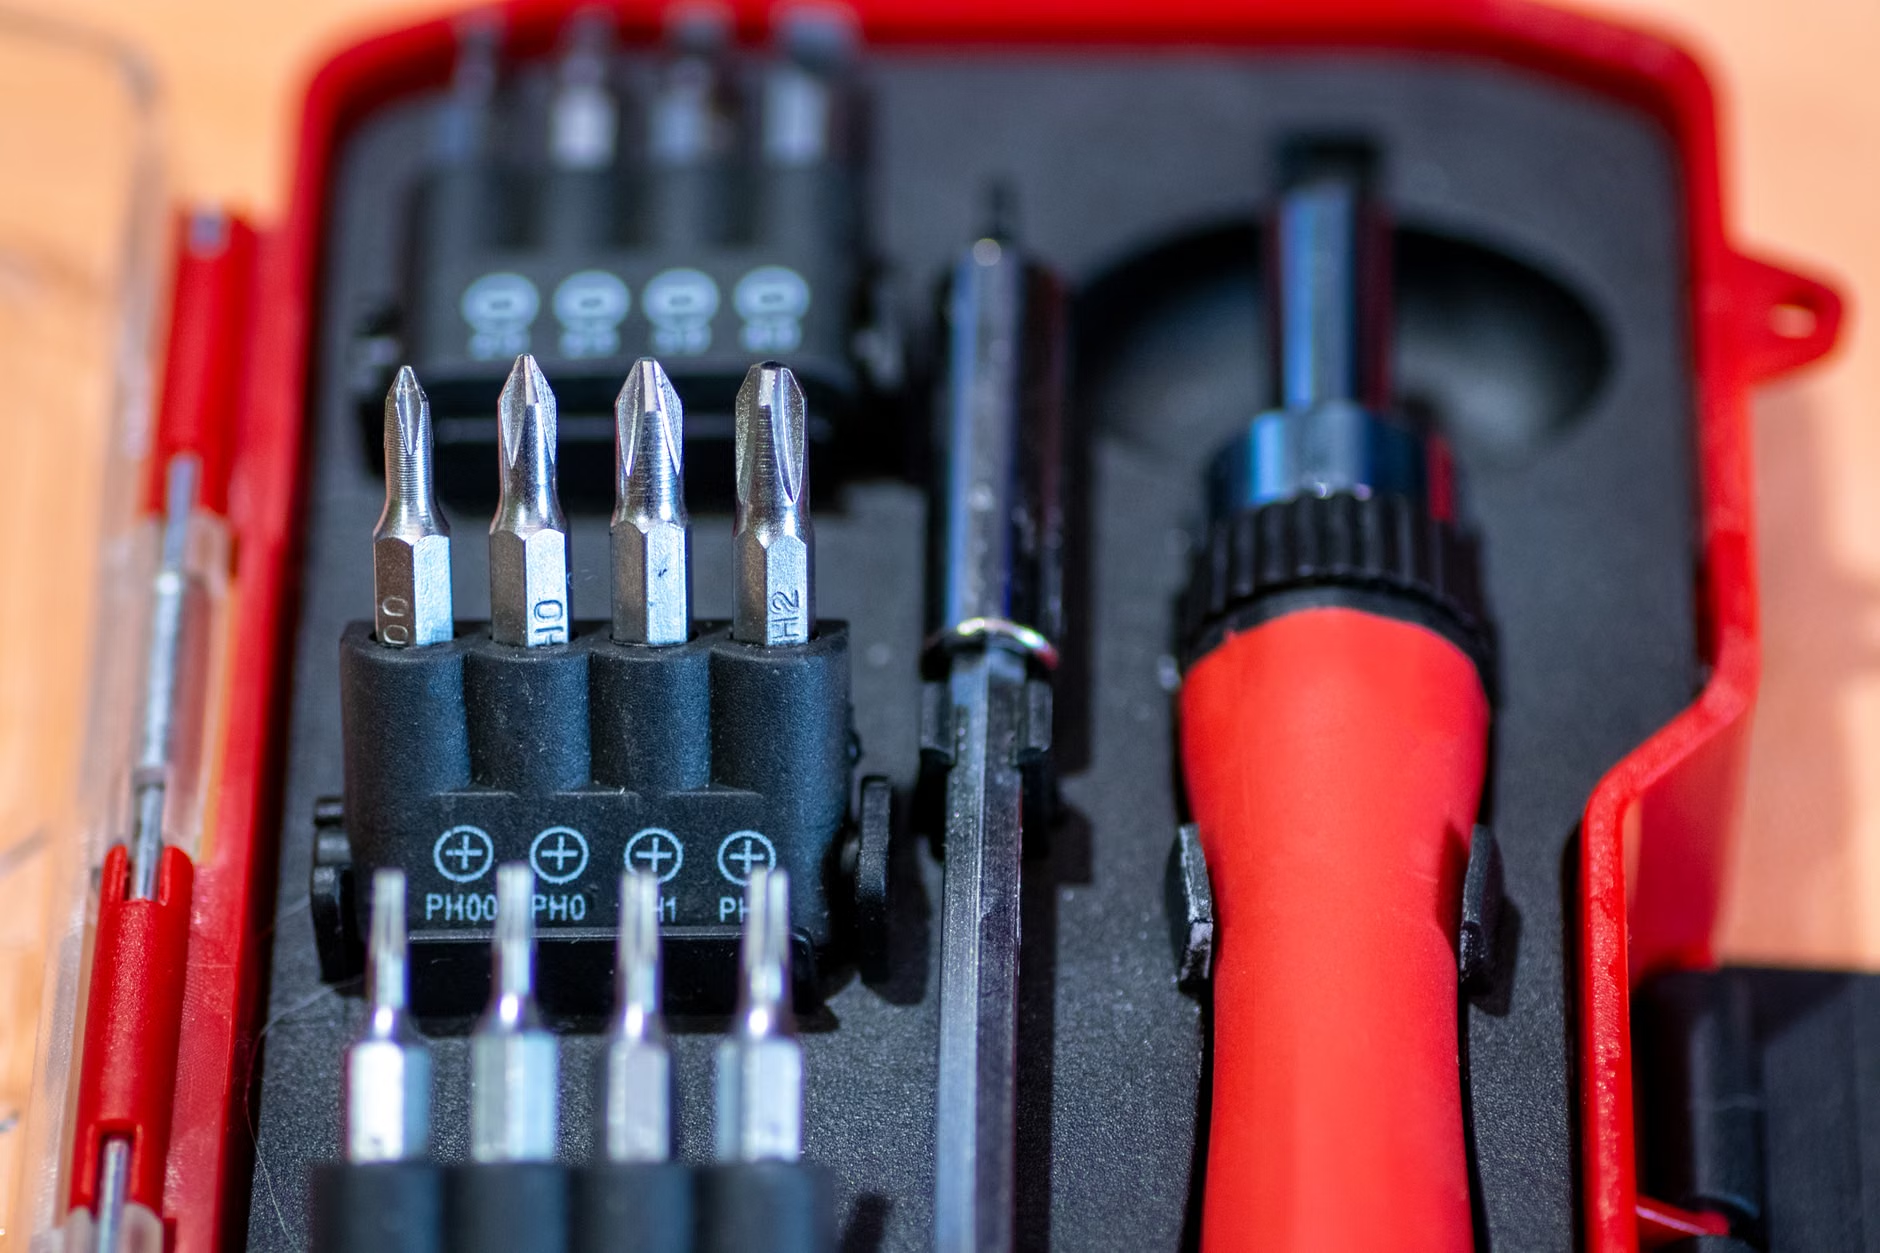
You do not need a professional-grade electronics lab to get started. In fact, most hardware repairs can be completed with a surprisingly small investment. The biggest mistake beginners make is buying cheap, soft-metal screwdrivers that strip the heads of the tiny, delicate screws found in modern electronics. Invest in a quality “precision bit set” once, and it will last you a decade.
Here is a breakdown of what you actually need to keep on hand for a household with school-aged children:
| Tool | Purpose | Estimated Cost |
|---|---|---|
| Precision Driver Kit (Torx, Phillips, Pentalobe) | Opening device cases and internal components. | $20 – $40 |
| Plastic Spudger/Opening Picks | Prying open snap-fit plastic cases without marring. | $5 – $10 |
| Magnetic Project Mat | Keeping those tiny screws from rolling into the carpet. | $15 – $25 |
| Isopropyl Alcohol (90%+) | Cleaning corrosion or sticky residue from ports. | $5 – $10 |
Pro-tip: Never force a screw. If it isn’t turning, stop. It might be held in by adhesive or a hidden clip. Using force is the fastest way to turn a $10 repair into a $300 replacement. Always verify the “teardown guide” for your specific model before applying pressure.
The Step-by-Step Decision Framework for Repairs
Not every repair is worth the time or the risk. Before you start unscrewing anything, use this decision framework to determine if you should tackle it yourself or seek professional help.
1. Identify the Failure Mode
Is it software or hardware? If the device freezes, won’t boot, or acts erratically, it is likely a software corruption issue. Try a factory reset first. Hardware issues are physical: cracked screens, broken ports, dead batteries, or non-responsive keys. If it’s physical, you are in “repair territory.”
2. Check the “Repairability Score”
Before you even touch a tool, go to iFixit or search for “model number + teardown.” Look for three things:
- Access: Are there standard screws, or is the device glued shut?
- Parts: Can you buy the replacement screen or battery online?
- Risk: Does the repair involve removing the battery? (If yes, proceed with extreme caution).
3. The “50% Rule”
If the cost of the replacement parts (including shipping) plus the estimated value of your time exceeds 50% of the cost of a refurbished unit of the same model, it is generally better to replace the device and sell the broken one for parts. Don’t fall for the “sunk cost fallacy” where you spend more money trying to fix a device that is near the end of its useful life anyway.

For parents in their 30s and 40s, it is important to understand that the “Right-to-Repair” is not just a hobbyist movement; it is a series of legislative wins. In the European Union, the “Eco-design for Sustainable Products Regulation” is pushing for manufacturers to make batteries replaceable by the end-user by 2027. In the United States, several states, including California and New York, have passed legislation requiring manufacturers to provide parts and documentation to the public.
What does this mean for you? It means you have more access to original manufacturer (OEM) parts than ever before. You no longer need to rely on “knock-off” parts from dubious marketplaces. When you look up a repair guide, check if the manufacturer provides official documentation. Many companies, including Apple, Samsung, and Google, now have “Self-Service Repair” portals where you can buy genuine parts and rent the specialized tools needed for the job.
This is a significant shift. Previously, these companies would void your warranty the moment you opened the casing. Now, while you should still be careful, the legal environment is increasingly protecting your right to maintain your own property.
Common Pitfalls and How to Avoid Them
Even with the best tools and guides, beginners often fall into traps that can cause more harm than good. Let’s look at the most common mistakes:
- The “Screw Mix-up”: This is the #1 cause of catastrophic repair failure. Devices have screws of varying lengths. If you put a long screw into a hole meant for a short one, you can puncture the motherboard or ruin the screen. Solution: Use a project mat with labeled sections or draw a diagram of the device on a piece of paper and tape the screws to it in their corresponding positions.
- Ignoring Static Electricity: Electronics are sensitive to Electrostatic Discharge (ESD). A tiny spark from your finger can fry a delicate processor. Solution: Touch a grounded metal object before you start, and avoid working on carpeted surfaces if possible.
- Overlooking Hidden Cables: When opening a device, people often pull the two halves apart quickly. Modern devices have tiny ribbon cables connecting the back cover to the motherboard. If you pull too hard, you’ll rip these cables. Solution: Always “pry and peek.” Lift the casing just a few millimeters to see if any cables are connected before pulling it fully open.

Teaching Your Kids the Value of Repair
The best part of the Right-to-Repair movement isn’t the money saved; it’s the lesson imparted to your children. We live in a “throwaway culture” where children see gadgets as magic boxes that are replaced when they stop working. By involving your child in the repair process, you are teaching them critical thinking, patience, and the physics of how things work.
When a tablet breaks, don’t hide the repair process. Invite your child to watch. Explain what a battery does. Show them the “brain” of the computer (the motherboard) and how it communicates with the screen. When they see that a device is just a collection of parts that can be swapped, their relationship with technology changes. They stop being passive consumers and start becoming active owners.
This isn’t just about saving money; it’s about sustainability. E-waste is a massive, growing global problem. By fixing a screen instead of buying a new tablet, you are keeping lithium, cobalt, and precious metals out of a landfill. It is a tangible way to teach your children about environmental stewardship in a way that feels practical rather than abstract.
Understanding When to Hire a Professional
There is no shame in knowing your limits. Some repairs are objectively dangerous or require equipment that makes no sense for a home user. Specifically, avoid DIY repairs if:
- The battery is swollen: If the back of the tablet is bulging or the screen is popping out, the battery is a fire hazard. Do not poke it, do not try to pry it out, and do not use a heat gun. Take it to a professional disposal center or a certified repair shop immediately.
- Micro-soldering is required: If the charging port is soldered directly to the motherboard and requires a microscope and a soldering iron to replace, this is a job for a professional. You can easily destroy the motherboard if you aren’t practiced in soldering.
- The device is under an active, comprehensive warranty: If you are still within the manufacturer’s warranty period and the repair is covered, use it. Opening the device might void that warranty, and it’s not worth the risk if the company will fix it for free.
Final Thoughts: A New Approach to Ownership
The Right-to-Repair movement is fundamentally about shifting our relationship with technology from “consumer” to “custodian.” When you take the time to learn how your devices work, you aren’t just saving money—you are building a more resilient, sustainable, and informed household. Start small. The next time a charging cable stops working, don’t just toss it; check the port for lint or debris. The next time a device slows down, look into how to perform a clean operating system install before assuming the hardware is dead.
You have the tools, you have the information, and you have the legal right to fix what you own. Take it one screw at a time, be patient with yourself, and remember that every repair is a small victory against the tide of planned obsolescence. Keep your toolkit organized, keep your guides handy, and don’t be afraid to open the box.
Frequently Asked Questions
- 1. Will opening my child’s school tablet void the warranty?
- In many regions, laws like the Magnuson-Moss Warranty Act (US) prevent manufacturers from voiding warranties simply because you opened a device. However, if you cause damage while trying to repair it, that specific damage won’t be covered. Always check your local consumer protection laws and the specific terms of your warranty before proceeding.
- 2. Where can I find reliable repair manuals for my specific device?
- iFixit.com is the gold standard, offering free, community-vetted guides. Additionally, manufacturers like Apple, Samsung, and Google have launched their own “Self-Service Repair” websites which provide official manuals, genuine parts, and even tool rentals for specific models.
- 3. What is the most dangerous part of repairing tablets or laptops?
- The lithium-ion battery is the most hazardous component. If punctured, bent, or overheated, it can catch fire or release toxic fumes. Always handle batteries with care, never use metal tools to pry them directly, and if a battery looks damaged or swollen, do not attempt a DIY repair.
For further reading on your rights, visit the Right to Repair Europe coalition or the Federal Trade Commission’s guidance on repair restrictions.