- Real-time visibility: Moving from monthly billing statements to real-time dashboards can reduce household energy consumption by 5–15% simply through behavioral changes.
- Data Ownership: Open-source platforms like Home Assistant keep your energy usage data local, preventing third-party corporations from profiling your daily habits.
- Actionable Automation: The true value isn’t just watching the data; it’s triggering automated actions, such as turning off high-draw appliances when your solar production dips or electricity prices peak.
You know that sinking feeling when the monthly energy bill arrives? It’s usually a mix of confusion and frustration. You look at the numbers, compare them to last month, and wonder, “Did the kids really leave the lights on that much, or is the fridge dying?” Most of us live in a state of energy blindness, reacting to costs only after the money has already left our bank accounts.
But what if you could treat your home’s energy consumption like a high-performance engine? That is exactly what an open-source energy dashboard, powered by a platform like Home Assistant, allows you to do. It’s not just for tech enthusiasts who want to tinker with code; it’s for anyone who wants to regain control over their household budget and environmental impact.
Why “Smart” Meters Aren’t Actually That Smart
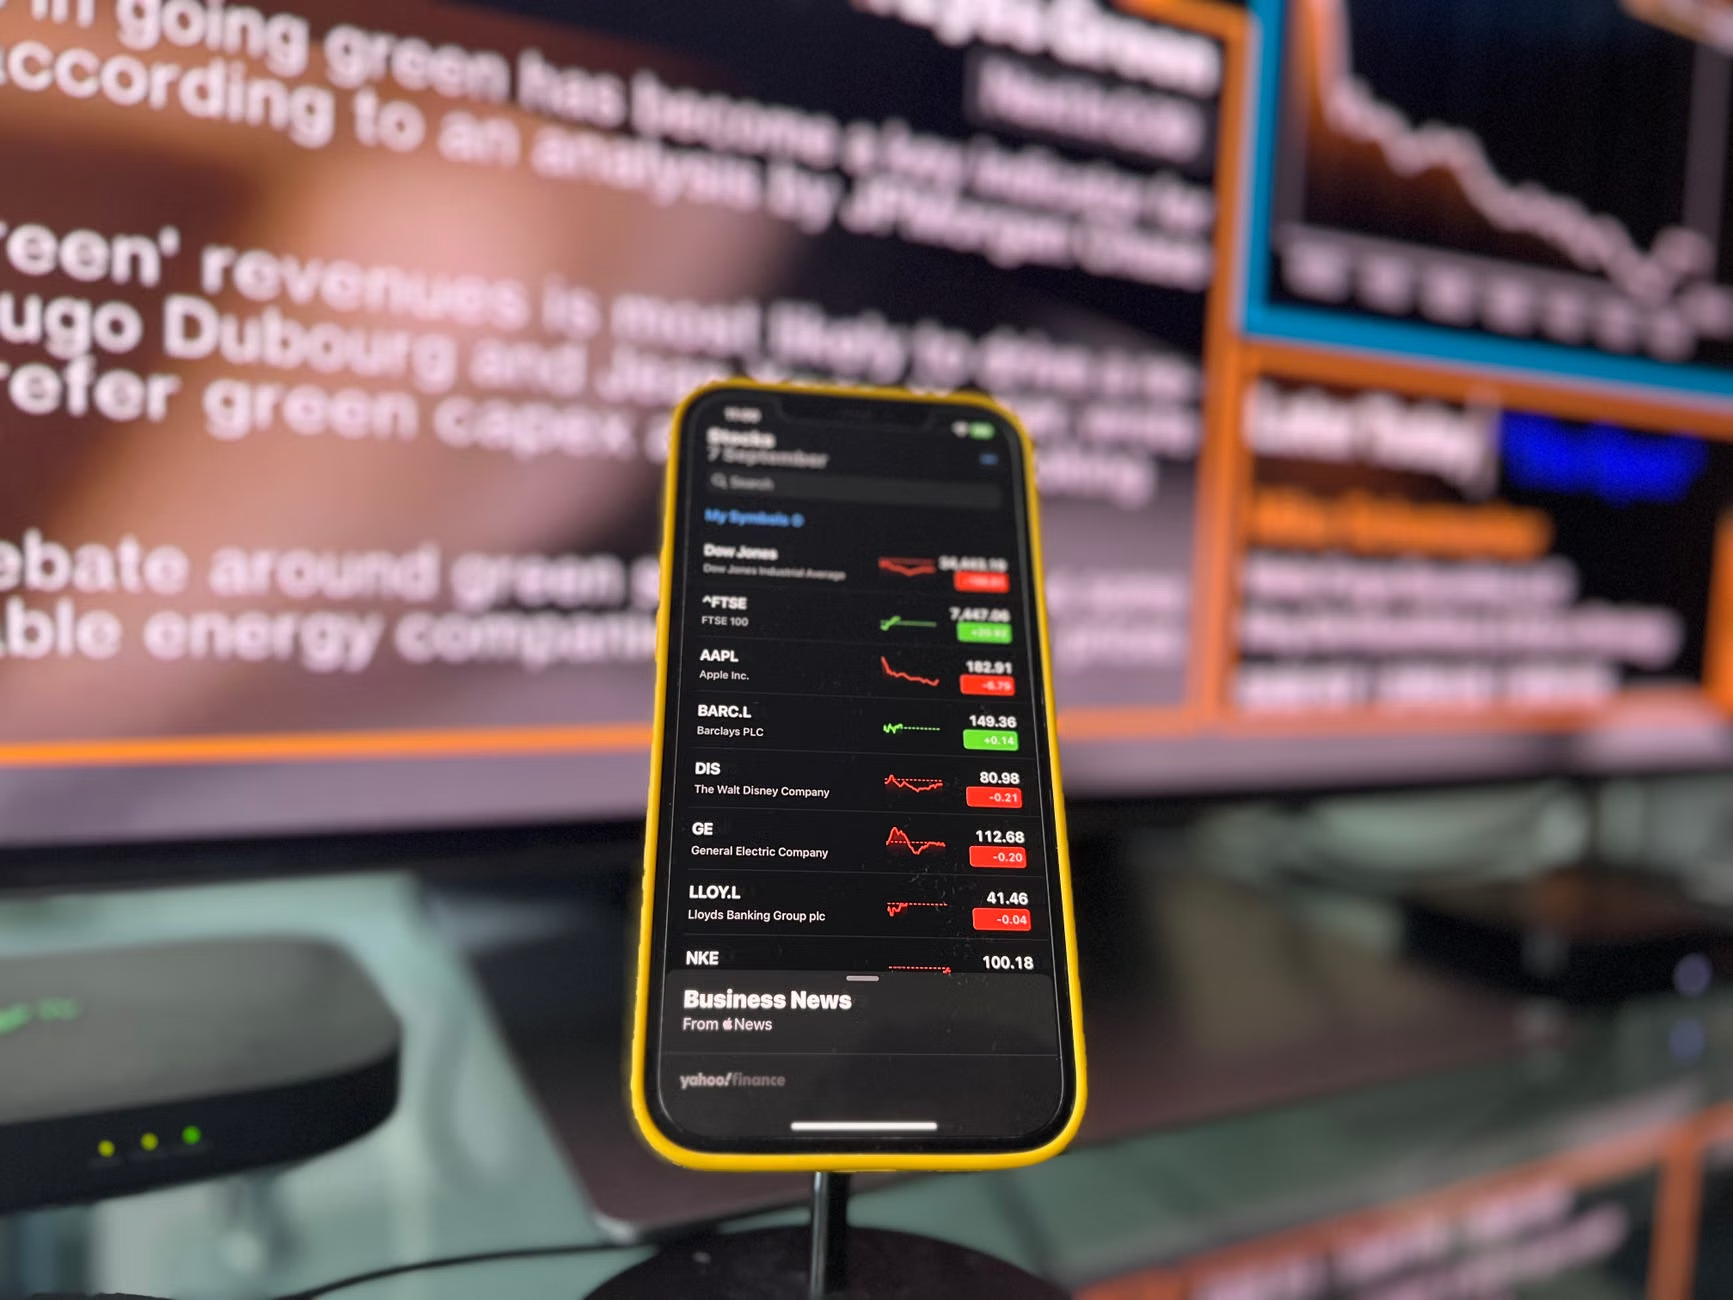
Most utility companies provide a “smart” meter, but let’s be honest: they aren’t built for your convenience. They are built for the utility company’s billing cycle. The data they provide is often delayed by 24 to 48 hours, or worse, only accessible through a clunky, limited web portal that doesn’t tell you which device is eating up your power.
When you use an open-source, local-first platform, you gain access to raw, real-time data. You aren’t waiting for a server to process your usage; you are seeing the wattage jump the exact second your dryer kicks in or your electric vehicle starts charging. This transparency changes your relationship with your appliances. You stop seeing “electricity” as a vague monthly cost and start seeing it as a series of specific, manageable events.
For parents in their 30s and 40s, this is a game-changer. You can set up alerts for when the house exceeds a certain power draw, or automate your thermostat to adjust based on the current price of electricity in your region. It’s about moving from passive consumption to active management.
The Anatomy of an Open-Source Energy Dashboard
If you’re new to the concept, an “open-source energy dashboard” is essentially a brain for your home. Unlike proprietary systems that lock you into a specific brand of smart plugs or thermostat, open-source platforms like Home Assistant act as a universal translator. They talk to almost anything.
The system typically consists of three parts: Data Acquisition (sensors), Processing (the hub), and Visualization (the dashboard). For most households, this means installing a clamp-on energy monitor—a small device that sits inside your electrical panel and measures the magnetic field of your main power lines. It doesn’t require high-voltage wiring, but it does require a bit of caution near the panel.
Step-by-Step: Moving From Blindness to Insight
If you are ready to set this up, don’t feel overwhelmed. You don’t need a degree in electrical engineering to get started. Here is the logical path to building your own monitoring system:
| Phase | Objective | Hardware/Software |
|---|---|---|
| 1. Infrastructure | Establish a local server. | Raspberry Pi or an old laptop running Home Assistant. |
| 2. Acquisition | Measure the energy flow. | Shelly EM, Emporia Vue, or ESPHome-based sensors. |
| 3. Integration | Connect devices to the hub. | Local API/MQTT integration within Home Assistant. |
| 4. Optimization | Create automation rules. | Dashboard cards and “Energy” panel configuration. |
The most common mistake beginners make is trying to monitor every single device at once. Start with the “big hitters.” Your HVAC system, your water heater, and your EV charger account for the vast majority of your energy bill. Monitor those first. Once you have a handle on the big items, you can expand to smaller circuits or individual smart plugs.
The Hidden Power of Automation
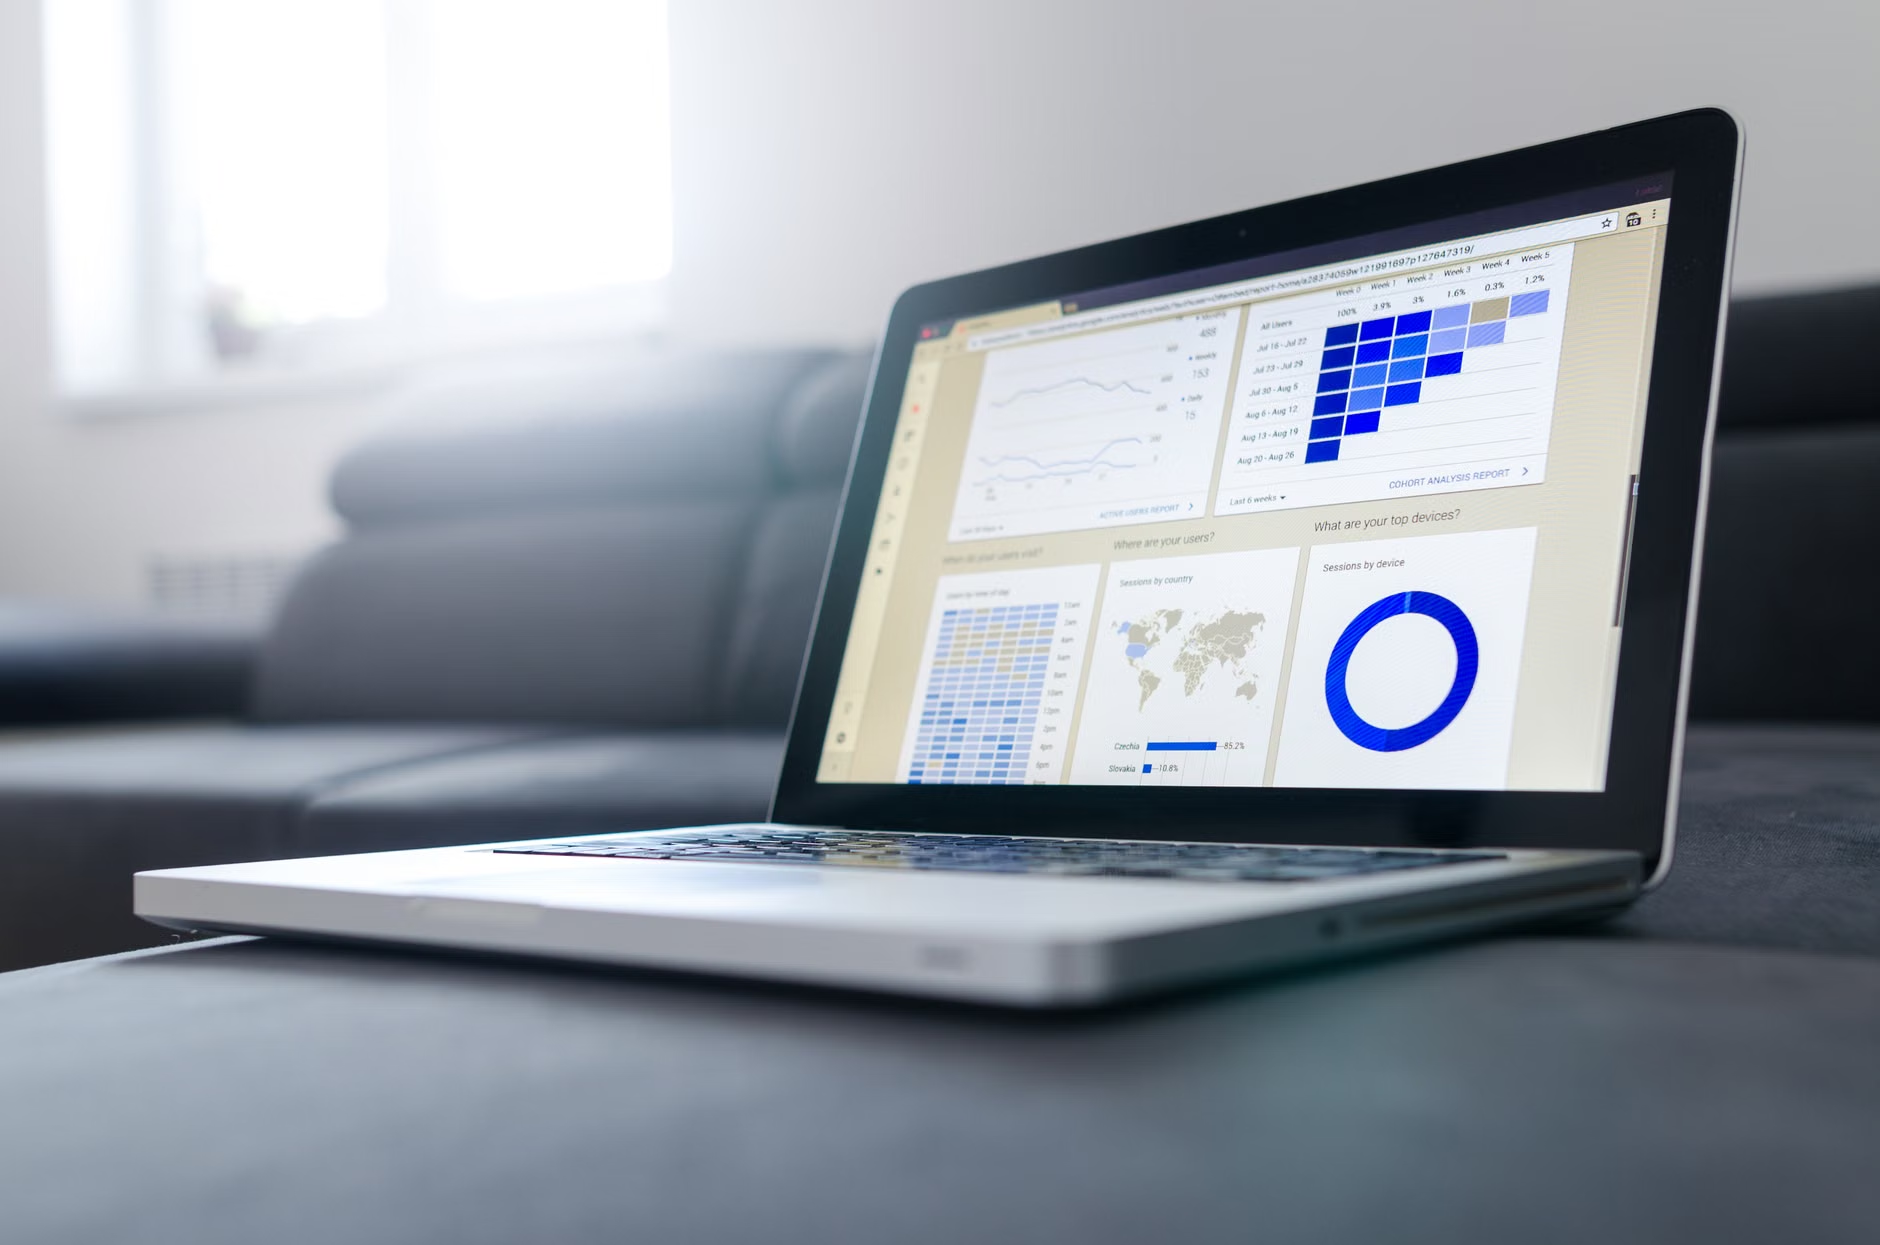
Monitoring is only 50% of the battle. The real magic happens when you move into automation. Imagine it’s a hot summer afternoon. Energy prices are at their peak, and your solar panels are struggling because of cloud cover. An open-source system can detect this, automatically bump your thermostat up by two degrees, and pause your pool pump or EV charger until the price drops or your solar output increases.
This is what we call “Load Shedding.” It is a professional-grade technique, but it’s becoming increasingly accessible to homeowners. By shifting your heavy electricity usage to off-peak hours, you aren’t just saving money—you are reducing the strain on your local grid. It’s a small, practical way to contribute to grid stability while keeping your own utility bill in check.
A note on privacy: Because your data is processed locally on your own hardware, it never leaves your home. Proprietary smart home systems often aggregate your data to build a profile of your lifestyle. When you use an open-source platform, you are the only one with the keys to your data. That is an overlooked benefit in an era where data privacy is becoming increasingly fragile.
Common Misconceptions and Reality Checks
There is a persistent myth that open-source technology is “unstable” or “too difficult for non-engineers.” While it is true that you have to manage your own hardware, the community support surrounding projects like Home Assistant is massive. If you run into a problem, someone else has likely already solved it on a forum or a Discord server.
However, you should be aware of the Time-Investment Trade-off. You are trading a bit of your time for total control. If you expect a “set it and forget it” experience, you might find the initial configuration phase frustrating. You will need to spend a weekend (or a few evenings) getting everything connected. But once it is set up, it is remarkably reliable.
Another point of confusion is the hardware selection. You will see many people recommending expensive, complex setups. Start cheap. You can often start with an ESP32-based sensor that costs less than $20 and a refurbished mini-PC. You do not need to spend thousands of dollars to get high-quality data.
Refining Your Energy Strategy
Once your dashboard is live, what should you actually look for? Don’t just stare at the pretty charts. Look for “Baseload Drift.” This is the amount of energy your house consumes when everyone is sleeping. If your baseload is 500 watts, but you aren’t running anything except the fridge and some lights, you have a “vampire load.”
Identifying this is often how people find faulty appliances. Maybe your older secondary freezer in the garage is running its compressor 100% of the time, or your home theater receiver is stuck in a “high power” standby mode. Finding these hidden energy leaks is often enough to pay for the cost of your monitoring hardware within a few months.
Furthermore, consider the Seasonality of Energy. Your energy profile in winter is vastly different from your summer profile. Use the historical data that your dashboard collects to prepare for the coming season. If you know your heating costs spike in January, you can start setting aside a little extra in your budget or look into weather-stripping your windows before the cold hits.
Why You Should Start Now
The energy landscape is changing. With the rise of dynamic electricity pricing—where the price per kilowatt-hour changes every hour based on demand—having a manual approach to your energy usage is becoming impossible. You can’t watch the utility company’s app every hour of the day.
An open-source dashboard acts as your automated energy manager. It is the bridge between your home and the complex, fluctuating reality of the modern power grid. It empowers you to be proactive, not reactive. Whether your goal is to save money, reduce your carbon footprint, or just satisfy the curiosity of seeing exactly how your home functions, this is the most effective tool available to the modern homeowner.
Start small, be patient with the learning curve, and remember that every watt you manage today is a step toward a more efficient and predictable household budget tomorrow.
Frequently Asked Questions
1. Do I need to be a programmer to set up Home Assistant for energy monitoring?
Not at all. While basic familiarity with computers is helpful, the installation process for platforms like Home Assistant has become very user-friendly. Most integrations are “plug-and-play,” and the community provides extensive step-by-step guides for almost every piece of hardware.
2. Is it safe to install sensors in my home’s electrical panel?
Safety is paramount. While the sensors themselves are low-voltage, you are working near high-voltage mains. If you are not comfortable or experienced with electrical panels, it is highly recommended to have a licensed electrician install the clamp-on sensors for you. Once installed, they are perfectly safe and maintenance-free.
3. Can I use this system if I have solar panels?
Absolutely. In fact, an energy dashboard is even more valuable for solar owners. It allows you to track not just your consumption, but your production as well. You can see in real-time how much of your own solar power you are consuming versus how much you are exporting to the grid, which is crucial for maximizing your return on investment.
For further reading on smart home energy standards and best practices, check out the official Home Assistant Energy documentation. For insights into regional energy policies, consult your local energy provider’s official website or your national energy regulator’s portal.