You can reclaim control over your family’s digital legacy and stop the endless cycle of monthly cloud subscription fees by building your own home media server.
- Cost Efficiency: While the initial setup requires an investment, a home server eliminates recurring monthly cloud storage costs over the long term.
- Data Sovereignty: Hosting your own files means you aren’t subject to the terms of service updates, privacy changes, or data mining practices of big tech corporations.
- Accessibility: Modern software allows you to stream your personal media library to any device in your home, just like your favorite commercial streaming services.
Do you ever feel like your digital life is being held hostage by a subscription model? It starts innocently enough. You pay a few dollars a month for extra photo storage, then a little more for a video streaming service, and suddenly, your monthly expenses are bloated with digital “rent.” For families in their 30s and 40s, this is a common point of friction. Between the thousands of photos of the kids, school projects, home videos, and our own personal media collections, the “cloud” feels less like a convenience and more like a permanent tax on our memories.
Building a home server sounds like a task reserved for IT professionals or people who spend their weekends soldering motherboards in a basement. I’m here to tell you that it’s actually well within your reach. It’s essentially a dedicated computer that acts as a digital lighthouse, keeping all your family’s content safe, organized, and accessible from any room in the house.
Understanding What a Home Server Actually Is
At its core, a home server is just a computer that stays on 24/7, waiting for you to ask it for a file. Think of it as your own private version of Google Drive or Dropbox, but it lives physically inside your house. Instead of your data floating somewhere in a massive server farm in a different state or country, it sits in your home office or utility closet.
The “media” aspect refers to the specific software you run on that computer to organize and display your files. You aren’t just creating a digital junk drawer; you are building a system that can catalog your photos by date or location, stream your home movies to your TV, and back up your phones automatically. It’s about creating a curated experience for your family’s digital life.
Assessing Your Hardware Needs: Keep It Simple
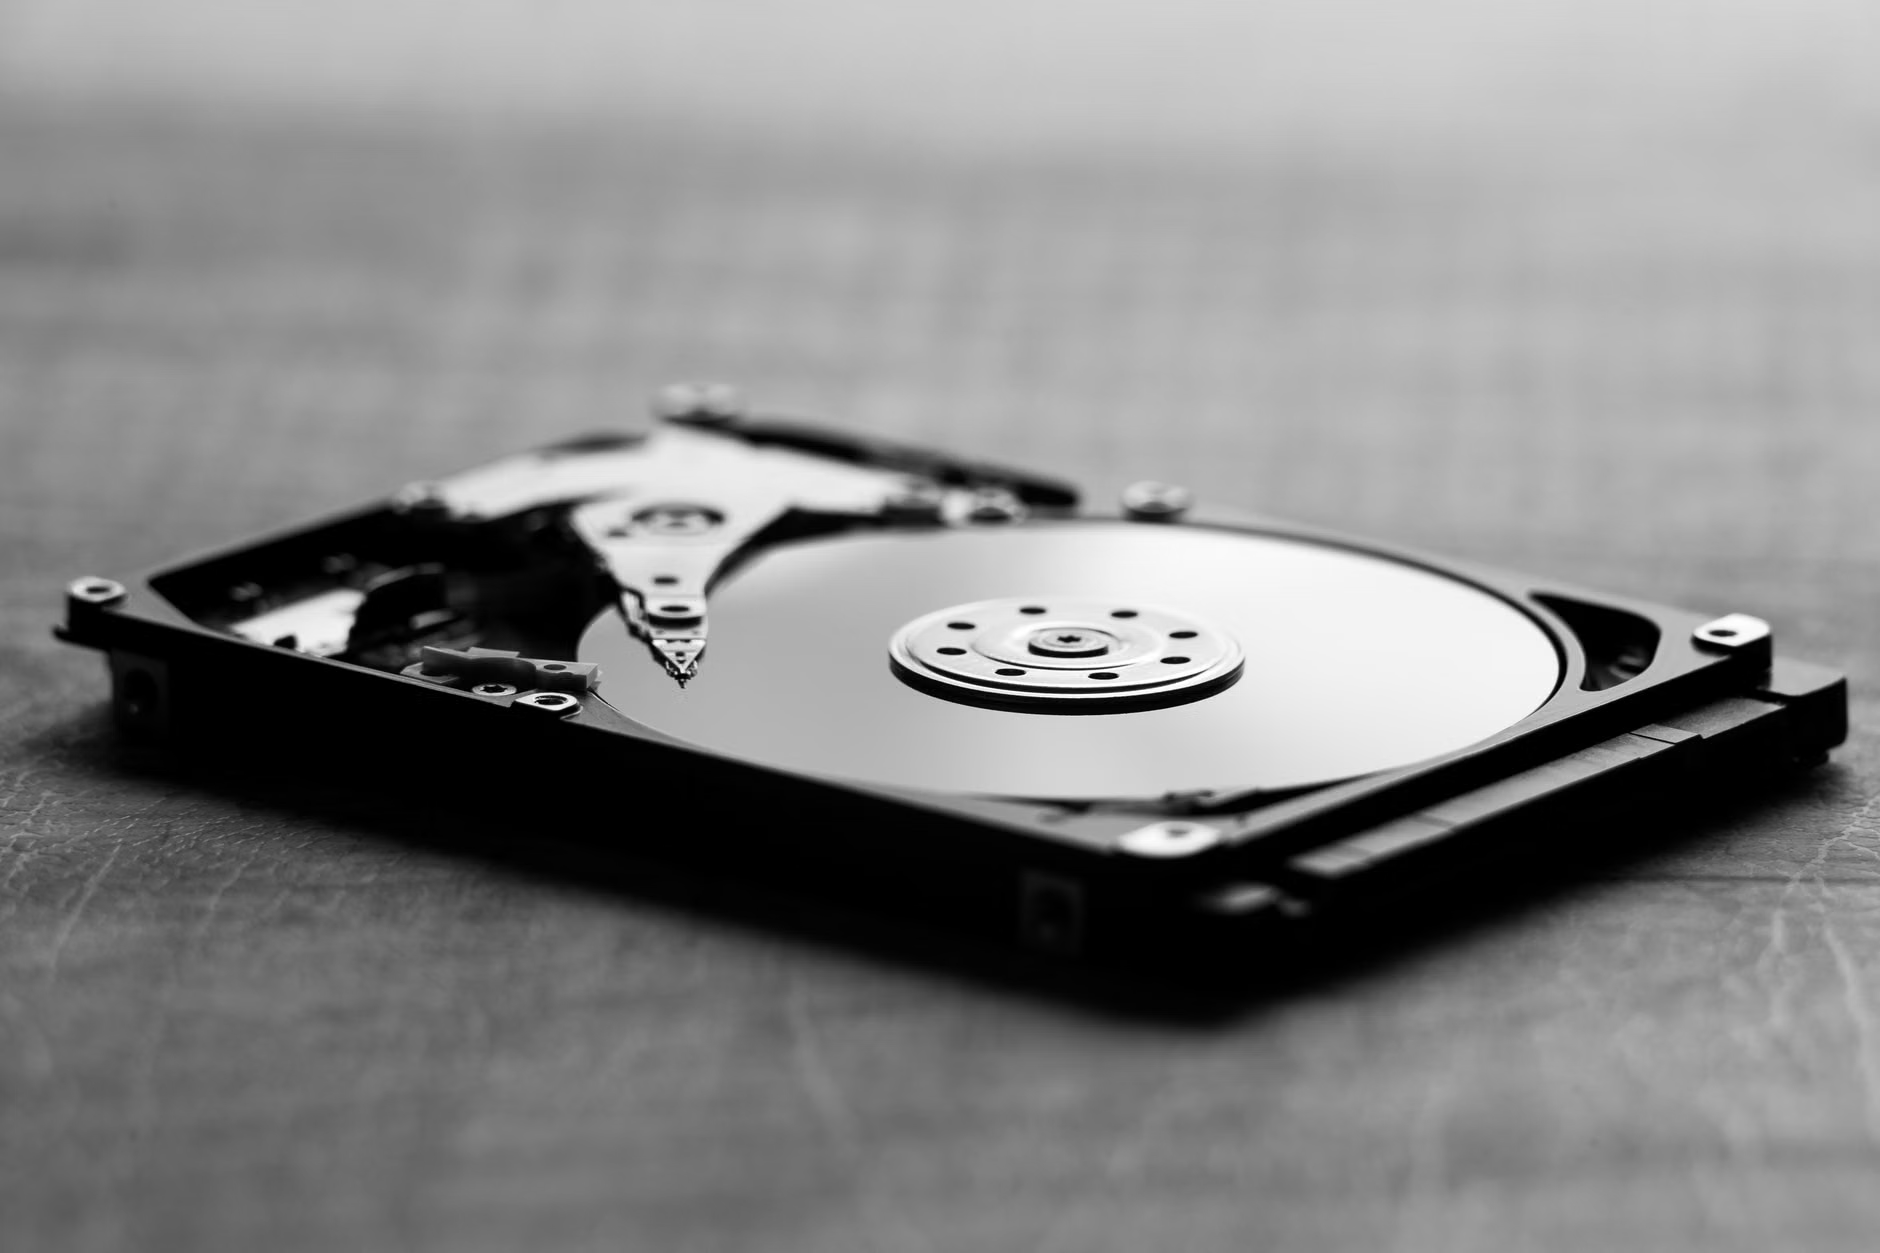
One of the biggest mistakes people make when starting this journey is over-engineering. You do not need a supercomputer to host family photos or stream a movie. In fact, most people have an old laptop or a desktop computer in their closet that is perfectly capable of becoming a server. The primary requirements are simple: a reliable processor, enough RAM to run the operating system, and plenty of hard drive space.
If you prefer not to repurpose old gear, you have two main paths: building a custom PC or buying a Network Attached Storage (NAS) device. A NAS is a pre-built box designed specifically for this purpose. It comes with its own operating system, which is great for those who want a “plug and play” experience. Building your own PC, however, offers more flexibility and usually costs less if you happen to have spare parts lying around.
Comparing Your Options
| Feature | Pre-built NAS | DIY Home Server |
|---|---|---|
| Ease of Setup | High (Plug and Play) | Moderate (Requires OS installation) |
| Cost | Higher (Premium for hardware/software) | Lower (Use existing parts) |
| Customization | Limited | Infinite |
| Maintenance | Automated | Manual |
Choosing the Right Operating System
The “brain” of your server is the operating system. If you aren’t a Linux expert, don’t panic. There are incredibly user-friendly options that handle the heavy lifting for you. TrueNAS, Unraid, and even a basic installation of Windows or macOS can serve as a home server. For a beginner, I often recommend looking into Unraid because it is very forgiving if you decide to add more hard drives later on. It doesn’t care if your drives are different sizes, which is a huge advantage when you’re building a server on a budget using spare equipment.
If you are tech-savvy and want to learn, Linux distributions like Ubuntu Server are the industry standard. They are free, incredibly stable, and have massive online communities. If you get stuck, a quick search on a forum will almost certainly reveal that someone else had the exact same problem five years ago and solved it.
Organizing Your Digital Life: Software Recommendations
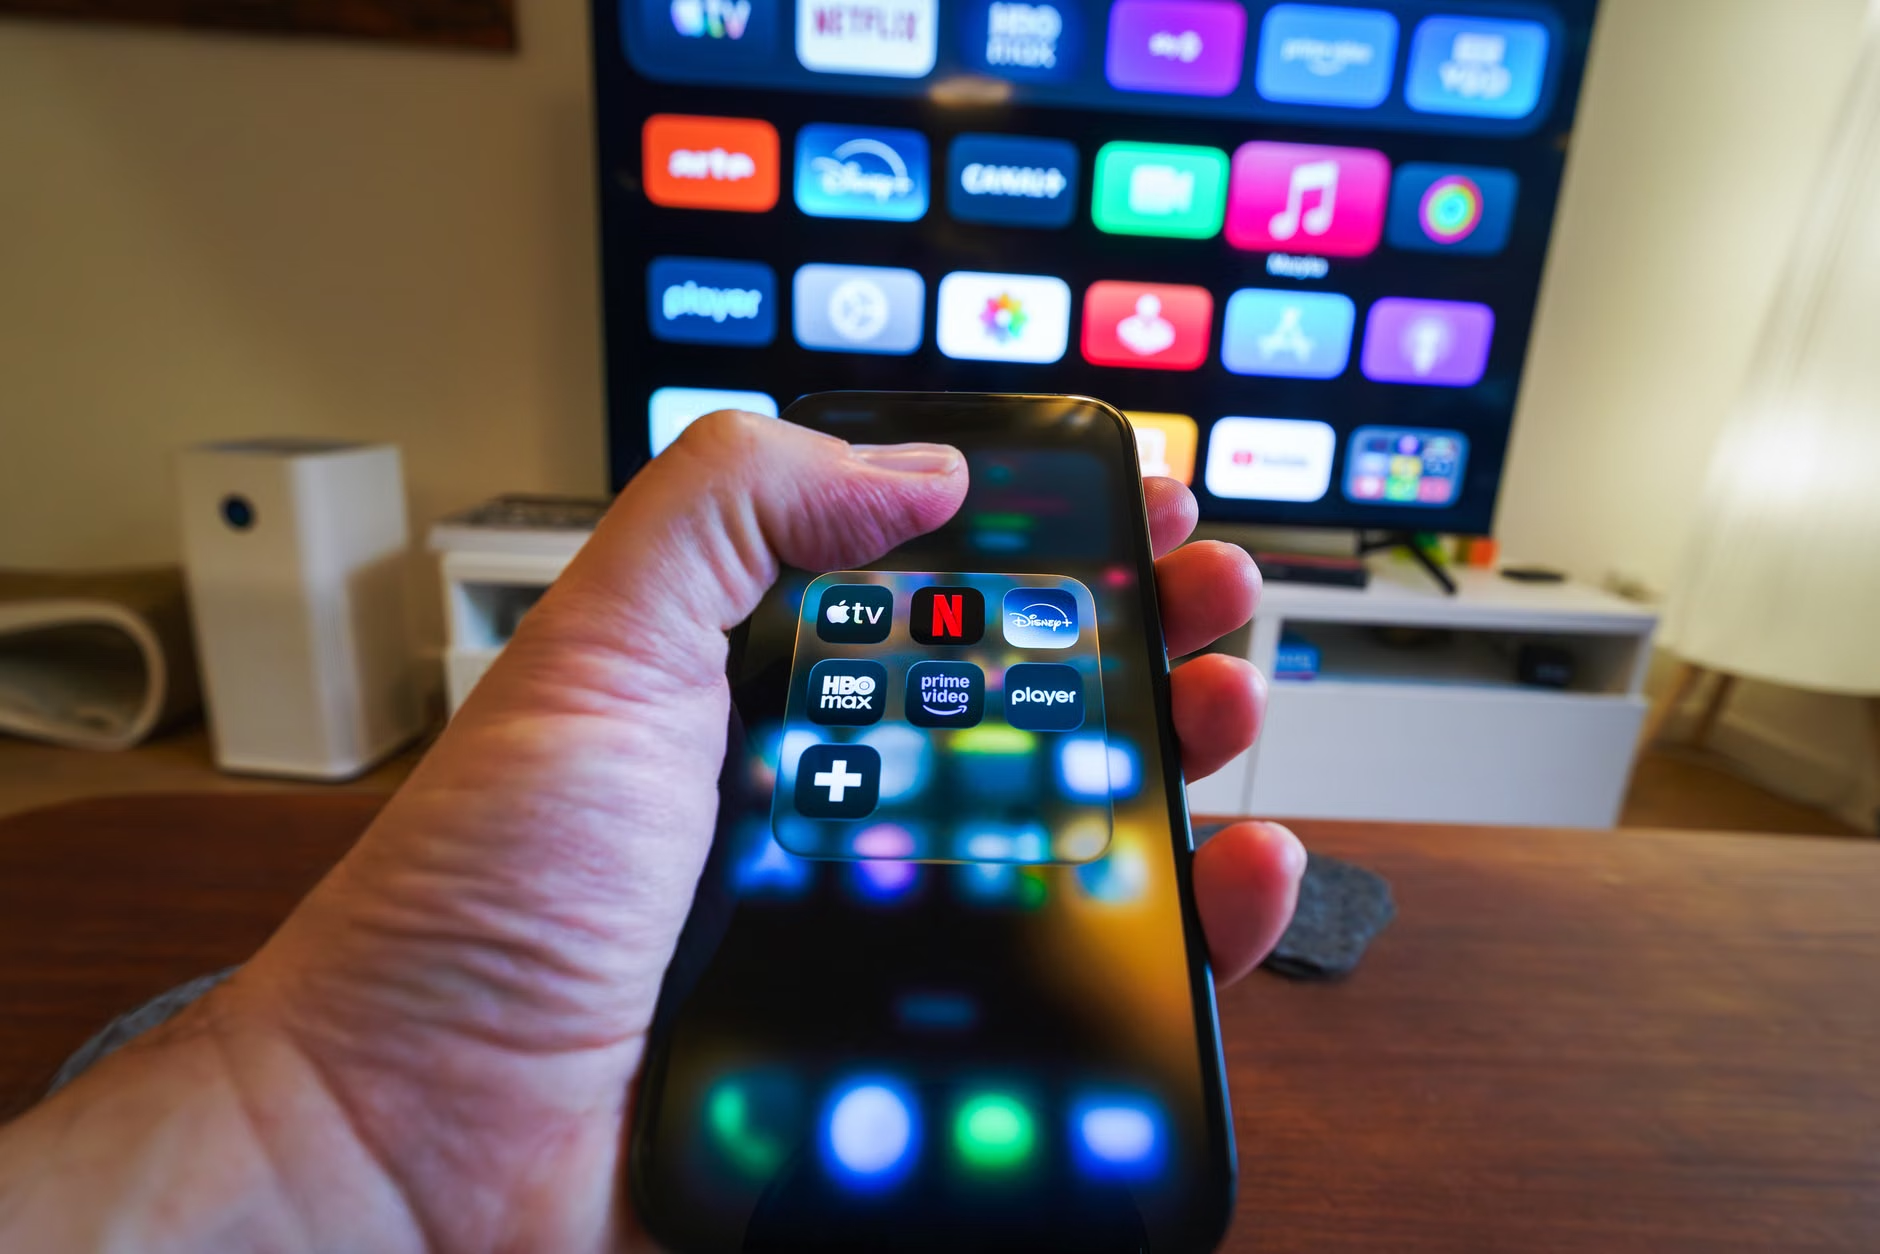
Once the hardware is running and the OS is installed, the magic happens in the software. You want an interface that feels like a modern app. For media management, Plex or Jellyfin are the gold standards. They scan your movie and photo folders, download metadata (like posters, cast lists, and descriptions), and provide a beautiful, Netflix-like interface for your family to browse.
For photo backups, tools like Immich have become incredibly popular. They mirror the experience of Google Photos. When you install the app on your phone, it automatically backs up your photos to your home server every time you walk through the front door. You get the convenience of a modern cloud app without the subscription fee or the privacy concerns.
The Reality of Maintenance and Backup
Here is the “serious” part of the advice: A home server is not a “set it and forget it” magic box. Because you are the administrator, you are also the IT department. Hard drives will eventually fail; it is a physical certainty. You must have a backup strategy. The golden rule of data storage is the 3-2-1 rule: Keep three copies of your data, on two different types of media, with one copy stored off-site.
Even if you have a massive server at home, you should still have an automated backup of your most critical files (like family photos) sent to a secondary location, such as a cloud provider or an external hard drive stored at a relative’s house. This protects you against disasters like fire, theft, or hardware failure that wipes out your primary server.
Setting Up Your Network for Success
Your server is only as good as the network connecting it to your devices. If you plan on streaming 4K video to your living room TV, do not rely on Wi-Fi if you can avoid it. A wired connection (Ethernet) is the backbone of a reliable home server. If your router is in a different room than your server, consider using powerline adapters or running a discrete Ethernet cable along the baseboards. The stability you gain is worth the minor aesthetic inconvenience.
You should also consider a static IP address for your server. If your server’s address keeps changing, your devices will eventually lose track of where it is. Most modern routers allow you to reserve an IP address for specific devices, which keeps your server consistently reachable.
Security: Protecting Your Private Data
Since this server is in your home, you might be tempted to think it’s automatically secure. However, if you want to access your photos while you are on vacation, you need a way to reach your server from outside your home network. Do not just “open ports” on your router; this is a common mistake that can leave your home network vulnerable to bots and scanners.
Instead, use a Virtual Private Network (VPN) like Tailscale or WireGuard. These tools create a secure “tunnel” between your device and your home server. It makes your phone or laptop act as if it is sitting inside your house, connected to your Wi-Fi, no matter where you are in the world. It is the safest, most modern way to handle remote access.
Common Pitfalls and How to Avoid Them
One common mistake is buying cheap, consumer-grade hard drives and expecting them to run 24/7. While you don’t necessarily need enterprise-grade gear, look for drives labeled as “NAS” or “Surveillance” drives. They are engineered to handle the constant vibration and heat associated with being powered on all the time. Standard desktop drives can fail much faster under these conditions.
Another pitfall is trying to do too much at once. Start with one service—maybe just photo backups. Get that working perfectly and ensure your backup routine is solid before you start adding complex media streaming or smart home automation. A slow, steady approach prevents the frustration that leads to people abandoning their DIY projects.
The Long-Term Perspective
Why go through all this trouble? For many of us in our 30s and 40s, it’s about the shift from being a passive consumer to an active owner. We are the generation that remembers the physical transition of media—from tapes to discs to digital files. By building a home server, we are choosing to maintain a physical connection to our digital history. We aren’t just renting access to our memories; we are curating them.
It’s also an excellent lesson for families. Showing your children that data doesn’t just “live in the cloud” but is stored on physical hardware helps them understand the infrastructure behind the apps they use every day. It transforms the screen from a magical portal into a tool that exists within a physical, understandable environment.
Troubleshooting Your First Steps
If you find yourself stuck, remember that the home server community is one of the most helpful corners of the internet. Forums like Reddit’s r/homelab or r/selfhosted are gold mines of information. When you ask for help, be specific. Mention what hardware you are using, what operating system you chose, and exactly what error message you are seeing. You will be surprised by how many people are willing to guide you through the process.
Don’t let the technical jargon intimidate you. Words like “Docker,” “RAID,” and “Hypervisor” sound like barriers, but they are just tools. You don’t need to master them all at once. Start with the basics, build your confidence, and expand your server’s capabilities as your needs grow. Your future self, free from the burden of monthly storage fees and corporate data-mining, will thank you.
As you embark on this project, keep your expectations realistic. It’s a hobby, not a chore. If a service goes down, don’t rush to fix it in the middle of a busy workday. Treat it as a learning experience. You are building a system that serves you, not the other way around. With the right approach, you can create a robust, private, and deeply personal digital ecosystem that will serve your family for years to come.
Frequently Asked Questions
1. Is building a home server actually cheaper than using cloud storage?
In the short term, no. You have to pay for the hardware upfront. However, if you compare the cost of a multi-drive server against five years of premium cloud storage subscriptions (which can easily exceed $100–$200 per year), the home server almost always pays for itself within two to three years. After that, your only ongoing cost is the electricity to keep it running.
2. Can I use my old laptop as a home server?
Yes, absolutely. An old laptop is a great starting point because it has a built-in battery (which acts as a mini Uninterruptible Power Supply during a power flicker) and a screen/keyboard already attached. The main limitation will be the amount of storage space; you will likely need to attach external USB hard drives to expand your capacity as your media library grows.
3. How do I make sure my data is safe if my house catches fire?
A home server protects you from hard drive failure, but not from physical disasters. To truly protect your data, you must follow the 3-2-1 rule. Always keep a secondary backup—either an encrypted cloud backup or a physical hard drive kept at a trusted friend or family member’s house—that contains your most critical data, such as family photos and documents.
For further reading on data storage standards and hardware reliability, you can check out the Backblaze Hard Drive Stats, which provides real-world data on drive longevity. Additionally, the TrueNAS documentation offers excellent guidance on setting up reliable storage pools for beginners.