Baking is perhaps the most accessible, high-stakes science laboratory you have in your home, and it is the perfect environment for teaching your children the practical applications of math and chemistry.
- Math in Motion: Baking reinforces fractions, ratios, and unit conversions in a way that feels rewarding rather than academic.
- Edible Chemistry: Observing leavening agents like baking soda and yeast provides a tangible look at chemical reactions and gas production.
- Critical Thinking: Troubleshooting a “baking fail” teaches resilience and the scientific method better than any textbook.
If you are a parent in your 30s or 40s, you likely remember the “math anxiety” that hit when you were sitting in a sterile classroom, staring at a worksheet full of abstract fractions. Now, as you navigate the complexities of managing a household, you know that math isn’t just about passing a test; it is about scaling recipes, managing time, and understanding proportions. Why not pass this realization on to your kids before they start dreading their own math homework?
The kitchen is a neutral ground. There is no grading rubric here, only the final result—which, even if it isn’t perfect, is usually delicious. By reframing the weekend baking hour as a “Kitchen Lab,” you turn a routine chore into a bonding experience that builds foundational STEM (Science, Technology, Engineering, and Math) skills.
The Math of the Muffin: Fractions and Proportions
The first thing a child encounters in the kitchen is the concept of measurements. Most of us take for granted that 1/2 cup plus 1/4 cup equals 3/4 cup, but for a seven or eight-year-old, this is a revelation. When you are baking, you aren’t just following instructions; you are performing a series of arithmetic operations that require precision.
Consider the process of “scaling up” a recipe. If your favorite cookie recipe makes 12 cookies, but you need to take 36 to a school event, you have just introduced your child to the concept of multiplication and ratios. It is a real-world problem that demands a correct answer. If they miscalculate the ratio of flour to sugar, the consequence is immediate and observable.
Practical Steps for Math Engagement:
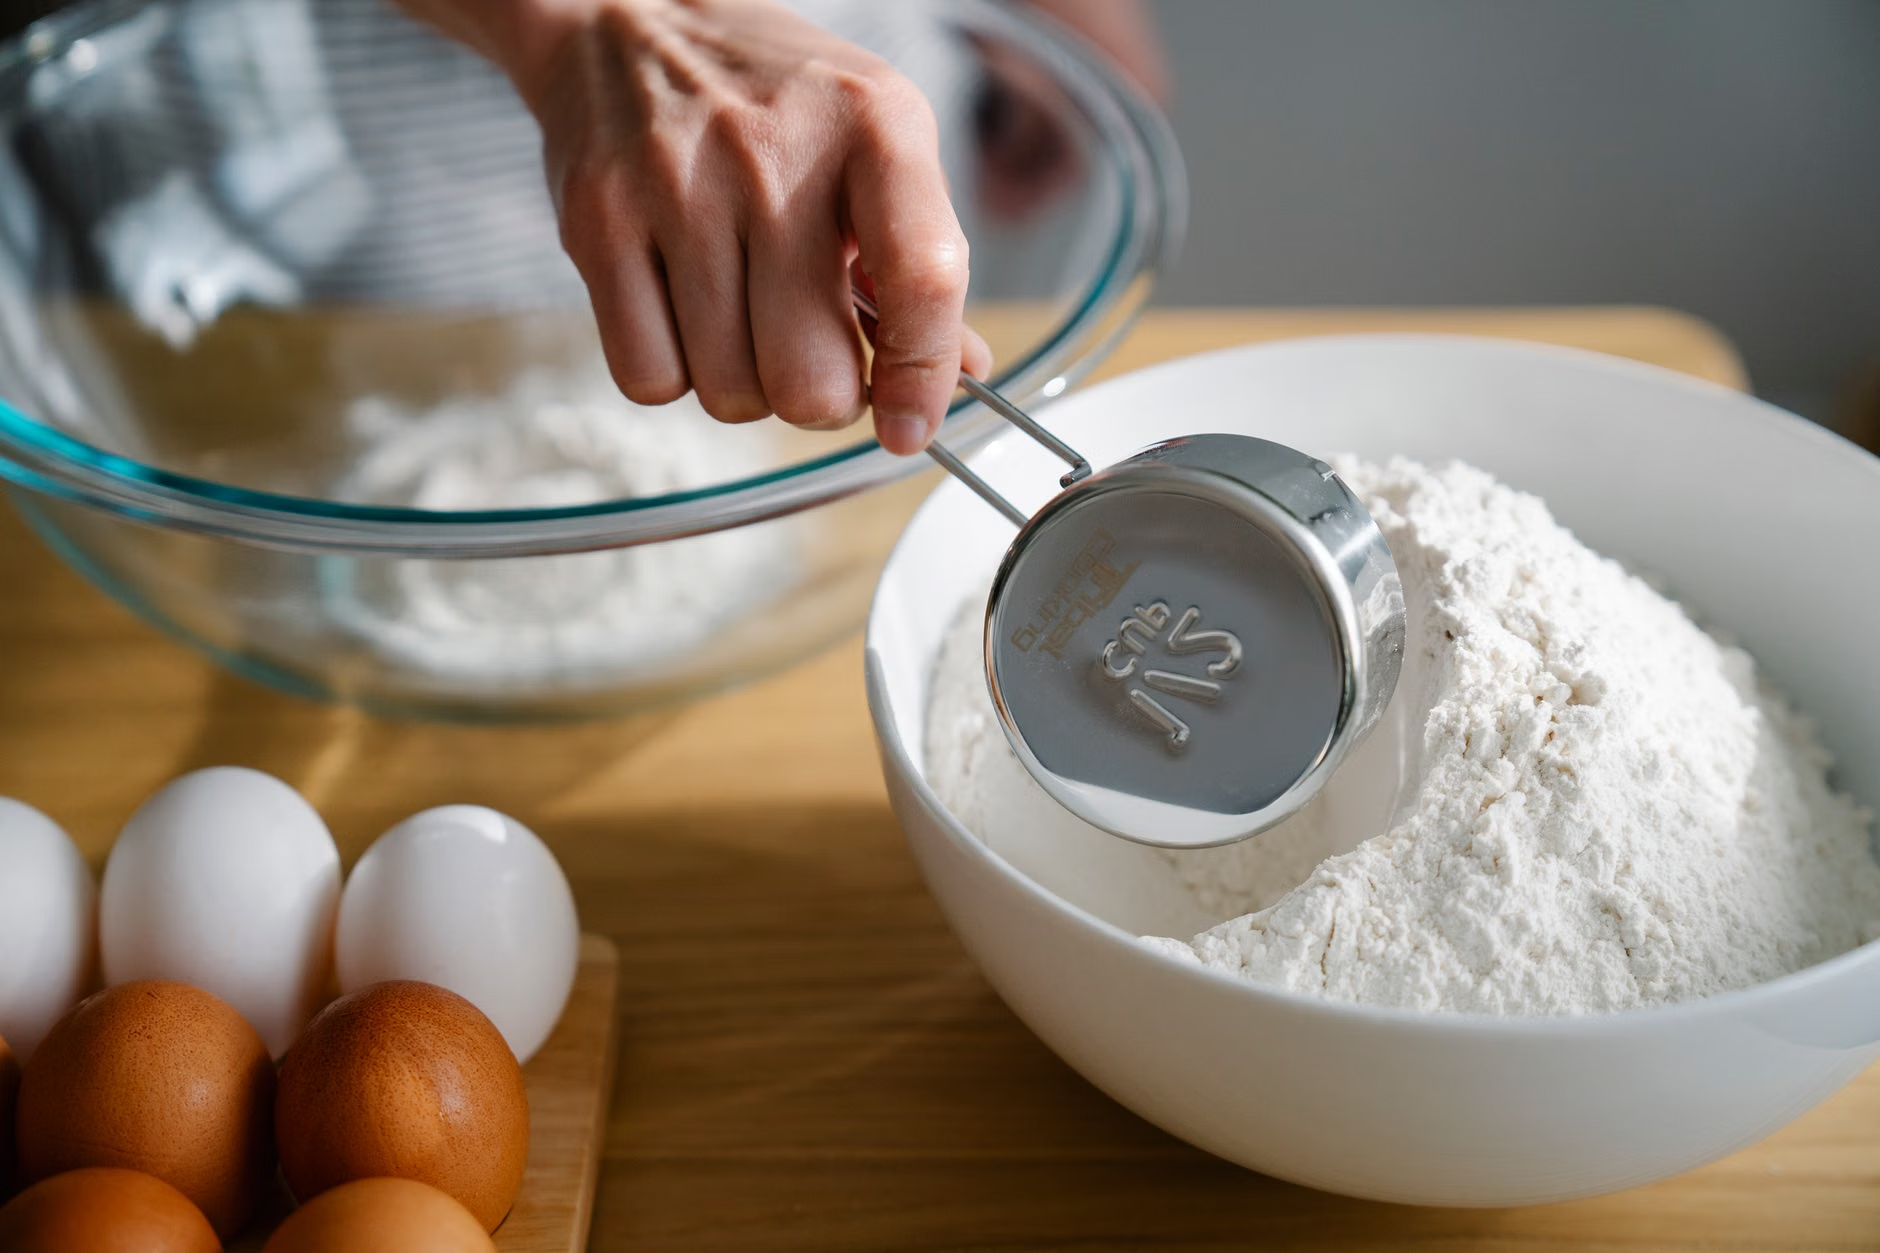
- The Measuring Cup Challenge: Instead of letting them use the 1/2 cup measure for everything, ask them how they can measure 3/4 cup using only the 1/4 cup scoop. This forces them to visualize fractions as parts of a whole.
- Conversion Practice: If you have an international recipe that uses grams while your scale is set to ounces, walk them through the conversion. It’s a great way to introduce the difference between the Imperial and Metric systems.
- Time Management: Ask your child to calculate the total time required. If the prep takes 15 minutes, the baking takes 20, and the cooling takes 10, when will the cookies be ready to eat? This builds a sense of temporal awareness.
When children engage with these tasks, they stop seeing math as a series of abstract symbols on a page. They start seeing it as a language that describes the physical world. This is the definition of “number sense”—the ability to understand quantities and how they relate to one another. When they see that a double batch requires double the eggs, they are learning algebraic thinking without the intimidating terminology.
Chemistry in the Mixing Bowl: Why Things Rise
Once the math is sorted, the real magic begins. Baking is essentially a series of controlled chemical reactions. When we combine flour, sugar, fat, and leavening agents, we are manipulating molecules to create a specific structure. Teaching your children about these reactions is a fantastic way to explain the invisible world of chemistry.
The most common “magic” in the kitchen involves leavening agents. Whether you are using baking powder, baking soda, or yeast, you are introducing a gas into your dough. When that gas expands in the heat of the oven, it creates the airy texture we love in cakes and breads. This is a perfect opportunity to discuss the states of matter: solid, liquid, and gas.
The “Leavening” Lesson:
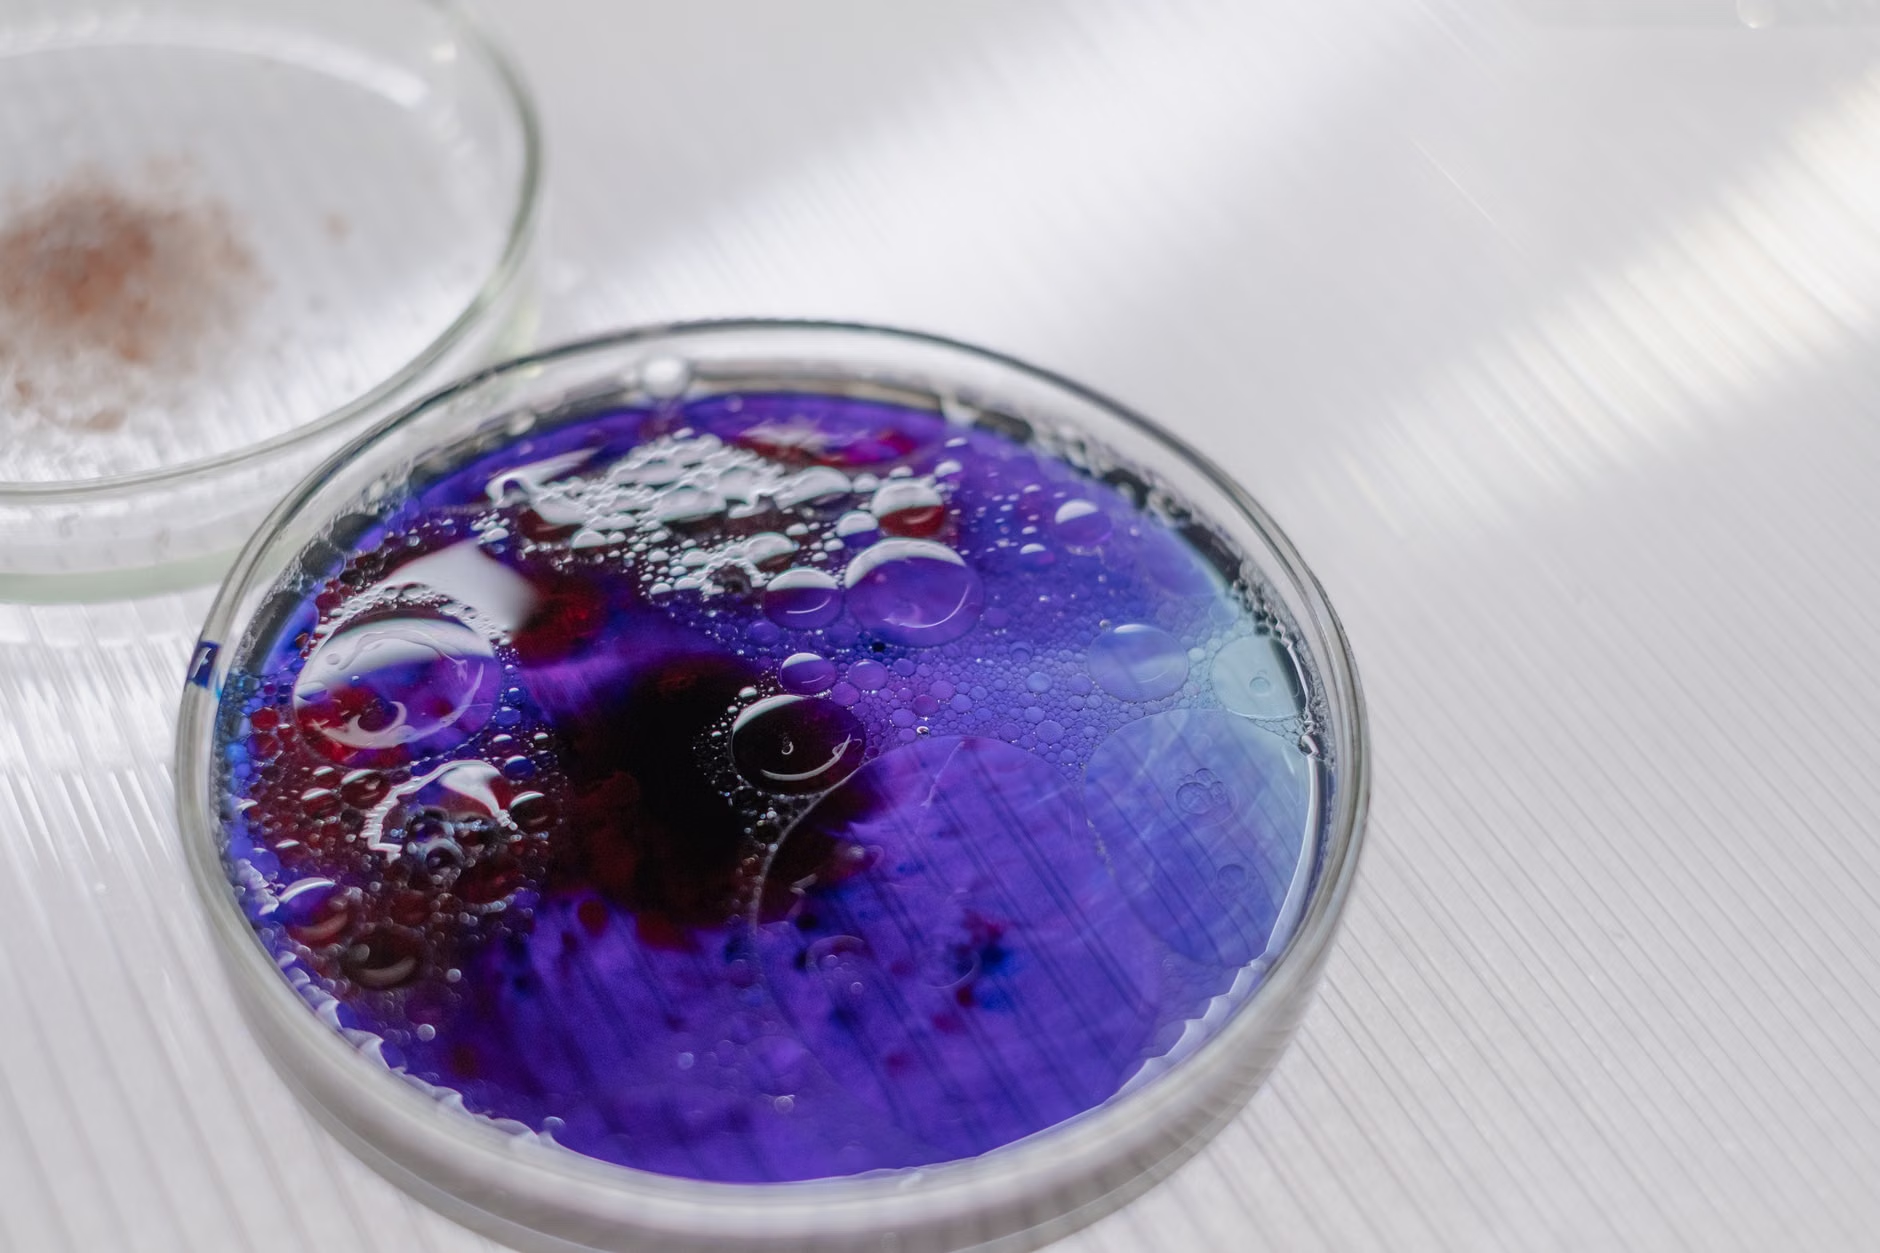
Explain that baking soda is a base. When it meets an acid (like buttermilk, lemon juice, or yogurt), it produces carbon dioxide gas. To prove this to your kids, try this: mix a teaspoon of baking soda with a splash of vinegar in a small glass. The immediate, violent bubbling is the visual proof of a chemical reaction. Tell them, “This is what happens inside your cake, but it happens slowly so the bubbles get trapped in the dough instead of popping in the air.”
Beyond leavening, there is the Maillard reaction. This is the complex chemical reaction between amino acids and reducing sugars that gives browned food its distinctive flavor. When you bake cookies until they are golden brown, you are facilitating this reaction. It’s not just about “cooking until brown”; it’s about heat-induced chemical transformation. Understanding this helps kids appreciate why we bake things at specific temperatures.
The Scientific Method: Troubleshooting the “Baking Fail”
Every parent has been there: the cake didn’t rise, the cookies spread into a singular, giant puddle, or the bread is as hard as a brick. In a school setting, a failed experiment might be a source of shame. In the kitchen, it is a data point. This is where you teach the most important lesson of the scientific method: iteration.
When a recipe fails, don’t just throw it away. Sit down with your child and perform a “post-mortem.” Ask the questions that scientists ask when their experiments go awry:
- Hypothesis: Why do we think this happened? Did we use cold eggs when the recipe called for room temperature?
- Variable Control: Did we measure the flour by packing it into the cup (which adds too much) or by spooning it in (which is accurate)?
- Adjustment: What are we going to change next time to test our theory?
This process builds resilience. It teaches children that failure is not the end of the road; it is merely an indication that one of the variables was incorrect. This mindset is crucial for success in any field, from coding to engineering to academic research. You are teaching them that they have agency over their environment—they can manipulate the inputs to achieve a different output.
Tools of the Trade: Building a Data-Driven Kitchen
To really lean into the “Kitchen Lab” concept, you need the right gear. You don’t need expensive equipment, but a few specific tools will make the math and science much more apparent to your children.
| Tool | Educational Purpose | Scientific Concept |
|---|---|---|
| Digital Kitchen Scale | Teaches mass vs. volume | Precision and repeatability |
| Oven Thermometer | Verifies heat distribution | Thermodynamics and calibration |
| Clear Glass Bowls | Allows observation of changes | Visual data collection |
| Timer | Tracks duration of reactions | Time-series analysis |
Using a digital scale is particularly important. In the US and many other places, we are used to “cups.” However, a “cup” of flour can vary wildly in weight depending on how tightly it is packed. By switching to a scale, you move from “approximate measures” to “precise scientific data.” Show your kids how the weight changes as they add ingredients—it’s an immediate, real-time data visualization exercise.
Common Pitfalls and How to Avoid Them
While the “Kitchen Lab” is a wonderful concept, let’s be realistic. You are working with children, and the kitchen can be messy and chaotic. If you go in with the expectation that everything will be pristine and perfectly educational, you are setting yourself up for disappointment.
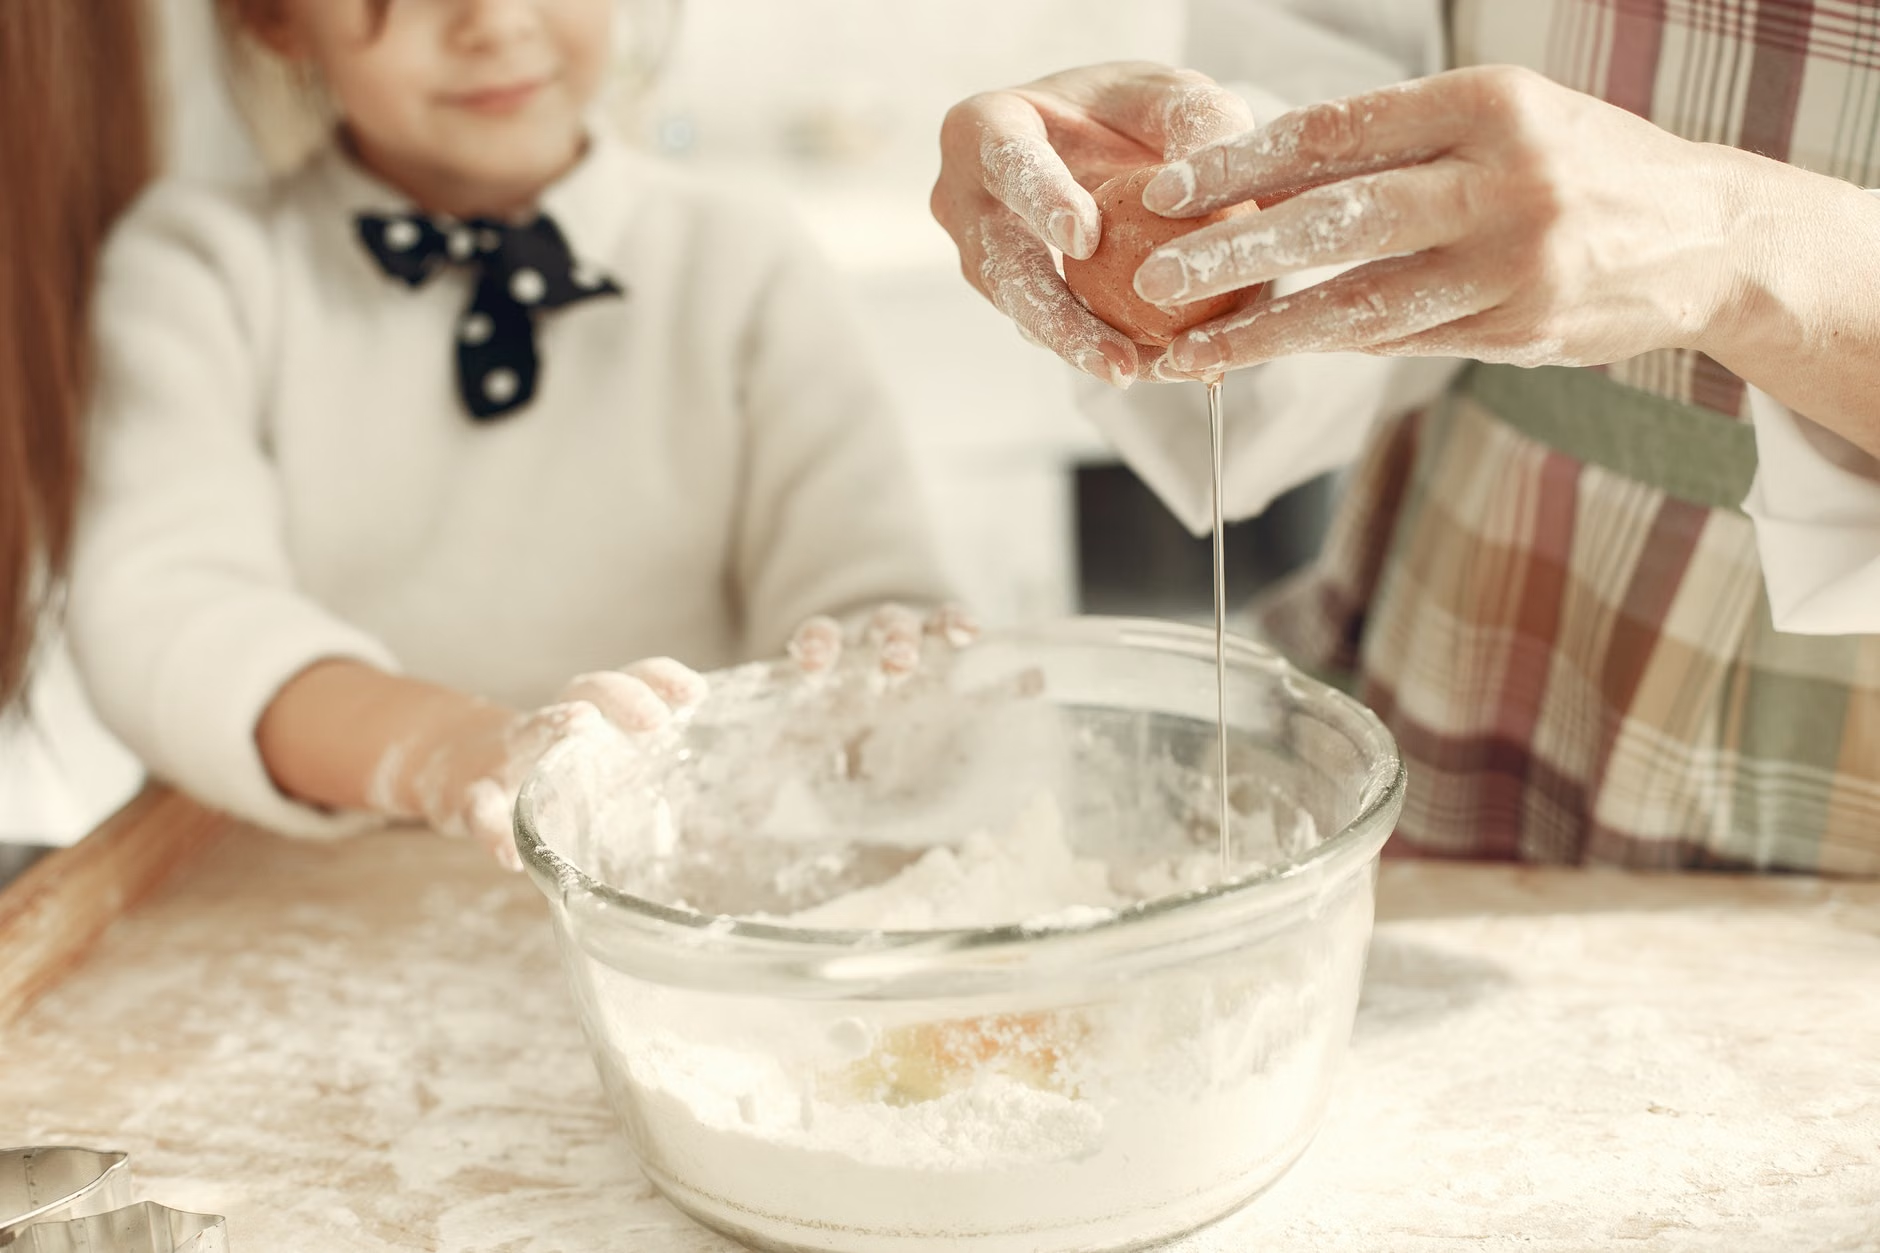
The “Mess” Factor: Yes, there will be flour on the floor. Yes, there will be spilled milk. The goal is the learning process, not the perfection of the kitchen. If you are too stressed about the mess, the kids will sense it, and the fun will evaporate. Lay down a large, easy-to-clean mat, or accept that cleaning up is part of the “lab maintenance” curriculum.
The Age-Appropriateness Gap: Don’t try to explain the molecular structure of gluten to a four-year-old. Keep the science at their level. For a younger child, focus on the sensory: “Look how the powder turns into a sticky dough.” For an older child (pre-teen), you can start digging into the “why”—the proteins in the flour, the role of fats in shortening, or the pH levels of your ingredients.
Safety First, Always: The kitchen is full of hazards. Treat the kitchen like a professional lab. Establish rules: “We never touch the oven door,” “Knives stay on the counter,” and “We always wash our hands before we start.” By framing these as safety protocols rather than “mom/dad rules,” you emphasize the professional nature of your kitchen lab.
The Long-Term Impact: Why This Matters
Why go through all this effort? Why not just buy a box of cookies or let the kids watch a movie while you bake? Because the “Parent-Child” cooking hour is about more than just the output. It is about the shared experience of discovery.
When you involve your children in the “how” and “why” of cooking, you are cultivating a sense of curiosity. You are showing them that the world is not just a series of things that happen to them, but a system of rules and reactions that they can understand and manipulate. This is the core of scientific literacy.
Furthermore, this is a way to bridge the gap between your busy life and theirs. In our 30s and 40s, we are often pulled in a dozen directions—work emails, household management, social obligations. The kitchen lab is a protected space where the only thing that matters is the experiment at hand. It forces you to slow down, to be present, and to engage in a collaborative activity that requires both of you to be fully in the moment.
If you find yourself struggling to find common ground with your kids, this is the remedy. It’s not about lecturing them on math or chemistry; it’s about the joy of creating something together. And if the experiment results in something edible? That’s just the best kind of data collection I can think of.
Refining Your Approach: Tips for Success
To keep the momentum going, consider keeping a “Lab Notebook.” It doesn’t have to be anything fancy—just a simple spiral-bound notebook where you and your child record the recipes you’ve tried, what worked, what didn’t, and any “scientific discoveries” you made along the way. This gives your child a sense of ownership over their learning and a record of their progress.
Don’t be afraid to experiment with substitutions. What happens if you use honey instead of sugar? What happens if you use almond flour instead of wheat flour? These are the questions that drive innovation. By allowing your child to guide the experiment, you are teaching them to be an independent thinker. You are showing them that the recipe is a starting point, not a law.
Remember that your role is not the “teacher” in the traditional sense, but the “lead investigator.” You are there to guide, to ask questions, and to ensure that the lab remains a safe and productive space. If you don’t know the answer to a question they ask, that’s great! Say, “I don’t know, let’s look it up.” This teaches them that even adults don’t know everything and that the search for knowledge is a lifelong process.
Finally, keep it light. If the cookies burn, laugh about it. If the cake is a disaster, order a pizza and talk about what went wrong. The goal is to build a positive association with learning and with each other. If you can do that, you have succeeded, regardless of the quality of the final product.
Encouraging the Next Generation of Scientists
As you continue this journey, you will notice that your children start looking at other things in their life through the same lens. They might start asking about the science behind why the grass turns green, or why a ball bounces, or how a bridge stays up. This is the “scientific mindset” taking root. By validating their curiosity in the kitchen, you are building the confidence they need to explore the world in other ways.
The kitchen is just the beginning. The lessons you teach here—about math, about chemistry, about resilience, and about the value of experimentation—will serve them for the rest of their lives. And for you, it provides a rare, quiet moment of connection in an otherwise busy life. So, the next time you feel the urge to bake, don’t just do it as a chore. Put on your apron, pull up a chair for your child, and start the experiment. The results will be well worth the effort.
Frequently Asked Questions
1. At what age should I start involving my child in the kitchen lab?
You can start as early as 3 or 4 years old with simple tasks like pouring pre-measured ingredients or mixing. As they grow, you can introduce more complex concepts like fractions and chemical reactions. The key is to match the tasks to their current cognitive abilities and focus on safety.
2. What if my child isn’t interested in the “science” part?
Don’t force it! The goal is to build a positive experience. If they just want to decorate or eat the cookies, that’s fine. You can drop small, interesting facts occasionally—”Did you know the baking soda is making these bubbles?”—and see if they bite. If they don’t, just enjoy the time together. The interest often develops naturally over time.
3. Are there resources to help me explain these concepts to children?
Yes, there are many excellent resources available. Websites like Science Buddies (sciencebuddies.org) provide great project ideas, and many children’s cookbooks focus on the “science of baking.” Using these resources can help you feel more confident in your role as the “lead investigator” of your home kitchen lab.
For further reading on the science of baking, you may find the following resources useful: