You can grow almost anything, even in a challenging backyard, simply by manipulating the small-scale weather patterns—known as micro-climates—that already exist on your property. Most gardeners focus entirely on their USDA Hardiness Zone or general regional weather, but the most successful growers learn to master the specific, often invisible, environmental pockets within their own fence lines.
- Thermal Mass: Use stone, brick, or water to store heat during the day and release it at night to extend your growing season.
- Wind Management: Strategic barriers like hedges or fences can reduce wind chill, effectively raising your local temperature by several degrees.
- Sun Mapping: Observe how shadows move across your yard throughout the day to identify “cool” and “hot” spots before you plant.
If you are in your 30s or 40s, you know the feeling: you’ve got a busy work week, a house to manage, and kids who need your attention. When you finally find thirty minutes to step outside and check on the garden, you don’t want to find your prize-winning tomatoes shriveled by a sudden gust of wind or your leafy greens bolted because they were stuck in a “heat trap” you didn’t know existed. The frustration of losing plants isn’t just about the money; it’s about the wasted time and the loss of that small, quiet sanctuary you were trying to build.
Understanding the Invisible Weather Map
Micro-climates are essentially the localized weather conditions that differ from the surrounding regional climate. If you live in a temperate zone, your city might have an average low temperature, but your backyard might be five degrees warmer or colder depending on its layout. This isn’t magic; it’s physics.
Factors like topography (slopes and depressions), proximity to structures, soil type, and existing vegetation all play a role. Think of your yard as a miniature landscape. A depression in the ground can act as a “frost pocket,” where cold air settles at night because cold air is denser than warm air and sinks. Conversely, a south-facing wall acts as a solar battery, soaking up the sun’s energy and radiating it back into the garden long after the sun has set.
To start your micro-climate hack, you need to conduct a “yard audit.” This isn’t about expensive sensors; it’s about observation. Spend a weekend noting where the sun hits at 8:00 AM, 12:00 PM, and 4:00 PM. Notice where the dew lingers the longest in the morning. These clues tell you exactly where the “cold” and “warm” zones are.
The Power of Thermal Mass: Using Your House as a Battery
One of the most effective ways to cheat the frost is to use thermal mass. Thermal mass refers to materials that have the capacity to absorb, store, and release heat energy. Water, stone, concrete, and brick are excellent at this. If you have a brick wall that faces south, that wall is essentially a giant heater for your garden.
Plants placed near this wall will benefit from the radiant heat during the night. In the late spring or early autumn, when temperatures hover near freezing, this small difference can be the factor that prevents your peppers or basil from succumbing to the cold. If you don’t have a brick wall, you can simulate this by placing large, dark-colored rocks or even water-filled barrels near your vegetable beds.
Table 1: Thermal Mass Materials and Their Utility
| Material | Effectiveness | Best Use Case |
|---|---|---|
| Dark River Rocks | Moderate | Mulching around base of heat-loving plants |
| Water Barrels | High | Placed inside a greenhouse or cold frame |
| Brick/Concrete Walls | Very High | Espalier fruit trees or vining vegetables |
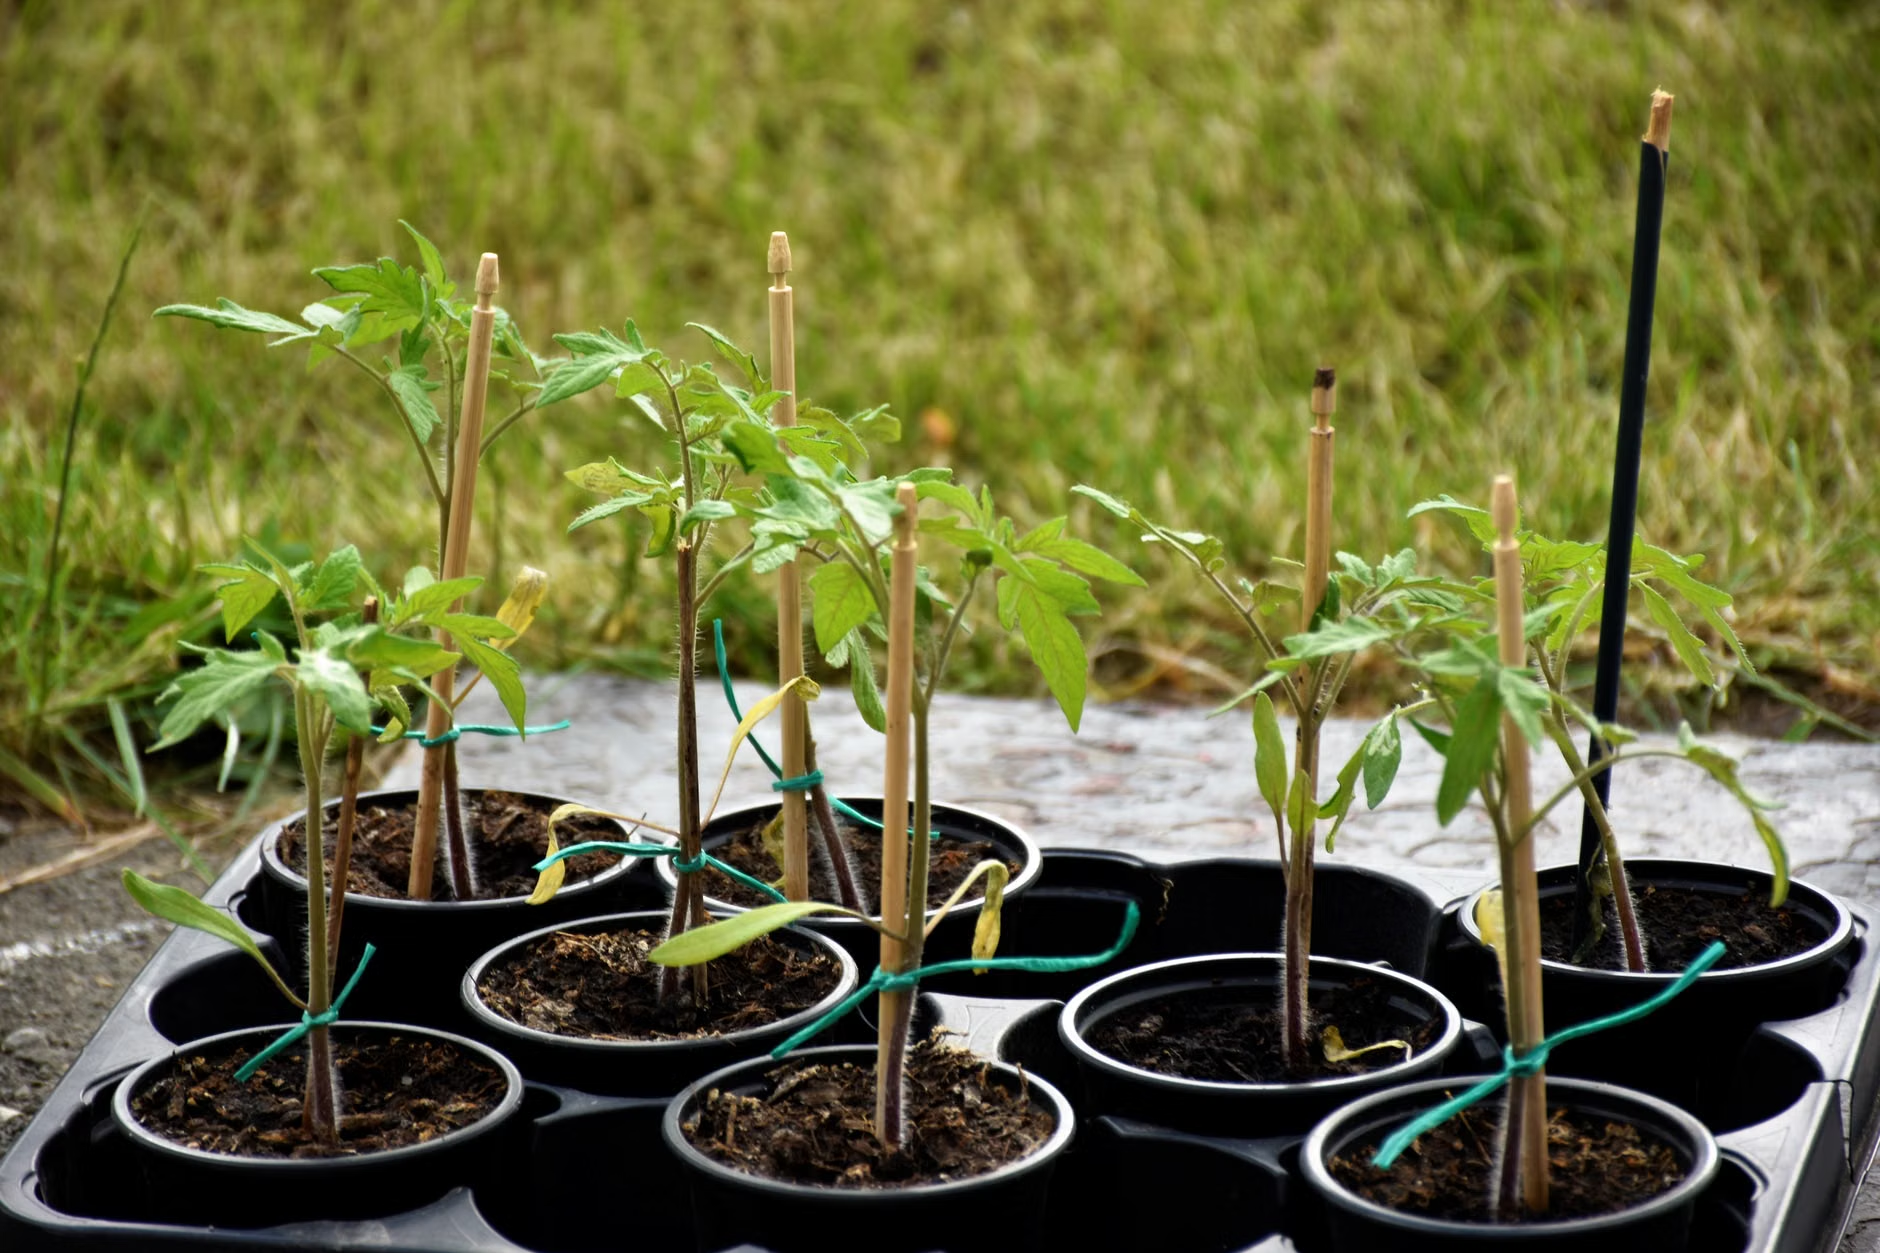
Harnessing Windbreaks: Why Your Garden Needs a Shield
Wind is a silent killer for plants, especially for those of us trying to grow in urban or suburban environments where buildings can create “wind tunnels.” Wind increases the rate of transpiration, which means plants lose water faster than they can absorb it through their roots. This leads to stress, stunted growth, and in extreme cases, windburn.
You don’t need a massive wall to block the wind. In fact, a solid wall can sometimes create turbulence on the other side. A porous barrier, like a hedge, a lattice fence, or even a row of hardy shrubs, is often more effective because it filters the wind, slowing it down without creating a violent eddy effect.
If you are growing in a windy area, consider the “porosity” of your windbreak. A barrier that allows about 50% of the air to pass through is ideal. This creates a calm zone on the leeward side that extends for several feet. By placing your most sensitive crops in this “calm zone,” you are creating a protected micro-climate where plants don’t have to spend all their energy just surviving the breeze.
The Frost Pocket Trap: Where Not to Plant
We often talk about seeking out warm spots, but it is equally important to identify the cold spots. If your yard has any slope, you have a frost pocket. Cold air flows downhill like water. It gathers in low spots, against fences that block airflow, or behind dense hedges. If you plant your early-season crops in these “sinks,” you are almost guaranteed to lose them to the first frost of the season.
Instead, reserve these areas for late-season crops or plants that are exceptionally cold-hardy, such as kale, garlic, or winter wheat. If you must plant in a low spot, consider building raised beds. Even raising your plants 12 to 18 inches off the ground can lift them out of the densest layer of freezing air, effectively keeping them in a slightly warmer, more stable environment.
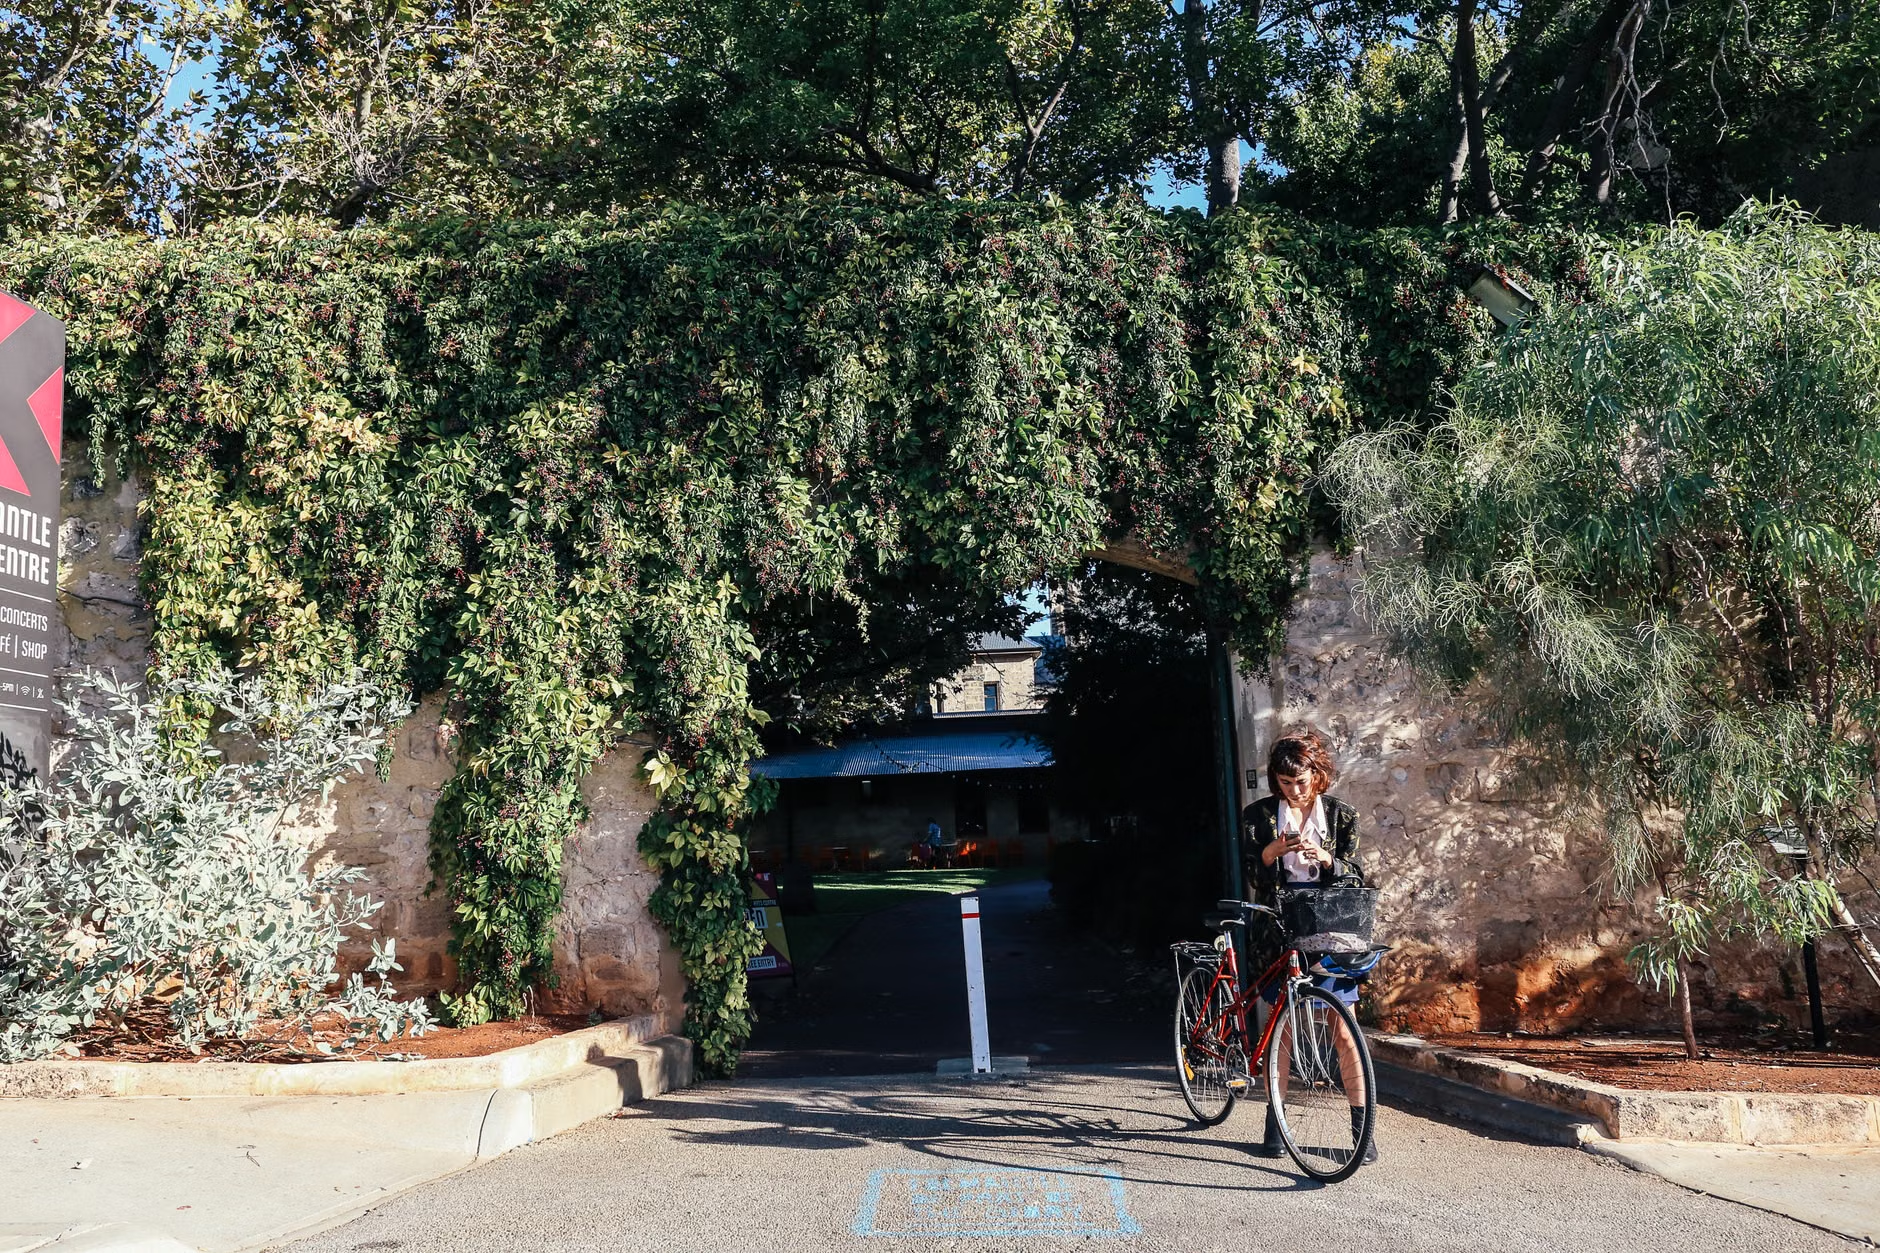
Optimizing Sun Exposure: The “Shadow Map” Strategy
Most of us have a vague idea of where the sun hits our yard, but “vague” isn’t good enough for maximizing yields. Many gardeners fail because they plant shade-loving plants in full sun or, more commonly, sun-loving plants in spots that get shaded by the house or a tree for half the day.
Take a piece of graph paper and draw a rough layout of your yard. Mark the permanent structures (house, garage, trees, fences). Now, track the shadows. In the summer, the sun is high, so shadows are short. In the spring and fall, the sun is lower, and shadows stretch much further. A spot that is perfectly sunny in July might be completely shaded by a fence or tree in October.
Use this map to categorize your garden into three zones:
- Full Sun Zone (6+ hours): Tomatoes, peppers, cucumbers, squash.
- Partial Shade Zone (3-6 hours): Leafy greens, herbs like parsley, root vegetables like carrots.
- Full Shade Zone (<3 hours): Ferns, hostas, or specialized shade-tolerant greens.
Once you have this map, you can stop fighting your environment and start working with it. If you have a corner that only gets morning sun, don’t try to force a tomato plant to grow there—it will just be thin and unproductive. Plant lettuce there instead, and you will be amazed at how much longer it stays sweet and doesn’t bolt.
Practical Steps to Build Your Micro-Climate
You don’t need to rebuild your yard to see results. Small, incremental changes are often the most successful. Here is a step-by-step approach to hacking your space:
- Observe: Spend one week documenting the “micro-weather” in your yard. Note the wind, the sun, and the damp spots.
- Categorize: Divide your yard into zones based on your observations.
- Modify: Add a small windbreak (like a trellis with vines) to protect a sensitive area. Use mulch or dark stones to create a heat-retention zone.
- Test: Plant a small “test crop” in your newly modified zone to see how it performs compared to the rest of the garden.
- Adjust: Learn from the test. If the plants still struggled, add more protection or move them to a slightly different spot.
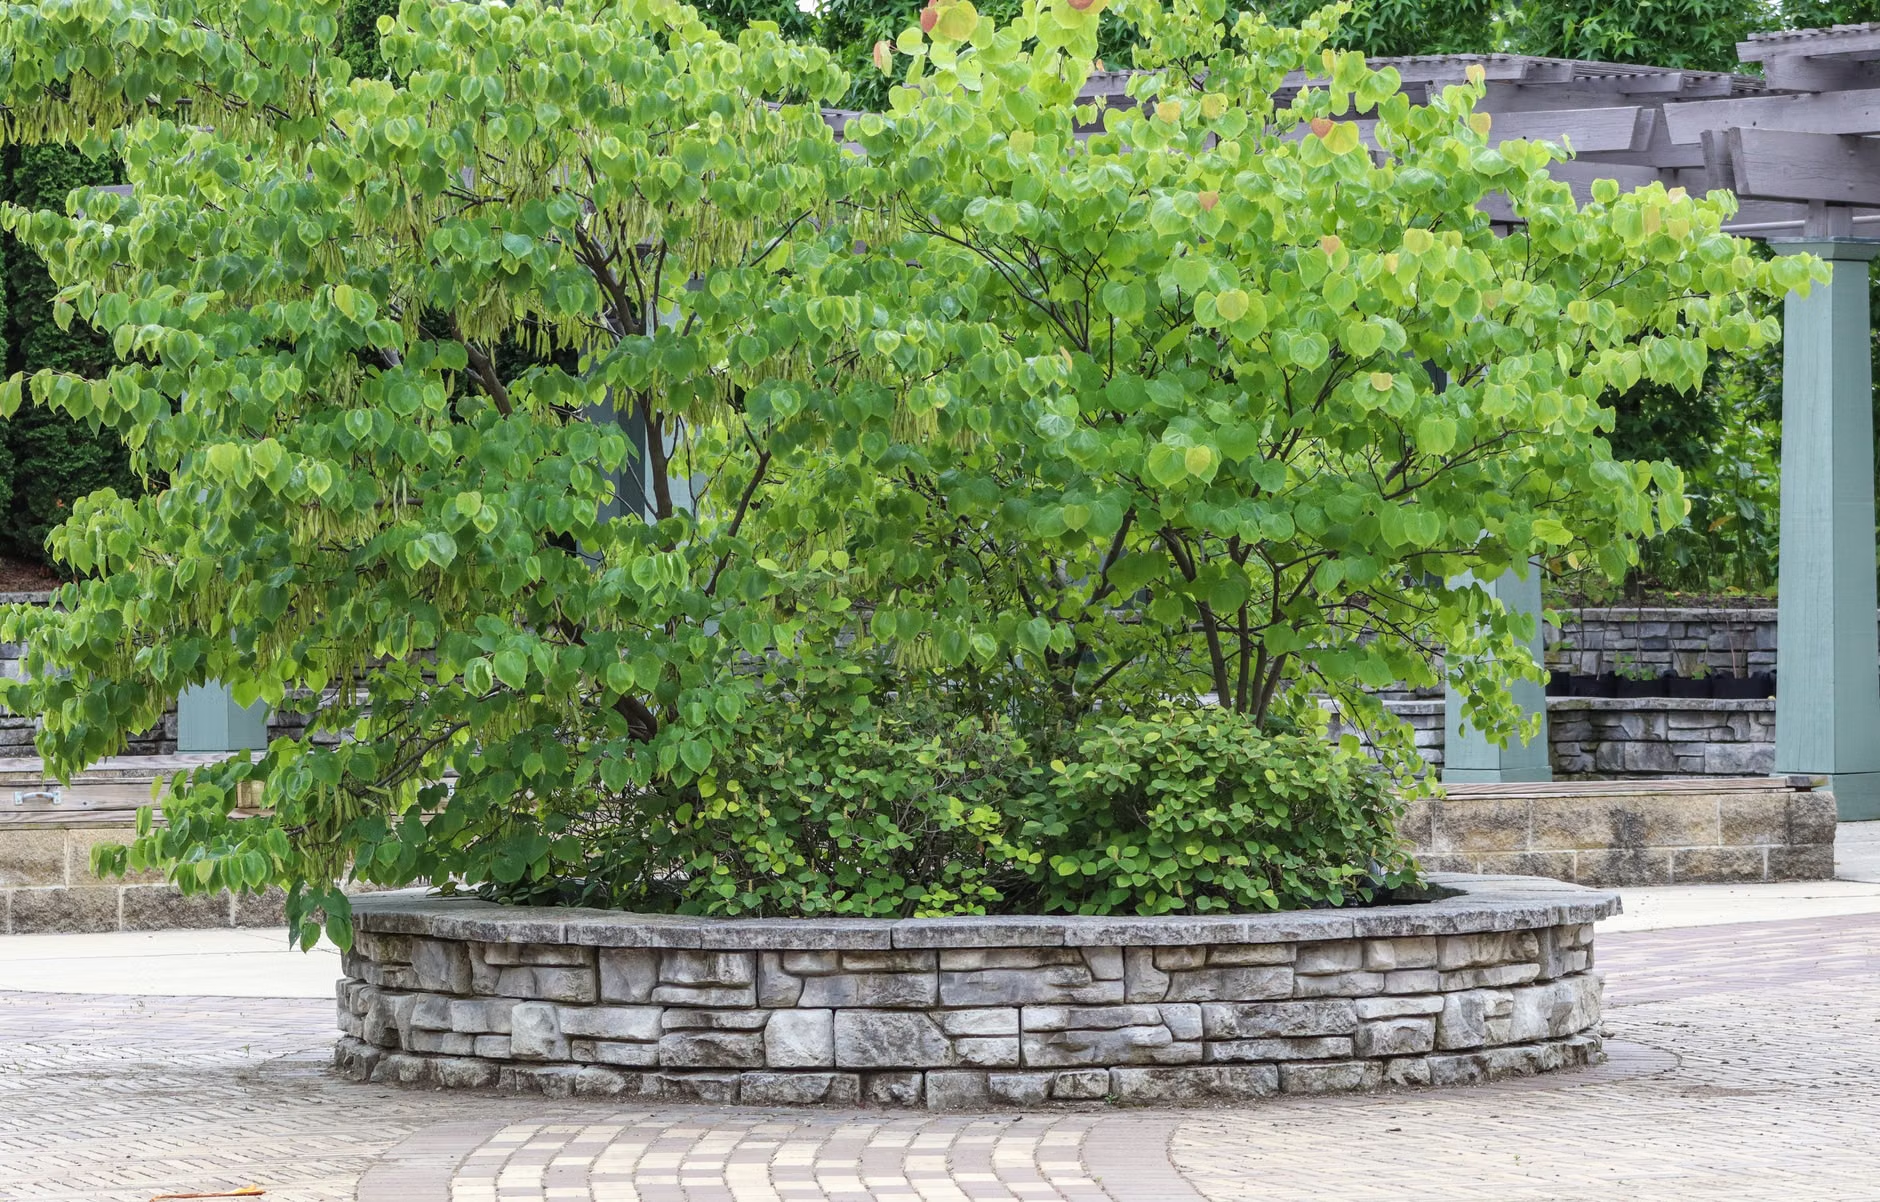
Common Mistakes and How to Avoid Them
One of the most common mistakes is over-complicating the setup. You don’t need expensive high-tech irrigation or climate-controlled greenhouses to get started. In fact, the best micro-climate hacks are usually low-tech and inexpensive. Another mistake is ignoring the soil temperature. Air temperature is one thing, but soil temperature is what actually dictates root development. If your micro-climate is warm but your soil is cold (like in early spring), your plants will sit there and do nothing.
To fix this, use black plastic mulch or dark landscape fabric to warm the soil early in the season. It absorbs the sun’s heat and transfers it directly to the root zone. Conversely, if you are struggling with excessive heat in the summer, use light-colored mulch or reflective material to keep the soil cool and moist.
Remember that gardening is a process of learning your specific plot of land. Even if two houses are on the same street, their micro-climates will be different. Your neighbor’s garden might be thriving with certain plants while yours struggles, and that’s okay. It’s not a failure; it’s just a different set of micro-climates. The goal is to be a detective in your own backyard.
Sustainability and Long-Term Implications
By mastering micro-climates, you are also making your garden more sustainable. When you plant the right crop in the right spot, you don’t need as many chemical fertilizers or excessive water. The plants are naturally more resilient because they aren’t constantly fighting environmental stress. This is the essence of permaculture—working with nature rather than trying to overpower it.
For those of us balancing kids and careers, this approach also saves time. You spend less time troubleshooting sick plants and more time enjoying the harvest. It turns a chore into a rewarding experiment. You start to see your backyard not just as a patch of grass, but as a living, breathing ecosystem that you have a hand in shaping.
Be patient with yourself. Some of these changes—like planting a hedge for wind protection—take years to fully mature. Others, like placing a few rocks for thermal mass, can be done in an afternoon. Start small, observe often, and enjoy the process of tuning into the hidden rhythms of your own home environment.
Frequently Asked Questions
How do I know if my yard has a “frost pocket” without waiting for a frost?
Look for areas where water tends to pool after a rain. Because cold air behaves similarly to water, it will collect in the same low spots. If you see standing water, that area is likely a cold zone where frost will settle first.
Can I create a micro-climate on a balcony or patio?
Absolutely. Balconies and patios are actually some of the easiest places to manipulate micro-climates. You can use container placement to find sun/shade, use pots that absorb heat (like terracotta), and use privacy screens as effective windbreaks to protect delicate herbs or greens.
Is there a specific tool I should buy to measure these zones?
A simple, inexpensive digital thermometer with a probe is the best tool. You can place the probe in different areas of your garden to get accurate readings of soil or air temperature. Doing this over a few days during different times will give you a much better “map” than any app or generic weather report.
For further reading on how local environments affect plant growth, you can check out resources from the eXtension Foundation, which provides research-based gardening advice tailored to regional needs. Additionally, the National Gardening Association offers comprehensive guides on understanding your specific planting zone and how to optimize your home garden.
Gardening is rarely a perfect science, but by focusing on these localized variables, you’re giving your plants the best possible chance to succeed. Don’t be afraid to experiment, move a few containers around, and see what happens. Your backyard is a living lab, and you’re the lead researcher.