The most effective way to curb sibling rivalry isn’t to mediate every argument, but to shift the focus from competition to a common goal through structured “Sibling-Collaboration” project kits.
- Structural Dependency: Collaboration kits work because they enforce “interdependence,” where one child cannot complete the task without the specific contribution of the other.
- The “Role-Switching” Mechanic: Successful kits assign rotating roles (e.g., Architect vs. Builder), which prevents the older or more dominant sibling from taking total control.
- Mitigating Failure: The most effective kits are designed for “low-stakes failure,” meaning the project is meant to be iterative so that initial arguments over mistakes become part of the learning process rather than a reason to quit.
If you have more than one child, you are likely familiar with the “justice system” of parenting. You spend half your weekend acting as a judge, jury, and mediator for disputes that range from “he touched my side of the couch” to “she ruined my masterpiece.” It is exhausting. Many parents in their 30s and 40s are turning to structured Sibling-Collaboration kits—pre-packaged projects designed to force cooperation—as a way to stop the bickering before it starts. But do they actually work, or are they just another expensive box of clutter?
The Psychology of Forced Cooperation: Why It Matters
Sibling rivalry is often a battle for resources: parental attention, physical space, or a sense of competence. When children play side-by-side (parallel play), they are often still competing for your attention. When they work on a project together, the goal shifts. Developmental psychologists often refer to this as “interdependent goal structures.”
When a kit is designed well, it creates a situation where individual success is mathematically impossible. If the kit requires a bridge to be built that is too long for one child’s arm span, or requires one child to hold a piece steady while the other applies a fastener, they are forced to negotiate. This negotiation is the “secret sauce.” It moves them out of the emotional brain—where the “you took my toy” argument lives—and into the prefrontal cortex, where problem-solving occurs.
For parents, the value here is twofold. First, it provides a 30-to-60-minute window of relative peace. Second, it serves as a low-stakes training ground for conflict resolution. If they fight over a piece of cardboard, the stakes are low. If they learn to resolve that fight, they are building a muscle they will use later in life when they have to work on group projects at school or in professional settings.
The Anatomy of a Successful Collaborative Kit
Not all “team-building” kits are created equal. Many are simply two sets of the same toy in one box, which actually increases competition. To be truly collaborative, a kit needs specific design elements that force interaction. When you are looking for these kits—or building your own—look for these three pillars:
1. Asymmetric Role Assignment
In a good kit, the roles are predefined. For example, in a “Build-a-Robot” kit, one child should have the “Instruction Lead” role (reading the steps and holding the diagram), while the other is the “Assembly Specialist.” By explicitly stating, “You are the navigator, and you are the pilot,” you remove the ambiguity that leads to power struggles. If the “pilot” tries to do both, the “navigator” has a clear, objective rulebook to point to. This shifts the conflict from “I want to do it” to “You aren’t following your role.”
2. Physical Interdependence
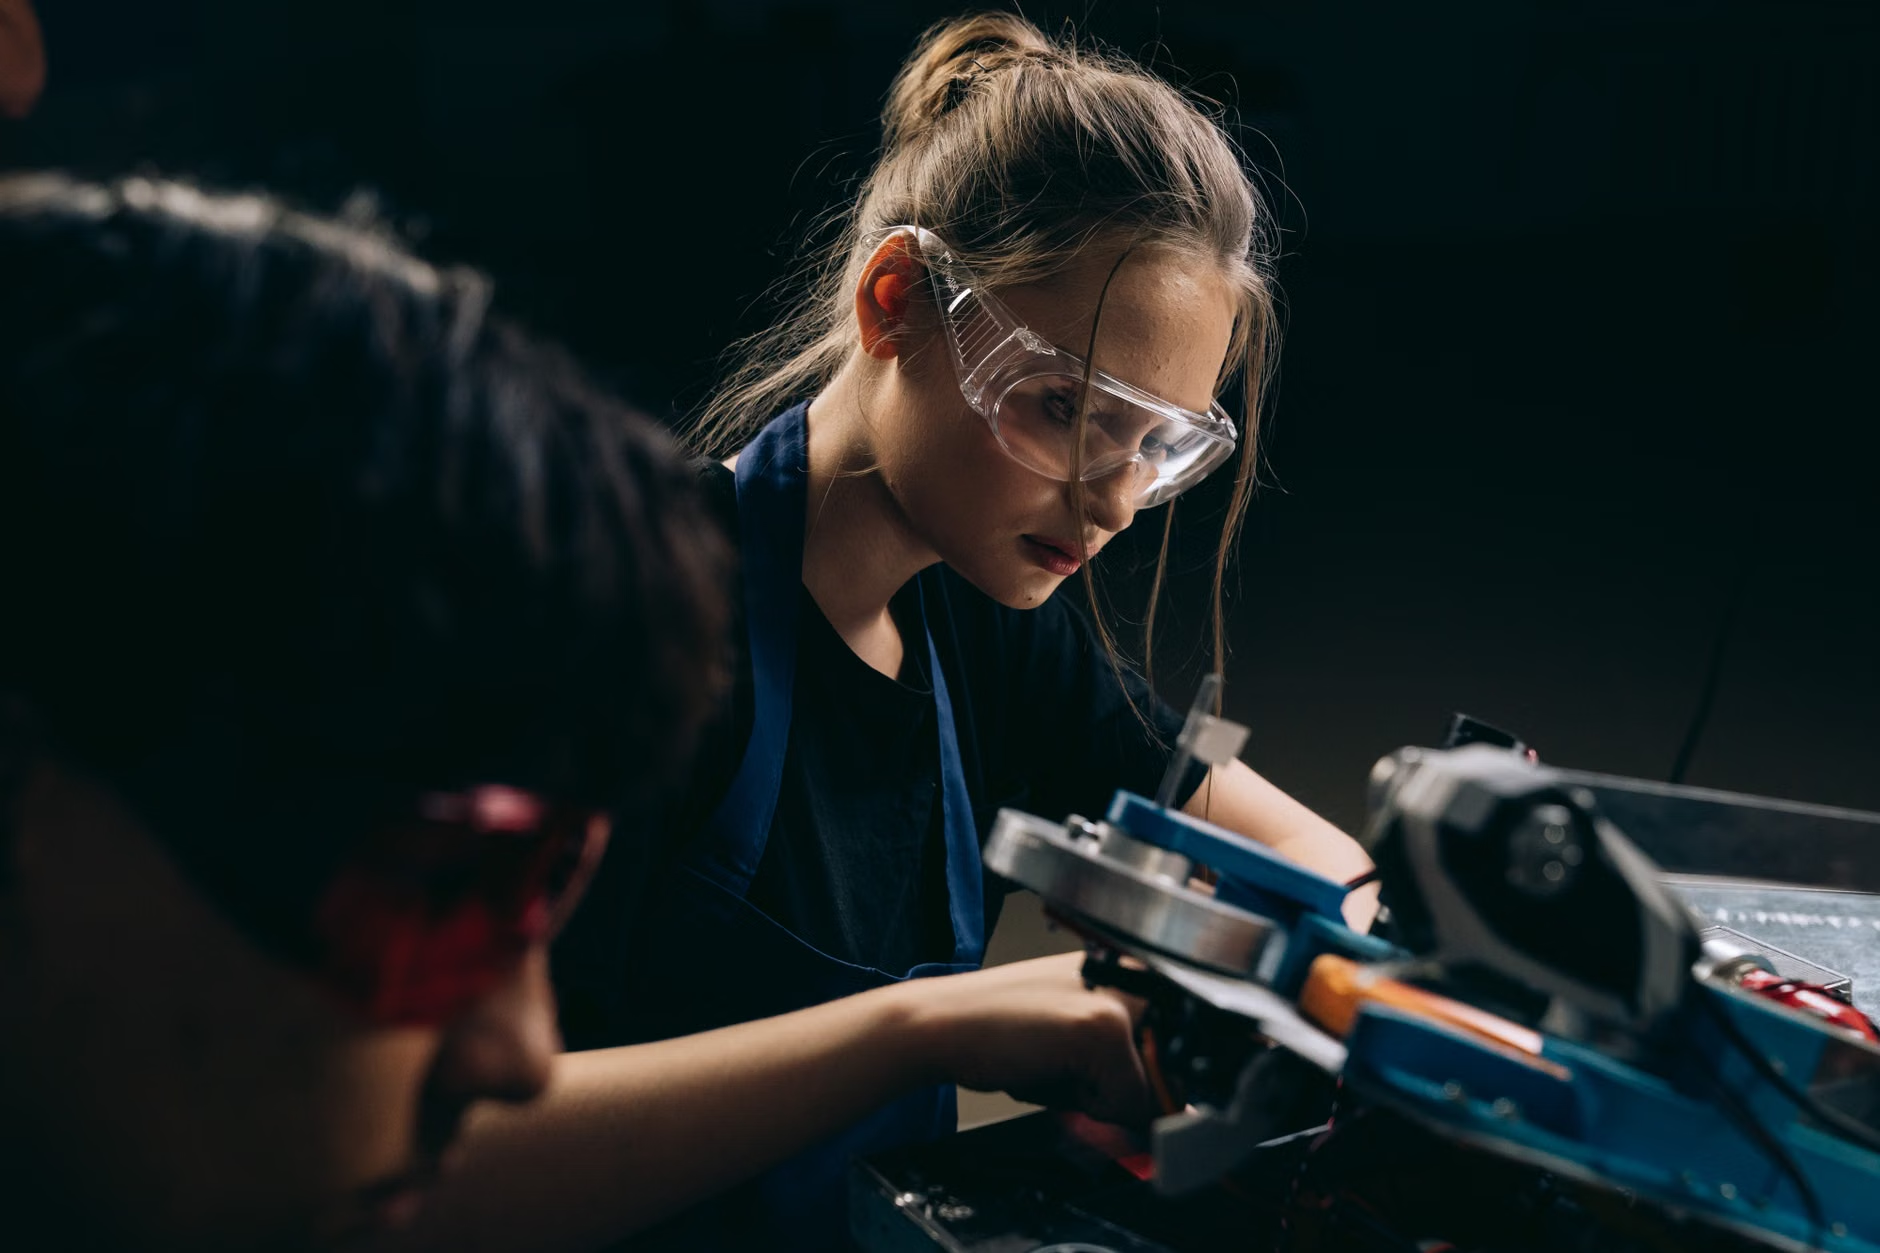
The best kits require two sets of hands. Think of a complex marble run that requires one child to hold the base level steady while the other connects the upper tracks. If one child attempts the whole thing alone, it topples. This is a crucial design feature. It makes the “other” child a necessary partner rather than an optional nuisance.
The outcome must be a single, shared project. If the kit allows them to build two separate things, they will inevitably compare them, and the one who finishes first or builds “better” will gloat. The goal must be one singular, cohesive project that they both sign their names to at the end.
Evaluating the Common Pitfalls
Even with the best kits, things go wrong. Understanding these common mistakes can save you from a mid-project meltdown.
| Mistake | Why It Fails | The Fix |
|---|---|---|
| Choosing Age-Gap Kits | The older child dominates; the younger feels incapable. | Choose kits with “Open-Ended” levels of complexity. |
| Ignoring Prep Time | Children lose patience during the setup phase. | Pre-sort pieces before inviting them to the table. |
| Intervening Too Early | Children stop negotiating and look to you for the answer. | Use the “Wait-and-See” rule: 5 minutes of struggle. |
The “Wait-and-See” rule is perhaps the most important tool in your kit. If you hear arguing, do not rush in. Give them five minutes to navigate the frustration. If they are about to physically harm each other or destroy the project, that is your time to step in. But if they are just bickering about how to fit a piece, let them resolve it. Your presence as a mediator should be the last resort, not the first.
Real-Life Implementation: A Step-by-Step Approach
If you want to introduce these kits into your home, don’t just dump a box on the floor and walk away. Successful collaboration requires a bit of “onboarding.”
Step 1: The Setup
Clear a dedicated space. If the project is happening on a shared floor space, it is too easy for a toddler to come by and wreck it, which ruins the collaborative spirit. A table is best. Ensure the area is well-lit and that you have removed all other distractions, like screens or competing toys.
Step 2: Role Definition
Before they touch a single piece, define the roles. Use a coin flip if necessary to decide who gets which role. If the kit doesn’t come with explicit roles, assign them yourself. One is the “Chief Engineer” (handles the instructions) and the other is the “Lead Builder” (handles the physical materials). Crucially, tell them that they must switch roles halfway through. This prevents the “bossy sibling” dynamic from taking over the entire session.
Step 3: The Mid-Point Check-In
Set a timer for 15 minutes. When it goes off, pause the project. Ask them, “How is the communication going?” and “Does the builder understand what the engineer is asking?” This is a meta-cognitive moment. You are teaching them to think about how they are working together, not just what they are building.
Step 4: The Final Review
When the project is done, don’t just praise the result. Praise the process. Say, “I noticed you two had a disagreement about the roof, but you managed to find a compromise that worked for both of you.” This reinforces the behavior you want to see repeated.
The Hidden Costs and Trade-offs
It is important to be realistic about the “hidden costs” of these kits. The most obvious is the price—some high-end STEM collaboration kits can be expensive. However, the real cost is your time. While these kits are meant to foster independent play, they often require a high level of parental involvement in the beginning. You are essentially a project manager for the first few sessions.
Another trade-off is the “mess factor.” Collaborative projects are often messy, involving glue, paint, or hundreds of small pieces. If you are a parent who values a pristine living room, these kits might cause you more stress than the sibling bickering they are meant to solve. Consider using a “project tray”—a large, shallow plastic bin—to contain the mess. This allows the project to be moved to a closet or a high shelf if it isn’t finished in one sitting.
Finally, there is the risk of the “perfectionism trap.” If the older child is a perfectionist and the younger child is still developing motor skills, the older child may become frustrated when the project doesn’t look “perfect.” You must manage these expectations early. Explain that the goal is the collaboration, not the final product. If the tower leans, it stays leaning. If the paint is lopsided, it stays lopsided. The beauty is in the teamwork, not the aesthetics.
Beyond the Box: Building Your Own Collaborative Challenges
You don’t always need to buy a pre-made kit. Many of the most effective collaborative challenges can be built with household items. This is often better because you can tailor the difficulty to your children’s specific ages and interests.
- The Blanket Fort Challenge: Give them a specific set of constraints (e.g., “The fort must have two rooms and be able to fit both of you inside”). Provide the materials—blankets, chairs, clothespins—and let them manage the structural integrity.
- The “Fix-It” Challenge: Find a broken toy or a slightly wobbly piece of furniture. Give them the tools (age-appropriate ones, like duct tape, safe-to-use screwdrivers, or zip ties) and ask them to work together to make it functional again.
- The Mural Project: Tape a large piece of butcher paper to the wall. Give them one set of markers and one theme (e.g., “The Ocean”). The constraint is that they must connect their drawings to one another. They cannot draw in separate corners of the paper.
These DIY challenges require exactly the same psychological engagement as a store-bought kit but at a fraction of the cost. The key is the constraint. Without a constraint, it’s just play. With a constraint, it’s a project that requires negotiation.

Addressing the “What Ifs” of Collaboration
What if one child refuses to participate? This is a common issue. If one child is disengaged, it is usually because they feel the task is too hard, too boring, or they feel their contribution isn’t valued. In this case, sit down and ask them what part of the project they would like to own. Maybe they don’t want to build, but they want to be the “official photographer” or the “decorator.” Giving them a sense of ownership over a specific piece of the project can bring them back into the fold.
What if the fighting becomes physical? Always maintain a zero-tolerance policy for physical violence. If the project leads to hitting, the project stops immediately. This is not a punishment for the project; it is a boundary for safety. Tell them, “We stop because we are not using our bodies kindly. We can try again when we are ready to use our words and our hands for building, not hurting.”
What if the project ends in tears anyway? That is okay. Not every session will end in a hug and a high-five. Sometimes, they will realize that they have different working styles and that they need a break from each other. That is a valuable lesson in self-awareness. Recognizing when you need to walk away from a group project is a skill that many adults still struggle with.
The Long-Term View
Using Sibling-Collaboration kits is not a magic wand. Your children will still bicker. They will still have days where they can’t stand each other. But by consistently providing opportunities for them to work toward a shared goal, you are slowly shifting the default setting of their relationship. You are moving them from a mindset of “I need to win” to “We need to solve this.”
This shift is subtle, and it takes time. You won’t see the results in a week. But over the course of months and years, you will notice that they start to default to collaboration more often. They will begin to see each other as resources rather than obstacles. And for a parent in their 30s or 40s, that peace of mind is worth more than any toy.
Final Recommendations for Parents
If you are ready to start, don’t overthink it. Start with a simple, inexpensive kit or a DIY challenge. Focus on the setup, define the roles clearly, and then step back. Let them struggle a little. Let them negotiate. And when they do finish—even if it looks a bit messy—make a point to celebrate the fact that they did it together.
The goal is not to produce perfect projects. The goal is to produce children who know how to navigate the complex social landscape of working with others. If you can help them learn that, you have done your job well.
Frequently Asked Questions
1. How do I handle a significant age gap when using these kits?
The key is to assign roles based on individual strengths rather than just age. For example, the older child can handle the complex assembly (the “Engineer”), while the younger child can handle the decoration or the sorting of pieces (the “Designer”). You can also introduce a “Consultant” role for the younger child, where they have the final say on the aesthetic choices, which makes them feel included without needing the motor skills of the older child.
2. What if my children are inherently competitive and hate working together?
Start with extremely short, low-stakes tasks. Instead of a complex project, try a 10-minute task like “We need to organize this shelf of board games together.” Use a timer. When the timer goes off, they are done. By keeping the duration short, you prevent the competitive fatigue from setting in. Gradually increase the complexity of the tasks as they get more comfortable with the idea of shared success.
3. Are there specific brands or types of kits I should look for?
Look for kits labeled as “Cooperative” or “Collaborative” rather than “STEM” or “Building.” Many STEM kits are designed for individual play. You want kits that explicitly mention “Team-Based” or “Partner” activities. Look for brands that focus on physical building, as these provide the most tangible feedback for teamwork. Avoid kits that focus on “Winning” or “Speed,” as these will only exacerbate the competitive dynamic you are trying to mitigate.
For more information on child development and the importance of cooperative play, you can visit the National Association for the Education of Young Children (NAEYC), which offers extensive resources on how play-based learning helps children build essential social-emotional skills.