Most vacuum cleaner “failures” are actually simple blockages or worn-out parts that you can fix in under 30 minutes for the price of a cup of coffee. Before you head to the store to drop hundreds on a new machine, you should know that manufacturers design vacuums with modularity in mind—meaning that with a basic screwdriver and a bit of patience, you can resolve the vast majority of suction and power issues yourself.
- Loss of suction is rarely a motor failure: 90% of the time, the culprit is a clogged airway or a dirty filter, not the internal hardware.
- The “Rule of Three”: Always check the hose, the brush roll, and the filters in that specific order before assuming an electrical fault.
- Preventative maintenance saves hours of labor: Cleaning your filters and brush rolls once a month doubles the expected lifespan of your vacuum motor.
We’ve all been there: you’re halfway through the Saturday morning chores, the kids have left a trail of cereal across the rug, and your vacuum suddenly makes that high-pitched, dying-whale sound before losing all suction. It’s frustrating, and the instinct is to blame the machine’s age. But before you start browsing for a replacement, let’s look at the hardware reality. Vacuum cleaners are essentially simple air pumps. If they aren’t moving air, it’s because something is blocking the path or a seal has failed. Understanding this mechanical flow is your first step toward mastery.
The Anatomy of Suction: Why Your Vacuum Stopped Picking Up Dirt
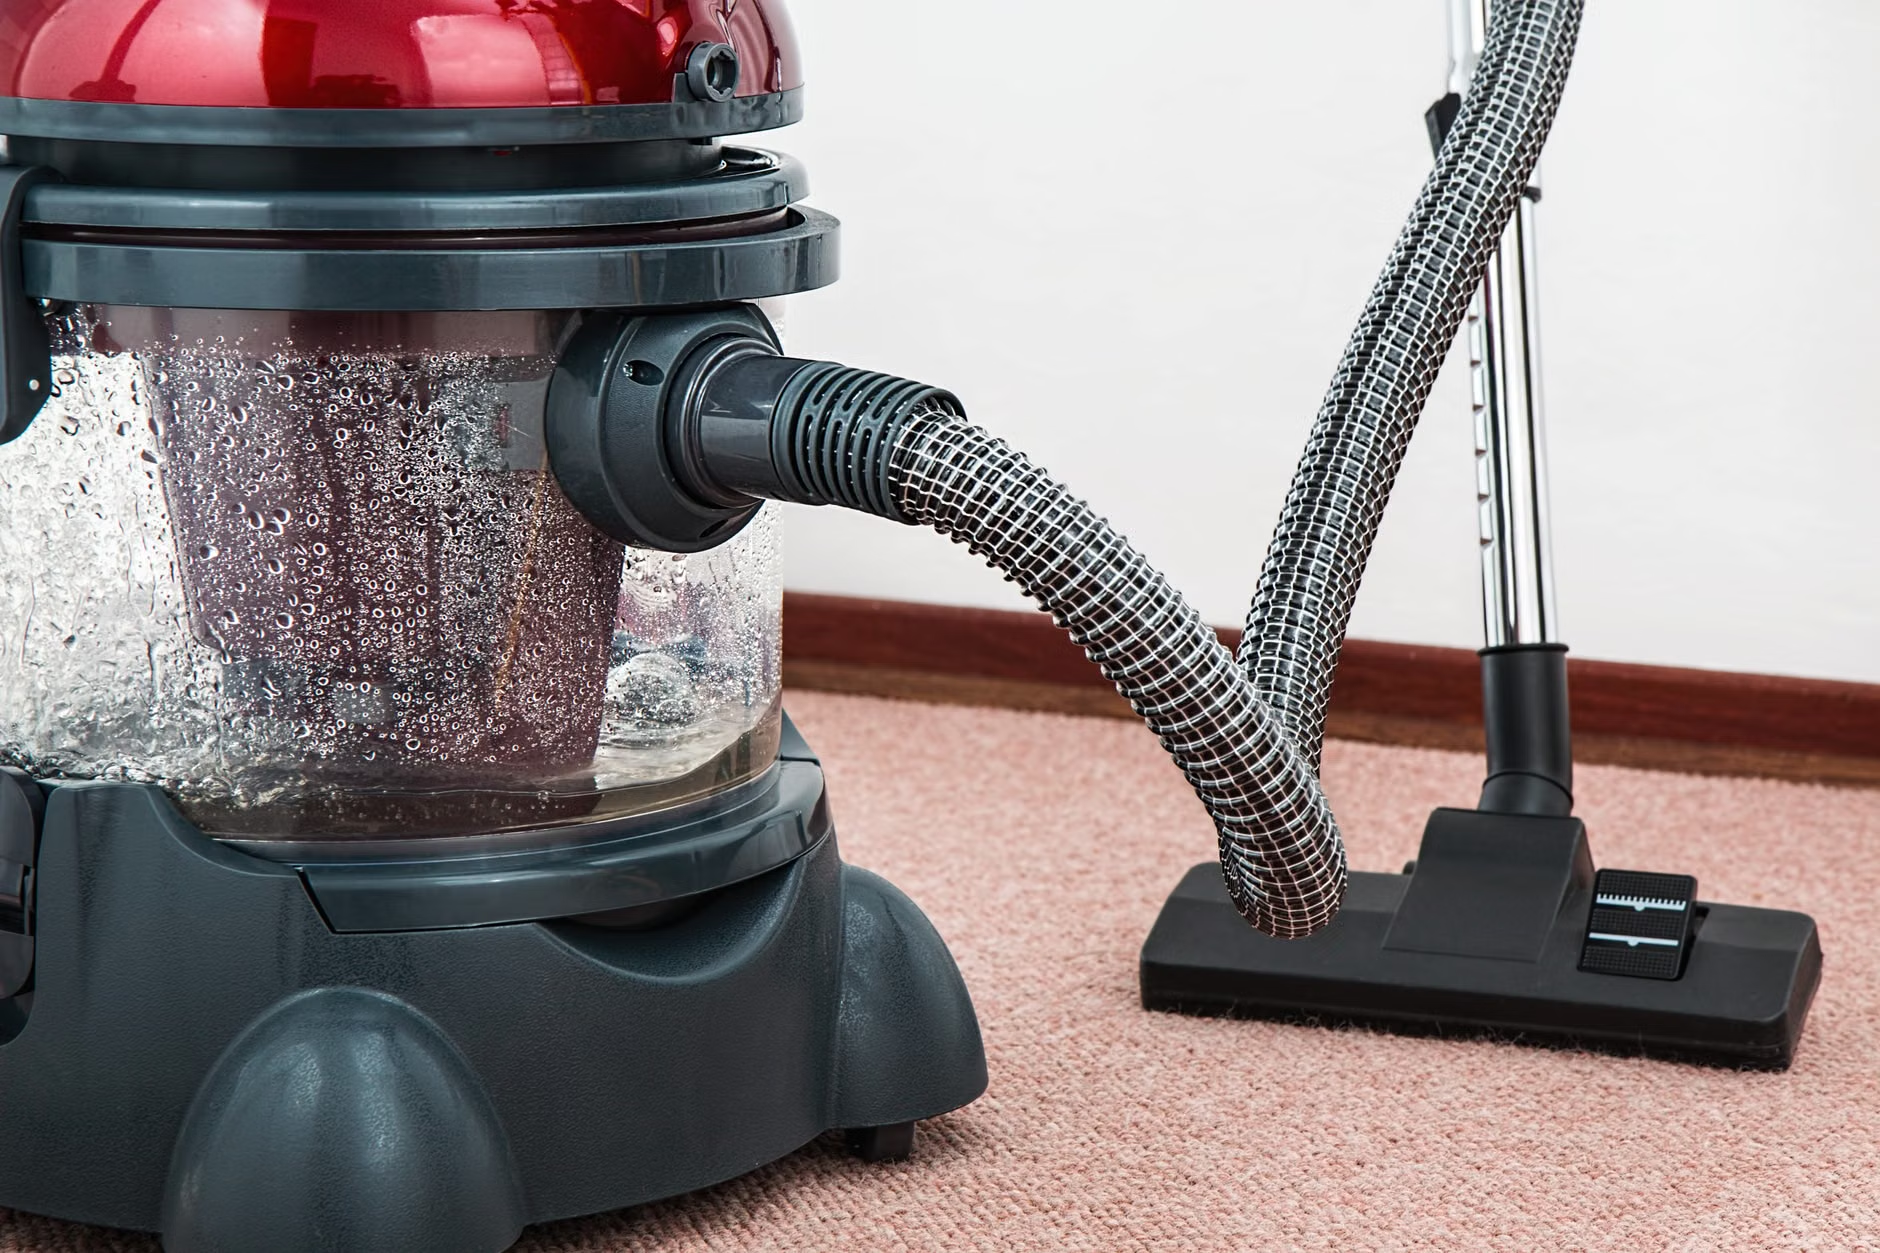
To fix a vacuum, you have to think like an engineer. A vacuum cleaner works by creating a low-pressure zone, which pulls air (and debris) into a collection bin. If the air can’t flow, the motor works harder to compensate, which eventually leads to overheating or thermal cutoff—a safety feature that shuts the machine down to prevent a fire. This is why a simple clog can feel like a total hardware failure.
The Airflow Path:
- The Intake: The nozzle or floor head where dirt enters.
- The Hose/Wand: The path from the floor to the collection bin.
- The Cyclone/Bin: Where heavy debris is separated from the air.
- The Pre-Motor Filter: A barrier that protects the motor from fine dust.
- The Motor: The pump creating the vacuum.
- The Exhaust Filter: The final stage that cleans the air before it exits the machine.
When any of these points are restricted, the motor loses efficiency. If you notice a change in the pitch of your vacuum, it is almost always a sign of a partial blockage. A high-pitched whine often indicates a blockage before the motor (the air is struggling to get through), while a deep, labored hum can indicate a blockage after the motor or a failing motor bearing.
Step-by-Step: The “Big Three” Diagnostics
Before you get into the internal electronics, you must rule out the mechanical basics. This is where most people get it wrong—they start by unscrewing the housing when they should have started by checking the floor head.
1. The Brush Roll Obstruction
If your vacuum isn’t picking up surface debris like crumbs or pet hair, the brush roll is likely stalled. Hair, carpet fibers, and stray strings love to wrap around the bristles. Over time, this creates a thick “casing” that prevents the brush from spinning. If the brush can’t spin, it can’t agitate the carpet to release the dirt.
How to fix it: Turn the vacuum off and unplug it. Flip it over. Use a pair of sturdy scissors to cut the hair along the grooves of the brush roll. Pro tip: Don’t pull the hair out; cut it first. Pulling tangled hair can damage the delicate bearings on the ends of the roller. Once the hair is cut, pull it out in segments.
2. The Hose and Wand Clog
The hose is the most common place for a “hidden” clog. A forgotten sock, a large piece of craft glitter, or a clump of damp dust can easily lodge itself in the corrugated walls of the hose. Because the hose is flexible, it’s easy to overlook a blockage that isn’t visible from the outside.
How to test it: Detach the hose from both the floor head and the main unit. Hold it up to a light source. If you can’t see daylight through the other end, there is an obstruction. Use a long, flexible object—like a broom handle or a dedicated plumbing snake—to push the debris out. Avoid using sharp metal objects that could puncture the hose wall.
3. The Filter Saturation
Modern vacuums rely heavily on HEPA and foam filters to prevent dust from entering the motor. If these filters are clogged, the machine is essentially “suffocating.” Many users don’t realize that most foam and cloth filters are washable. Check your owner’s manual—if it says “washable,” it means you should be rinsing it under cold water every few months.
Crucial Warning: Never, under any circumstances, put a wet filter back into the vacuum. It must air-dry for at least 24 to 48 hours. Putting a damp filter in will create a breeding ground for mold and, worse, will allow moisture into the motor housing, which will cause immediate electrical failure.
The Hardware Deep-Dive: When to Open the Casing
If you’ve checked the airflow path and the machine still won’t run, you are looking at an electrical or motor issue. This is where we transition from “maintenance” to “repair.”

Common Electrical Failure Points
Before you assume the motor is “dead,” check the power delivery. The most common point of failure is the power cord strain relief—the area where the cord enters the vacuum body. Constant bending and pulling can break the copper wires inside the insulation. If your vacuum intermittently cuts out when you move it, this is almost certainly the issue.
The Repair Process:
- Unplug the machine. This is non-negotiable.
- Open the base housing using a screwdriver (usually a Phillips or Torx head).
- Inspect the wire connections. Look for “burnt” plastic smells or blackened terminals.
- If you find a broken wire, you can often trim the damaged section, strip the insulation, and use a wire nut or crimp connector to reconnect it. If you aren’t comfortable with electrical work, this is the point where you take it to a repair shop.
The Thermal Cutoff Switch
Many vacuums have a “thermal cutoff” fuse. If the motor gets too hot, this fuse blows to prevent the motor from melting. If your vacuum runs for five minutes and then dies until it cools down, your thermal fuse is likely working, but the motor is overheating due to a failing bearing or a persistent, deep-seated blockage.
Replacing a thermal fuse is a low-cost repair (the part usually costs less than $10), but it requires soldering or crimping. If you replace the fuse and it blows again immediately, the motor itself is drawing too much current, and the repair is no longer cost-effective.
Maintenance Schedules: The “30-40s Parent” Survival Guide
Managing a household means you don’t have time to be a full-time appliance technician. The goal is to build a routine that prevents hardware failure before it happens. Most of these tasks should be synced with your existing chore calendar.
| Frequency | Task | Why it matters |
|---|---|---|
| Monthly | Wash filters and clear brush roll | Prevents motor overheating and loss of suction. |
| Quarterly | Check hose for tears and inspect belt | Tears in the hose cause massive suction loss; worn belts slip. |
| Annually | Deep clean the cyclone chamber | Dust buildup inside the cyclone reduces the machine’s ability to separate dirt. |
The Belt Misconception: Many people think that if the brush isn’t spinning, the motor is dead. In many upright models, the motor drives a rubber belt, which in turn spins the brush. Rubber belts stretch and degrade over time. If your vacuum is loud but the brush won’t turn, replace the belt first. It is an inexpensive, five-minute fix that is often overlooked.
When to Give Up: The Economic Threshold
There is a point where repair costs exceed the value of the vacuum. As a general rule of thumb, if the replacement parts (motor, circuit board, or specialized housing) cost more than 50% of the price of a comparable new model, it is time to recycle the unit.
However, “comparable” is the key word. Many older vacuums are built with more robust motors than modern, lightweight cordless models. If you have an older, corded machine, it is often worth repairing it even if the cost is slightly higher, as you are unlikely to find the same level of durability in a new, budget-friendly cordless unit.
Understanding Your Local E-Waste Laws
If you decide to retire your vacuum, don’t just put it in the household trash. Many countries have specific E-Waste (Electronic Waste) regulations. In the European Union, the WEEE Directive ensures that appliances are recycled properly. In the US and Canada, check your local municipal website for “small appliance recycling” days. These machines contain valuable copper, steel, and plastics that should be recovered.
Beyond the Basics: Overlooked Variables
A few final insights to keep in mind:
- Static Electricity: In very dry climates, static electricity can cause dust to “cling” to the inside of the collection bin, making it look like a clog when it isn’t. A quick wipe with a dryer sheet can neutralize the static and keep the dust moving into the bin.
- The “Pet Hair” Factor: If you have pets, your vacuum is working three times harder than the average household’s. You must double the frequency of your filter maintenance.
- The Generic Parts Trap: When buying replacement belts or filters, avoid “no-name” generic parts from massive online marketplaces. Often, these parts do not meet the exact dimensions or airflow requirements of your machine, which can lead to premature motor failure. Stick to OEM (Original Equipment Manufacturer) parts or reputable, specialized third-party suppliers.
Repairing your own appliances isn’t just about the money; it’s about reclaiming control over the items in your home. We are often conditioned to view household goods as disposable, but a vacuum is a mechanical tool, not a single-use product. By understanding how the air flows through your machine, you can diagnose problems in minutes, save your budget, and keep your home running smoothly without the stress of an emergency trip to the appliance store.
Frequently Asked Questions
Q: My vacuum smells like burning rubber. Is it dangerous?
A: This is almost always caused by a slipping or broken belt. The friction between the belt and the drive shaft causes the rubber to heat up and melt. Turn the machine off immediately, unplug it, and check the belt. If the belt is intact, check the brush roll for debris that might be preventing it from spinning freely.
Q: I’ve cleaned everything, but the vacuum still has no suction. What now?
A: Check for an air leak. Inspect the seals on the dust bin and the hose connections. If a rubber gasket has become brittle or has fallen off, the vacuum will lose pressure. You can often buy replacement seal kits online for a few dollars.
Q: Can I use a hair dryer to speed up the filter drying process?
A: It is highly discouraged. High heat can warp the plastic housing of the filter or damage the filter media itself, rendering it ineffective at catching fine dust. Always let your filters air-dry naturally in a well-ventilated area for at least 24 hours.
For further reading on specific appliance safety and maintenance, you can consult resources such as the U.S. Consumer Product Safety Commission for general home appliance guidelines or the EU Circular Economy Action Plan for information on sustainable product design and repairability.