Building your own air quality monitor is a rewarding weekend project, but if you are doing it specifically to protect your family from pollutants, you must prioritize sensor accuracy over the fun of the build. While DIY kits offer excellent educational value and customization, they often lack the laboratory-grade calibration found in premium commercial units, meaning you should treat them as “trend indicators” rather than definitive health diagnostic tools.
- Precision vs. Insight: Most affordable DIY sensors (like those using PMS5003 or SEN5x modules) are great for tracking relative changes in air quality, such as seeing spikes when you cook or vacuum, but they should not be used to make critical medical decisions for family members with respiratory issues.
- The “Hidden” Cost: While the base kit might cost $30–$60, you will likely spend more on proper housing, power supplies, and, most importantly, the time required to calibrate and integrate the data into a usable dashboard.
- Placement Matters More Than the Sensor: Even a $500 professional monitor will give you “bad” data if placed in a corner, near a vent, or directly under a ceiling fan; proper positioning is the single biggest factor in getting actionable insights.
You’ve probably noticed the sudden surge in interest regarding indoor air quality. Whether it’s wildfire smoke drifting into your neighborhood, concerns about VOCs (Volatile Organic Compounds) from new furniture, or simply wanting to know if that air purifier you bought is actually doing its job, the desire to “see” what we are breathing is hitting a fever pitch. But is a DIY sensor kit—the kind you solder together or plug into a Raspberry Pi—actually a practical solution for a busy household, or is it just another gadget destined to collect dust?
Understanding What Your DIY Sensor Actually Measures
Before you dive into the world of microcontrollers and sensor modules, you need to understand exactly what these DIY kits are capable of detecting. Most common kits, such as those built around the Plantower PMS5003 or the Sensirion SEN5x series, are laser particle counters. They shine a laser through a stream of air and use a photodetector to count how much light is scattered by particles (PM1.0, PM2.5, and PM10).
What it is: A light-scattering sensor that estimates particle concentration based on the intensity of light reflected by dust, smoke, and debris.
Why it matters: PM2.5—particles smaller than 2.5 micrometers—are the most dangerous because they are small enough to enter your bloodstream. A DIY sensor will tell you if these levels are rising, which is incredibly useful for knowing when to close the windows or turn your HVAC system to “recirculate.”
The Reality Check: These sensors are not gas chromatographs. They cannot easily differentiate between a “safe” dust particle and a “dangerous” chemical vapor. If you are looking to detect radon, carbon monoxide, or specific chemical off-gassing from a new carpet, a basic PM2.5 DIY kit will not help you. You would need specialized electrochemical sensors for those, which are significantly more expensive and require complex maintenance.
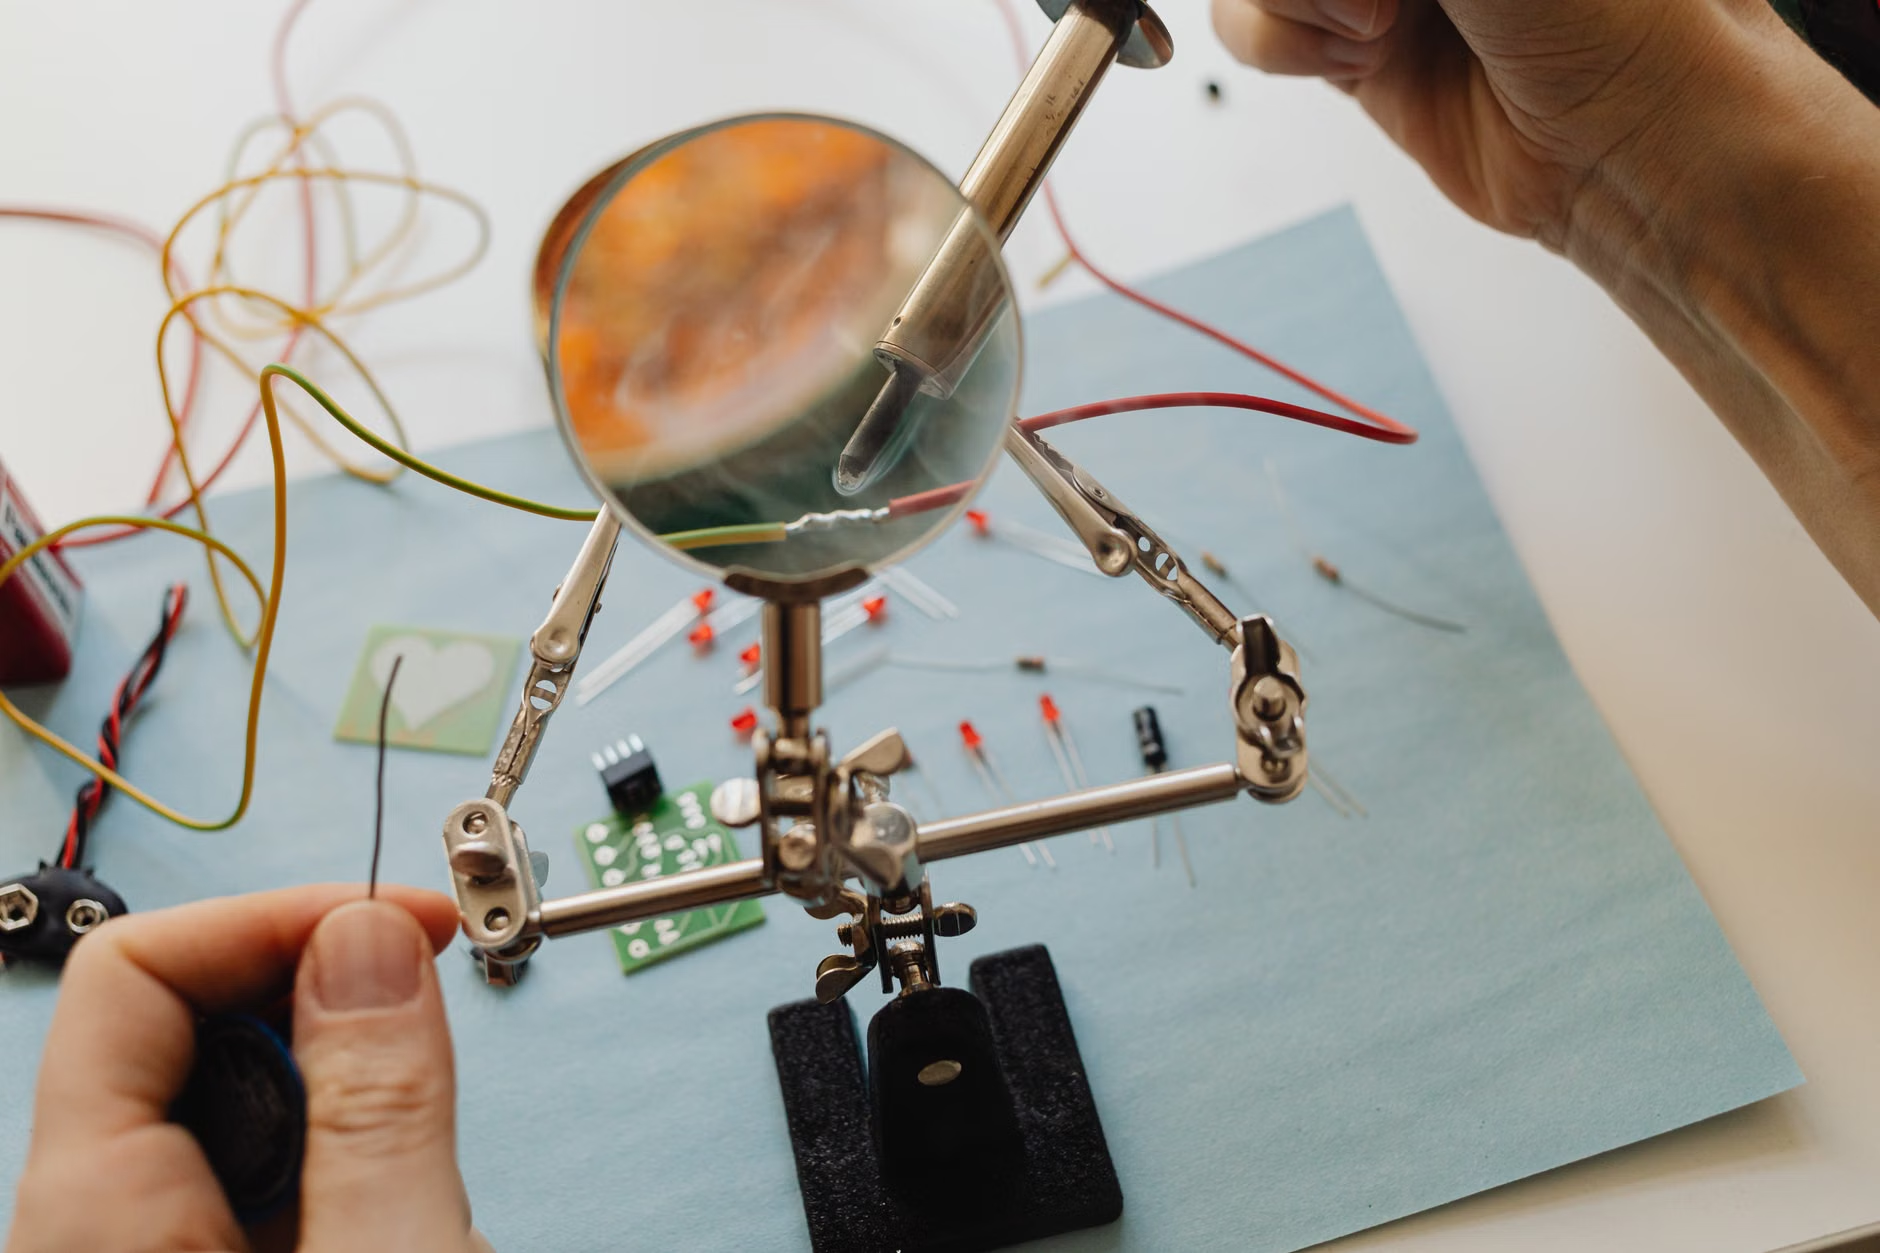
The Practical Trade-off: Convenience vs. Customization
When you compare a DIY kit to a finished product like an AirVisual or an IKEA VINDSTYRKA, the differences aren’t just about the price tag. It comes down to what you value more: your time or your control over the data.
Comparing the Approaches
| Feature | Commercial Unit | DIY Kit |
|---|---|---|
| Setup Time | 5–10 minutes | 2–10 hours |
| Data Access | Proprietary App | Open (MQTT, Home Assistant) |
| Calibration | Factory Calibrated | Requires Manual Verification |
| Total Cost | $100 – $300 | $40 – $120 |
If you are a parent who just wants to know if the nursery is safe, a commercial unit is almost always the better choice. It works out of the box, it’s aesthetically pleasing, and it has a support team you can contact if it breaks. However, if you are a “smart home” enthusiast who wants to integrate air quality data into your home automation—for example, automatically turning on the ERV (Energy Recovery Ventilator) when PM2.5 levels exceed 15 µg/m³—then the DIY route is the only way to achieve that level of granular control.
Common Pitfalls in DIY Sensor Deployment
The most common mistake beginners make is assuming the sensor output is “the absolute truth.” Even high-end sensors drift over time. Dust accumulates on the lens, the fan wears out, and environmental humidity can cause “ghost” readings where the sensor thinks water droplets are actually smoke particles.
Step-by-Step for Success:
- The “Co-location” Test: If you have a friend with a calibrated professional monitor, place your DIY sensor right next to it for 24 hours. Compare the trend lines. If your sensor consistently reads 20% higher, you can create a simple offset in your code (e.g., Reading = SensorValue * 0.8) to bring it closer to reality.
- Avoid the “Hot Spot” Error: Never place your sensor near a window, a direct vent, or a source of heat (like a lamp or a computer power supply). The heat creates convection currents that can skew the particle count, and a window will give you outdoor readings rather than indoor air quality.
- Periodic Cleaning: Most DIY sensors use a small fan to pull air through the chamber. Every six months, use a can of compressed air to gently blow out the sensor module. Dust build-up is the #1 cause of sensor failure.
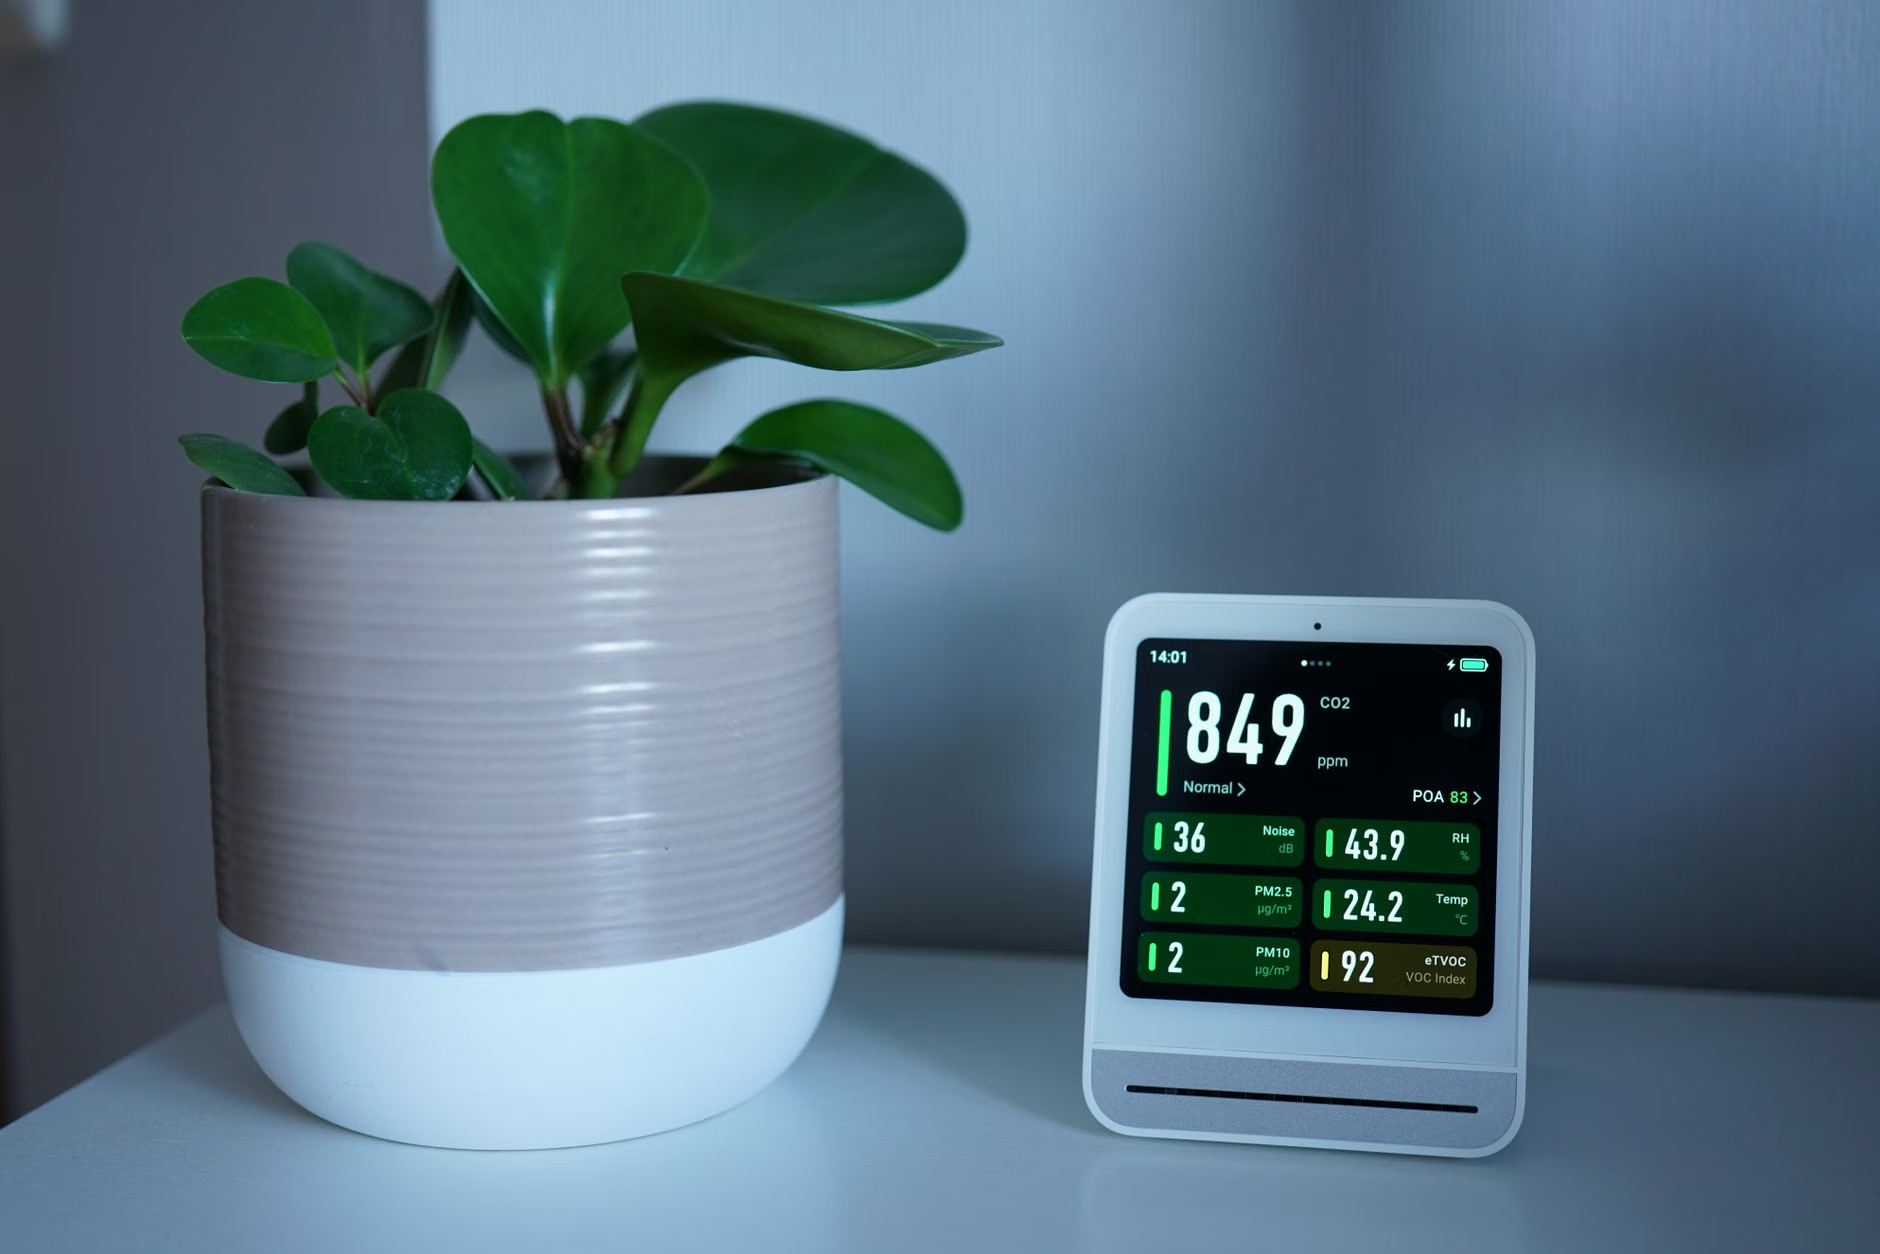
Integrating Data Into Your Family Life
Having a number on a screen is only useful if it leads to an action. In my experience, the “data fatigue” is real. If you just have a chart that shows a wiggly line, you’ll look at it for three days and then ignore it. To make this project truly “SoCooly,” you need to bridge the gap between data and action.
Actionable Scenarios:
- The “Cooking Alert”: If you are using Home Assistant or a similar platform, set up a notification that triggers when PM2.5 levels in the kitchen spike above 50 µg/m³. This is a gentle reminder to turn the range hood to high or open a window, rather than waiting until the entire house smells like burnt toast.
- The “Sleep Hygiene” Check: Place a sensor in the bedroom. If you notice levels rising throughout the night, it might indicate that your home is too “tight” (lacking ventilation) or that you need to run your air purifier on a higher setting before you go to bed.
- The Educational Moment: For parents with school-aged children, these kits are fantastic for science projects. Watching the graph spike when a candle is lit or when a vacuum cleaner is turned on helps children understand the concept of “invisible” pollution in a way that is tangible and immediate.

The Hidden Costs of DIY
When you see a “$30 air quality sensor kit” on a website, remember that is rarely the total investment. To make it a reliable part of your home, you will need to consider the following:
- Power Stability: Cheap USB wall adapters can introduce electrical noise, which can interfere with the sensor’s sensitive electronics. Use a high-quality, stable 5V power supply.
- Enclosure Design: A sensor sitting naked on a desk is a recipe for disaster. If you don’t have a 3D printer to make a proper housing, you’ll have to get creative with perforated project boxes. The housing must allow for adequate airflow while shielding the sensor from direct light.
- Data Storage: Where will the data go? If you want to see trends over a month, you need a database (like InfluxDB). Running a server or a Raspberry Pi 24/7 adds a very small, but non-zero, amount to your monthly electricity bill.
Why You Should (or Shouldn’t) Build One
If you are the type of person who enjoys the “tinkering” process, this is a top-tier project. It’s affordable, it teaches you about electronics, and it provides a real-world benefit to your home environment. However, if your goal is purely to monitor your child’s health and you have zero interest in troubleshooting code or hardware, please do yourself a favor and buy a reputable consumer device.
Recommendation: If you are a beginner, start with an ESP32-based development board and a PMS5003 sensor. There are thousands of open-source guides available for this specific combination. If you find the process frustrating, you can always pivot to a plug-and-play monitor later, and you’ll have gained the knowledge to understand what that monitor is actually doing behind the scenes.
Remember, air quality is a journey, not a destination. Whether you build your own or buy one off the shelf, the best sensor is the one that you actually use to make informed decisions about your home’s ventilation and cleanliness. Start small, verify your data, and keep your family breathing easy.
Frequently Asked Questions
Q: Can I use these sensors to detect mold in my house?
A: No. These sensors detect particulate matter (dust, smoke, pollen). They cannot detect mold spores or determine if a musty smell is actually dangerous mold. If you suspect mold, you need a professional air quality test that uses an impaction sampler to culture the air and identify specific fungal species.
Q: Are DIY sensors accurate enough to compare with local government air quality stations?
A: Generally, no. Government stations use “BAM” (Beta Attenuation Monitors) or “TEOM” (Tapered Element Oscillating Microbalance) technology, which are expensive, heavy, and extremely precise. Your DIY sensor will give you a “neighborhood-level” estimate, which is usually enough for personal decisions, but it will not match the official regulatory data point for point.
Q: How often should I replace the sensor module?
A: Most laser sensors have a “mean time between failures” (MTBF) of about 8,000 to 10,000 hours of operation. If you run your sensor 24/7, you should expect to replace the module roughly every 12 to 18 months to ensure the laser diode hasn’t dimmed and the fan remains operational.
For further reading on air quality standards and how to interpret data, refer to the US EPA Air Sensor Toolbox or the World Health Organization’s guidelines on air quality. Always prioritize official health guidance when making decisions regarding your family’s respiratory well-being.