You don’t need to buy a brand-new toaster or blender just because it stopped working; in over 80% of cases, the issue is a simple mechanical failure or a clogged sensor that you can fix in under an hour with basic tools.
- The “Unplug and Reset” Rule: Most modern digital appliances have a built-in “safety trip.” Before opening anything, perform a hard reset by leaving the unit unplugged for at least 30 minutes to drain the capacitors.
- Mechanical vs. Electronic: If the device has physical buttons, it’s usually a mechanical switch failure. If it has a digital touch screen, it’s often a board-level issue—only attempt repairs on the former if you are a beginner.
- The Right Tool for the Job: Invest in a precision screwdriver set that includes Torx bits; manufacturers often use proprietary screws specifically to prevent DIY repairs.
We have all been there: it’s 7:00 AM, the kids are demanding breakfast, and the toaster decides it’s officially retired. The instinct is to hop onto Amazon, look at the “Best Sellers” list, and drop fifty dollars on a replacement. But here is the reality: that “broken” toaster is likely just suffering from a build-up of crumbs interfering with the heating element’s sensors, or a thermal fuse that tripped to prevent a fire.
When you are balancing school runs, work deadlines, and the general chaos of life in your 30s and 40s, the time spent researching a new purchase often outweighs the time it takes to fix the old one. However, repairing your own hardware isn’t just about saving money; it’s about avoiding the “planned obsolescence” trap where manufacturers design products to be replaced rather than serviced.
Understanding Your Kitchen Hardware: The Hierarchy of Failure
Before you even pick up a screwdriver, you need to understand what you are looking at. Not all kitchen appliances are created equal. We can categorize them into three tiers of repairability. Understanding where your device sits will save you hours of frustration.
| Category | Examples | Repair Difficulty | Common Fixes |
|---|---|---|---|
| Tier 1: Mechanical | Toasters, Blenders, Hand Mixers | Low | Cleaning, switch replacement, belt tightening |
| Tier 2: Semi-Digital | Coffee Makers, Microwaves, Kettles | Medium | Thermal fuses, descaling, sensor cleaning |
| Tier 3: Complex Digital | Air Fryers, Espresso Machines, Smart Ovens | High | Board replacement, firmware issues (rarely DIY) |
Tier 1 appliances are your best friends. They are usually built with basic electrical circuits. A blender, for instance, is essentially a motor, a switch, and a blade. If it isn’t spinning, it’s usually a stripped gear or a burnt-out motor fuse. These parts are cheap, often costing less than $10, and are widely available from third-party suppliers.
Tier 3 items, however, are a different story. If your smart air fryer stops responding to touch commands, you are likely looking at a logic board failure. Unless you have experience with soldering micro-components, these are often better left to professional repair shops or considered for replacement if the unit is out of warranty.
The Essential Toolkit for the Kitchen Handyperson
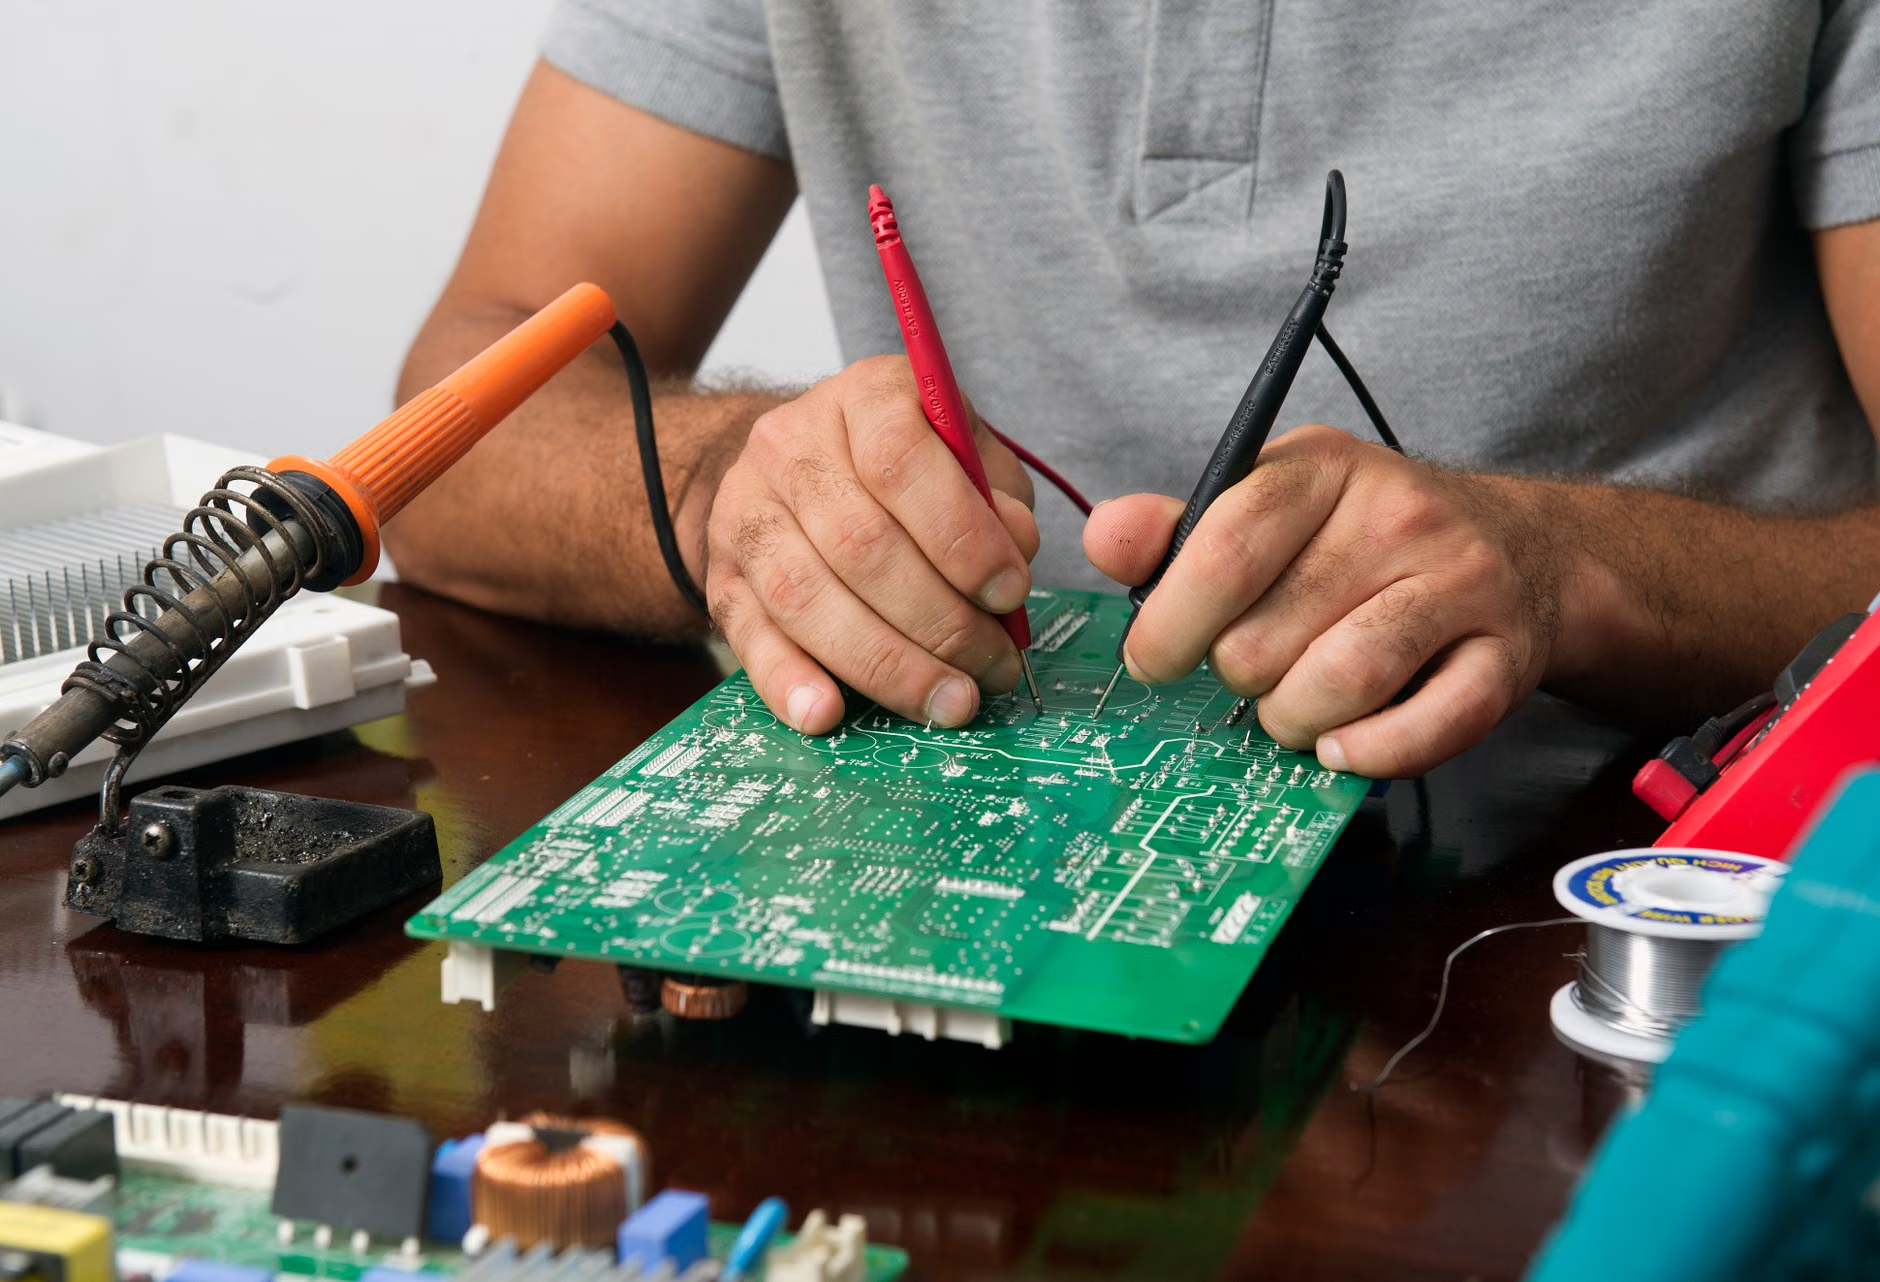
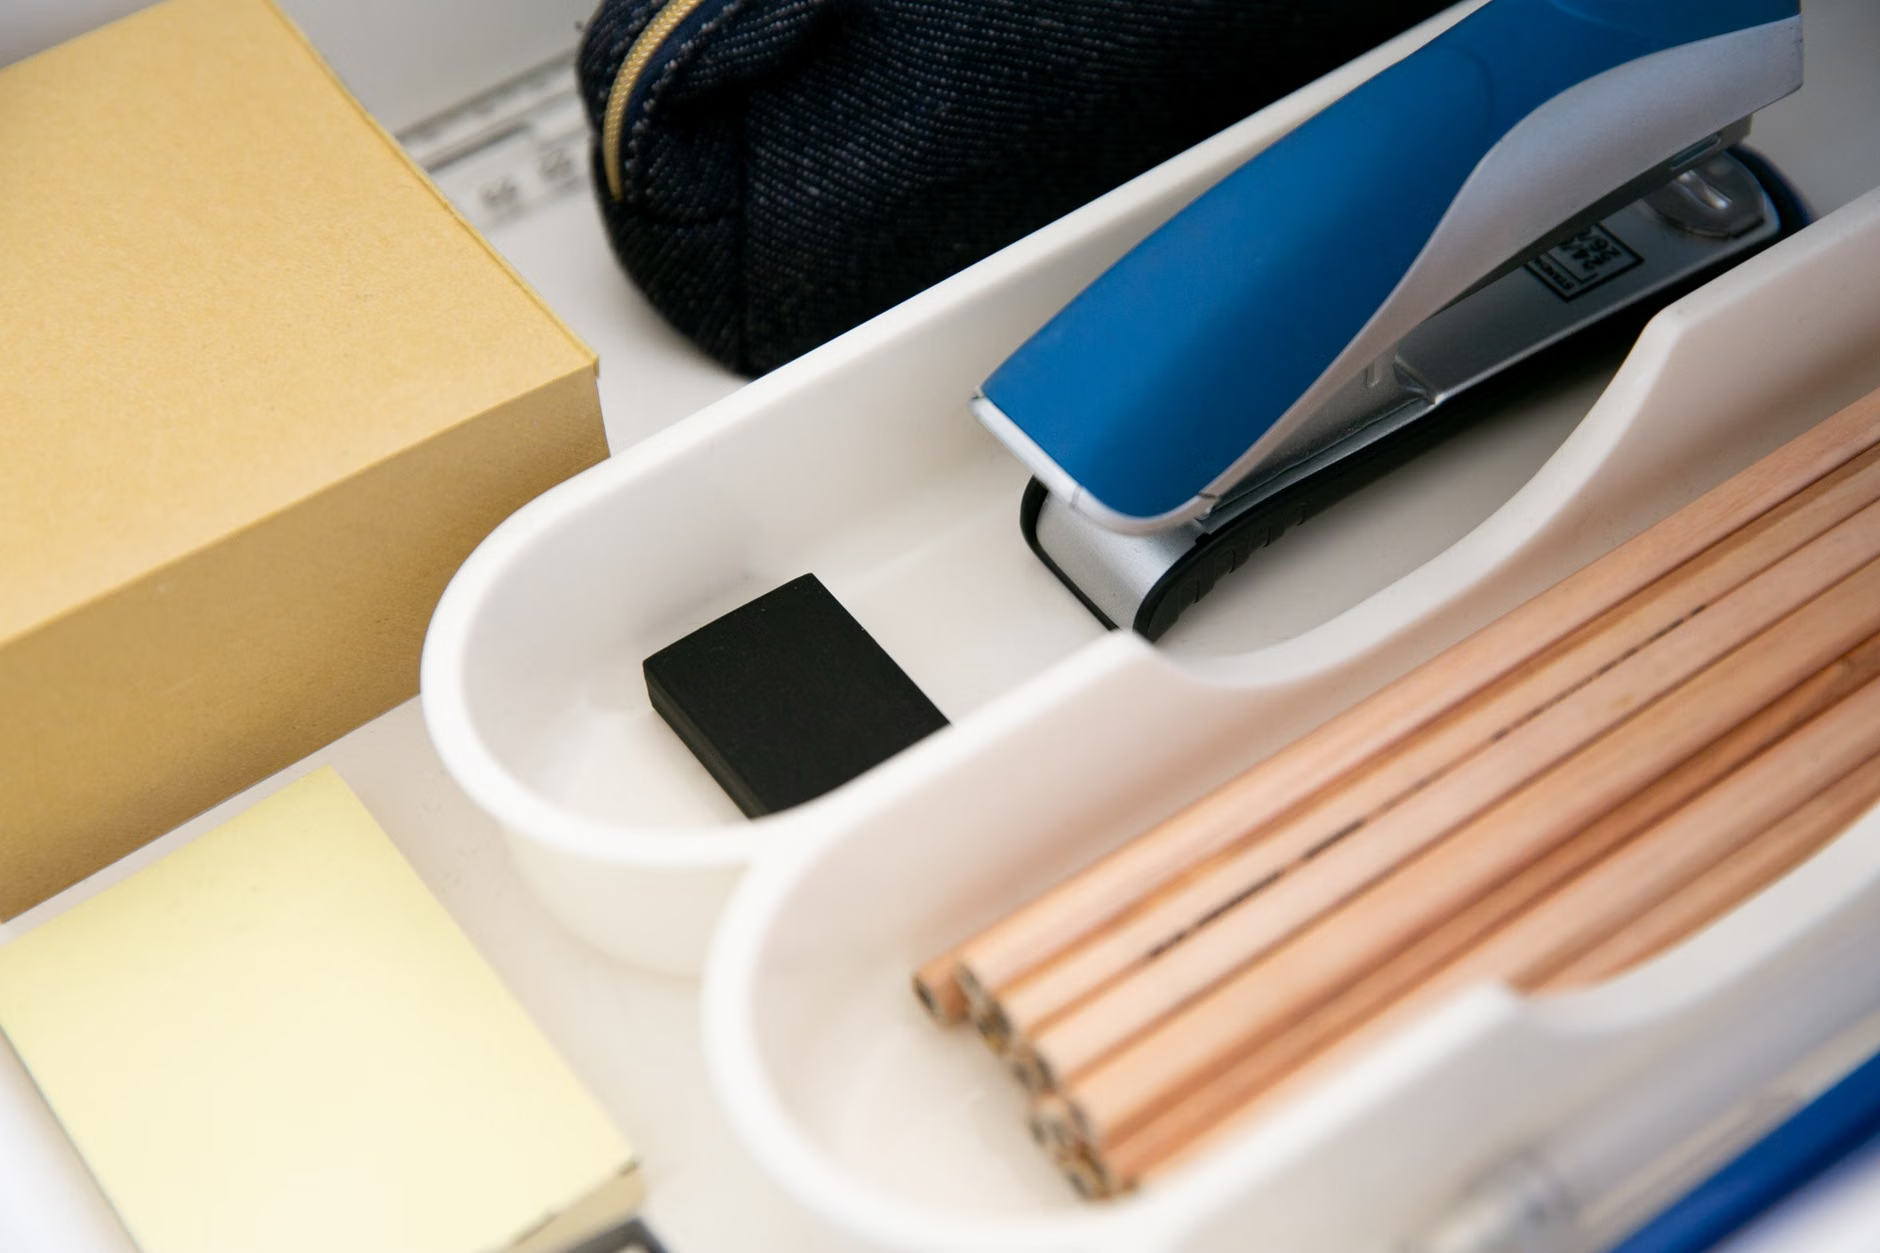
You don’t need a full garage workshop to handle kitchen repairs. In fact, most professional repair technicians carry the same basic kit. If you want to be ready when a device acts up, ensure you have these items in a dedicated “kitchen repair” drawer:
- Precision Screwdriver Set: Ensure it includes Phillips, Flathead, and especially Torx (star-shaped) bits. Many modern appliances use Torx screws to discourage tampering.
- Multimeter: This is your most valuable diagnostic tool. It allows you to test if electricity is actually flowing through a switch or a cord.
- Needle-nose Pliers: Essential for reaching into tight spaces to pull out a stuck crumb or reconnect a loose wire.
- Contact Cleaner Spray: A non-conductive spray that clears gunk out of buttons and switches without damaging electrical components.
- Flashlight: You would be surprised how many “broken” appliances just have a hidden screw or a displaced spring that you can’t see without proper lighting.
A common mistake is trying to use a standard household drill or a kitchen knife to open a device. Kitchen appliances are often built with delicate plastic clips. Using the wrong tool will snap these clips, ensuring the device never closes properly again. Always look for a seam in the casing and use a plastic pry tool (or a sturdy guitar pick) to gently pop the housing open.
Troubleshooting: The “Step-by-Step” Logic
When an appliance fails, don’t jump to the most complex explanation. Follow the “Occam’s Razor” of home repair: the simplest explanation is usually the correct one. Follow this sequence before assuming the worst:
Step 1: The Power Delivery Check
Is the outlet actually working? Plug a lamp into the same outlet to confirm it isn’t a tripped GFCI (Ground Fault Circuit Interrupter) breaker. If the outlet works, check the plug of the appliance. Look for black marks or a burnt smell on the cord. If the cord is damaged, stop immediately—do not attempt to patch a damaged power cord with electrical tape. This is a fire hazard. Replace the entire cord assembly.
Step 2: The Safety Cut-off
Many modern appliances have thermal fuses. If the device overheated once, the fuse “blew” to protect the house. This is a one-time use component. If you have a multimeter, set it to “Continuity” mode (the setting that beeps when two probes touch). Touch the probes to the two ends of the fuse. If it doesn’t beep, the fuse is dead. These are universal parts and usually cost less than $5.
Step 3: The Mechanical Obstruction
If your blender or food processor makes a humming noise but won’t spin, the motor is likely fine, but the blades are jammed. Unplug the unit and try to rotate the blades by hand (carefully!). If they are stuck, you need to disassemble the base and clean the gear housing. Often, a bit of dried food or a worn-out rubber gasket is the culprit.
When to Call a Professional (And When to Give Up)
There is a fine line between “thrifty repair” and “dangerous DIY.” As a parent, you have to prioritize safety above all else. Never attempt to repair an appliance if you are unsure about the electrical path.
The “No-Go” Zones:
- Microwaves: These contain high-voltage capacitors that can hold a lethal charge even when the unit is unplugged for days. Unless you are trained in microwave repair, do not open the casing.
- Sealed Heating Elements: If the heating element itself is cracked or showing exposed wire, it’s time to recycle the unit. Attempting to repair a heating element can lead to short circuits or worse.
- Water-Damaged Electronics: If water has leaked into the internal control board (the “brain” of the machine), corrosion happens almost instantly. While you can sometimes clean it with high-grade isopropyl alcohol, the reliability is never the same.
If you find yourself spending more than 50% of the cost of a new item on parts, or if you have spent more than three hours and haven’t identified the problem, it is time to move on. There is no shame in acknowledging that an appliance has reached the end of its life cycle.
The Hidden Costs of “Cheap” Replacements
When you choose to replace rather than repair, you are often buying into a cycle of lower-quality materials. Many entry-level kitchen appliances today use plastic gears where they used to use metal. This is a deliberate design choice to reduce costs, but it also reduces the lifespan of the machine.
By learning to repair your existing, likely higher-quality older appliance, you are extending the life of better-made components. If you have a coffee maker from ten years ago, it likely has a more robust heating element than a $30 model you would buy today. Repairing that old unit is almost always a better financial and environmental decision.
Furthermore, consider the “hidden cost” of shipping and disposal. When you order a new appliance, you are paying for the transport, the packaging, and the eventual disposal of the old unit. Repairing a part costs significantly less in carbon footprint and waste than replacing the entire chassis.
Sustainability and Maintenance: Preventing Future Failures
The best repair is the one you never have to perform. Most kitchen appliance failures are caused by three things: moisture, heat build-up, and residue. Here is how you can prevent the most common “hardware” issues:
- The Descaling Routine: If you live in an area with “hard water,” mineral deposits are the enemy of any appliance that heats water. Use a vinegar-and-water solution to descale your coffee maker and kettle every three months. This prevents sensors from misreading temperatures and causing the unit to shut off prematurely.
- Airflow Clearance: Appliances like air fryers and small ovens need space to breathe. If you keep them pushed against a wall, the heat builds up internally, which prematurely wears out the control board and the thermal fuse. Keep a minimum of 4 inches of clearance on all sides.
- Deep Cleaning the Gaskets: Food particles in the seals of blenders and food processors create friction. When the motor works harder to overcome that friction, it generates excess heat. Regularly remove and wash the rubber gaskets in your food processing equipment.
Make these tasks part of your seasonal home maintenance list. Just as you change your HVAC filters or clean your gutters, spend one Saturday morning deep-cleaning your kitchen appliances. It’s a small investment of time that can add years to the life of your gear.
Advanced Troubleshooting: The Logic Board Dilemma
If you are feeling adventurous and want to tackle a “Tier 3” issue, you need to understand how to read a circuit board. When you open an appliance and see a green or brown board with various components, look for “visual cues” of failure. A blown capacitor will often look “bulged” or have a brown crust on top. A burnt resistor will look charred.
If you see these signs, you can often find the exact replacement board online. Websites like eBay or specialized appliance parts retailers often sell “refurbished” or “pulled” boards from units that had other issues. This is a great way to save a high-end machine that would otherwise be headed for the landfill.
However, be warned: replacing a board is “plug-and-play” only if you take photos before you unplug anything. Always take a high-resolution photo of the wiring configuration before you touch a single wire. It is incredibly easy to forget which connector goes to which pin, and a miswired board can cause a short circuit that ruins the new part immediately.
The Reality of Spare Parts Availability
One of the biggest hurdles in modern repair is the lack of official spare parts. Manufacturers often discontinue parts for models that are only 3-5 years old. This is where community forums become your best resource. Sites like iFixit or specialized subreddits for appliance repair are goldmines for finding people who have had the exact same issue.
Before you commit to a repair, check if you can actually buy the part. Search for the model number + “spare parts” on a search engine. If the part you need is nowhere to be found, don’t waste time trying to “hack” a different part to fit. It rarely works and often leads to an unsafe device.
Remember that for many appliances, “universal” parts exist. A generic 15-amp thermal fuse is the same regardless of whether it’s in a toaster or a space heater. You don’t need the “brand name” version of a fuse or a simple switch. You just need the correct electrical specifications (volts and amps). This is why a multimeter is so important—it lets you verify the specs of the failed part so you can source a generic replacement.
Developing the “Repair Mindset”
Repairing your own hardware is a skill, and like any skill, you will get better with practice. Start with the smallest, least-important items. If you have an old handheld milk frother that stopped working, take it apart. You have nothing to lose, and you will learn how the motor, battery, and switch interact. Once you understand the basics, the leap to fixing a more complex appliance feels much smaller.
Encourage your family to see the process. If you have kids, let them watch (from a safe distance). It teaches them that objects are not disposable and that they have the power to fix things. It’s a small lesson in sustainability, but it’s one that will stick with them as they grow up in a world that often prioritizes convenience over longevity.
Finally, be patient with yourself. You will fail sometimes. You might strip a screw or break a plastic clip. Don’t let that discourage you. Every failed repair is a lesson in how not to do it next time. The goal isn’t to be a professional engineer; the goal is to be a more capable, resourceful homeowner who doesn’t panic when the blender stops blending.
If you find that an appliance is truly beyond saving, don’t just throw it in the trash. Look for local e-waste recycling centers. Many of these facilities will strip the copper, steel, and aluminum from the device, ensuring that at least the raw materials are put back into the supply chain rather than sitting in a landfill.
Frequently Asked Questions
Q: Is it really safe for me to repair an appliance if I’m not an electrician?
A: Yes, provided you follow the golden rule: Always unplug the device before opening the casing. Most kitchen appliances operate on low-voltage DC current once the power reaches the internal components, but the high-voltage AC current at the plug is the danger zone. As long as the device is physically disconnected from the wall, the risk of shock is minimal for basic mechanical repairs.
Q: Where do I find the model number for my appliance?
A: The model number is almost always printed on a small silver or white sticker on the bottom or the back of the appliance. If the sticker has worn off, look for an engraving in the plastic housing. You will need this number to find accurate parts diagrams or service manuals online.
Q: What should I do if I can’t find a service manual for my specific model?
A: Most consumer appliances do not have public “service manuals” like cars do. Instead, look for “exploded view” diagrams, which are often available on major appliance parts retailer websites. These diagrams show you exactly how the device is assembled and the part numbers for every component inside, which is often more helpful than a technical manual.
The next time an appliance fails, take a breath. Don’t rush to the checkout page. Open the case, look at the connections, and see if the problem is something you can solve. You’ll be surprised at how often you can save the day—and your budget—with just a little bit of curiosity and the right screwdriver.
For more information on appliance safety and repair standards, you can visit the U.S. Consumer Product Safety Commission (CPSC) Safety Education page for general guidelines on handling household electronics safely.