Most kitchen appliance failures are not catastrophic hardware deaths; they are simple mechanical or electrical hiccups caused by debris, loose connections, or minor component fatigue that you can fix in under an hour.
Key Takeaways
- The 80% Rule: Approximately 80% of appliance “breakdowns” are resolved by cleaning sensors, clearing vents, or resetting thermal fuses, rather than replacing parts.
- Safety First: Always disconnect the power source entirely before opening any casing; capacitors can hold a lethal charge even when unplugged.
- Document Everything: Take photos of every screw and wire connection position before disassembly to ensure a successful reassembly process.
We have all been there: it is 7:00 AM, the kids are demanding toast, and the toaster—which worked perfectly yesterday—is suddenly as dead as a stone. The immediate instinct is to check the price of a new one on your phone while standing in your pajamas. But before you add another piece of plastic to a landfill, consider that modern kitchen tech is often modular. If you have the right screwdriver and a bit of patience, you can usually bring these machines back to life for the cost of a few dollars in parts or, more often, zero dollars in labor.
Why Your Kitchen Tech Keeps “Breaking” (And Why It’s Usually Not the Motor)
When an appliance stops working, we tend to blame the most expensive component: the motor, the heating element, or the motherboard. In reality, modern appliances are designed with safety features that act like circuit breakers. If a sensor gets blocked by grease or a vent gets clogged with dust, the appliance will intentionally shut down to prevent a fire. This isn’t a failure; it’s a feature.
For parents in their 30s and 40s, time is the scarcest commodity. You don’t have an afternoon to spend researching electrical engineering. However, you do have the ability to perform “triage.” Triage is the practice of identifying the most common, non-invasive failure points before deciding that an appliance is “broken.”
The Thermal Fuse: The Unsung Hero of Appliance Safety
If your oven, coffee maker, or air fryer suddenly refuses to turn on, the culprit is almost always the thermal fuse. This is a small, inexpensive safety device that melts if the appliance gets too hot. Once it melts, it breaks the circuit permanently. It is a one-time-use component. Replacing a thermal fuse costs about $5 to $10, whereas replacing the entire appliance costs $100 to $500. The challenge is usually just finding where it is hidden inside the casing.
Building Your “Kitchen Triage” Toolkit
You do not need a professional workshop to handle 90% of home appliance repairs. Most manufacturers use standard fasteners, though they occasionally use “security” screws to discourage DIY repairs. A well-stocked drawer of basic tools will serve you for years.
| Tool | Primary Purpose | Why You Need It |
|---|---|---|
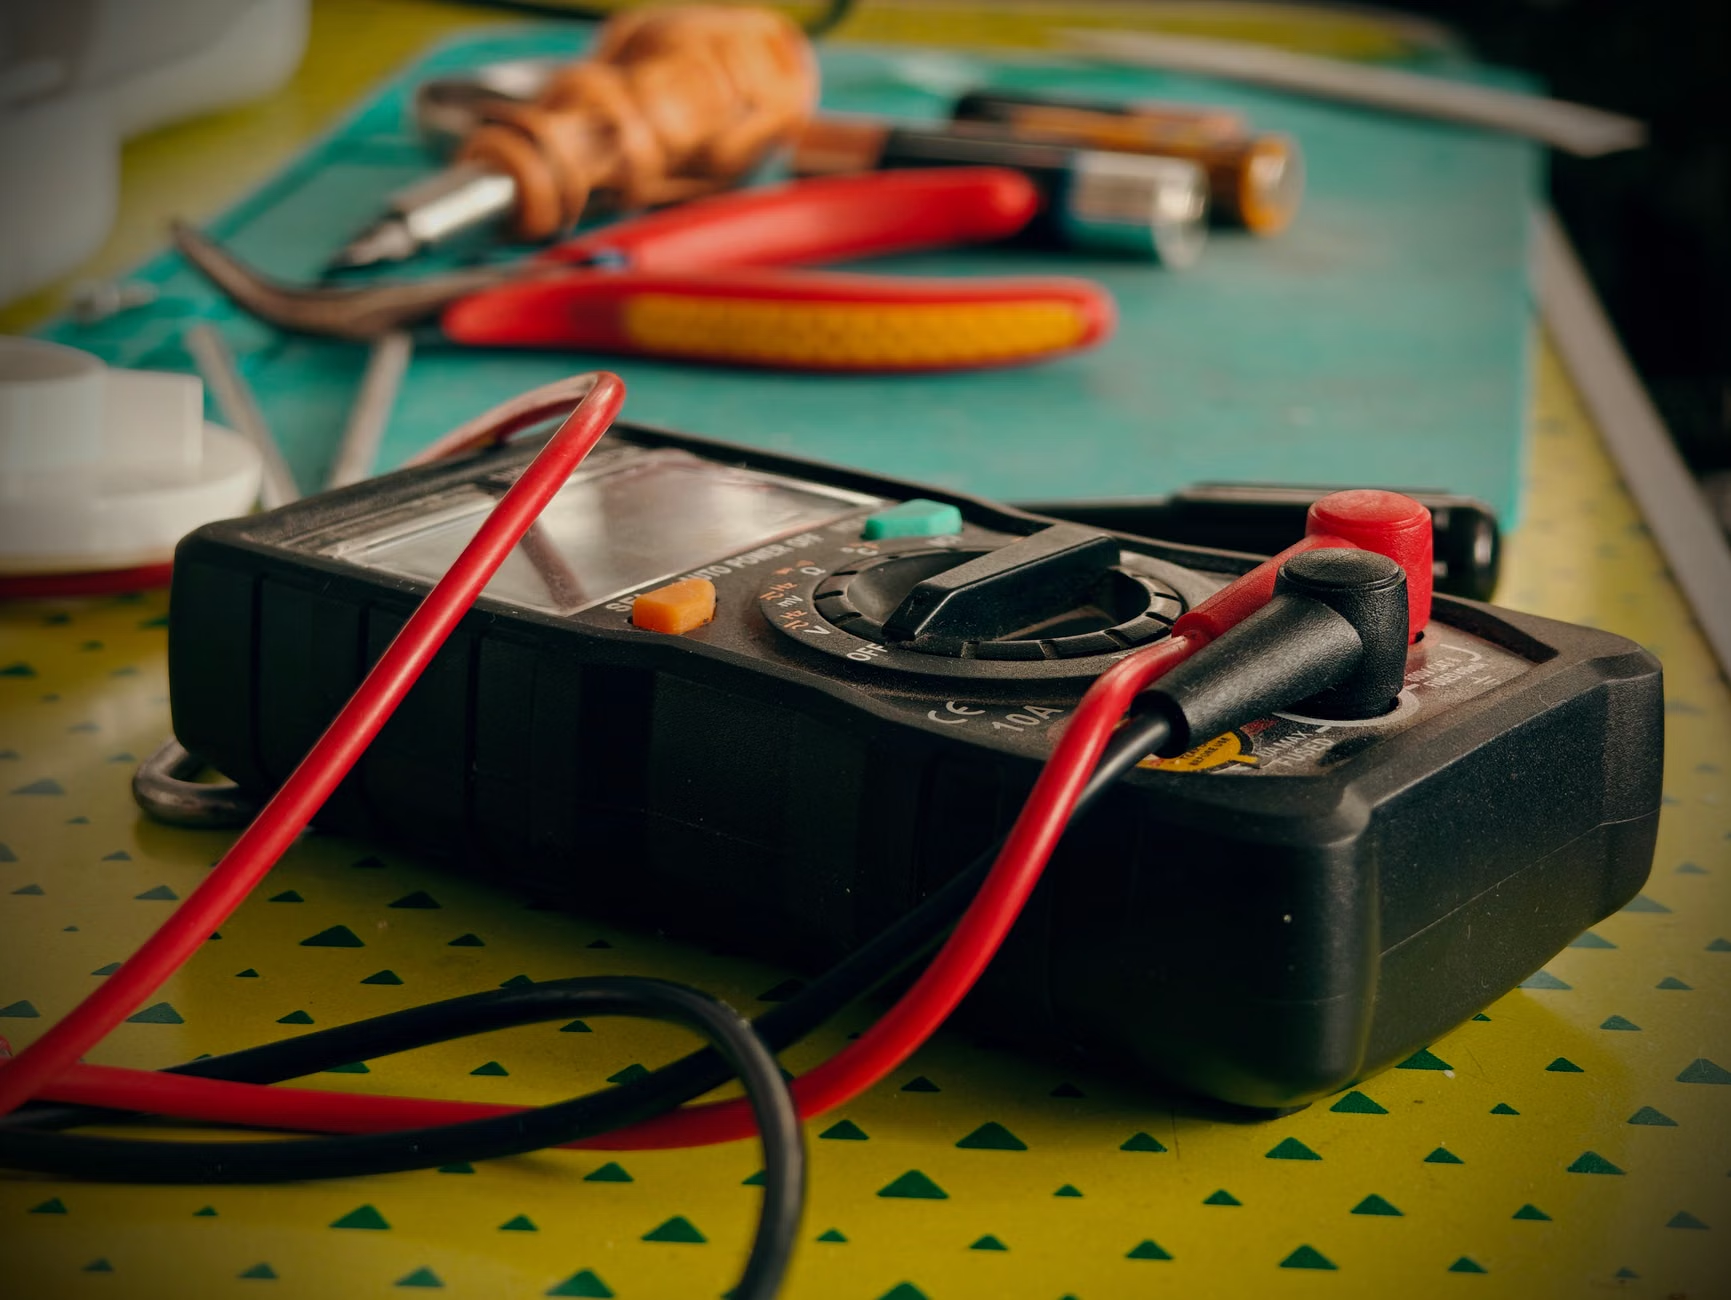
| Multimeter | Electrical Continuity | Verifies if a switch or fuse is actually broken or just loose. |
| Precision Screwdriver Set | Accessing Internals | Necessary for small, recessed screws common in kitchen gadgets. |
| Plastic Prying Tools | Opening Casings | Prevents scratching or cracking plastic clips that hold housings together. |
| Needle-Nose Pliers | Wire Management | Useful for reconnecting spade connectors inside tight spaces. |
When choosing a multimeter, you don’t need a $200 professional-grade device. A simple digital multimeter from a hardware store will suffice. The most important setting you will use is “Continuity” (often represented by a sound-wave symbol). If your multimeter beeps when you touch the two probes together, it means there is a complete path for electricity. If it doesn’t beep when testing a fuse, the fuse is blown and needs replacement.
The Step-by-Step Anatomy of a Repair
Before you start, create a workspace. If you are working on a kitchen counter, lay down a towel. This prevents small screws from rolling off the counter and into the abyss of your kitchen floor. Never rush this. If you are stressed or dealing with a crying toddler, walk away. Electrical repair requires focus to avoid injury and to keep track of where components belong.
Step 1: The External Audit
Check the power cord for fraying. Check the plug for burnt pins. Is the outlet itself working? Plug a lamp into that same outlet to rule out a tripped GFCI breaker. It sounds obvious, but you would be surprised how often a perfectly functional air fryer is blamed for a tripped kitchen outlet.
Step 2: The “Deep” Clean
Many appliances, especially air fryers and blenders, have airflow sensors. If the intake vents are clogged with grease and dust, the unit will overheat and trigger a safety shutdown. Use a can of compressed air or a soft brush to clear all vents. Wipe down any visible optical sensors with a dry, microfiber cloth. Sometimes, that is all it takes.
Step 3: Accessing the Internals
Look for screws on the bottom or under the rubber feet of the device. Manufacturers often hide screws under adhesive rubber pads. Use a flat-head screwdriver or a thin knife to gently peel these back. Keep them organized on a piece of tape in the order you removed them.
Once the casing is open, do not touch anything until you have identified the power supply. If there is a large capacitor (it looks like a small metal cylinder), do not touch the metal contacts. Even unplugged, these can store enough energy to give you a painful shock. If you are unsure, wait 24 hours; most capacitors will self-discharge over time.
Step 4: Logical Testing
Follow the path of the electricity. It usually goes: Plug -> Power Cord -> On/Off Switch -> Thermal Fuse -> Heating Element/Motor. Use your multimeter to test each component in the sequence. If you find a component that does not show continuity, you have found your culprit.
When to Stop and When to Call a Pro
There is a fine line between being a savvy DIYer and becoming a hazard. You must know when to fold. If you open a device and see signs of a “magic smoke” event—blackened circuit boards, melted plastic, or a strong acrid smell—stop immediately. This indicates a short circuit or a component failure on the motherboard that you cannot fix with a simple fuse swap.
Furthermore, if an appliance is under warranty, do not open it. Opening the casing usually voids the manufacturer’s warranty. Check your purchase date and the manufacturer’s policy first. If it is within the warranty period, let them handle it. You bought that protection; use it.
Common Misconceptions About Appliance Longevity
A common myth is that “appliances today aren’t built to last.” While it is true that some manufacturers design for obsolescence, many appliances fail early simply because of user error. For example, overloading a blender causes the motor to work harder than intended, leading to internal heat buildup. Running a dishwasher with hard water eventually calcifies the heating element, causing it to fail.
The secret to appliance longevity is preventative maintenance. Descaling your coffee maker once every three months, cleaning the lint trap in your dryer, and ensuring your dishwasher has enough rinse aid are not just “nice-to-haves.” They are structural requirements for the longevity of the machine. If you treat your appliances with the same care you give your car—routine checkups and cleanings—you will find yourself performing far fewer “repairs.”
The Hidden Costs of “Throwaway Culture”
Beyond the financial cost, there is the environmental impact. Small kitchen appliances are notorious for being difficult to recycle because they are complex mixtures of plastics, copper, steel, and electronic components. When you toss a toaster, it rarely gets recycled properly. By fixing it, you are reducing your household’s waste footprint. Plus, there is a tangible sense of accomplishment in fixing something that was destined for the bin. It’s a lesson in problem-solving that your children will observe, which is a valuable parenting moment in itself.

Troubleshooting Common Household Gadgets
Different appliances have different “weak spots.” Understanding these will save you hours of guesswork.
- Air Fryers: These are basically miniature convection ovens. The most common point of failure is the thermal fuse or the micro-switch that detects when the basket is fully inserted. If the basket isn’t “clicking” into place, the machine will not start. Check the latch mechanism first.
- Electric Kettles: These often fail because of mineral buildup on the heating element. Before assuming the element is dead, perform a deep descaling with white vinegar and water. If it still won’t heat, check the base connection. The pins on the base often get corroded or pushed in.
- Toasters: The most common issue is a crumb-jammed carriage mechanism. If the lever won’t stay down, it is almost always because a piece of burnt toast is obstructing the mechanical latch. Clean it out with a thin, non-conductive tool (like a wooden chopstick), never a metal fork.
The Decision Matrix: Repair vs. Replace
How do you know if it is worth your time? Use this simple decision rule:
| Condition | Action |
|---|---|
| Component is easy to access and costs <$20 | Repair it. |
| Appliance is under warranty | Contact manufacturer. |
| Internal board is charred or melted | Replace it (Safety risk). |
| Repair requires specialized, expensive tools | Replace it (Not cost-effective). |
When you decide to replace an item, try to find a model that is known for repairability. Some brands now offer “Right to Repair” initiatives, providing manuals and spare parts directly to consumers. Check sites like iFixit before you buy your next major appliance to see if the community has documented how to open and repair that specific model.
Advanced Tips for the Persistent DIYer
If you find yourself enjoying the process, you might want to look into sourcing parts from second-hand markets. Often, you can find a “broken” version of your appliance on local online marketplaces (like Facebook Marketplace or eBay) that has a different problem than yours. You can buy it for $10, harvest the working parts you need, and have a spare for the future. This is the ultimate form of sustainable home management.
Also, keep a “repair log.” It sounds nerdy, but simply noting down the date you cleaned the vents or replaced a fuse helps you anticipate when the next issue might arise. If you know that your air fryer tends to get clogged every six months, you can schedule that cleaning in your calendar and avoid the breakdown entirely.
Final Thoughts on Appliance Stewardship
Repairing your own kitchen tech is not just about saving money; it is about reclaiming control over the objects in your home. We have become a society that treats appliances like disposable batteries, and that mindset is expensive and unsustainable. By taking the time to understand how your machines work, you stop being a passive consumer and start being a proactive owner.
Start small. The next time something “breaks,” don’t reach for your credit card. Reach for a screwdriver. You might be surprised by how simple the fix really is. Even if you don’t succeed, you will have learned something about how your home functions, and that knowledge is never wasted.
For more detailed schematics and parts diagrams, I highly recommend checking official manufacturer support pages or resources like iFixit, which provides community-verified repair guides for almost every consumer electronic device imaginable.
Frequently Asked Questions
Q: Is it safe to repair appliances if I don’t have an electrical engineering background?
A: Yes, provided you strictly adhere to the rule of disconnecting the power. Most home appliance repairs involve mechanical issues (latches, debris, loose wires) rather than complex circuit board soldering. If you are ever unsure, stop. Your safety is worth more than the cost of a toaster.
Q: Where can I find replacement parts for older appliances?
A: Start with the manufacturer’s official parts store. If the model is older, search for the model number on appliance-specific parts websites. Often, generic parts (like thermal fuses) are interchangeable as long as the voltage and temperature ratings match the original component.
Q: How do I know if my appliance is worth repairing?
A: Use the “50% Rule.” If the cost of the repair parts exceeds 50% of the cost of a brand-new, equivalent unit, it is generally better to replace it. However, if the fix is a simple cleaning or a $5 fuse, it is almost always worth the effort, regardless of the appliance’s age.
Stay curious, stay safe, and keep those kitchen gadgets running.