Most wireless peripherals fail not because the entire device is broken, but because a single, inexpensive component—like a micro-switch, a spring, or a battery contact—has reached its natural end of life. Instead of tossing a $100 mouse into the bin, you can often restore it to factory performance in under an hour with a few basic tools and a bit of patience.
- Double-clicking and unresponsive keys are almost always caused by mechanical switch oxidation, not software errors.
- Connectivity drops are frequently the result of internal battery terminal corrosion or antenna interference rather than signal congestion.
- Precision tools are non-negotiable: Using the wrong screwdriver size is the #1 reason users permanently damage their peripherals during repair.
We’ve all been there: you’re in the middle of a critical work call or finally getting some quiet time to finish a project, and your mouse starts “double-clicking” on every single click, or your keyboard registers three ‘e’s for every one you type. The immediate reaction is to check Amazon for a replacement. But before you spend your hard-earned money, consider that these devices are largely modular. They are built with mechanical parts that wear down precisely because they are used.
Understanding the Anatomy of Failure
Wireless peripherals—mice and keyboards—are surprisingly simple machines. At their core, they consist of a plastic shell, a printed circuit board (PCB), a power source (battery), and input switches. When a device fails, it is almost always one of these components. By distinguishing between a software glitch and a hardware failure, you save yourself hours of unnecessary driver updates.
The “Double-Click” Syndrome: This is the most common hardware failure in wireless mice. Over time, the tiny metal leaf spring inside the Omron or Kailh micro-switch loses its tension or develops a thin layer of oxidation. When you click, the switch “bounces” or registers multiple signals. It isn’t a software bug; it is physical wear.
Connectivity Issues: If your device frequently disconnects, it is rarely the firmware. Check the battery compartment first. If you’ve ever had a battery leak or even just high humidity, the metal contact springs can develop a microscopic layer of corrosion. This adds electrical resistance, causing the device to lose power intermittently during high-drain moments, like when the optical sensor is active.
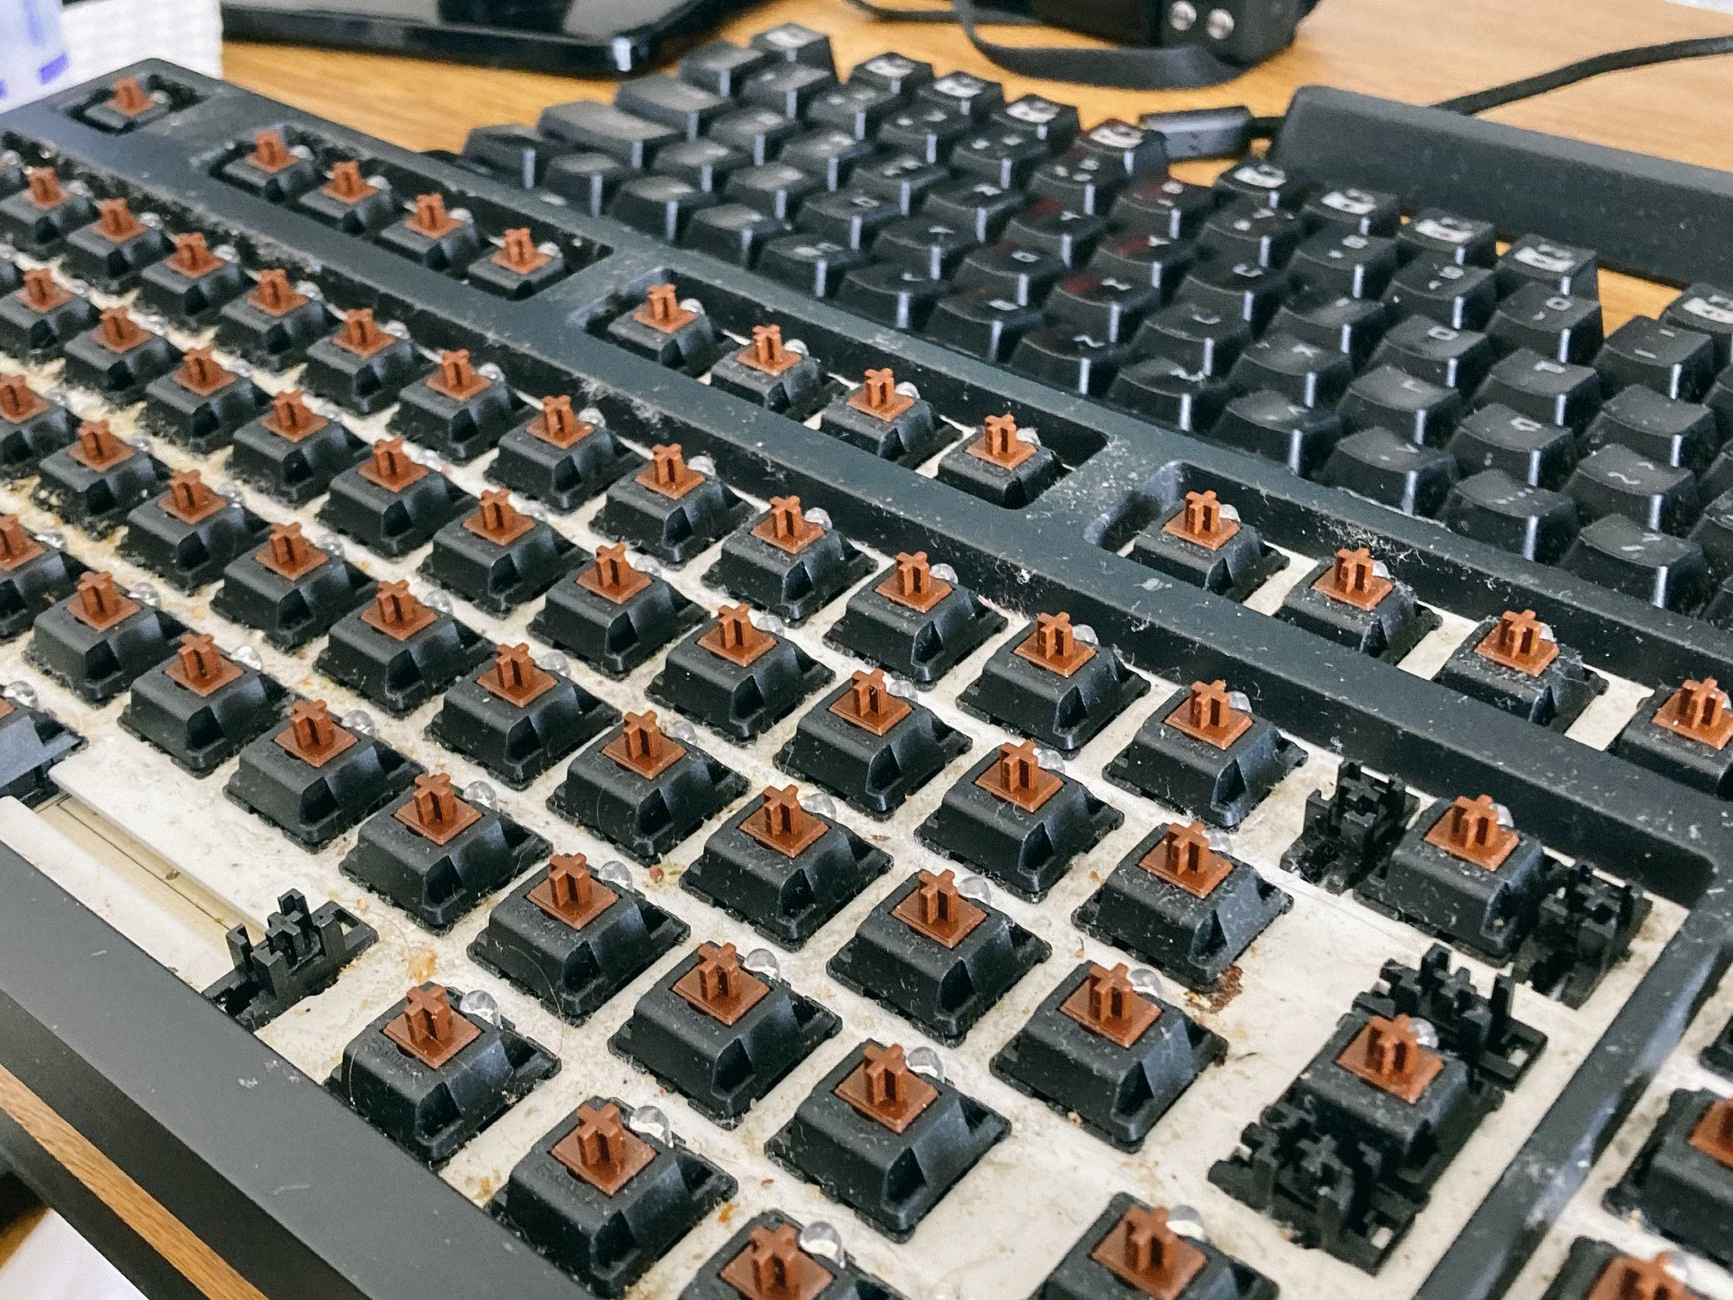
The “Sticky” Key Phenomenon: In keyboards, this is usually debris or dried liquid. Even if you don’t recall spilling coffee, ambient dust combined with skin oils creates a paste that gums up the stabilizer or the switch stem. This isn’t a broken component; it’s a maintenance issue.
The Essential DIY Toolkit
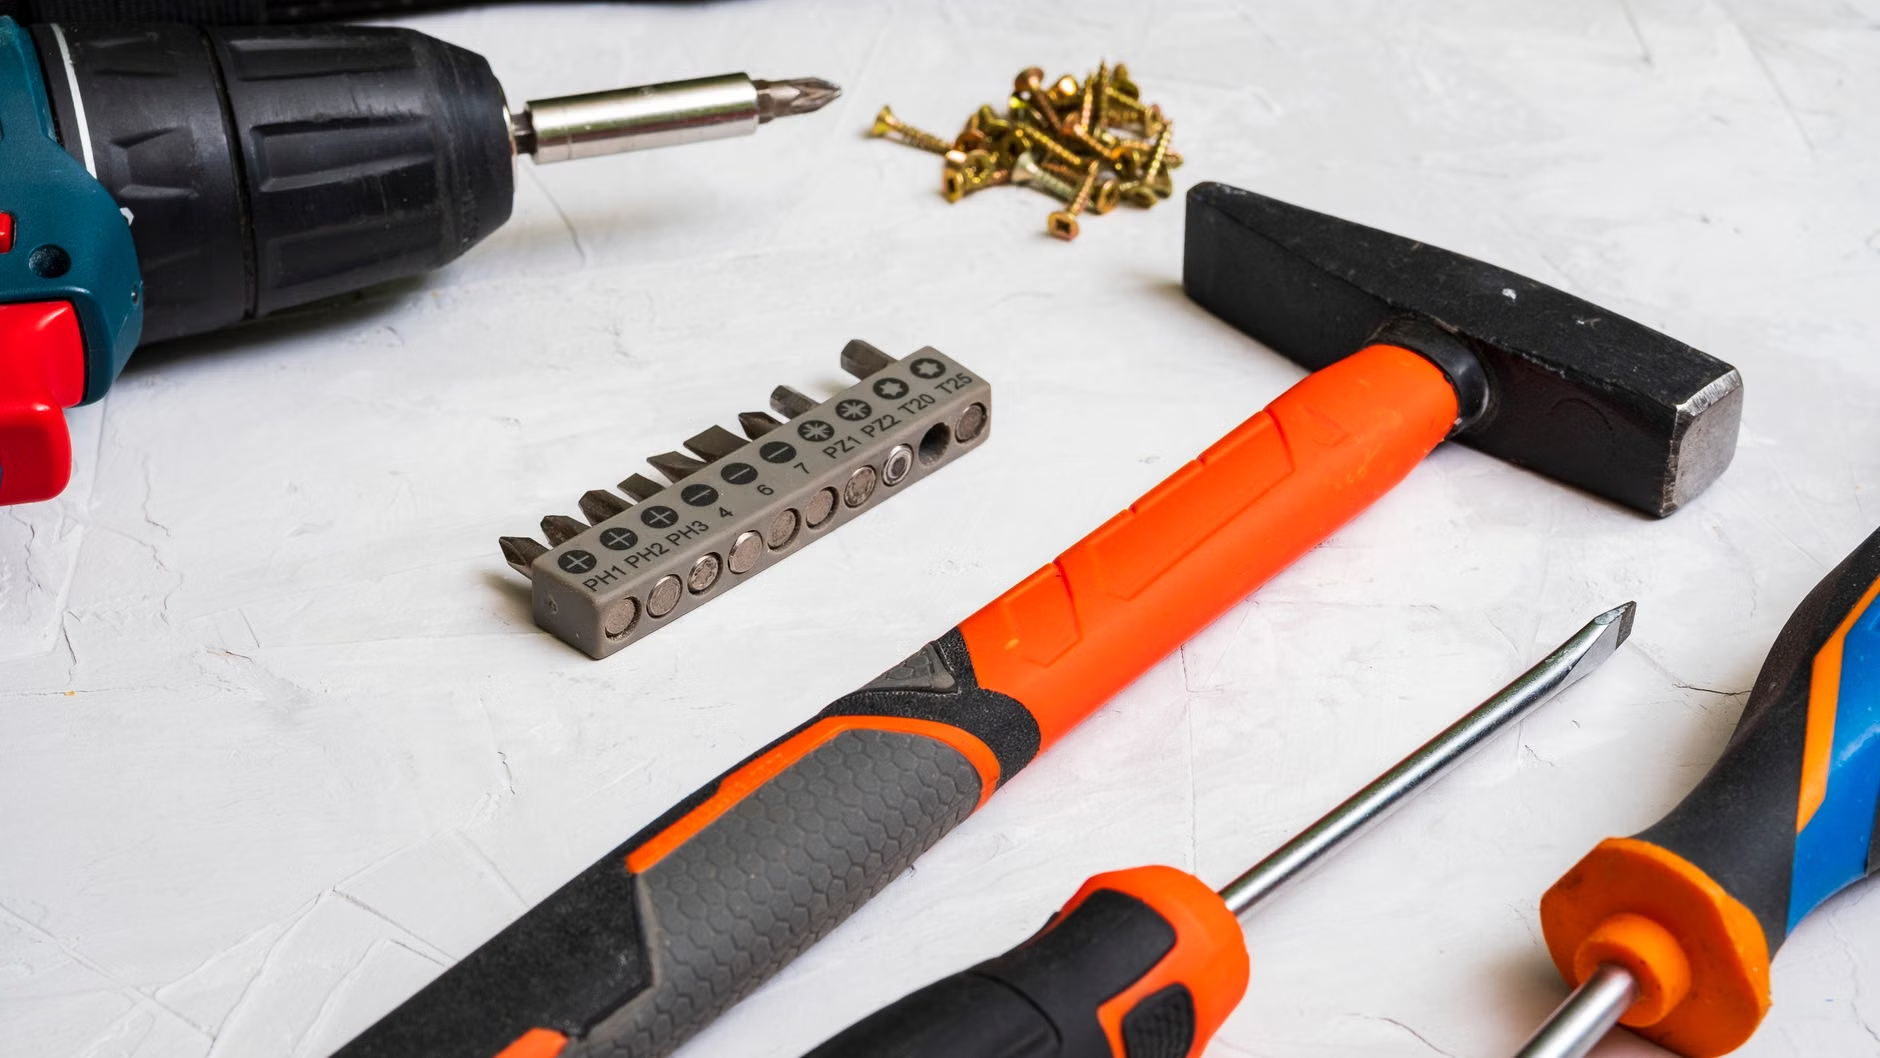
Before you open any device, you need the right tools. Attempting to pry open a modern mouse with a flat-head screwdriver will almost certainly snap the plastic clips that hold the housing together. You aren’t just opening a box; you are disassembling a precision-engineered shell.
| Tool | Purpose | Why it’s essential |
|---|---|---|
| Precision Screwdriver Set (PH000, T5, T6) | Opening housings | Prevents “stripping” the tiny screws that hold the PCB. |
| Plastic Spudgers | Prying clips | Prevents scratching or cracking the plastic casing. |
| 99% Isopropyl Alcohol | Cleaning contacts | Evaporates quickly and removes oxidation/oils without residue. |
| Precision Tweezers | Handling springs | Keeps your fingers away from sensitive components. |
Pro Tip: Buy a dedicated electronics repair kit. They cost less than $20 and include the specific “Torx” or “Tri-wing” bits that manufacturers use to keep consumers out of their devices. Never force a screw. If it doesn’t turn with gentle pressure, you likely missed a hidden screw under a rubber foot or a label.
Step-by-Step: The “Double-Click” Mouse Fix
If your mouse is double-clicking, you have two options: clean the switch or replace it. Cleaning is the “quick fix,” while replacing the switch is the “permanent fix.”
The Quick Clean (The “Contact Cleaner” Method)
Often, you don’t need to solder. You can pry the top cover off the micro-switch (it’s a tiny black box on the PCB). Inside is a small, curved metal leaf spring. Use a drop of 99% isopropyl alcohol and a needle to gently clean the contact point. This can often buy you another 6 to 12 months of life. It’s fiddly, but it’s free.
The Permanent Fix (Soldering)
If cleaning fails, you need to desolder the old switch and solder in a new one. Micro-switches are universal (standardized as “D2FC” series). You can buy a pack of 10 for about $5 online. If you have a basic soldering iron, this is a 20-minute job. The key is to use enough flux so the solder flows smoothly, and don’t hold the iron on the PCB pad for more than 3 seconds, or you risk lifting the copper trace.
Addressing Battery and Power Failures
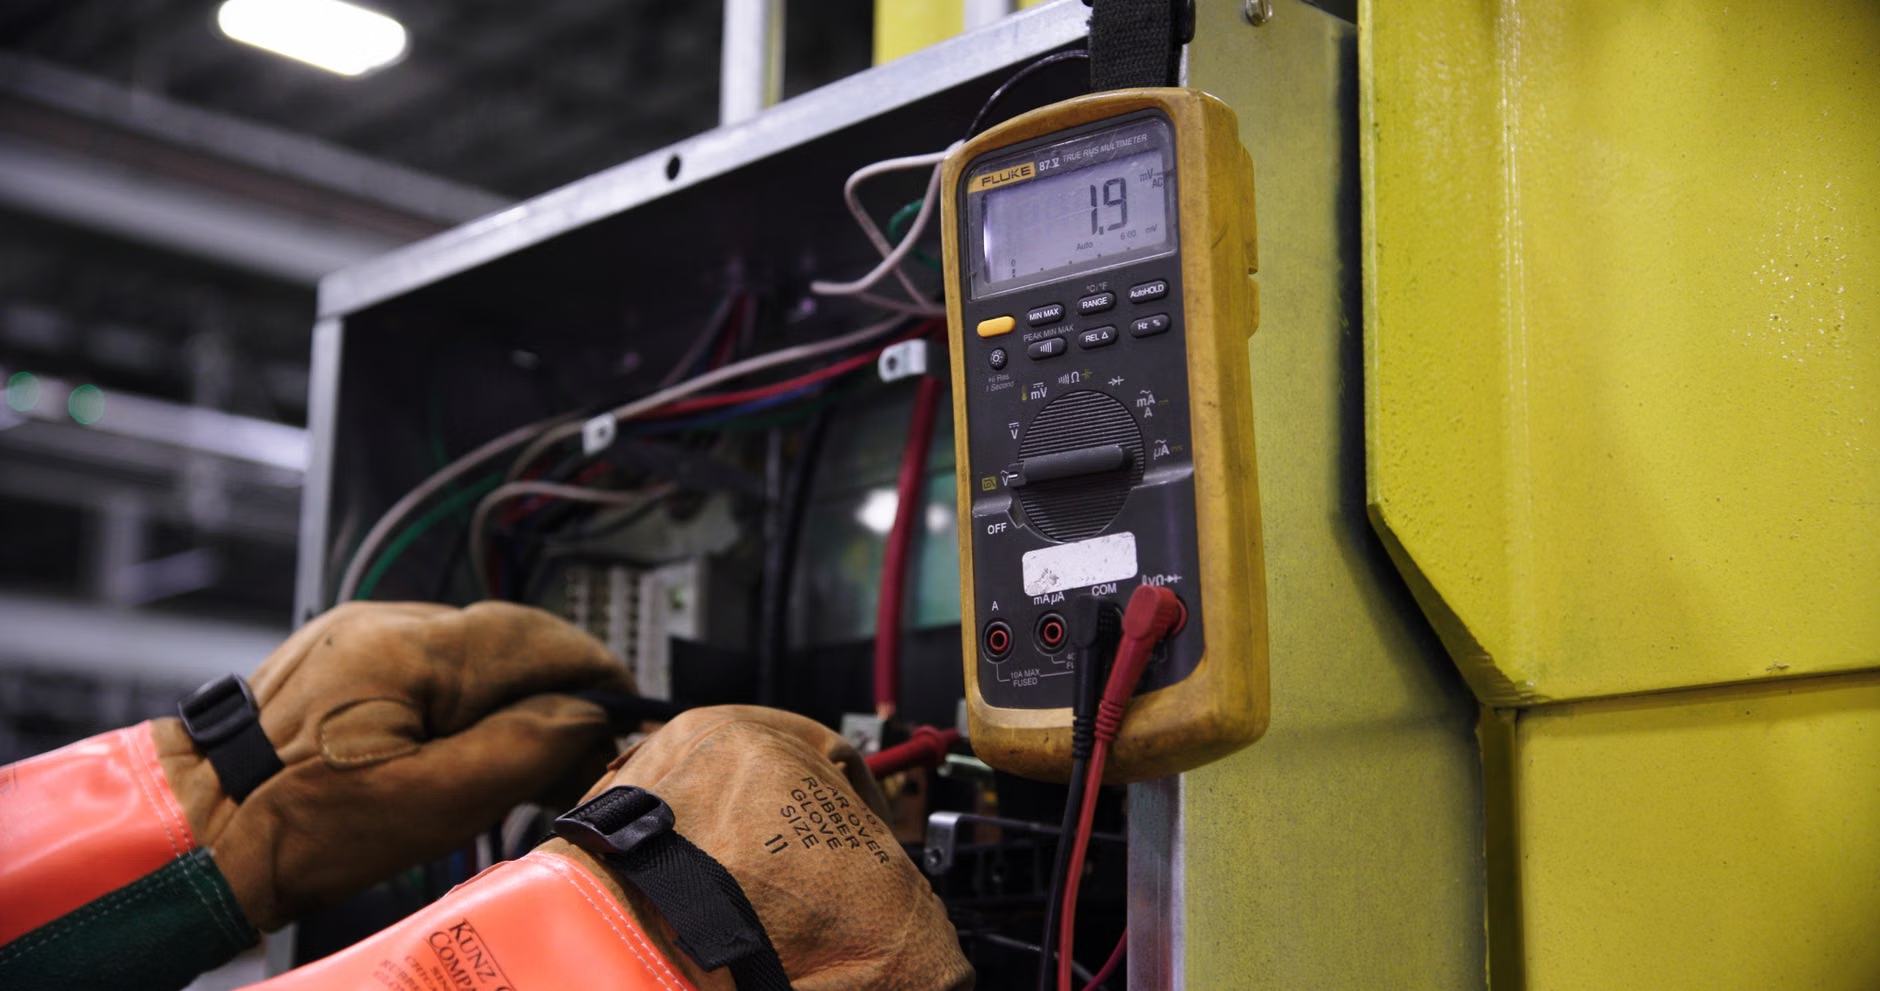
Wireless devices have a finite lifespan dictated by their power cycles. If your device won’t hold a charge, don’t assume the internal lithium battery is dead. Check the charging port first. Over time, pocket lint or debris gets packed into the USB-C or micro-USB port, preventing the cable from seating fully. Use a wooden toothpick (not metal!) to gently clear the port.
If the device still won’t charge, the battery might indeed be failing. Most wireless mice use a standard lithium-polymer (LiPo) pouch cell. These are readily available on electronics hobbyist sites. When replacing, you must match the voltage (usually 3.7V) and the physical dimensions. Do not attempt to force a larger battery into a small space; if you puncture a LiPo battery, it can catch fire. Always handle batteries with care and dispose of old ones at a local electronics recycling center.
Keyboard Maintenance: Beyond the Keycap Puller
Keyboards are magnets for life’s chaos—crumbs, pet hair, and spilled tea. The “mechanical” feel of a keyboard is a combination of the switch stem and the stabilizer. If a key feels “mushy,” it’s likely buildup inside the switch housing.
For non-mechanical (membrane) keyboards, you are limited to surface cleaning. Use a damp microfiber cloth with a tiny amount of isopropyl alcohol. For mechanical keyboards, you can remove the keycaps and use a small air duster to blow out debris. If a switch is truly faulty, you can use a “switch puller” to remove the switch (if your keyboard is hot-swappable) and replace it for a few dollars. If it’s soldered, you’re back to the soldering iron method mentioned earlier.
Common Mistake: Do not use water or household cleaning sprays directly on the keyboard. Liquid can seep into the PCB and cause permanent shorts. Always apply the cleaner to your cloth first, then wipe the surface.
The Hidden Costs of “New”
Why bother with all this? Beyond the obvious cost savings, there is the issue of “e-waste.” Modern wireless peripherals are often glued together, making them difficult to recycle. By repairing, you are keeping a high-quality chassis out of a landfill. Furthermore, many manufacturers have moved toward proprietary software that is often bloated and invasive. Keeping an older, reliable device that works via standard drivers is often a better “user experience” than buying a brand-new device that requires a 500MB background app just to change the DPI settings.
Consider the trade-off: is your time worth more than the cost of a new device? If you are a professional gamer or a developer who relies on specific hardware configurations, the “repair” process is also a “learning” process. You gain the ability to customize your gear. You can swap out switches for different tactile feels—making your mouse click heavier or lighter to suit your preference. You become the master of your tools, rather than a consumer at the mercy of planned obsolescence.
When to Give Up and Buy New
Repairing is a noble pursuit, but it has limits. If the main controller chip (the “brain” of the device) has failed, or if the PCB has suffered liquid damage that has corroded the traces beyond repair, it is time to move on. Don’t waste your energy on a lost cause. If you’ve spent more than two hours trying to fix a $30 mouse, you have already exceeded the value of your time. Know when to cut your losses.
Another indicator: if the plastic shell itself is cracked or the structural integrity is compromised, internal repairs will only be a temporary fix. In these cases, scavenge the working internal parts (like the sensor or switches) and save them for the next repair. It’s part of the hobby.
Practical Next Steps
If your device is acting up today, do this first:
- Check the connection: Try a different USB port or a different cable.
- Clean the ports: Use a wooden toothpick to remove debris from the charging port.
- Test the battery: If it’s a replaceable battery model, swap in a fresh set and clean the contacts with a pencil eraser (the rubber part is excellent for removing light oxidation).
- Software reset: Check if the manufacturer has a “reset” pinhole button on the bottom of the device. This often clears firmware glitches.
If these steps don’t work, you have successfully ruled out the “easy” fixes. Now you know it’s a hardware issue. Take a deep breath, find a tutorial for your specific model on a site like iFixit, and take it one screw at a time. The satisfaction of fixing your own gear is a rare, grounded pleasure in a world that tells us to just buy another one.
Frequently Asked Questions
1. Is it dangerous to open a wireless mouse with a lithium battery?
It is generally safe, provided you are careful. The primary risk is puncturing the battery pouch with a sharp tool. Keep the battery away from heat, don’t use metal tools to pry it, and if it looks “puffy” or swollen, stop immediately and recycle it safely. Never short-circuit the battery terminals.
2. Can I repair a mouse that is “glued” shut?
Many modern “gaming” mice are held together by clips that are hidden under rubber feet (skates). You will need to peel these back carefully. If they are truly glued, you can use a hairdryer on a low heat setting to soften the adhesive, but be careful not to melt the plastic casing. Once open, you can re-glue them or use double-sided tape for reassembly.
3. How do I know if my soldering skills are good enough?
Soldering is a skill that improves with practice. If you are nervous, buy a cheap “solder practice kit” online for $5. It gives you a simple PCB to practice on. Once you can successfully solder a wire to a pad without creating a “bridge” (where solder connects two points that shouldn’t be connected), you are ready to tackle your peripheral repairs.
For further technical guides on specific models, you can explore the iFixit repair library, which offers detailed teardowns for thousands of consumer electronics. Remember: you are not just a consumer; you are an owner. Maintain your gear, and it will serve you well for years.