Three Key Takeaways:
- Most “broken” wireless peripherals suffer from simple debris buildup or oxidation, not catastrophic component failure.
- Isopropyl alcohol (90%+) and a precision screwdriver set are your two most effective tools for 90% of common hardware issues.
- Repairing your existing gear is not just a cost-saving measure; it is a critical step in reducing the 50+ million metric tons of e-waste generated globally every year.
If you are like most of us in our 30s and 40s, you have likely experienced the “phantom click.” You are in the middle of a late-night work session or trying to finish an online grocery order, and your mouse starts double-clicking when you only tapped once. Or perhaps your keyboard keys have become intermittently unresponsive, leading to errors that feel like they are mocking your lack of sleep. The instinct, fueled by the convenience of modern e-commerce, is to immediately jump onto a retail site and order a replacement. But before you add another piece of plastic to your cart, consider this: most wireless peripherals are not actually broken; they are just dirty, oxidized, or suffering from a simple mechanical misalignment.
The Anatomy of a Wireless Peripheral Failure
To fix hardware, you first have to understand why it fails. Wireless mice and keyboards are essentially mechanical switches housed in plastic shells. Over time, these shells accumulate skin oils, dust, crumbs from snacks (we have all been there), and pet hair. When this debris enters the internal mechanism, it interferes with the electrical contact or the physical movement of the springs.
The most common failure point in a mouse is the micro-switch. These are the tiny black boxes under your left and right click buttons. They contain a thin metal leaf spring. If that spring loses its tension or gets coated in microscopic oxidation, the mouse registers a “double click” or fails to register a click at all. This isn’t a sign that the mouse is “dead”; it’s a sign that the mechanical interface needs a reset. By understanding this, you move from being a consumer who replaces gear to a maintainer who extends its life.
Essential Tools for the Home Repairer
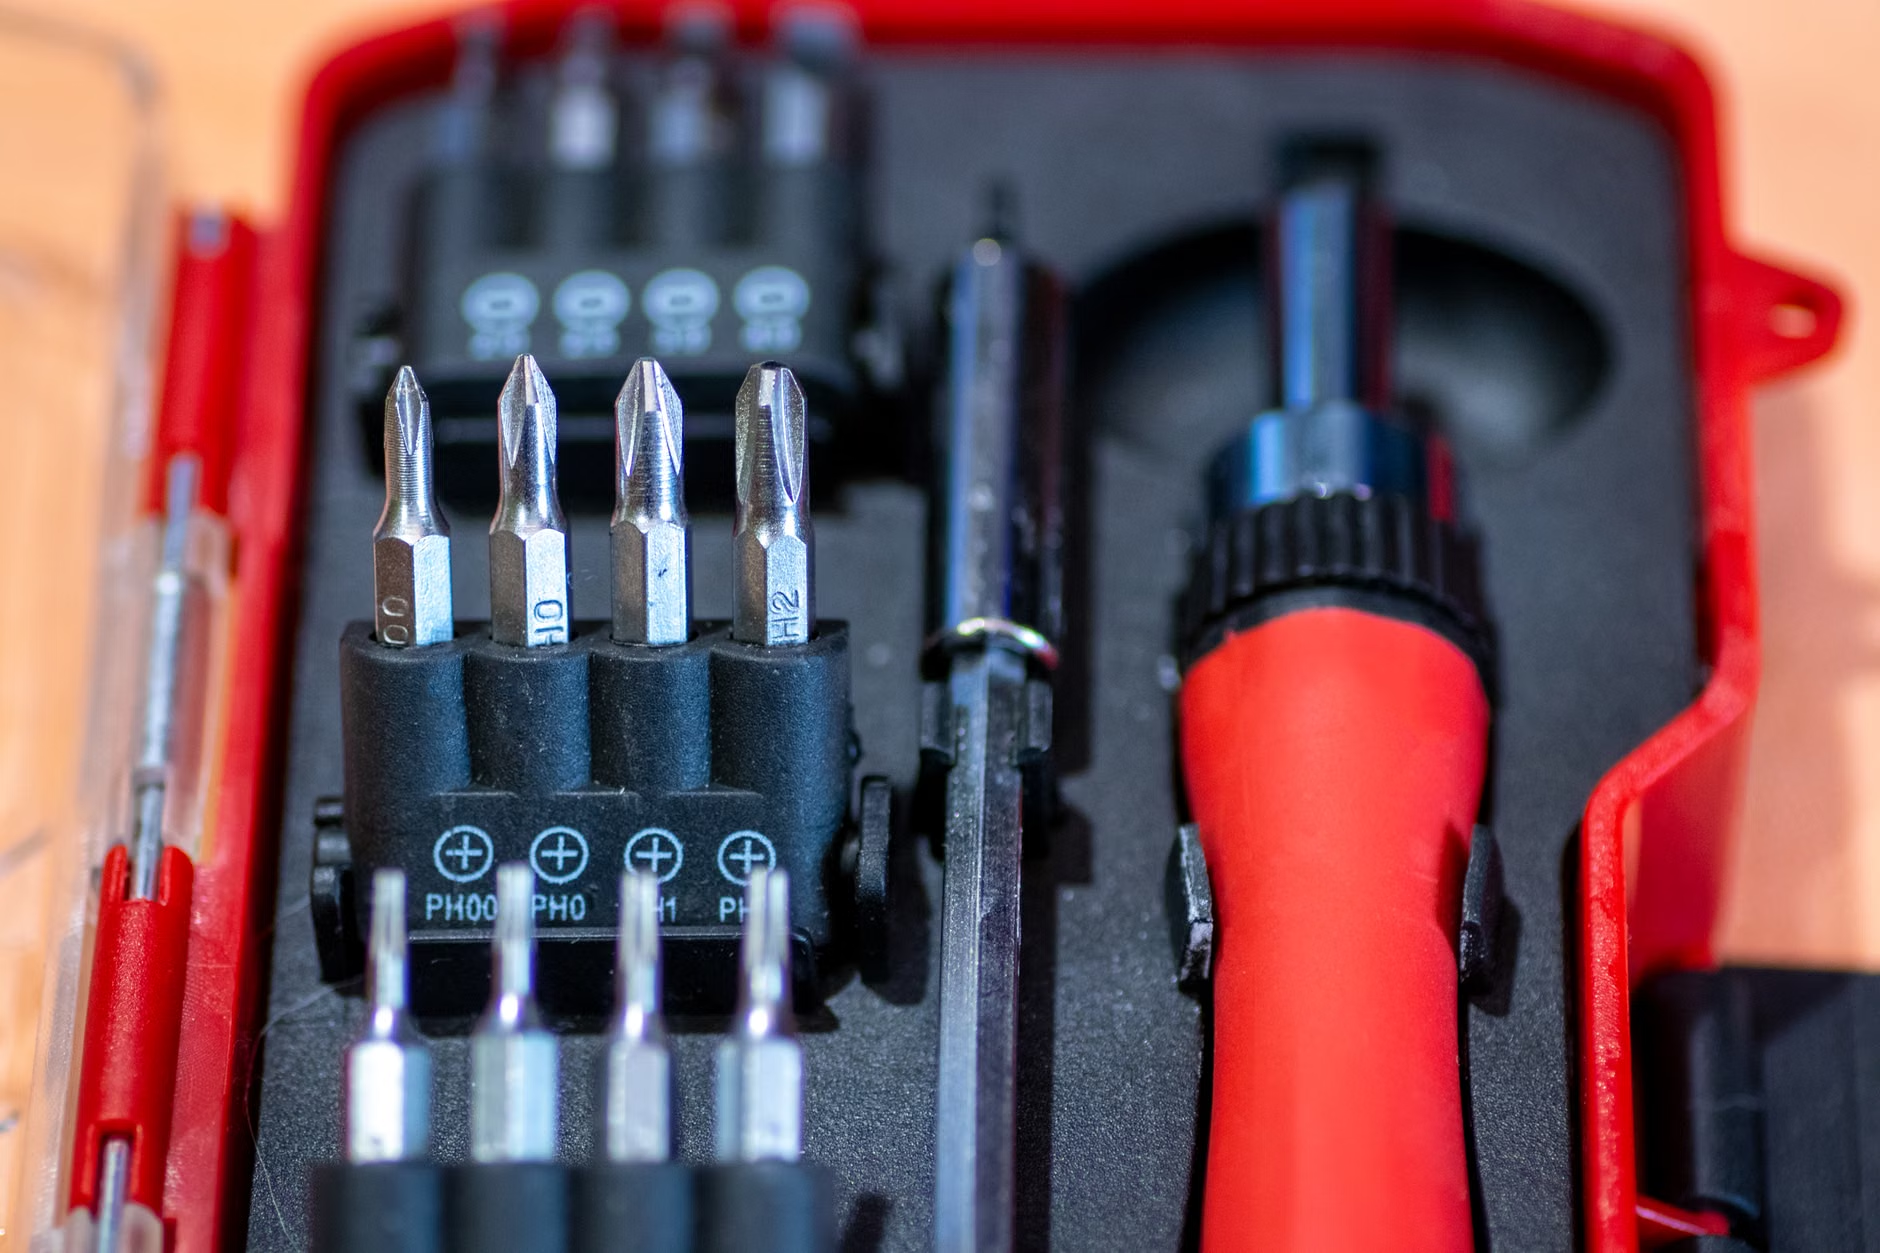
You do not need a professional laboratory to perform these repairs. In fact, most of the equipment you need is likely already in your junk drawer or can be purchased for less than the cost of a budget mouse. Here is your baseline kit:
- Precision Screwdriver Set: Look for a set that includes Phillips (PH0, PH00, PH000) and Torx (T5, T6) bits. Many modern peripherals use “security” screws hidden under rubber feet or stickers.
- Isopropyl Alcohol (90% or higher): Do not use rubbing alcohol with a lower concentration, as the water content can cause corrosion. 90% or higher evaporates quickly and leaves no residue.
- Plastic Spudgers or Prying Tools: Avoid using metal knives or screwdrivers to pry open plastic casings, as these will leave deep scratches and deform the plastic edges.
- Cotton Swabs and Microfiber Cloths: For precision cleaning.
- Compressed Air: Useful for blowing out dust from hard-to-reach crevices like the scroll wheel encoder.
Step-by-Step: The Deep Clean Procedure
Before you start unscrewing anything, perform a “dry” clean. Often, a buildup of dead skin cells or dust around the edges of buttons causes them to stick. Take a piece of paper or a thin plastic card and slide it around the edges of your keys or mouse buttons to dislodge debris. If that fails, it is time to open the device.
Opening the Device Safely
Most wireless mice have screws hidden under the rubber “feet” (the pads on the bottom). Use a hair dryer on a low setting to warm these feet up; this softens the adhesive, allowing you to peel them off without ruining them. Once the screws are exposed and removed, use your plastic spudger to gently release the clips holding the two halves of the mouse shell together. Common mistake: Pulling the two halves apart too quickly. Many devices have ribbon cables connecting the top buttons to the bottom circuit board. Open it like a book, not like a clamshell.
Cleaning the Internal Components
Once open, you will see the circuit board. Use your compressed air to clear out any loose dust. For the switches, take a cotton swab lightly dampened (not dripping) with isopropyl alcohol. Press the button on the micro-switch repeatedly while dabbing the area around it. This allows the alcohol to seep into the switch and dissolve any internal oxidation. Let it dry for at least 30 minutes before reassembling. Pro tip: Never use water or household cleaners like Windex; these contain conductive agents or residues that will permanently short-circuit your electronics.
Dealing with Wireless Connectivity Issues
Sometimes the hardware is fine, but the connection is the problem. If your mouse or keyboard is “stuttering” or dropping signal, it is rarely a hardware failure of the device itself. Instead, it is usually 2.4GHz interference. In our modern homes, we have Wi-Fi routers, Bluetooth speakers, smart home hubs, and baby monitors all fighting for space in the same frequency range.
If you are experiencing lag, try these steps in order:
- Relocate the Receiver: If your USB receiver is plugged into the back of a desktop tower, it is likely being shielded by the metal case. Use a USB extension cable to bring the receiver closer to the device.
- Check for Battery Voltage Drops: Not all batteries are created equal. If your device is low on power, it will prioritize energy saving over signal strength. Use a multimeter to check if your batteries are actually outputting the rated voltage.
- Clear the Air: Move your Wi-Fi router at least three feet away from your computer desk. The signal noise from a router is the #1 cause of wireless peripheral “jitter.”
Comparison: Repair vs. Replacement
When should you actually give up? There is a point where the cost of repair—in terms of time and effort—outweighs the value of the device. Use the following table to decide whether to fix or replace.
| Issue | Repair Difficulty | Recommended Action |
|---|---|---|
| Sticking buttons/keys | Low | Clean with isopropyl alcohol |
| Unresponsive scroll wheel | Medium | Clean encoder with compressed air/alcohol |
| Double-click syndrome | Medium/High | Deep clean switch or solder new switch |
| Liquid damage (spills) | High | Attempt deep clean; likely replacement |
| Broken plastic shell | Medium | Epoxy/superglue repair |
If you are dealing with liquid damage, the situation is different. If you spilled coffee or juice, the circuit board is likely corroded. Even if it works today, the corrosion will spread. You can attempt to clean the board with 99% isopropyl alcohol and a soft brush, but there is no guarantee of long-term success. In this case, if the device is a high-end model, it is worth the effort; if it is a budget model, the time spent is better used elsewhere.
The Hidden Cost of E-Waste
As parents, we are acutely aware of the world we are leaving for our children. The “throwaway culture” of tech is a major contributor to global e-waste. According to the Global E-waste Monitor, the world generates over 50 million metric tons of e-waste annually. By choosing to repair a $40 mouse, you are preventing that device from ending up in a landfill, where the heavy metals it contains—like lead and mercury—can leach into the water table.
Beyond the environmental impact, there is a personal benefit: you regain control over your tools. When you know how to open, clean, and fix your own equipment, you are no longer at the mercy of planned obsolescence. You learn that your belongings are not disposable, but rather pieces of equipment that require occasional maintenance just like a car or a bicycle.
Common Mistakes to Avoid
Even with the best intentions, it is easy to make mistakes that turn a simple repair into a disaster. Here are the most frequent pitfalls I have observed:
- The “Over-Torque” Error: Plastic threads are fragile. When reassembling your device, do not overtighten the screws. Turn them until you feel resistance, then give them a tiny quarter-turn. If you tighten them until they stop moving, you will crack the plastic housing.
- Ignoring Static Electricity: Electronics are sensitive to Electrostatic Discharge (ESD). Before you touch the internal circuit board, touch a metal part of your desk or a grounded object to discharge the static electricity from your body.
- Using the Wrong Solvent: Never use acetone or nail polish remover. Acetone will dissolve the plastic casing of your mouse or keyboard, leaving it permanently melted and sticky. Always stick to isopropyl alcohol.
- Forcing Components: If a piece of plastic does not snap into place, do not force it. There is likely a cable pinched underneath or a screw alignment issue. Forcing it will result in snapped plastic clips, which cannot be repaired.
Advanced Maintenance: The Solder Option
If you find that cleaning the switch does not fix the double-click issue, the mechanical leaf spring inside the switch itself is likely permanently deformed. At this point, you have two choices: buy a new mouse or replace the micro-switch. Replacing a switch requires a soldering iron, a bit of solder, and a desoldering pump. This is an advanced skill, but it is incredibly rewarding. You can buy replacement micro-switches (like Omron or Kailh switches) for a few dollars online. By soldering in a new, high-quality switch, you often end up with a mouse that is more durable than the one you bought off the shelf.
If you have never soldered before, this is not the place to start. Practice on a broken toy or an old circuit board from another device first. There are thousands of tutorials available on platforms like YouTube that can guide you through the basics of desoldering and soldering. Once you master this, you have effectively gained the ability to keep your peripherals running indefinitely.
Sustainability in the Home Office
We often talk about sustainability in terms of buying “green” products, but the most sustainable device is the one you already own. When you maintain your gear, you are reducing the demand for raw materials like copper, gold, and rare earth elements used in circuit boards. Furthermore, you are reducing the carbon footprint associated with shipping a replacement device from a warehouse to your doorstep.
Think of this as “Tech Stewardship.” It is a mindset shift that treats technology as a long-term investment rather than a consumable good. When you teach your children how to clean a sticky button or how to replace a battery correctly, you are teaching them valuable life skills that go beyond just saving a few dollars. You are showing them that things have value, and that we have the power to care for the things we use every day.
FAQ: Addressing Your Concerns
Q: Is it safe to open a wireless mouse that has a built-in rechargeable battery?
A: Yes, but you must be careful. If the battery is glued in, do not try to pry it out with a metal tool, as this can puncture the lithium-ion cell and cause a fire. If you don’t need to remove the battery to reach the screws, leave it alone. If you do need to remove it, use a plastic tool and a tiny amount of heat to soften the adhesive, and be extremely gentle.
Q: My keyboard has a “sticky” key that doesn’t click anymore. Can I fix that?
A: If it is a mechanical keyboard, you can often remove the keycap and use a small amount of isopropyl alcohol to clean the switch stem. If it is a membrane keyboard (the kind found on most laptops and cheap office keyboards), these are notoriously difficult to repair because the membrane layers are often glued together. In the case of membrane keyboards, a deep clean is often the best you can do, and if that fails, replacement is usually the only option.
Q: How often should I perform this maintenance?
A: You don’t need to take your gear apart every month. A simple wipe-down with a microfiber cloth once a week is enough to prevent most buildup. Reserve the deep-clean (opening the casing) for when you start to notice actual performance issues like double-clicking or intermittent signal drops. Being proactive with cleaning prevents the need for reactive repairs.
Final Thoughts
Hardware repair is not just about saving money; it is about reclaiming the independence to fix the tools that define your daily life. Whether you are working from home, managing family schedules, or just trying to navigate the digital world, the gear you use is an extension of your intent. When it fails, you don’t have to accept the cycle of consumption and waste. With a few basic tools, a bit of patience, and the right approach, you can keep your peripherals performing perfectly for years to come.
Start small. Next time your mouse starts acting up, don’t reach for your credit card. Reach for your screwdriver. You might be surprised at how much life is left in that device. It is a small act of defiance against a disposable world, and it starts right at your desk.