The most effective way to help children develop a strong sense of identity is to move beyond abstract stories and create a tangible “Ancestral-Roots” project that grounds their family history in geography, culture, and personal discovery.
- Geography is the anchor: Use maps to visualize ancestral migration, which transforms abstract dates into concrete travel routes that kids can understand.
- Focus on artifacts, not just names: Children retain interest when they can touch or taste history—think recipes, old photographs, or physical heirlooms rather than complex genealogical charts.
- The 80/20 Rule: Spend 20% of your time on research and 80% on storytelling and creative output to keep the project engaging for younger attention spans.
We often talk about “knowing where we come from,” but for a child living in a digital, fast-paced world, that phrase can feel like a lecture from a history textbook. If you’ve ever tried to explain your family lineage to a seven-year-old, you know the blank stare that follows the mention of a great-great-grandfather’s birthplace. The goal of an Ancestral-Roots project isn’t to create a perfect genealogy record; it’s to build a bridge between your child’s present life and the people who paved the way for them.
Why Heritage Matters in the Modern Age
In our thirties and forties, we are often the “sandwich generation” of family memory. We still have access to the generation that remembers the “old country” or the family stories, but we are also the ones responsible for digitizing and preserving those stories before they fade. Research in developmental psychology consistently shows that children who have a strong “intergenerational self”—a sense of belonging to a larger, historical family narrative—exhibit higher levels of resilience and self-esteem.
This isn’t about glorifying the past. It’s about providing a sense of continuity. When a child understands that their grandfather moved across an ocean with nothing but a suitcase, or that their grandmother learned to bake bread in a village with no electricity, they begin to see their own minor daily challenges in a different light. It provides perspective, not pressure.
Step-by-Step Ancestral Mapping: From Data to Discovery
The biggest mistake parents make is starting with a complex family tree software. That’s a recipe for boredom. Instead, start with a map. Here is how you can structure the project to be interactive and manageable.
1. The “Migration Map” Phase
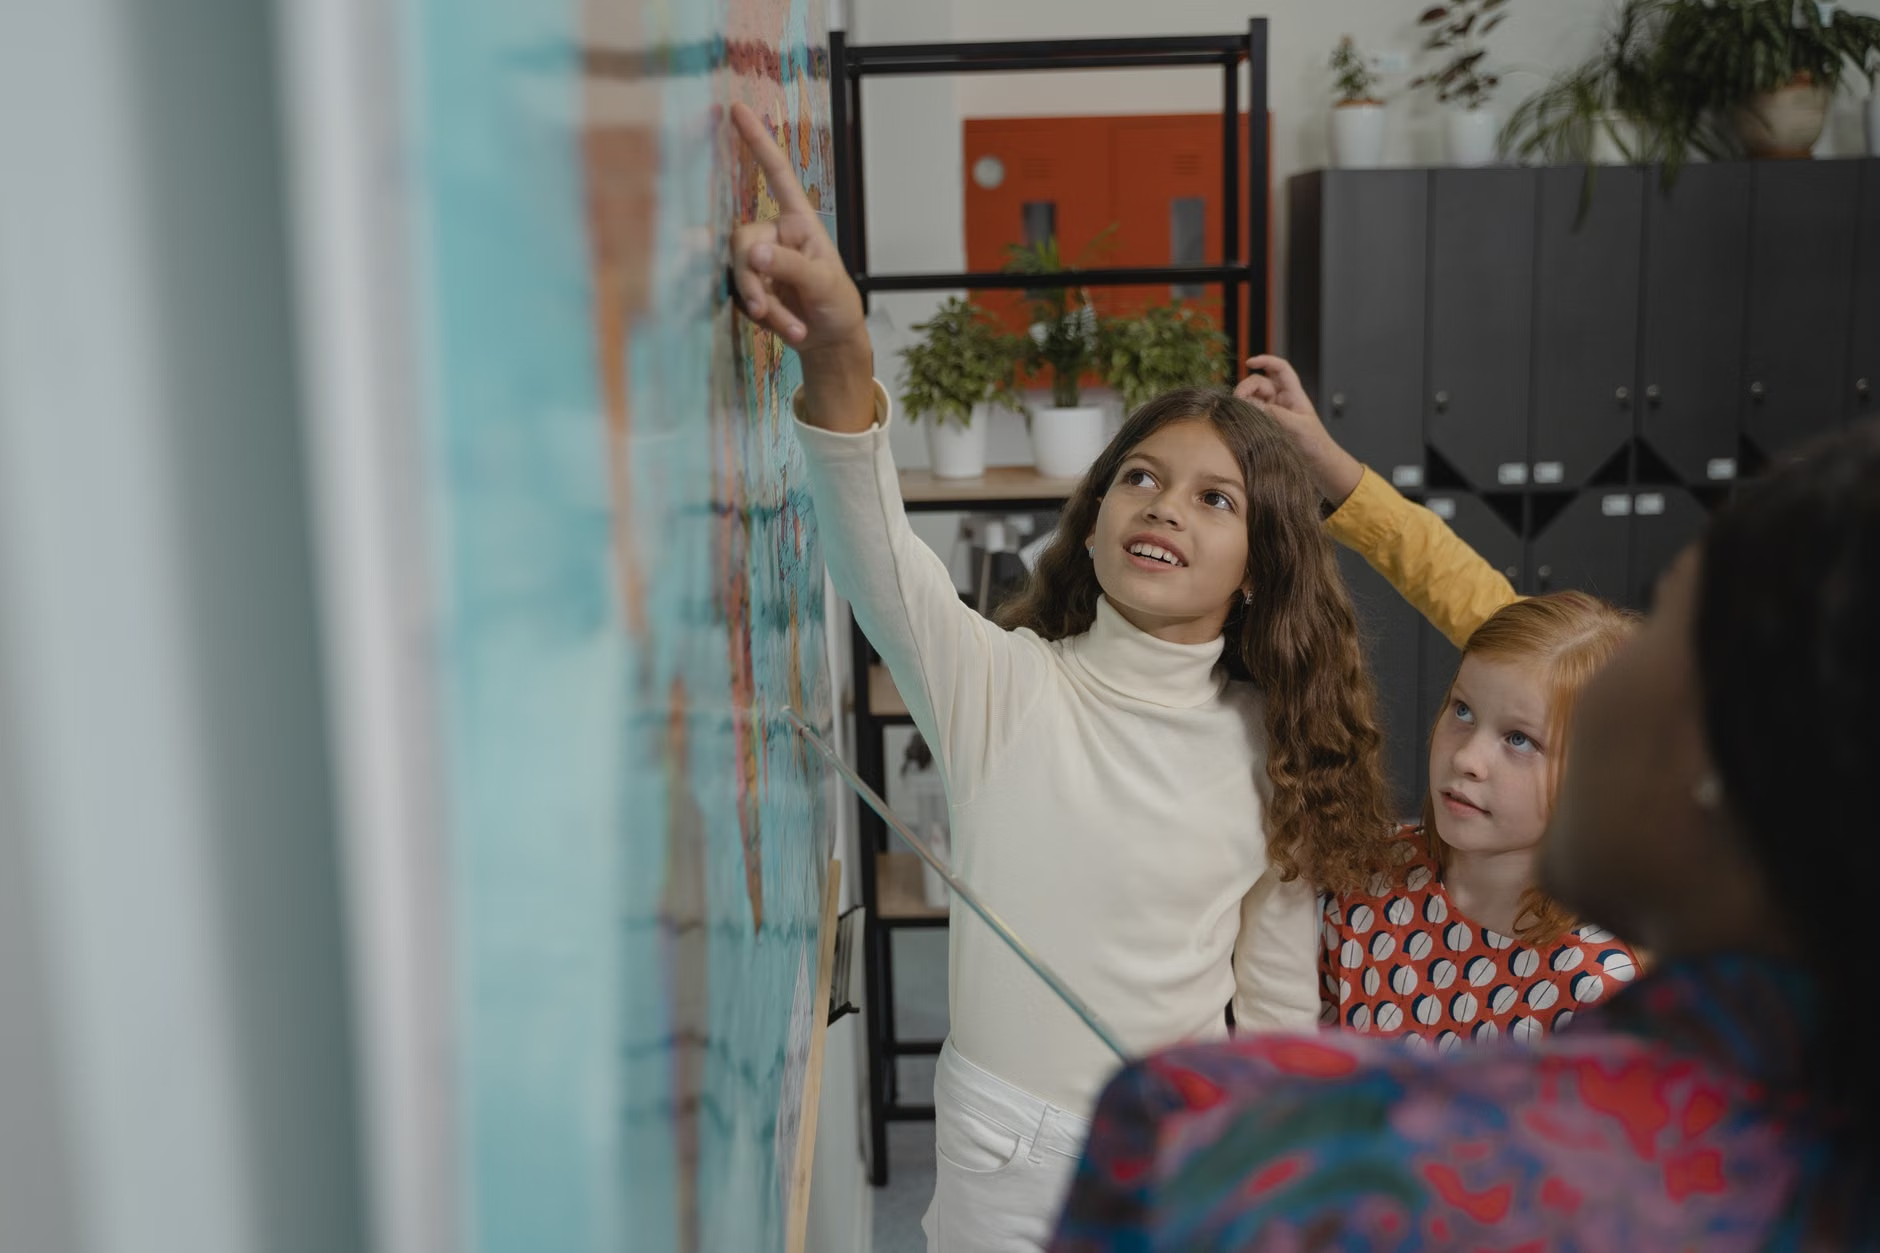
Buy a large paper map of the world. Use different colored pins or stickers to mark the birthplaces of ancestors. If your family has moved significantly, use string to connect the dots. This visual representation helps children grasp that their family history is a journey, not a static list of names.
2. The “Artifact Interview”
Instead of asking “What was your life like?”, which is too broad for a child to grasp, focus on objects. Pick one item in your home—a piece of jewelry, a tool, a cookbook, or even a specific piece of furniture—and turn it into a “detective case.” Who made it? Why did we keep it? Where was it bought? This turns history into a scavenger hunt.
3. The “Living Archive”
Don’t just store photos in a shoebox. Create a digital or physical “Family Passport.” For every ancestor you uncover, create a page that includes their name, their “home base” on the map, one favorite food they likely ate, and one “superpower” (a trait they were known for). This makes these historical figures feel like characters in a story.
The Role of Digital Tools vs. Analog Engagement
We live in an era where tools like Ancestry.com or MyHeritage have made genealogy accessible. However, these tools are designed for adults. When involving children, use these platforms as a database for you, then translate the findings into something analog for them.
| Tool Type | Best Use Case | Child-Friendly Adaptation |
|---|---|---|
| Genealogy Software | Storing dates and birth records. | Print a simplified tree with photos only. |
| Digital Archive Apps | Restoring old, faded photos. | Let them help pick the “before and after” photos. |
| Google Earth | Viewing ancestral homes. | “Street View” walk-throughs of the town/street. |
The key here is avoiding “screen fatigue.” Use the technology to gather information, but keep the core of the project rooted in physical interaction—writing in a journal, pinning a map, or cooking a traditional meal.

Avoiding Common Pitfalls in Heritage Work
One of the most common mistakes is trying to be “historically accurate” to a fault. If a story has been slightly embellished over generations, let it be. These “family myths” are often just as important as the dry facts because they reflect the values and humor of the family.
Another pitfall is the “pressure of perfection.” If you discover that a branch of your family tree is missing records or that there’s a difficult history, don’t hide it, but adjust it to the child’s maturity level. You don’t need to provide a sanitized version of the past, but you should provide a version that encourages curiosity rather than confusion.
Pro-tip: If you hit a dead end in your research, turn that into a lesson. “We don’t know who this person was, but we know they lived in this city during this time. What do you think they did for a living?” This allows the child to use their imagination, which is often more memorable than a hard fact.
Integrating Culture Through Sensory Experiences
Heritage is more than names on a document. It is the food, the music, and the traditions. If your ancestors came from a specific region, look for the sensory anchors of that culture. This is often the most “sticky” part of the project for children.
For instance, if your roots trace back to a specific region in Italy, don’t just show them a map. Spend a weekend making a pasta dish that is native to that specific town. Talk about why they used certain ingredients—perhaps because they were cheap, or because they grew in that specific climate. By connecting the history to a sensory experience (taste and smell), you are creating a memory that will last much longer than a genealogical chart.

Practical Implementation: A Sample Project Timeline
To keep the momentum going without overwhelming your daily schedule, treat this as a “weekend project” rather than a daily chore. Here is a suggested four-week schedule:
- Week 1: The Map. Buy a world map. Identify the furthest “roots” you know. Mark them with stickers.
- Week 2: The Interview. Call a grandparent or an older relative. Ask them for one story about their favorite toy when they were your child’s age.
- Week 3: The Artifact. Find one family item (a recipe, a photo, an old tool). Research its origin together.
- Week 4: The Presentation. Create a “Family Passport” page for one ancestor and add it to a binder.
This structure prevents burnout. You aren’t trying to do everything at once. You are simply adding one layer of connection every week.
For many, family history includes stories of migration under duress, loss, or cultural displacement. These are not easy topics, but they are essential parts of the human experience. When explaining these, focus on the agency of your ancestors. Instead of focusing on the victimhood, focus on how they survived, what they carried with them, and how they built a new life.
This teaches children that while we cannot control the events of history, we can control how we respond to them. It is a powerful lesson in character building. Always frame these stories with an emphasis on the traits that have been passed down—resilience, humor, work ethic, or empathy.
Frequently Asked Questions
How do I handle it if my child isn’t interested in the history part?
This usually happens when the project feels too much like schoolwork. Shift the focus from “researching” to “storytelling.” If they aren’t interested in names and dates, ask them, “If we were to write a movie about this ancestor, what would be the most exciting scene?” Sometimes, moving into a creative space makes the historical facts more digestible.
What if I don’t have access to family records?
You don’t need official archives to have an Ancestral-Roots project. If you have limited records, focus on the “living” history. Interview the oldest living members of your family. If that isn’t possible, focus on the culture itself. Research the history of the region your family came from and discuss what life was like for the people living there during that era. That is still part of your heritage.
Is there a specific age when I should start this project?
The best age to start is when a child begins to ask “Why?” or “Where do I come from?”—usually around the ages of 6 to 8. At this stage, they have enough cognitive ability to understand the concept of time and geography, but they are still young enough to enjoy the tactile, creative aspects of the project. If they are older, you can increase the complexity of the research and the depth of the historical analysis.
Final Thoughts: Why This Is a Marathon, Not a Sprint
The “Ancestral-Roots” project is not a task to be checked off a list. It is an evolving dialogue. As your children grow, their capacity to understand the nuances of their family history will evolve. What they find interesting at age 8 will be different from what they find meaningful at age 14 or 20.
Keep your notes, your maps, and your “Family Passport” in a place where they can be seen and revisited. The goal is to create a living archive that grows alongside your family. By making this a normal, recurring part of your family life, you are giving your children an anchor that will serve them well long after they have left home. Start small, be consistent, and keep the focus on the stories that make your family unique.
For those looking for reputable resources to start their research, you can check the National Archives Genealogy guide or the FamilySearch database for broad, verified historical records.