Most wireless peripherals, from high-end ergonomic mice to mechanical keyboards, are rarely “broken” beyond repair; they are usually just suffering from minor mechanical fatigue, battery degradation, or debris buildup that can be fixed with basic tools and a bit of patience.
- The 80/20 Rule of Repair: Roughly 80% of wireless peripheral issues are caused by battery contacts, switch oxidation, or dust accumulation, all of which require no soldering.
- Avoid “Planned Obsolescence” Traps: Many modern devices use hidden screws under rubber feet; knowing where to look is half the battle in opening devices without damaging them.
- Cost-Benefit Analysis: If a device costs under $30, the time spent on complex internal soldering often exceeds the replacement value, but for $100+ peripherals, DIY repair is almost always financially superior.
There is a specific kind of frustration that comes with a mouse that double-clicks when you only want a single click, or a keyboard that skips letters in the middle of an important email. As parents and professionals in our 30s and 40s, we don’t have the luxury of time to deal with faulty gear, but we also don’t have the desire to contribute to the growing pile of electronic waste every time a switch starts to fail. The industry standard for wireless peripherals is to suggest a replacement, but they rarely mention that the internal components are often modular and standard.
Understanding the Anatomy of Failure in Wireless Peripherals
Before you reach for the screwdriver, you need to understand why these devices fail. Wireless peripherals operate in a harsh environment: they are constantly handled, exposed to skin oils, crumbs, and varying humidity levels. The two most common points of failure are the mechanical switches (the actual click mechanism) and the power delivery system (batteries and charging ports).
When a mouse starts “double-clicking,” it is rarely a software issue. It is almost always a physical oxidation issue on the copper contact points inside the micro-switch. Over millions of clicks, the thin layer of metal that completes the circuit wears down or develops a non-conductive layer of oxidation. Understanding this helps you diagnose whether you are looking at a permanent hardware failure or a simple maintenance task.
Common Symptoms and Their Likely Causes:
| Symptom | Likely Cause | Repair Difficulty |
|---|---|---|
| Inconsistent clicking/Double-clicking | Oxidized switch contacts | Moderate (requires opening shell) |
| Device disconnects randomly | Battery contact fatigue | Easy (clean/adjust contacts) |
| Keyboard key repeats/misses | Debris under keycaps | Very Easy (cleaning) |
| Device won’t charge | Lint in USB port | Easy (careful extraction) |
If your device is experiencing connection drops, look at the battery compartment first. If you use AA or AAA batteries, the metal springs inside often lose their tension over time. If you use a rechargeable internal battery, the issue is often the charging cable or a dirty USB-C port. Never assume the “brain” of the device is broken until you have ruled out these physical interfaces.
The Diagnostic Workflow: Start Simple, Go Deep
Before you open any device, you must follow a diagnostic protocol. This prevents unnecessary damage to the casing. The biggest mistake people make is prying a device open without identifying the hidden screws. Most manufacturers hide screws under rubber feet or stickers to discourage users from opening them. If you feel excessive resistance while prying, stop. You have likely missed a screw.
Step 1: The Power Interface Check
If the device is dead, check the power flow. For rechargeable devices, use a toothpick—never metal—to gently clean the charging port. A surprising amount of pocket lint or desk dust can prevent a solid connection. If the port looks clean, try a different cable. Often, we assume the device is dead when the cable has simply broken internally.
Step 2: The Contact Point Inspection
For battery-operated devices, remove the batteries and look at the contact springs. Are they corroded? If they look green or white, that is battery leakage. You can clean this with a cotton swab dipped in 90% isopropyl alcohol. This is a vital step because even a tiny amount of corrosion increases electrical resistance, causing the device to drop the wireless signal intermittently.
Step 3: The “Click” Test
If the issue is a mechanical switch, you can often perform a “temporary fix” by blowing compressed air into the gap of the switch. This clears out microscopic debris. If that fails, the next step involves opening the shell. This is where you need a proper set of precision screwdrivers (Phillips #00 or #000 are standard for most peripherals).
Essential Tools for the Home Technician
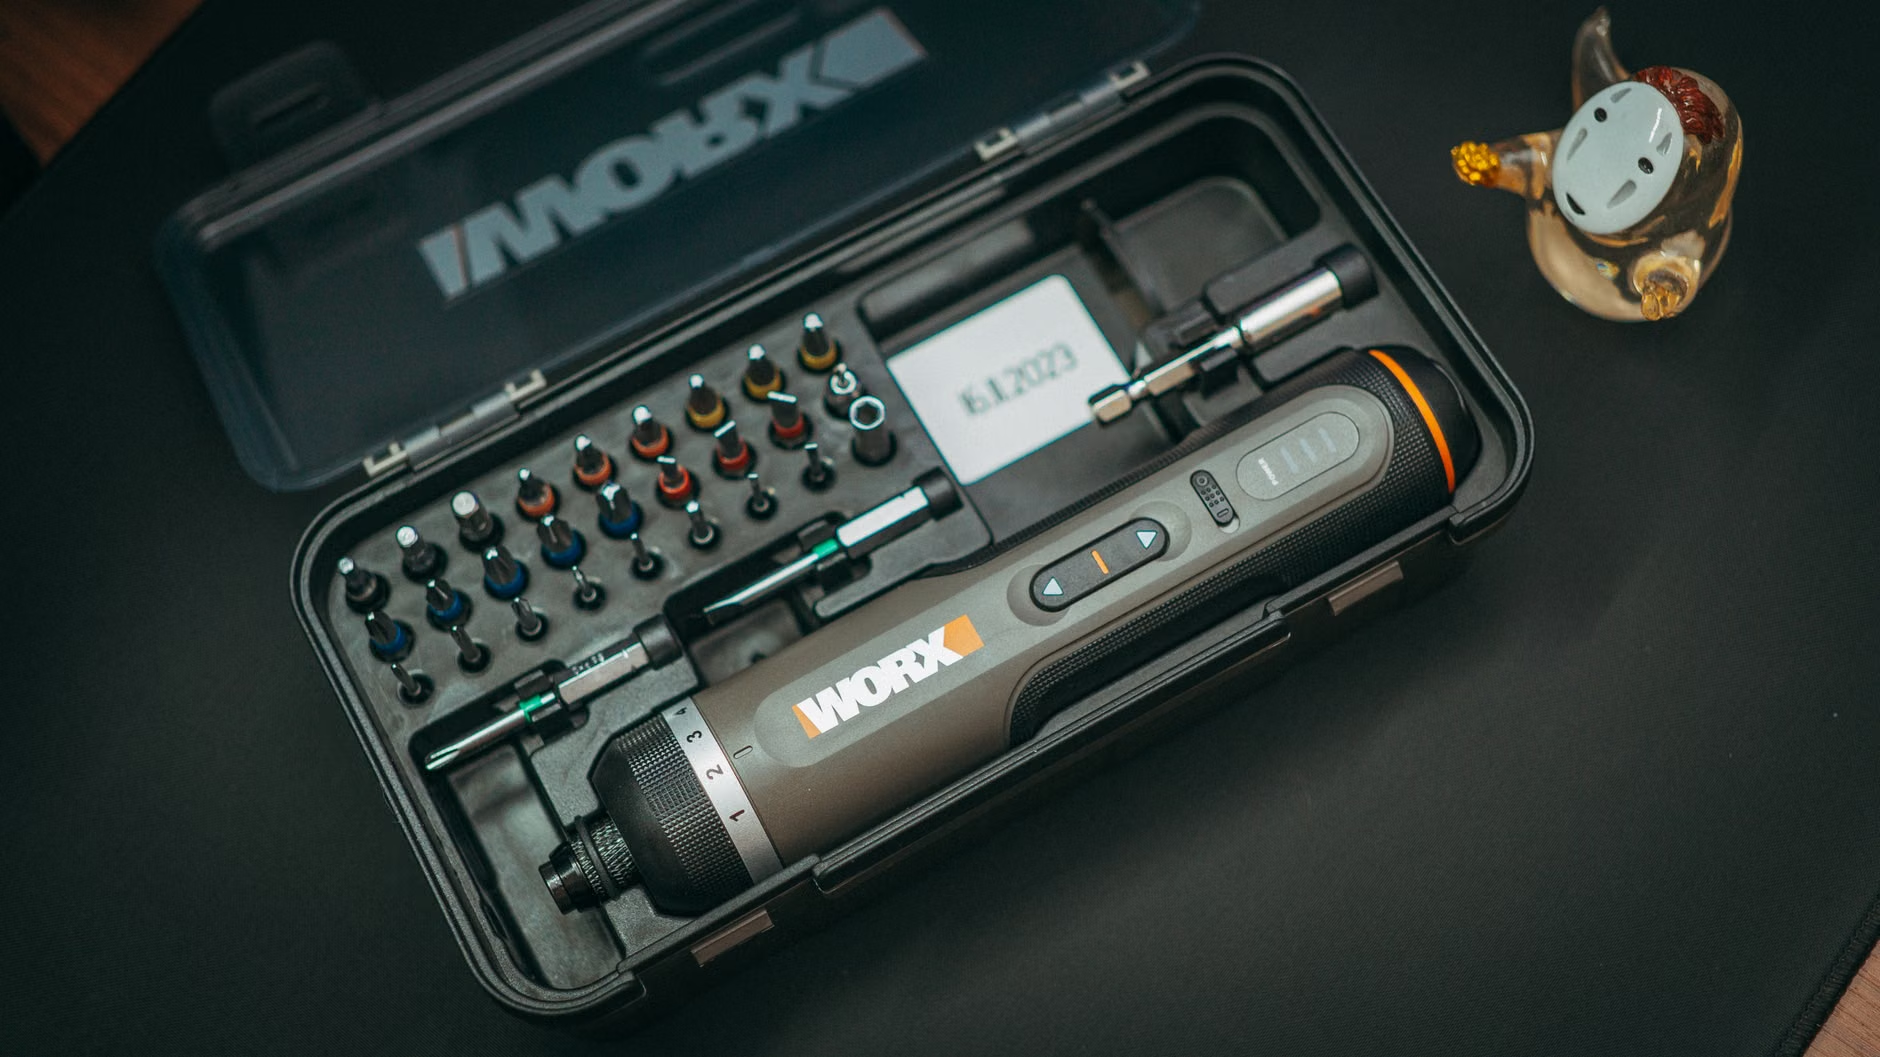
You don’t need a professional electronics lab to fix your mouse or keyboard. In fact, keeping a small “tech repair kit” in your junk drawer will save you dozens of hours of frustration over the years. Here is what you should actually have:
- Precision Screwdriver Set: Ensure it has a rotating cap for one-handed operation.
- Isopropyl Alcohol (90% or higher): This is the gold standard for cleaning electronics because it evaporates quickly and doesn’t leave a residue.
- Plastic Prying Tools (Spudgers): These are essential for opening plastic shells without leaving ugly marks on the edges.
- Tweezers: Fine-tipped metal tweezers are necessary for handling small springs or internal ribbons.
- Microfiber Cloths: To ensure no lint is left behind inside the shell.
A note on safety: Always remove the battery before working on the internal components. Even if it is a rechargeable battery, if you can unplug it, do so. Shorting an internal battery with a metal screwdriver can cause a fire or damage the delicate circuit board permanently.
Advanced Repairs: When to Proceed and When to Stop
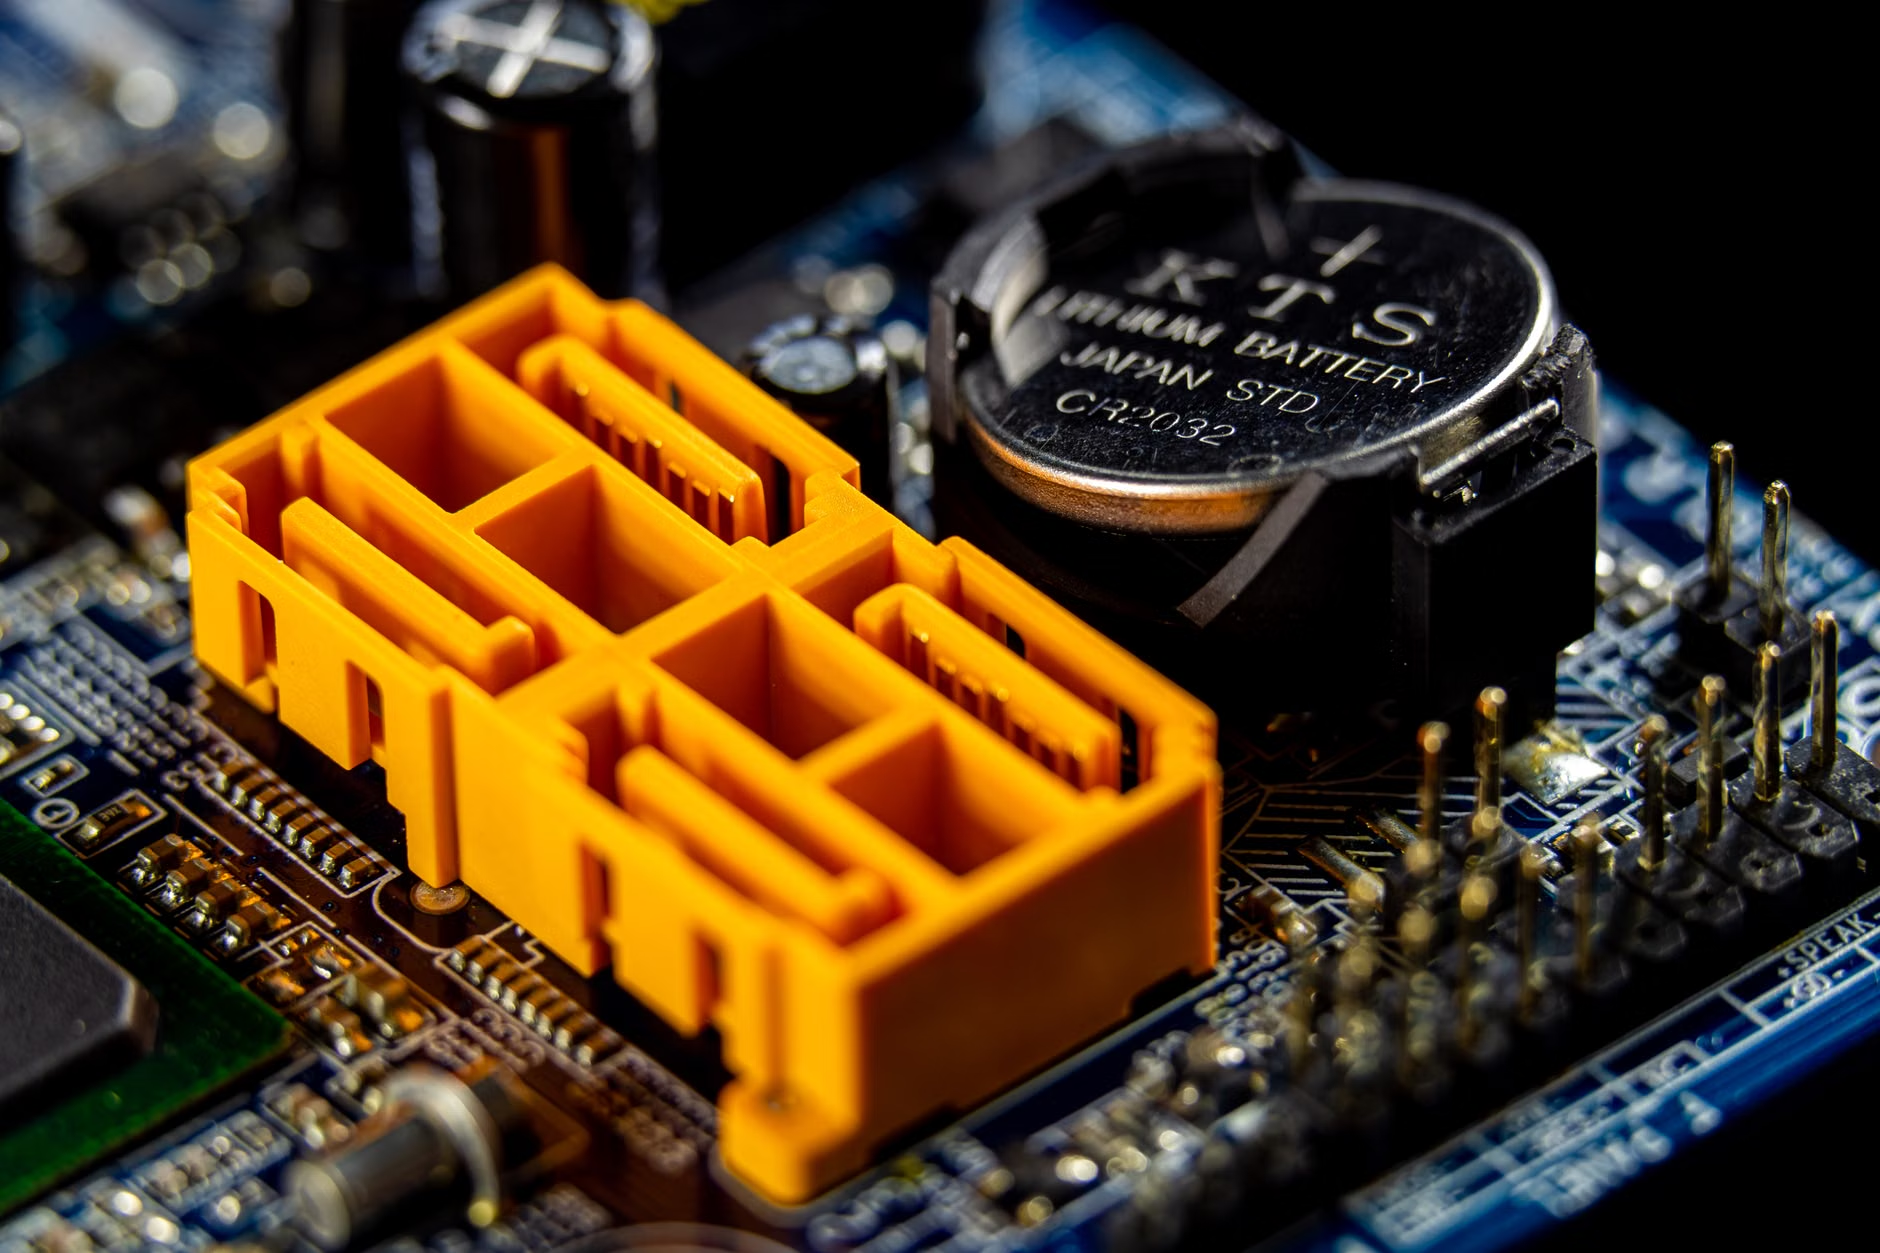
Once you are inside the device, you will see the PCB (Printed Circuit Board). This is where the magic happens. If you are comfortable, you can replace the micro-switches entirely. This is a common practice for gamers who use expensive mice; they buy “Omron” or “Kailh” switches for a few dollars and solder them onto the board. This effectively makes the mouse “new” again.
However, you need to know your limits. If the device uses surface-mount technology (SMT) where components are tiny, flat, and soldered directly to the board, and you do not have a steady hand with a soldering iron, stop. You are more likely to bridge connections or lift a copper pad, which is a terminal failure. In these cases, the best repair is often a “mechanical” one: cleaning the existing switch as best you can and reassembling the unit.
Another common issue is the scroll wheel. If it feels “loose” or skips, it is usually because the plastic encoder has worn down. Sometimes, a tiny drop of specialized electronic contact cleaner (like DeoxIT) into the encoder housing can bring it back to life. Do not use WD-40. Standard WD-40 is not an electronic cleaner and will leave a sticky residue that attracts more dust, ruining the sensor over time.
The Hidden Costs of Modern Peripheral Design
We are currently living in an era of “glued” electronics. Many manufacturers use strong adhesives instead of screws to seal their devices. This is a major hurdle for repair. If you encounter a device that is glued shut, you have a decision to make: do you use a heat gun to soften the adhesive, or do you accept that opening it will likely damage the cosmetic finish?
For most parents, the trade-off is simple: if the device is already non-functional, the cosmetic damage is irrelevant. Using a hair dryer on a medium setting for 30 seconds can often soften the glue enough to allow you to pry the shell apart with a plastic tool. Always work slowly. If you hear a cracking sound, you are moving too fast. Heat is your friend, but too much heat can warp the plastic casing. Aim for “warm to the touch,” not “hot.”
Maintenance: Extending the Life of Your Hardware
The best repair is maintenance. Most people wait until their device fails before they think about its condition. By then, the internal damage might be significant. Here is a quarterly maintenance routine you can follow to keep your peripherals running for 5+ years:
- Surface Cleaning: Use a damp (not wet) cloth with a tiny amount of mild soap to wipe down the mouse and keyboard monthly. Skin oils are acidic and degrade rubberized coatings over time.
- Sensor Clearance: Use a can of compressed air once every three months to blow out the sensor area of your mouse. This prevents erratic cursor movement.
- Port Inspection: Check your charging cables for fraying. A bad cable can cause “phantom” power issues that look like a dying battery.
- Firmware Updates: Check the manufacturer’s software once a year. Sometimes, “hardware” issues are actually firmware bugs that cause the device to enter a sleep mode incorrectly.
It is also worth noting that rechargeable batteries have a finite lifespan. If you notice your wireless mouse used to last 30 days on a charge but now only lasts three, you don’t necessarily need a new mouse. You can often find the exact replacement battery model number printed on the battery itself. Search for that model number on electronics supply sites. Replacing a battery is often as simple as unplugging a small white connector and plugging in a new one.
Common Misconceptions About Hardware Repair
There is a pervasive myth that “opening your device voids the warranty.” While this is often stated in manuals, in many jurisdictions (such as the US under the Magnuson-Moss Warranty Act, or similar consumer protection laws in the EU and Australia), the manufacturer cannot deny a warranty claim simply because you opened the device, unless they can prove that your actions specifically caused the damage. However, if you break a ribbon cable while trying to fix a loose battery, that is on you.
Another misconception is that you need “special” parts. While some proprietary parts (like custom-shaped batteries) exist, most of the components inside your mouse—switches, capacitors, and LEDs—are industry-standard parts. You don’t need to buy a “Logitech switch”; you just need to buy a switch with the same physical dimensions and actuation force. Learning to identify these parts by their specifications rather than their brand name is the key to becoming a successful DIY repairer.
Practical Decision Criteria for Repair vs. Replace
When is it time to give up? Not every piece of hardware is worth saving. Use this decision matrix to decide your next move:
| Criteria | Repair | Replace |
|---|---|---|
| Cost | Device > $60 | Device < $30 |
| Complexity | Mechanical/Battery issues | Mainboard/Processor failure |
| Availability | Standard parts available | Proprietary/Obsolete parts |
| Sentimental Value | High (e.g., favorite feel) | Low/Generic |
If the main processor or the wireless transmitter chip fails, it is almost never worth repairing. These components require specialized equipment to replace and are rarely available for purchase. If you have done the basic cleaning, replaced the battery, and the device still refuses to connect to your computer, it is likely a chip-level failure. At that point, you have done your due diligence, and it is time to move on.
Building a Sustainable Tech Habit
Our goal should be to treat our peripherals like tools rather than disposable accessories. By taking the time to understand the hardware, we reduce our environmental footprint and save money that can be better spent on other family needs. The satisfaction of fixing a $100 mouse with a $2 part and 20 minutes of your time is a tangible win in a world that often pushes us toward constant consumption.
Remember that the first time you open a device, it will feel intimidating. You might worry about breaking the plastic clips or losing a tiny screw. This is normal. Use a magnetic tray or a piece of paper with a drawing of the device to keep track of where each screw goes. If you feel frustrated, step away. These repairs are not a race. They are a way to reclaim agency over the tools you use every single day.
Start with your oldest, cheapest device that is currently sitting in a drawer. Use it as your practice subject. Once you successfully repair it, you will have the confidence to tackle your daily driver. Technology is meant to serve us, not the other way around. By maintaining and repairing your gear, you ensure that it remains a reliable partner in your work and creative pursuits for years to come.
For those interested in identifying specific part numbers for their devices, sites like iFixit offer excellent teardown guides that can help you visualize the internal layout of your specific model before you even pick up a screwdriver. Always verify your specific model number, as manufacturers often change internal layouts between different hardware revisions.
Frequently Asked Questions
Q: Can I use super glue to fix a broken plastic casing on my mouse?
A: Avoid super glue (cyanoacrylate) if possible. It can seep into internal components and ruin them. If you need to fix a structural crack, use a small amount of epoxy or a plastic-welding adhesive. If you must use super glue, apply it to a toothpick first, then transfer a tiny amount to the joint, rather than applying it directly from the bottle.
Q: My keyboard keys are “mushy” after I spilled a drink on them. Is it ruined?
A: Not necessarily. If the liquid was sugary, it leaves a residue that makes the mechanism stick. You can often carefully remove the keycaps and clean the switches with a high-percentage isopropyl alcohol (90%+) and a soft brush. Let it dry completely for 24 hours before plugging it back in. If the liquid was water, unplug it immediately and let it sit in a dry, warm place for 48 hours.
Q: How do I know if the wireless transmitter (the USB dongle) is the problem?
A: If the device works on one computer but not another, or if the connection is perfectly fine when plugged in via a charging cable but drops when using wireless, the transmitter or the internal wireless antenna is likely at fault. If the dongle itself is broken, it is usually impossible to repair, and you should check if the manufacturer sells replacement receivers that can be “paired” to your existing device using their software.
Final thought: Every device you successfully repair is a small victory against the cycle of waste. Take your time, stay organized, and don’t be afraid to explore the technology you use every single day.