The most accurate weather forecast for your home isn’t found on a global app; it is generated by a sensor located exactly where you stand, and building one using open-hardware is an accessible, high-reward project for any family.
- Hyper-local precision: Open-hardware stations provide micro-climate data that national meteorological services cannot capture for your specific street or garden.
- Educational ROI: Building a station from scratch teaches children fundamental principles of electronics, coding, and environmental science far better than a pre-packaged consumer unit.
- Cost vs. Customization: While entry-level kits start around $80, open-hardware allows for endless expansion and repair, unlike proprietary “black box” consumer weather stations.
Why Your Weather App Is “Lying” to You
We have all been there: the weather app on your phone says it is 22°C and sunny, but you step onto your patio and it feels like a furnace, or you look at your garden and see frost that the forecast completely missed. This isn’t necessarily a failure of meteorology; it is a limitation of scale. Official weather stations are usually located at airports or large parks. They measure conditions for a massive radius, ignoring the “urban heat island” effect or the specific wind funneling created by your neighbor’s new home extension.
For parents juggling school runs, sports practices, and weekend gardening, knowing the actual temperature and humidity in your backyard changes how you dress the kids, when you water the plants, and how you plan your weekend. This is where “amateur urban meteorology” steps in. By deploying an open-hardware sensor kit, you move from being a passive consumer of generalized data to an active observer of your own micro-climate.
The beauty of open-hardware—using platforms like Arduino or Raspberry Pi—is that the system belongs to you. You aren’t locked into a manufacturer’s subscription service, and you aren’t forced to throw away a $200 unit just because one sensor failed. You can replace, upgrade, and integrate your station into your existing smart home ecosystem.

Understanding the Hardware: What You Actually Need
If you have never touched a soldering iron or written a line of C++, the prospect of building a weather station can feel daunting. However, the current landscape of “plug-and-play” modules makes this much easier than it was a decade ago. You do not need to be an engineer; you need to be a researcher who can follow a logical sequence of steps.
To build a robust station, you generally need four components:
| Component | Purpose | Critical Tip |
|---|---|---|
| Microcontroller | The “brain” (e.g., ESP32 or Arduino) | Use an ESP32 if you want built-in Wi-Fi for remote data logging. |
| Sensor Array | Measures temp, humidity, pressure | The BME280 sensor is the gold standard for hobbyist accuracy. |
| Power Source | Battery or solar panel | Avoid relying on pure battery power unless you use “deep sleep” code. |
| Housing | Radiation shield (Stevenson screen) | Never mount sensors in direct sunlight; ventilation is key. |
The most common mistake beginners make is mounting the sensor inside a dark, unventilated box. If your sensor is in direct sunlight or trapped in a sealed container, the “greenhouse effect” will cause your readings to spike, rendering your data useless. A proper Stevenson screen—a louvered box that allows air to pass through while blocking direct sun—is essential. You can buy these, or if you have access to a 3D printer, you can print one for a fraction of the cost.
The Path to Implementation: From Box to Backyard
Building this isn’t just about the hardware; it is about the workflow. Let’s break down the process into a manageable path for a busy adult. You don’t have to do this in one weekend. In fact, doing it over a month makes for a great family project.
Phase 1: The Breadboard Prototype
Before you ever touch a drill or a permanent soldering iron, you connect your sensors to your microcontroller on a “breadboard.” This is a plastic board with holes that lets you connect wires without soldering. If you make a mistake, you just pull the wire out and move it. This is where you learn to load the code. Most sensors have “libraries” available online—essentially pre-written chunks of code that tell your brain how to talk to the sensor. You copy, paste, and upload.
Phase 2: Data Visualization
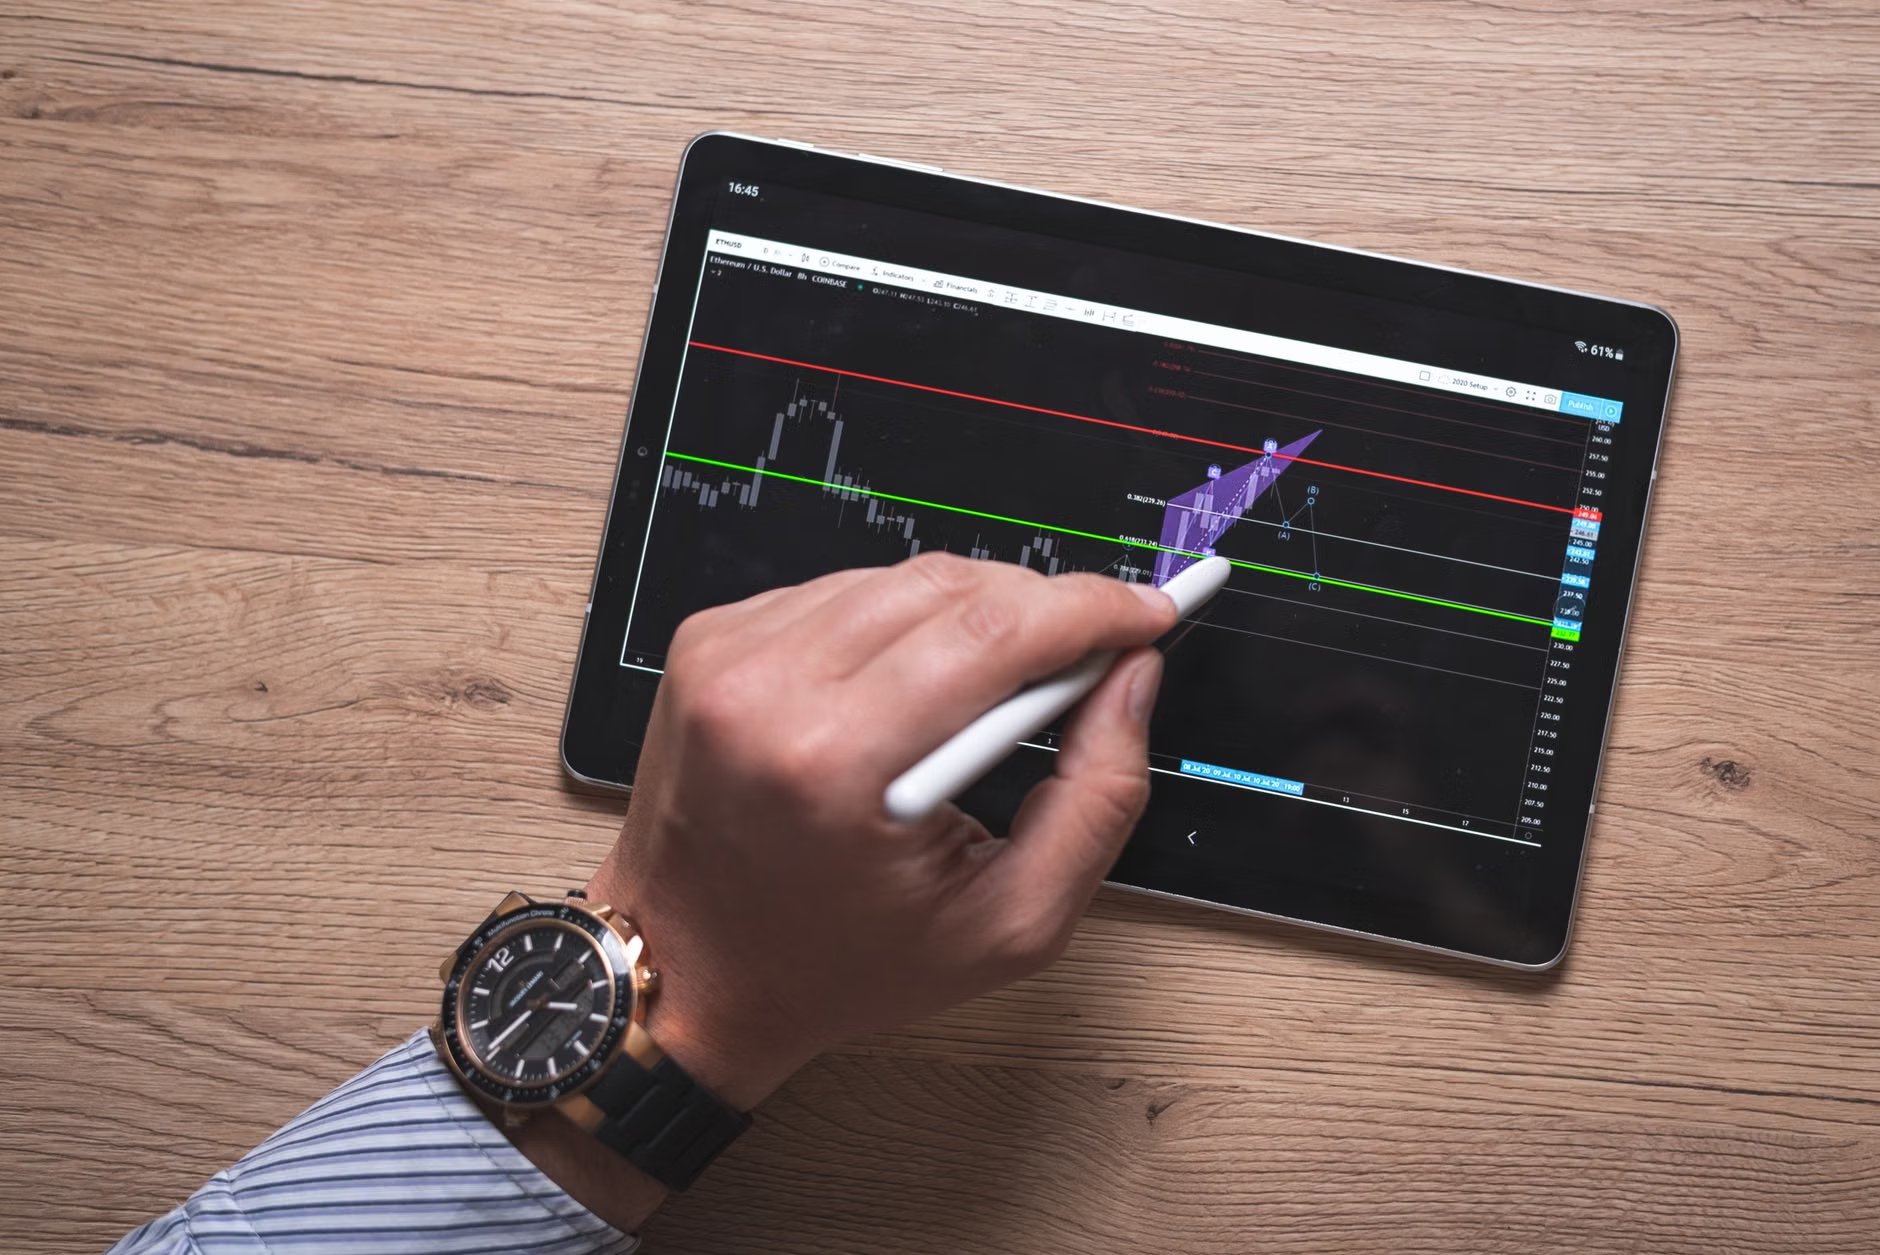
Once the sensor is talking to the microcontroller, where does the data go? You have three main paths:
- Local Logging: Saving data to an SD card. It’s simple but requires you to physically retrieve the card to see the data.
- Home Assistant: If you are already into smart home tech, you can feed this data directly into a Home Assistant dashboard. This is the “pro” route.
- Cloud Dashboards: Services like Thingspeak or Adafruit IO allow you to send your data over Wi-Fi to a website, where you can view it on your phone from anywhere.
Phase 3: The Deployment
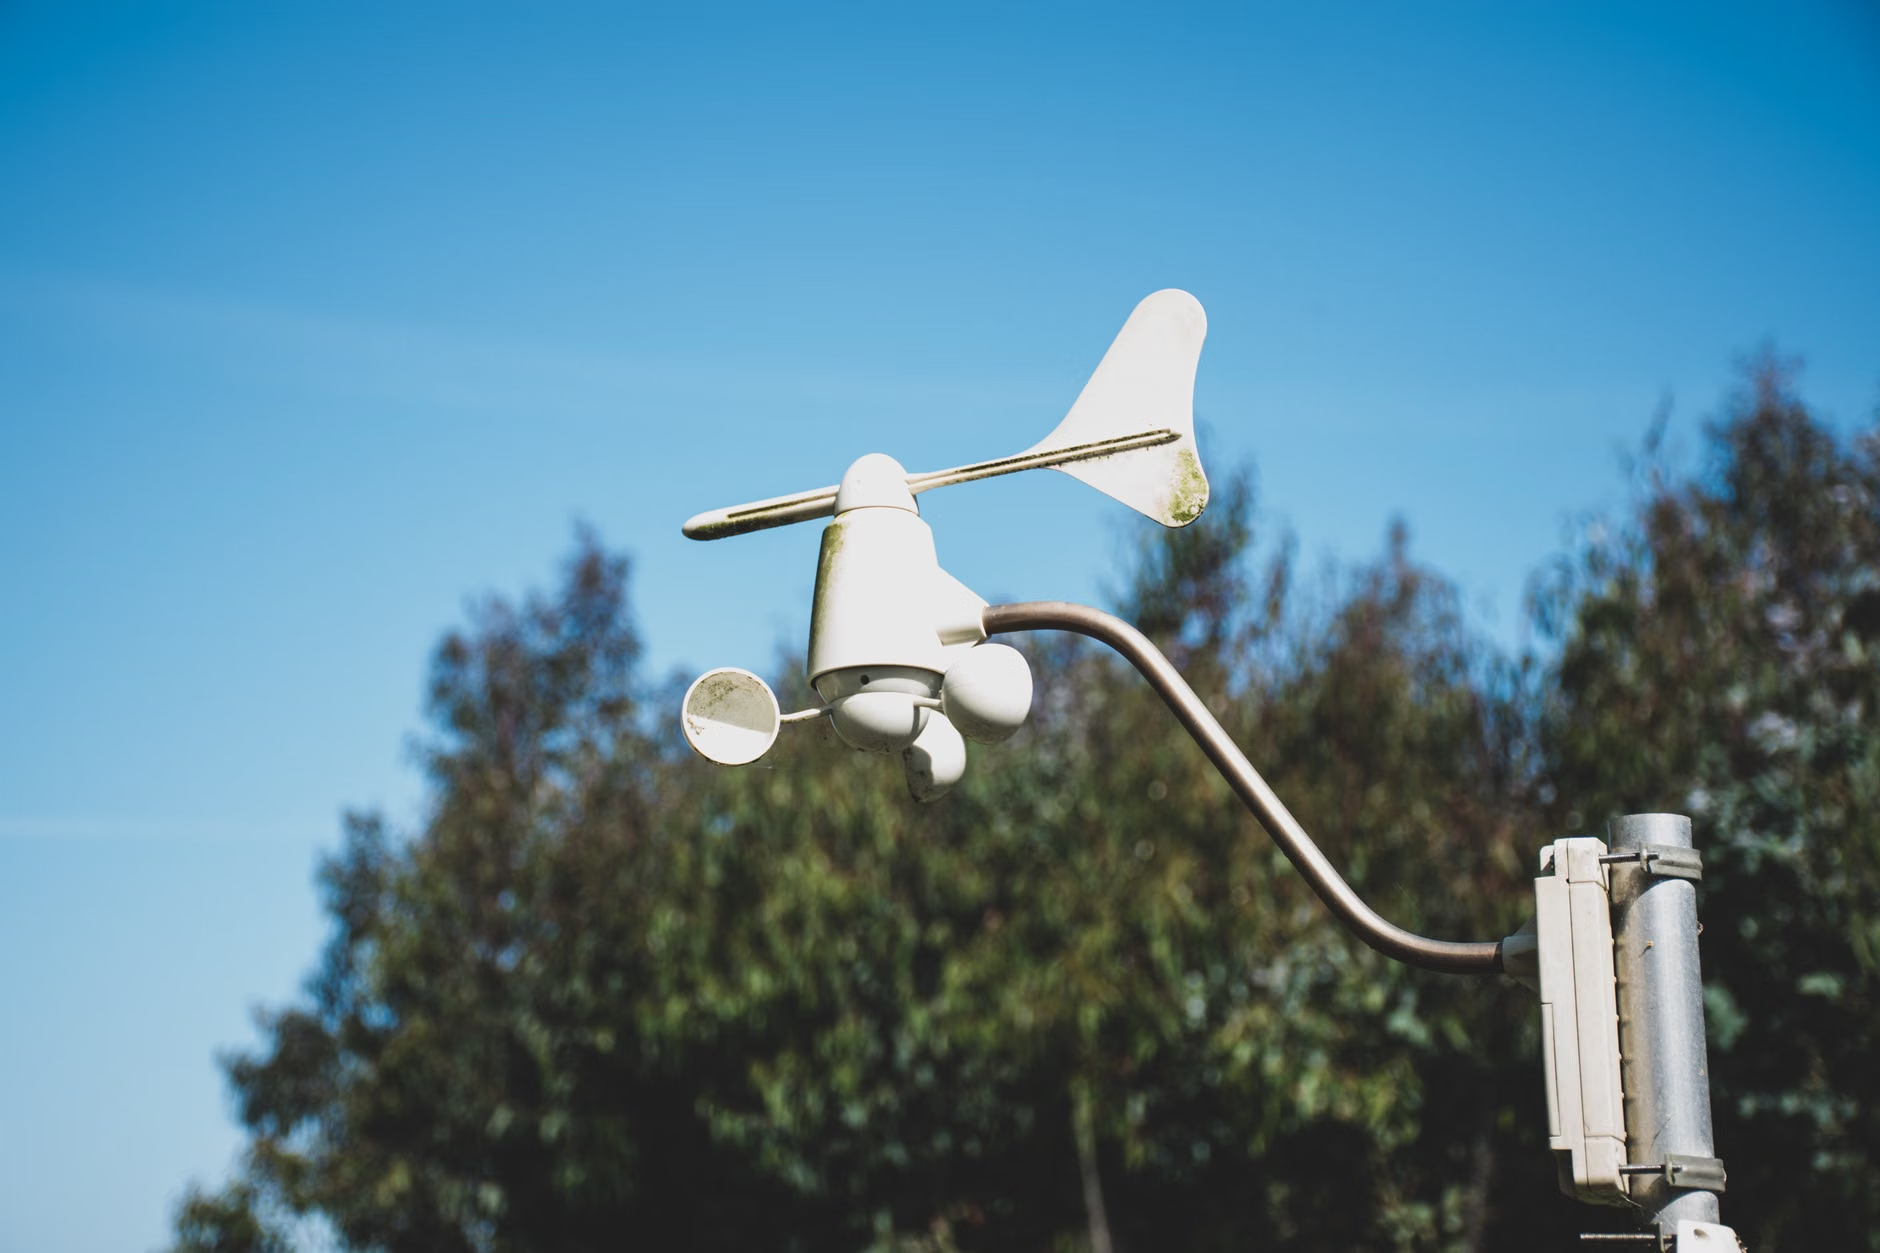
This is where the real-life environment challenges you. You need to consider cable length, weatherproofing, and power. If you are mounting this on a fence, how will you protect the wires from moisture? Using heat-shrink tubing and silicone sealant is a mandatory step for any outdoor electronics. This is also where you teach your children about the importance of “casing”—protecting sensitive technology from the elements is a fundamental lesson in engineering.
Common Pitfalls and How to Avoid Them
Even with the best hardware, amateur meteorology has its traps. The most frequent issue is sensor drift. Over time, cheap sensors can lose their calibration, especially if exposed to high humidity or pollutants. If your humidity sensor starts reading 100% when it’s clearly dry, it’s likely suffering from salt buildup or chemical contamination. The solution? Periodically cross-check your data against a high-quality, calibrated handheld hygrometer.
Another issue is “electrical noise.” If you run your sensor wires too close to high-voltage power lines or heavy-draw appliances, your data might look like jagged, erratic lines. Always use shielded cables for long runs and keep your data lines separate from power lines. It’s a simple rule, but it saves hours of troubleshooting.
Finally, there is the “over-engineering” trap. You might want to measure wind speed, rainfall, and UV index all at once. My advice? Start with temperature and humidity. Once you have a stable, reliable stream of that data, add the wind sensor. Adding too many variables at once makes it nearly impossible to diagnose which component is failing when things go wrong.
Why This Matters for Your Household
Why go through the effort of building this when a $50 weather station from a big-box store does the same thing? The answer lies in agency. When you use an off-the-shelf product, you are a user. When you build with open-hardware, you are a maintainer and a creator. If a sensor breaks in three years, you don’t throw the whole system away—you spend $5 on a new sensor and fix it.
For parents, this is a masterclass in “right-to-repair” culture. It teaches kids that technology is not magic; it is a series of interconnected systems that we can understand, modify, and improve. It shifts the perspective from “this device stopped working, time to buy a new one” to “let’s look at the logs and see why this is happening.”
Furthermore, in an era where we are increasingly concerned about environmental changes, having your own data is empowering. You can track how your local temperature changes during a heatwave compared to the official city data. You can observe the correlation between humidity and your family’s allergies. You are turning your home into a laboratory, which is exactly the kind of curiosity-driven environment that fosters a love for science.
Technical Considerations for Advanced Users
For those who want to take this to the next level, integration with automation is the logical next step. Imagine your home weather station detecting high humidity and automatically turning on your dehumidifier, or sensing the onset of rain and triggering a notification to your phone to close the nursery windows. This is the “smart” in smart home, and it relies entirely on the quality of your sensor data.
If you are using an ESP32, you can utilize the “Deep Sleep” function to make your station last for months on a single battery charge. The microcontroller wakes up every 10 minutes, takes a reading, sends it to your server via Wi-Fi, and goes back to sleep. This is a critical design pattern for any outdoor, remote-powered device. Without it, you will be changing batteries every three days, which is a sure-fire way to lose interest in the project.
Security is also worth a mention. If you are hosting your own data, ensure your ESP32 is not exposed directly to the public internet. Use a local gateway or a secure cloud MQTT broker. You do not want your home weather station to become an entry point for hackers to access your home Wi-Fi network. Always update your firmware and keep your network segments isolated.
Resources and Next Steps
To get started, you don’t need to reinvent the wheel. The community behind open-hardware is massive. Websites like Arduino.cc and RaspberryPi.org have extensive documentation on sensor integration. For specific weather-related projects, the Weather-Watch forums are a goldmine of information where enthusiasts share their setups and troubleshoot common issues.
If you are looking for a specific starting kit, look for “ESP32 BME280 starter kits” on reputable electronics components sites like Adafruit or SparkFun. These companies provide not just the hardware, but the tutorials that actually explain how things work, rather than just giving you a box of parts. Avoid the ultra-cheap kits on massive discount marketplaces; they often come with knock-off sensors that are notoriously inaccurate and lack documentation.
Ultimately, the goal is to build something that lasts. Start small, focus on the quality of your connections, and don’t be afraid of a little trial and error. The most valuable part of this project isn’t the temperature data you collect; it’s the confidence you and your family gain in understanding the world around you.
Frequently Asked Questions
1. Will I need to learn coding to make this work?
You will need to learn the basics of C++ (the language used by Arduino) or Python (if using Raspberry Pi). However, you won’t be writing thousands of lines of code. Most of the work involves copying and modifying existing, well-documented code snippets to match your specific sensor pins.
2. Is it really cheaper than buying a pre-made station?
If you value your time as $0, yes, it can be cheaper. However, if you account for your time, it’s rarely “cheaper” than a mid-range consumer station. The value proposition is not cost savings; it is customization, repairability, and the educational experience of building a system that you fully control.
3. How often do I need to calibrate my DIY weather station?
Ideally, check your sensors against a reliable reference unit once every six months. If you notice a steady, non-weather-related drift in your readings, it is a sign that the sensor element is degrading due to environmental exposure and may need replacement. This is a common maintenance task in any professional or serious amateur installation.
Start your project by researching your local climate needs and choosing a microcontroller that fits your comfort level—the backyard laboratory is waiting.