If your child’s tablet screen is shattered or the battery barely holds a charge, the most cost-effective solution is often a targeted DIY repair rather than a professional service or a total replacement. While modern devices are increasingly designed to be difficult to open, many entry-level or mid-range tablets marketed for children follow modular designs that are surprisingly accessible if you have the right tools and a bit of patience.
- The 50% Rule: If the cost of parts and your estimated time exceeds 50% of the price of a new, equivalent tablet, skip the repair and upgrade.
- The “Ghost” Fix: Most charging issues aren’t hardware failures; they are caused by compacted lint or debris in the port, which can be cleared in seconds using a non-conductive tool.
- Warranty Awareness: Opening your device almost always voids the manufacturer’s warranty; check your purchase date before picking up a screwdriver.
The Reality of Repairing Kids’ Tech
We have all been there. You hear that sickening “crunch” from the backseat, or you see the tablet sliding off the kitchen counter in slow motion. Before you rush to a local repair shop or start browsing for a brand-new device, it is worth pausing to evaluate the actual state of the hardware. Many parents treat tablets as “black boxes”—sealed units that, once broken, are destined for the bin. In reality, most tablets are just plastic shells housing a battery, a motherboard, and a screen.
The decision to repair usually comes down to three factors: the age of the device, the nature of the damage, and the availability of spare parts. If your tablet is more than three years old, software obsolescence is a silent killer. Even if you fix the glass, the processor may struggle to run modern apps, making the physical repair a temporary bandage on a device that is already nearing its end-of-life cycle.
However, if the device is relatively new, the repair is often straightforward. The biggest hurdle isn’t the technical skill required; it is the “fear factor.” Manufacturers rarely design these devices with the end-user in mind, which means you will encounter strong adhesives and hidden screws. Understanding how to navigate these obstacles requires a shift in mindset: treat the tablet as a puzzle, not a piece of delicate jewelry.
Diagnostic First: Is It Really Broken?
Before you commit to buying a replacement screen or a new battery, you must perform a thorough diagnostic. A common mistake is assuming a hardware failure when the issue is actually software-related or dirt-related. For instance, a tablet that won’t charge is often just a victim of a stuffed charging port. Over months of use, lint from blankets, crumbs from snacks, and dust get pressed into the bottom of the USB-C or Micro-USB port. This prevents the cable from seating fully, leading to a loose connection or no connection at all.

To diagnose a charging issue, follow this protocol:
- The Visual Inspection: Use a bright flashlight and a magnifying glass to look inside the charging port. Do you see dark, compacted fuzz?
- The Cleaning Phase: Use a non-conductive wooden toothpick or a plastic spudger. Never use metal needles or paperclips, as these can bridge the pins and cause a short circuit, effectively killing the motherboard.
- The Cable Test: Try a different cable and a different wall brick. A faulty cable is the most common cause of “charging issues” and costs $10 to fix, whereas a motherboard repair is rarely worth the investment.
If the device is unresponsive, perform a “hard reset.” On most Android-based kids’ tablets, this involves holding the Power button and the Volume Down button simultaneously for 15 to 30 seconds. If the device boots up, your problem was likely a software freeze, not a hardware failure.
The Decision Matrix: Repair vs. Replace
When you have confirmed the hardware is physically damaged—like a cracked digitizer or a swollen battery—you need a decision framework. I suggest using the following table to determine your next step.
| Condition | Repairability | Recommendation |
|---|---|---|
| Cracked screen, touch still works | High | DIY repair is viable with a kit. |
| Cracked screen, touch is dead | Moderate | Requires replacing the digitizer; check part cost vs. device value. |
| Swollen battery | Low (Dangerous) | Replace the device immediately. Do not attempt to repair. |
| Charging port snapped off | Low | Requires micro-soldering; professional repair only. |
A note on swollen batteries: If you see the screen lifting or the back casing bulging, this is a sign of a lithium-ion battery failure. This is a fire hazard. There is no “fix” for a swollen battery other than recycling the device at an authorized e-waste facility. Do not attempt to puncture or force the casing back into place.
Tools of the Trade: What You Actually Need
You do not need a professional-grade electronics lab to fix a tablet. You need a specific, inexpensive set of tools that you can keep in your junk drawer. The “Pro” kits often marketed to enthusiasts are overkill for a parent fixing one tablet every two years.
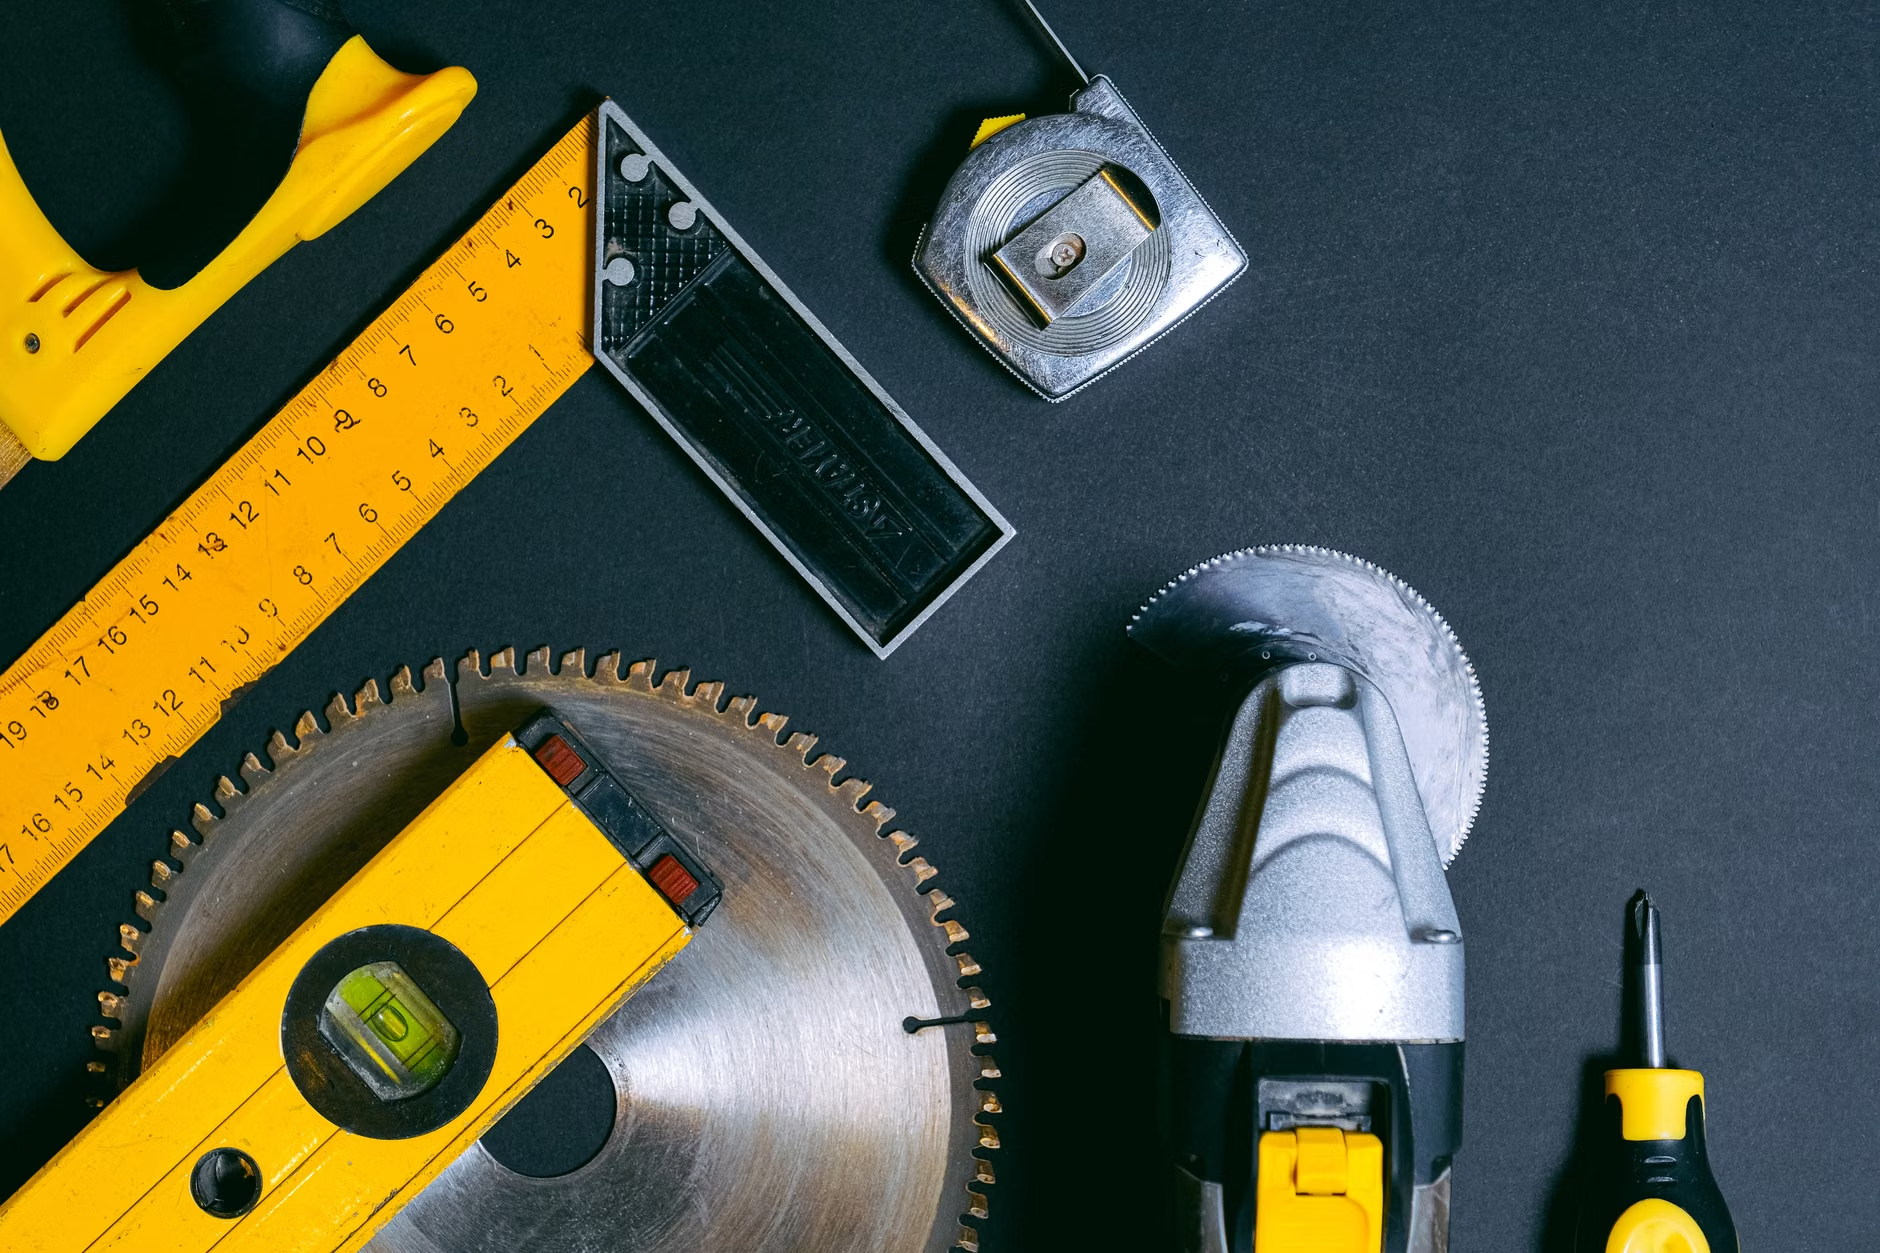
Here is your essential toolkit:
- Precision Screwdriver Set: Ensure it includes T4, T5, and standard Phillips head sizes. Most tablets use tiny screws that strip easily if you use the wrong size.
- Plastic Spudgers and Opening Picks: These are vital for prying the case open without marring the plastic or puncturing internal components.
- Suction Cup: Necessary for lifting the screen assembly away from the frame.
- Heat Source: A hair dryer (on medium heat) is usually sufficient to soften the adhesive holding the screen in place. Do not use a heat gun, which can melt the plastic frame or damage the LCD.
The most important tool in your kit is not physical; it is the iFixit repair guide (or similar community-driven documentation) for your specific model. Before you touch a screw, find a guide. If no guide exists for your specific “no-name” tablet, look for a guide for a similar model from the same manufacturer. Often, the internal layout is identical across several product lines.
Step-by-Step: The Screen Replacement Process
Screen replacement is the most common repair. It is also the most intimidating. The process generally follows a predictable flow, but the devil is in the details.
1. Preparation and Workspace
Work on a flat, well-lit surface. Use a magnetic mat or a simple ice cube tray to organize the screws as you remove them. This sounds trivial, but losing a microscopic screw is the easiest way to turn a 30-minute repair into a two-hour nightmare. Label the compartments in the tray (e.g., “Outer Case,” “Battery Bracket,” “Mainboard”).
2. The Thermal Softening
Most modern tablets use strong double-sided tape to hold the glass to the frame. You must apply heat to the edges of the tablet for about 2–3 minutes. The goal is to make the adhesive tacky, not to make the tablet hot to the touch. If you cannot touch the device, you are applying too much heat.
3. Prying the Assembly
Use the suction cup to lift a corner of the screen just enough to slide in a plastic opening pick. Once the pick is in, run it slowly along the perimeter. Do not force it. If you feel resistance, apply a bit more heat. This is where most people crack the new screen they are trying to install, or worse, slice through a hidden ribbon cable.
4. The Ribbon Cable Trap
The screen is connected to the motherboard by a fragile ribbon cable. As you lift the screen, stop halfway. Look for where the cable connects to the board. You usually need to flip a tiny locking tab (the ZIF connector) to release the cable. If you yank the screen away, you will tear the connector off the motherboard, and the tablet will be permanently broken.
Common Pitfalls and How to Avoid Them
The most common mistake is the “Rush to Finish.” When you are 90% done, you might be tempted to skip re-applying adhesive or ignore a loose screw. This almost always leads to a device that rattles or a screen that pops out a week later.
Another overlooked variable is static electricity. You don’t need a full anti-static suit, but you should avoid working on a carpeted floor while wearing wool socks. Discharge yourself by touching a large metal object (like a radiator or a door frame) before touching the internal components. A tiny static discharge can fry a sensitive motherboard component that you won’t even see.
Finally, consider the hidden cost of cheap parts. If you buy a $15 replacement screen on a major marketplace, it will likely be of lower quality—poorer resolution, lower touch sensitivity, or a different color temperature than the original. Look for “OEM” (Original Equipment Manufacturer) parts if possible, or check the reviews for “aftermarket” parts specifically regarding touch responsiveness.
When to Walk Away
There is no shame in admitting that a repair is beyond your current capability. If you find yourself needing to perform micro-soldering, you should stop. Micro-soldering—the process of attaching tiny components to a circuit board—requires specialized equipment and years of practice. If a repair shop quotes you a price that seems high, remember that you are paying for their liability and their specialized tools. If the quote is more than 60% of the cost of a new device, it is almost always better to recycle the unit and buy a new one.
Also, prioritize your time. If you spend five hours repairing a $100 tablet, you have effectively worked for $20 an hour. If you value your time higher than that, or if the frustration of the repair outweighs the satisfaction of the fix, you have your answer. The goal is to be a resourceful parent, not a full-time repair technician.

The Long-Term View on Device Longevity
To reduce the frequency of future repairs, invest in a high-quality “rugged” case. The cases that come with many kids’ tablets are often thin silicone. A heavy-duty case with reinforced corners and a raised bezel can prevent 90% of screen breaks. The raised bezel is the key—it ensures that if the tablet falls face-down, the glass never actually touches the floor.
Additionally, teach your children the “cradle” method. When they are not using the tablet, it should be placed in a designated charging cradle or on a flat surface, not left on the edge of a bed or a sofa where it is likely to be sat on or kicked. These small behavioral changes are far more effective than any hardware repair.
Ultimately, hardware repair is a skill that saves money and keeps e-waste out of landfills. It teaches children that things are not just “disposable” and that they can be understood and maintained. Even if you fail, the act of opening the device provides a valuable lesson in how the world around them works.
Frequently Asked Questions
1. Does opening my tablet to replace the screen void the warranty?
Yes, in almost all cases. Most manufacturers use “void if removed” stickers over internal screws. If your device is still under warranty, contact the manufacturer first. They may offer a repair service that is cheaper than a third-party shop, or they might replace the unit entirely.
2. Why is my screen flickering after I replaced it?
This usually indicates a loose ribbon cable connection. Open the tablet back up and ensure the ribbon cable is seated perfectly square in the connector and that the locking tab is fully engaged. If the flickering persists, the replacement screen itself might be defective.
3. Where can I find reliable parts for obscure tablet brands?
If the brand is not a major name (like Apple, Samsung, or Amazon Fire), search for the model number printed on the back casing or found in the “About Tablet” settings. Often, these tablets are “white-label” devices, meaning the same hardware is sold under different brand names. Searching by the motherboard model number (often printed on the board itself) can yield better results than searching by the brand name.
For further information on electronic waste and repair resources, visit the official iFixit repair guides or your local government’s electronics recycling guidelines to ensure your old or unrepairable devices are disposed of safely and sustainably.