The most effective way to save money on kitchen appliances and reduce household waste is to demand and utilize accessible repair documentation and spare parts, rather than defaulting to a replacement cycle every time a minor component fails.
Key Takeaways
- Legislative shifts: New “Right-to-Repair” laws in the EU, the US, and beyond are forcing manufacturers to make parts available for longer periods, often up to 7-10 years.
- The “Cost-to-Repair” Rule: If a repair costs less than 50% of the price of a new equivalent unit, it is almost always financially and environmentally superior to fix it.
- Diagnostic First: Most modern “broken” appliances suffer from simple mechanical failures—like blown thermal fuses or clogged intake valves—that do not require a professional technician to resolve.
You’ve been there: the morning coffee maker starts leaking, or the air fryer that you use for everything suddenly stops heating up. The manufacturer’s website says the product is “out of warranty,” and the customer service representative suggests that buying a new one is cheaper than shipping it to a service center. It feels like a scripted interaction designed to push you toward a new purchase. But for those of us in our 30s and 40s—balancing the chaos of parenting, work, and the rising cost of living—this “replace-first” culture is becoming increasingly untenable.
The “Right-to-Repair” movement isn’t just a political talking point for environmentalists; it is a practical manifesto for anyone who wants to regain control over their household budget and the longevity of their tools. When we treat our kitchen appliances as disposable, we aren’t just losing money; we are participating in a cycle of waste that is as frustrating as it is unnecessary.
Understanding the Right-to-Repair Landscape
Right-to-Repair is a global consumer movement that advocates for the right of owners to fix their own electronic and mechanical devices. For decades, companies have used “planned obsolescence”—designing products with a limited lifespan or making them intentionally difficult to open—to ensure that consumers return to the store every few years. However, the tide is turning.
In the European Union, the Ecodesign Directive now requires manufacturers of certain appliances to make spare parts available for up to 10 years. In the United States, states like New York, California, and Minnesota have passed legislation that requires manufacturers to provide diagnostic manuals and parts to independent repair shops and consumers. For you, this means that the “proprietary screw” or the “hidden internal clip” that used to make an appliance unfixable is becoming a thing of the past.
Why does this matter for your home? It means you are no longer at the mercy of the manufacturer’s service center. By understanding your rights, you can hold companies accountable. If you find yourself holding a broken appliance, your first step should be to check the manufacturer’s official support page for a “parts list” or “exploded view diagram.” If they refuse to provide these, you are dealing with a company that is actively working against your ability to maintain your own property.
The Financial Math of Repairing vs. Replacing
One of the most common mistakes people make is assuming that buying a new appliance is always the “smarter” choice because modern technology is more efficient. While it is true that a 20-year-old refrigerator is an energy hog, a two-year-old air fryer or blender is likely just as efficient as the model currently sitting on the shelf. The difference is the cost of the repair.
Consider the “50% Rule.” If you have an appliance that cost $200 and the repair—including parts and your time—is estimated at $100 or less, you should fix it. Why? Because you are maintaining an item you already know how to use, avoiding the hassle of re-learning a new interface, and keeping a bulky piece of plastic and metal out of a landfill. Furthermore, new appliances often have “teething issues” or lower build quality compared to the one you have already vetted.
| Factor | Repair Strategy | Replacement Strategy |
|---|---|---|
| Immediate Cost | Low (Parts + DIY time) | High (Full retail price) |
| Environmental Impact | Minimal (Resource preservation) | High (Waste generation) |
| Learning Curve | Zero (You know the device) | Moderate (New features/settings) |
| Long-term Value | High (Extends appliance life) | Variable (Depends on new quality) |
This table illustrates why repair is the dominant strategy for most mid-range appliances. When you factor in the time spent researching new models, reading reviews, and dealing with disposal of the old unit, the “replacement” option often costs you more in “hidden” time than a simple repair would have cost in money.
Common Kitchen Failures: What You Can Actually Fix
It is easy to feel intimidated by the complex look of a modern food processor or a high-end stand mixer. However, most kitchen appliances operate on surprisingly simple principles. They use electric motors, heating elements, and basic thermal switches. These are the components that fail most often, and they are almost always the easiest to replace.
Take the thermal fuse in a toaster or an air fryer. If your device stops heating up, it is rarely the main circuit board that has died. It is usually a tiny, $5 thermal fuse that has tripped to prevent a fire. The device is designed to “die” to keep you safe, but it is not “broken” in the permanent sense. A manufacturer will tell you the unit is toast (pun intended), but a quick search for the specific model number and “thermal fuse replacement” will often lead you to a $2 part and a 20-minute YouTube tutorial.
Another frequent culprit is the drive coupling in a blender. If the motor is spinning but the blades aren’t moving, the plastic or rubber coupling has likely stripped its teeth. This is a deliberate “sacrificial part” designed to break before the motor burns out. Replacing this is essentially a “pop-off, pop-on” procedure that requires nothing more than a screwdriver.
Steps to Becoming a Home Repair Expert
You don’t need a degree in electrical engineering to master the basics of home appliance repair. In fact, most of the “experts” you see online are simply people who followed a logical, step-by-step diagnostic process. Here is how you should approach any appliance failure in your kitchen:
- Safety First: Always unplug the device. If it has a capacitor (common in some high-end electronics), wait at least 30 minutes for it to discharge. Never work on a plugged-in appliance.
- Find the Model Number: This is usually on a sticker on the bottom or back of the unit. Write it down. Do not rely on the name of the product (e.g., “Blender 3000”). You need the exact alphanumeric model code.
- Search for the Service Manual: Use the model number + “service manual” or “exploded view” in your search engine. Sites like iFixit or Sears PartsDirect are goldmines for these diagrams.
- Identify the Failure Point: Look for visual signs. Is there a burnt smell? Is a wire disconnected? Is there a visible broken plastic gear?
- Source the Part: Once you have the specific part number from the diagram, search for it on generic parts marketplaces. You can often find compatible parts for a fraction of the cost of the “official” branded version.
- Document Your Work: As you take the appliance apart, take photos of each step with your phone. This creates a “reverse map” to help you put it back together correctly.
The most important tool in your arsenal is patience. If you encounter a screw that won’t turn, don’t force it. Use a penetrating oil like WD-40 Specialist to loosen it, or ensure you are using the correct screwdriver bit. Stripping a screw is the fastest way to turn a simple repair into a nightmare.
We are living in an era where even toasters and kettles are getting “smart” features—app connectivity, touchscreens, and proprietary sensors. While these features can be convenient, they represent a significant risk to the longevity of your appliance. A standard kettle relies on a bimetallic strip to turn itself off; a smart kettle relies on a software-controlled sensor and a microchip.
When the software stops being updated, or the app is discontinued by the manufacturer, your “smart” appliance becomes a “dumb” brick. Before purchasing a new appliance, ask yourself: “Does this really need a Wi-Fi connection?” If the answer is no, opt for the “dumb” version. It will be cheaper, more reliable, and significantly easier to repair when the time comes.
If you already own smart appliances, treat them like a computer. Keep the firmware updated if the manufacturer provides updates, and keep the external ports clean. If the appliance starts acting erratically, a “factory reset” is often the first, and sometimes only, step needed to restore functionality.

The Hidden Costs of “Newness”
There is a psychological cost to the constant cycle of buying and discarding. Every time you replace an appliance, you are spending time on research, shipping, unboxing, and the inevitable setup. You are also dealing with the “disposal guilt” of throwing away a large object that is mostly made of recyclable materials but is difficult to process.
Consider the energy and resources required to manufacture, package, and ship a new appliance across the globe. By repairing your current unit, you are effectively extending the life of those embedded resources. This is the most practical form of sustainability—the one that happens in your own kitchen, rather than through abstract policies.
Furthermore, many older, “simpler” appliances were built with a level of over-engineering that modern, cost-optimized products lack. A 10-year-old stand mixer may have a heavy-duty metal gearbox, while its modern counterpart might use plastic gears to keep costs down. You might be “upgrading” to a newer model only to find that it breaks sooner than the one you just threw away.
When to Give Up: Knowing Your Limits
While I advocate for repair, there is a point where it becomes dangerous or illogical. You should know when to call it quits:
- Structural Integrity: If the outer shell is cracked in a way that exposes electrical components or compromises the stability of the device, it is unsafe.
- Corrosion: If the internal circuit boards show signs of extensive water damage or corrosion, it is often impossible to clean them effectively.
- Cost-Prohibitive Parts: If the only available part is a proprietary circuit board that costs 80% of the price of the unit, the manufacturer is effectively pricing you out of a repair. In this case, it is time to buy a new one—but try to recycle the old one properly.
Always check your local municipal guidelines for e-waste recycling. Never throw appliances in the regular trash. Many cities have dedicated drop-off centers that recover valuable metals and plastics from broken small appliances.
Creating a Repair-Friendly Kitchen Culture
How do you make this a part of your daily life? Start by normalizing the repair process in your home. If your children see you fixing a blender instead of throwing it away, you are teaching them a valuable lesson about resourcefulness and ownership. It’s a small, practical way to combat the consumerist pressure that tells them everything is disposable.
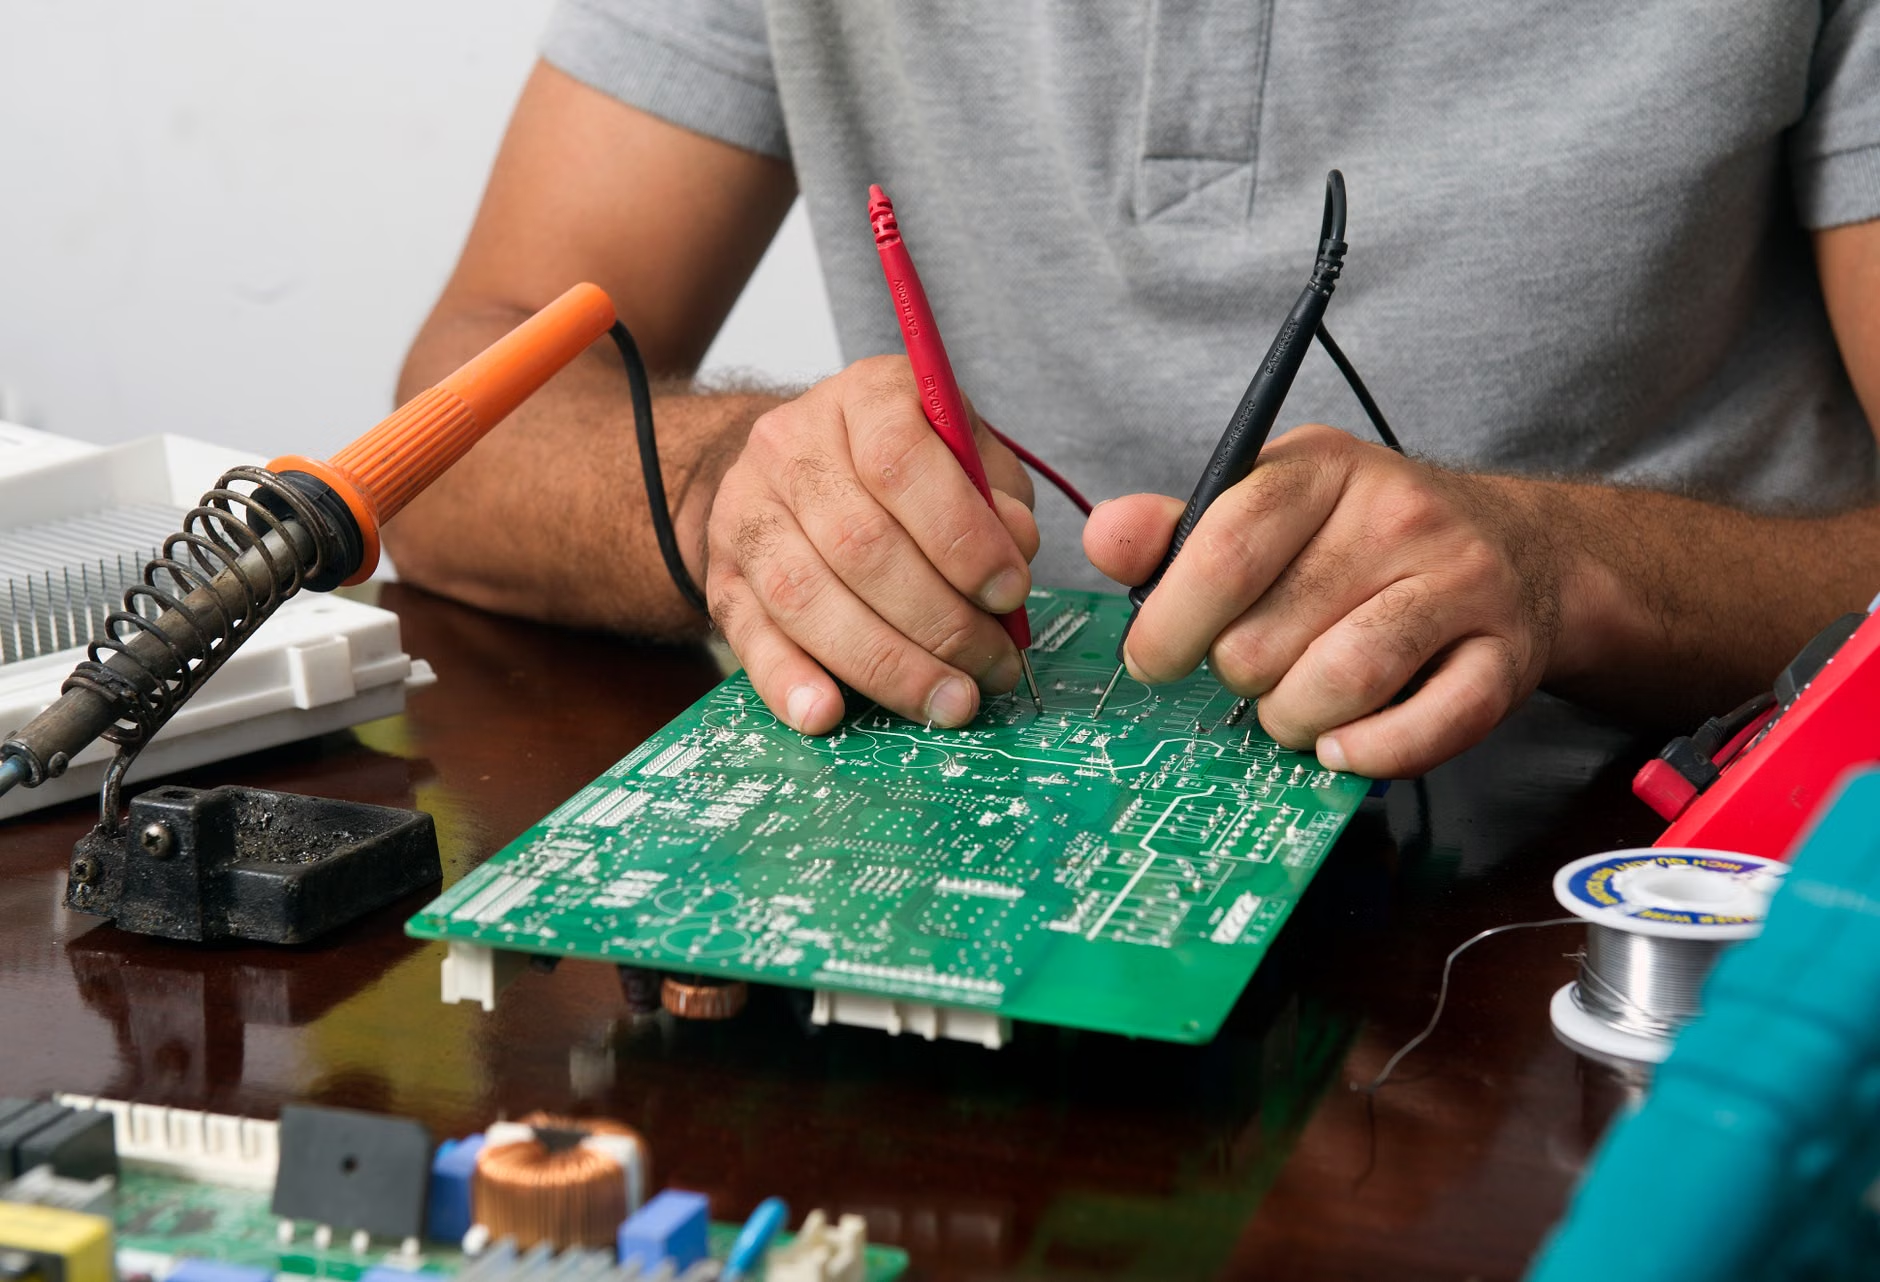
Keep a small “repair kit” in a drawer. It doesn’t need to be professional-grade. A basic set of precision screwdrivers, a multimeter (you can get a decent one for under $30), a roll of electrical tape, and a set of pliers will cover 90% of your needs. When you have the tools ready, the barrier to attempting a repair is significantly lower.
Finally, support companies that design for repairability. If you see a brand that highlights its modular design or its commitment to spare parts, reward them with your business. The more we vote with our wallets, the more manufacturers will realize that we value longevity over the “shiny new” aesthetic.
Repairing isn’t just about saving money; it’s about reclaiming agency. It’s about looking at the things you own and realizing that they aren’t just “products”—they are tools that serve a purpose in your life, and they deserve to be treated with care. The next time something in your kitchen breaks, don’t reach for the “buy new” button. Reach for a screwdriver, look up the manual, and see what you can do. You might be surprised at how capable you really are.
Frequently Asked Questions
1. Does repairing my appliance void the warranty?
In many jurisdictions, such as the US under the Magnuson-Moss Warranty Act, simply opening an appliance or performing a basic repair does not automatically void your warranty unless the manufacturer can prove that your repair caused the specific failure. However, always check your local laws and the specific terms of your warranty agreement before attempting a complex repair while the device is still under coverage.
2. Where can I find reliable repair manuals for older appliances?
If the manufacturer no longer hosts the manual, check community-driven archives. Sites like ManualsLib and iFixit often host user-uploaded manuals and repair guides for thousands of legacy models. If you still cannot find it, search for the “service manual” on forums like Reddit’s r/appliancerepair, where enthusiasts often share digital copies.
3. Is it safe to use non-branded “compatible” spare parts?
In many cases, yes. However, for critical components like heating elements, thermostats, or power cords, always ensure the part meets the same voltage and amperage ratings as the original. Look for parts that carry safety certifications (like UL, CE, or ETL). Avoid “cheap” knock-off parts that have no markings or safety certifications, as these can pose a genuine fire or electrical hazard.
For further reading on your consumer rights, you can consult the official resources provided by the US Federal Trade Commission regarding repair restrictions or the European Commission’s Right to Repair initiative.