- Focus on specific themes: Instead of asking “tell me your life story,” structure interviews around concrete topics like “first jobs,” “childhood games,” or “travel mishaps” to elicit more vivid, detailed memories.
- Leverage the “Travel Trigger”: Use the change in environment during a trip to break routine; familiar surroundings often lead to repetitive stories, while a new location encourages fresh perspectives and unexpected anecdotes.
- Prioritize audio quality and storage: Use a dedicated recording app rather than video to lower the pressure on the interviewee, and store files in at least three locations (cloud, physical drive, and an offline backup) to ensure longevity.
The most effective way to preserve family history isn’t through dusty photo albums stored in the attic, but through the active, intentional practice of oral history—and your next family vacation is the perfect laboratory for this project. When we are caught in the daily grind of school runs, work deadlines, and household management, we rarely have the mental bandwidth to ask the deep, foundational questions that define our family’s identity. Travel, however, acts as a circuit breaker for our routine. It creates a “liminal space” where the usual barriers of daily life are lowered, making it the ideal time to record the stories that would otherwise vanish with time.
An intergenerational oral history project is not just a dusty genealogical exercise; it is a practical tool for building resilience in children and maintaining meaningful connections with aging relatives. By spending a few hours of your trip documenting these narratives, you are creating an heirloom that is far more valuable than any souvenir bought at a gift shop.
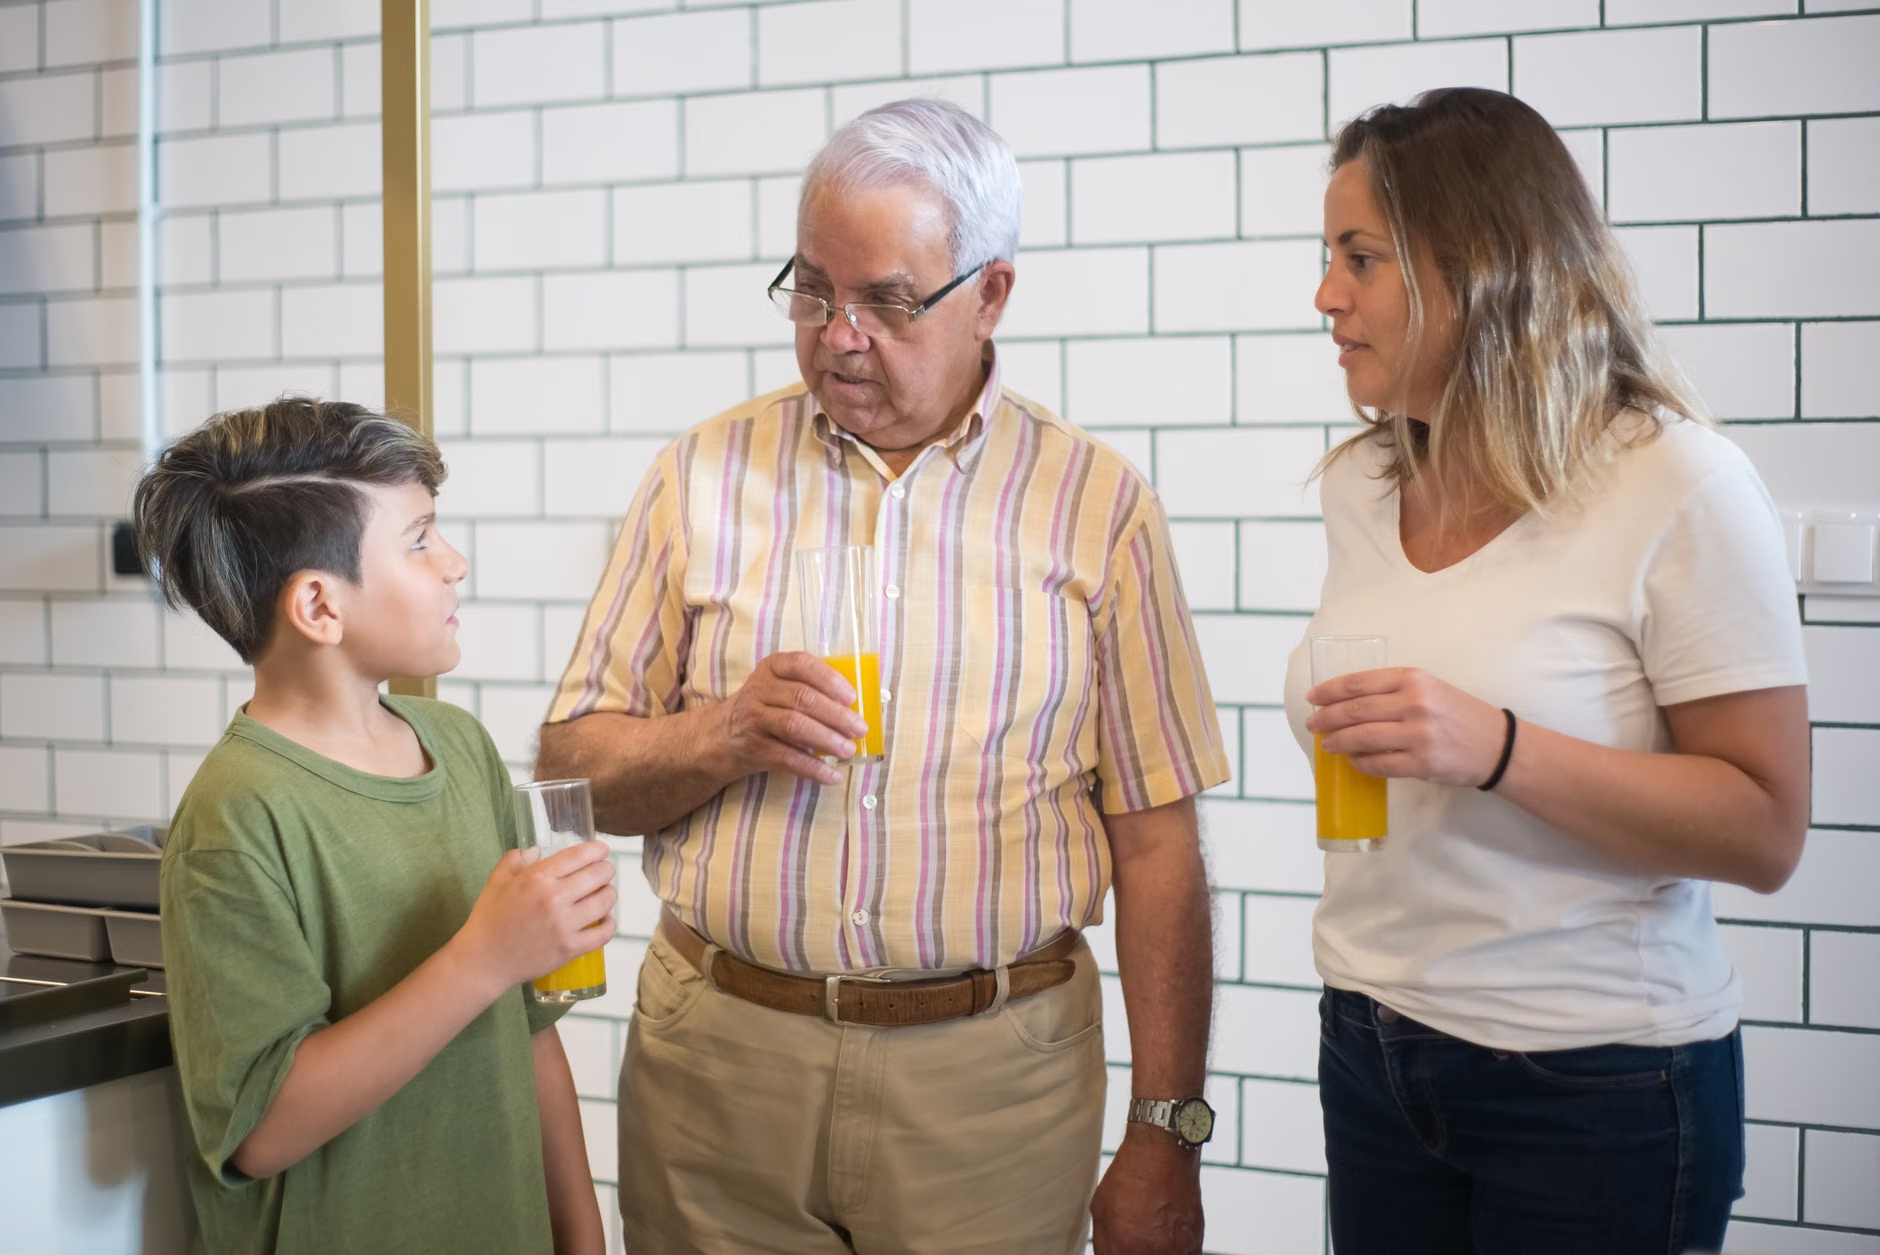
Why Structured Storytelling Matters for Your Family Dynamic
There is a documented psychological phenomenon often called the “intergenerational self.” Research from institutions like Emory University suggests that children who know more about their family history—specifically the ups and downs, the struggles, and the small victories—show higher levels of self-esteem and emotional regulation. When you document these stories during a trip, you aren’t just “recording audio”; you are providing your children with a map of their own identity.
For those of us in our 30s and 40s, this is also a critical window of opportunity. We are often the “sandwich generation,” balancing the needs of our own children with the increasing fragility of our parents or grandparents. The reality is that memory is volatile. By the time we feel we have the “time” to sit down and ask questions, the opportunity may have already passed. Turning a vacation into an oral history project removes the excuse of “not having enough time” because the time is already set aside.
The Difference Between a Conversation and an Interview
Many people fail at this project because they treat it like a police interrogation. If you sit down and say, “Tell me about your life,” you will likely get a sanitized, chronological list of facts that feels more like a resume than a narrative. The secret to a successful project is moving from biographical data to emotional experience.
Instead of asking “Where were you born?”, ask “What is the most vivid smell or sound you remember from your childhood home?” Instead of “What did you do for a living?”, ask “What was the biggest mistake you made in your twenties, and how did you fix it?” These questions pull the interviewee out of their “auto-pilot” storytelling mode and into a space of genuine reflection.
Step-by-Step: Setting Up Your Travel Interview Framework
You don’t need professional equipment to do this well. In fact, a high-end setup can be intimidating. The goal is to make the experience as frictionless as possible. Here is a practical framework for integrating this into your travel schedule.
| Phase | Action Item | Goal |
|---|---|---|
| Preparation | Curate a “Question Bank” | Avoid awkward silences and aimless rambling. |
| Environment | Choose a low-noise, private space | Ensure audio clarity and psychological comfort. |
| Execution | The “30-Minute Rule” | Prevent fatigue for both the interviewer and interviewee. |
| Preservation | Transcribe and Tag | Make the content searchable and accessible. |
Phase 1: The Pre-Trip Preparation
Before you leave, create a digital document—a shared note or a Google Doc—accessible to all family members involved. Populate it with “trigger topics.” Examples include: “The first time you felt truly independent,” “A time you had to change your plans unexpectedly,” or “What was the most popular song or game when you were ten?”
Crucial Insight: Avoid asking about “the good old days.” This phrase carries a nostalgic bias that often forces the interviewee to romanticize the past. Instead, ask about specific sensory details. “What did your grandmother’s kitchen look like?” is a much more effective prompt than “What was life like back then?”
Phase 2: Choosing the Right Environment
The hotel room is rarely the best place for this. It can feel claustrophobic. Instead, look for a quiet corner of a park you are visiting, a bench in a public square, or a slow morning in a cafe. The ambient noise of a foreign city can actually serve as a wonderful backdrop that anchors the story to the location, making the recording feel like a piece of the trip rather than a chore.
Phase 3: The Execution
Use a simple, reliable voice recording app. Most smartphones have built-in high-quality microphones that are more than sufficient. The key is to keep the device out of the way. If you place a phone directly in front of the person, they will become self-conscious. Place it to the side, perhaps on a coaster or a book, so it becomes a background element.
If your children are involved, give them a specific role. Maybe they are the “Timekeeper” or the “Note Taker.” If they are old enough, let them ask one or two questions from your pre-prepared list. This changes the dynamic from a parent-child lecture to a collaborative family project.

Common Mistakes That Derail Oral History Projects
The most common mistake is the “Interviewer’s Ego.” We often want to jump in and share our own stories as soon as we hear something familiar. While this is natural, it disrupts the flow of the interviewee’s narrative. Your job is to be an active listener, not a conversational partner. Use the “5-Second Pause” rule: when the interviewee finishes a sentence, wait five seconds before asking the next question. You will be surprised how often they start talking again, usually providing a deeper, more vulnerable layer to the story.
Another pitfall is the “Archive Hoarding” problem. Many people record hours of audio but never organize it. If you don’t transcribe or at least summarize the content within a week of returning home, the files will become digital clutter. Use AI-based transcription services (like Otter.ai or similar tools) to turn your audio into text. It doesn’t have to be perfect; it just needs to be searchable.
Addressing the “I have no stories” objection
If your relative claims they have nothing interesting to share, it is usually because they don’t know how to value their own life experiences. They think “history” means major wars or historical events. Your job is to reframe their life as a series of transitions. Ask them about their first job, their first apartment, or the first time they felt truly scared. These are the stories that resonate with readers in their 30s and 40s because we are often going through similar transitions ourselves.
The Technical Side: Storage and Longevity
Digital files are fragile. If you keep them only on your phone, you risk losing them to a broken screen or a lost device. Once you are back from your trip, follow the 3-2-1 backup rule: three copies of the file, on two different types of media, with one copy stored off-site (the cloud).
Practical Step: Rename your files immediately. Do not leave them as “Voice Memo 001.” Use a format like: YYYY-MM-DD_Location_Subject_Topic. For example: 2024-05-12_Lisbon_Grandma_ChildhoodGames.mp3. This simple habit will save you hours of frustration when you want to revisit these memories in five or ten years.
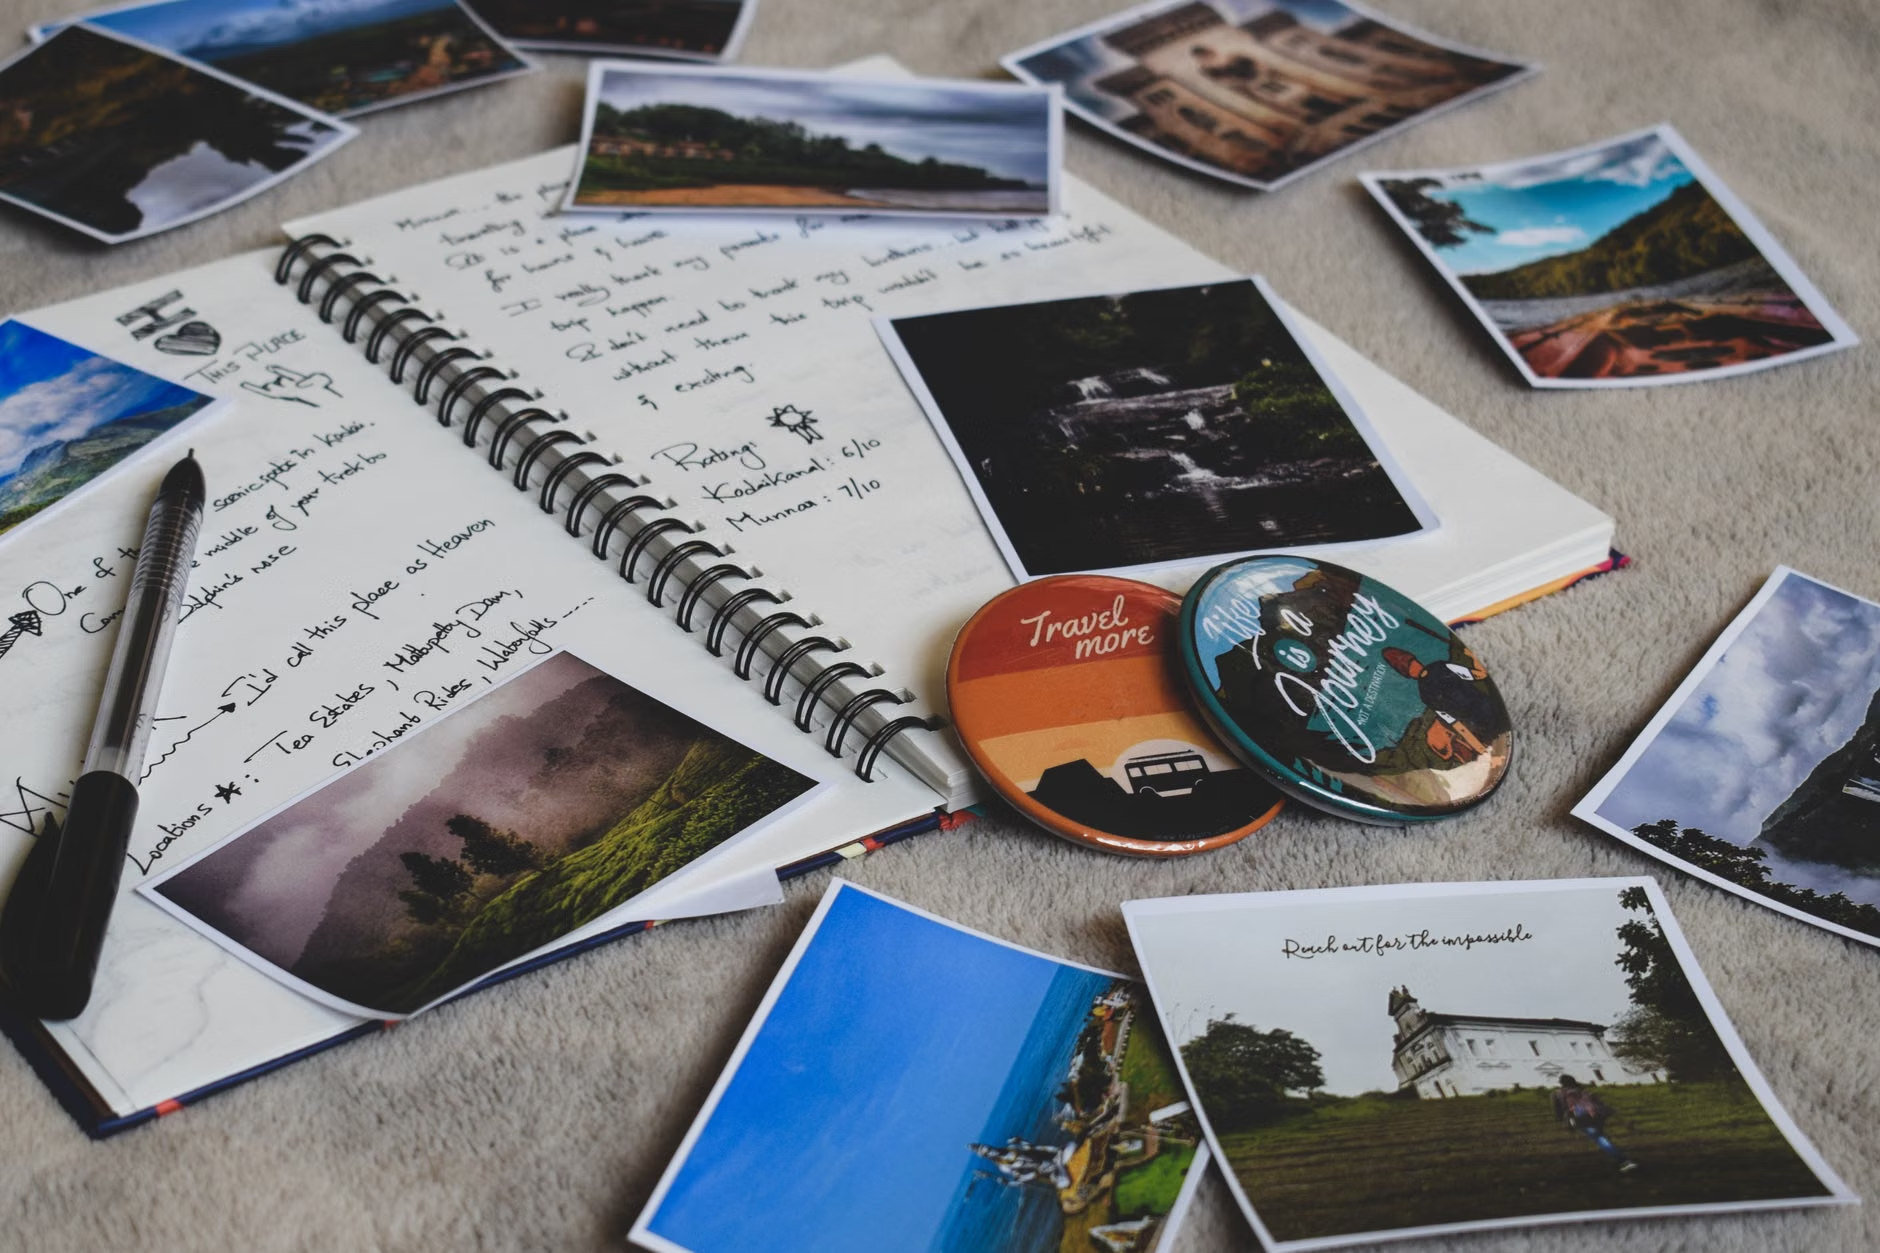
Creating a Living Legacy Beyond the Recording
Once you have the recordings and the transcripts, don’t just bury them in a folder. Integrate them into your family life. Use these stories as bedtime stories for your children. If you recorded a story about your father’s first trip to the beach, share that story the next time your child is feeling anxious about a new experience. This creates a bridge between the generations.
Consider creating a “Legacy Book” for your next holiday season. Take the transcripts, add a few photos from the trip where you recorded them, and use a simple print-on-demand service to create a small hardcover book. This physical object becomes a tangible marker of your project, something that can be passed down to your children as they grow.
It is important to understand that this project is a living document. You don’t have to get everything in one trip. Think of it as a multi-year effort. Maybe this year you focus on their childhood, and next year you focus on their career path. By breaking it into manageable, thematic chunks, you avoid the overwhelming nature of trying to document an entire life at once.
Addressing Potential Trade-offs and Challenges
One challenge you might face is the “Emotional Tax.” Some stories are painful. If a family member opens up about a difficult divorce, a loss, or a regret, it can shift the mood of the vacation. Be prepared for this. It is okay to pause the recording. It is okay to say, “Let’s take a break and get some ice cream.” You are a family member first and a historian second.
Also, keep in mind that memories are subjective. Two siblings might remember the same event in completely different ways. Do not try to “correct” the interviewee. The goal is to capture their truth, not an objective historical record. If you have multiple relatives present, record them together. The interplay between them—the way they nudge each other or argue over a detail—is often where the most genuine, human stories emerge.
Finally, respect the boundaries of privacy. Not every story is meant to be shared outside the immediate family. Have a clear conversation about who will have access to these recordings. This builds trust and encourages more honest storytelling.
Final Thoughts: Your Next Move
The most important takeaway is to start small. Don’t plan a grand, week-long project. Plan for one 30-minute session on your next trip. Use the “Question Bank” method, keep the recording device subtle, and focus on sensory details rather than chronological facts. This isn’t about being a professional documentarian; it’s about making sure the people you love are heard while you still have the chance.
If you find that your first attempt was a bit awkward, don’t worry. The value lies in the act of paying attention. By showing your children that you care about their heritage, you are teaching them to value their own experiences. Start by drafting your first three questions today. You don’t need a perfect plan; you just need to begin.
Frequently Asked Questions
Q: What should I do if my relative is camera-shy or gets nervous when I record?
A: Drop the idea of video entirely. Many people feel “performed” when on camera. Audio is far less invasive. If they still feel nervous, start by asking them to tell a story to your child, rather than to you. Focusing on the grandchild often helps the grandparent relax and forget the recorder is even there.
Q: How do I handle it if the stories are inaccurate or factually wrong?
A: Remember that you are recording a life, not writing a history textbook. If they misremember a year or a place name, it doesn’t diminish the emotional truth of the story. If you really need the facts, do your own research separately, but don’t interrupt the flow of their narrative to correct them. It breaks the spell of the story.
Q: How can I involve my teenagers in this project without it feeling like “homework”?
A: Give them ownership of the technology. Let them edit the audio clips or create a short video montage using the stories. If they are responsible for the technical side, they become active participants rather than passive observers. Also, encourage them to ask questions about topics that actually interest them, like how things were different when the relative was their age, rather than forced questions about family tree branches.
For further reading on oral history techniques and best practices for family archives, you can explore the resources provided by the Oral History Association, which offers excellent guides on interviewing techniques and ethical considerations for personal history projects.